Page 271 of 403

Downloaded from www.Manualslib.com manuals search engine A ,CAUTION:
Operating the engine with the air cleaner off can
cause
you or others to be burned. The air cleaner
not only cleans the air, it stops flame
if the engine
backfires.
If it isn’t there, and the engine
backfires, you could be burned. Don’t drive with
it
off, and be careful working on the engine with
the air cleaner off.
I
NOTICE:
If the air cleaner is off, a backfire can cause a
damaging engine fire. And, dirt can easily get
into your engine, which will damage
it. Always
have the air cleaner in place when you’re driving.
Automatic Transmission Fluid
When to Check and Change
A good time to check your automatic transmission fluid
level
is when the engine oil is changed.
Change both the fluid and filter every
50,000 miles
(83 000 Ism) if the vehicle is mainly driven under one
or,more of these conditions:
0 In heavy city traffic where the outside temperature
regularly reaches
90” F (32 O C) or higher.
0 In hilly or mountainous terrain.
0 When doing frequent trailer towing.
0 Uses such as found in taxi, police or delivery service.
If you do not use your vehicle under any of these
conditions, the fluid and filter do not require changing.
See “Scheduled Maintenance Services” in
the Index.
6-18
Page 274 of 403

Downloaded from www.Manualslib.com manuals search engine How to Add Fluid
Refer to the Maintenance Schedule to determine what
kind
of transmission fluid to use. See “Recommended
Fluids and Lubricants” in the Index.
Add fluid only after checking the transmission fluid
HOT. (A COLD check is used only as a reference.)
.If the fluid level is low, add only enough of the proper
fluid to bring the level up to
the HOT area for a hot
check. It doesn’t take
much fluid, generally less than a
pint
(0.5 L). Don ’t ovetjill. We recommend you use only
fluid labeled DEXR0N’-III, because fluid with that
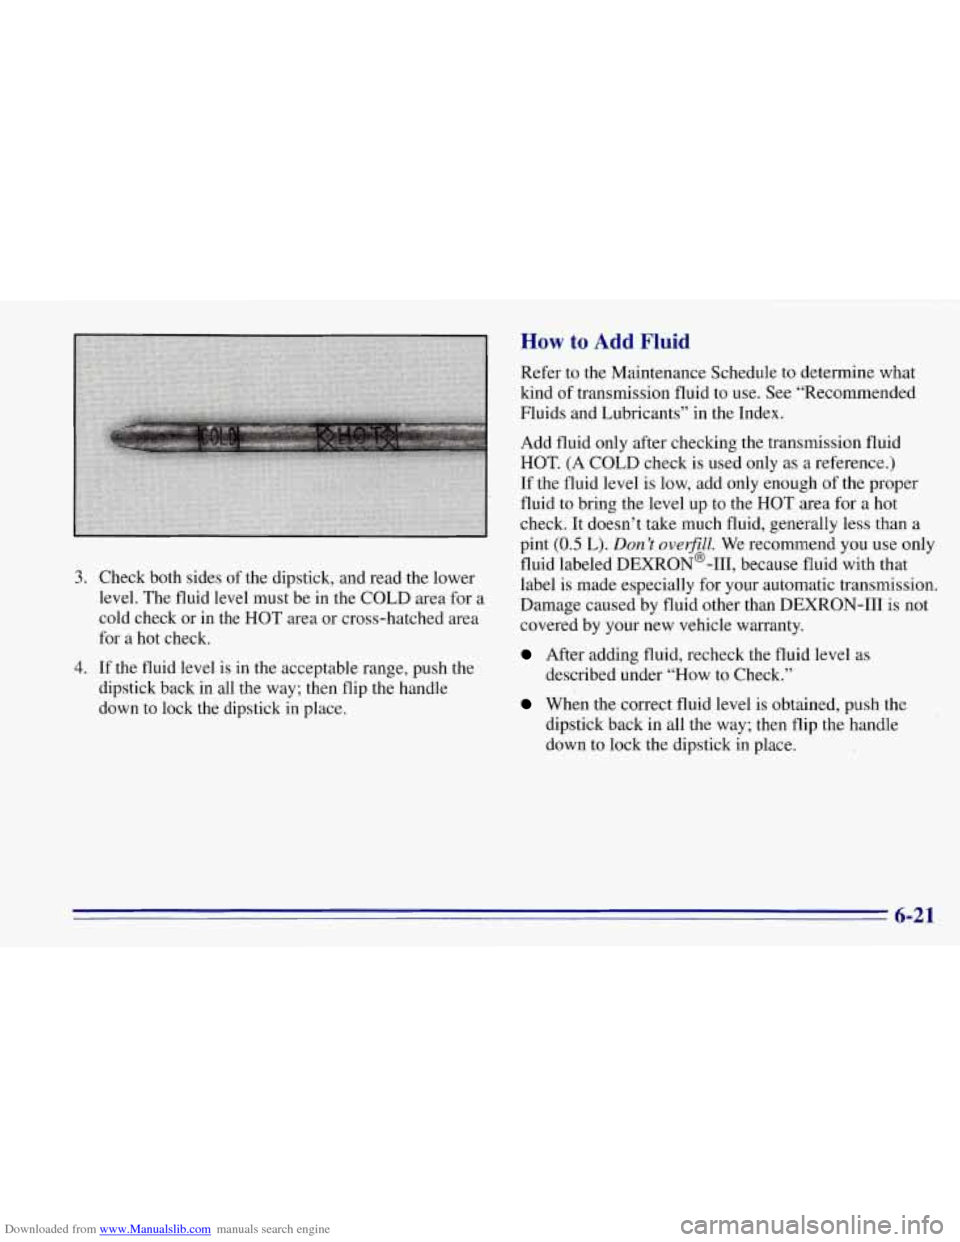
3. Check both sides of the dipstick, and read-the lower label is made especially for your automatic transmission.
level. The fluid level IINLSt be in the COLD area for a Damage cauwd by fluid other than DEXRO;N-III
is not
cold check or in the HOT area or cross-hatched area covered b\
y
your new vehicle warranty.
for a hot check.
After adding fluid, recheck the fluid level as 4. If the fluid level is in the acceptable range, push the
dipstick back in all the way; then flip the handle
down to lock the dipstick in place.
whin the correct fluid level is obtained, push the
described under “How to Check.”
dipstick back in all the way; then flip the handle
down to lock the dipstick in place.
’
6-21
Page 275 of 403
Downloaded from www.Manualslib.com manuals search engine Rear Axle
When to Check and Change Lubricant
Refer to the Maintenance Schedule to determine how
often to check the lubricant and when to change it.
See “Scheduled Maintenance Services”
in the Index.
How to Check Lubricant
If the level is below the bottom of the filler plug hole,
you’ll need to add some lubricant. Add enough lubricant
to raise the level to the bottom
of the filler plug hole.
What to Use
Refer to the Maintenance Schedule to determine what
kind of lubricant to use. See “Recommended Fluids and
Lubricants” in the Index.
Four- Wheel Drive
Most lubricant checks in this section also apply to
four-wheel-drive vehicles. However, they have two
additional systems that need lubrication.
6-22
Page 276 of 403
Downloaded from www.Manualslib.com manuals search engine Transfer Case
When to Check Lubricant
Refer to the Maintenance Schedule to determine how
often to check the lubricant. See “Periodic Maintenance
Inspections” in the Index.
How to Check Lubricant
If the level is below the bottom of the filler plug hole,
you’ll need
to add some lubricant. Add enough lubricant
to raise the level to the bottom
of the filler plug hole.
What to Use
Refer to the Maintenance Schedule to determine what
kind
of lubricant to use. See “Recommended Fluids and
Lubricants” in the Index.
Front Axle
When to Check and Change Lubricant
Refer to the Maintenance Schedule to determine how
often to check the lubricant and when to change it. See
“Scheduled Maintenance Services’’ in
the Index.
6-23
Page 277 of 403
Downloaded from www.Manualslib.com manuals search engine How to Check Lubricant If the level is below the bottom of the filler plug hole,
you’ll need to add some lubricant.
If the differential is at operating temperature (warm),
add enough lubricant to raise the level to the bottom of
the filler plug hole.
If the differential is cold, add enough lubricant to raise
the level to
1/2 inch (12 mm) below the filler plug hole.
What to Use
Refer to the Maintenance Schedule to determine what
kind
of lubricant to use. See “Recommended Fluids and
Lubricants” in the Index.
6-24
Page 282 of 403
Downloaded from www.Manualslib.com manuals search engine Power Steering Fluid
When to Check Power Steering Fluid
It is not necessary to regularly check power steering
fluid unless you suspect there is a leak in the system or
you hear an unusual noise.
A fluid loss in this system
could indicate a problem. Have the system inspected
and repaired.
How To Check Power Steering Fluid
When the engine compartment is cool, unscrew the cap
and wipe the dipstick with a clean rag. Replace the cap
and completely tighten it. Then remove the cap again
and look at the fluid level
on the dipstick.
The level should
be at the FULL COLD mark. If
necessary, add only enough fluid to bring the level up to
the mark.
What to Use
Refer to the Maintenance Schedule to determine what
kind of fluid to use. See “Recommended Fluids and
Lubricants” in the Index. Always use the proper fluid.
Failure to use the proper fluid can cause leaks and
damage hoses and seals.
6-29
Page 284 of 403

Downloaded from www.Manualslib.com manuals search engine Brakes
Brake Fluid
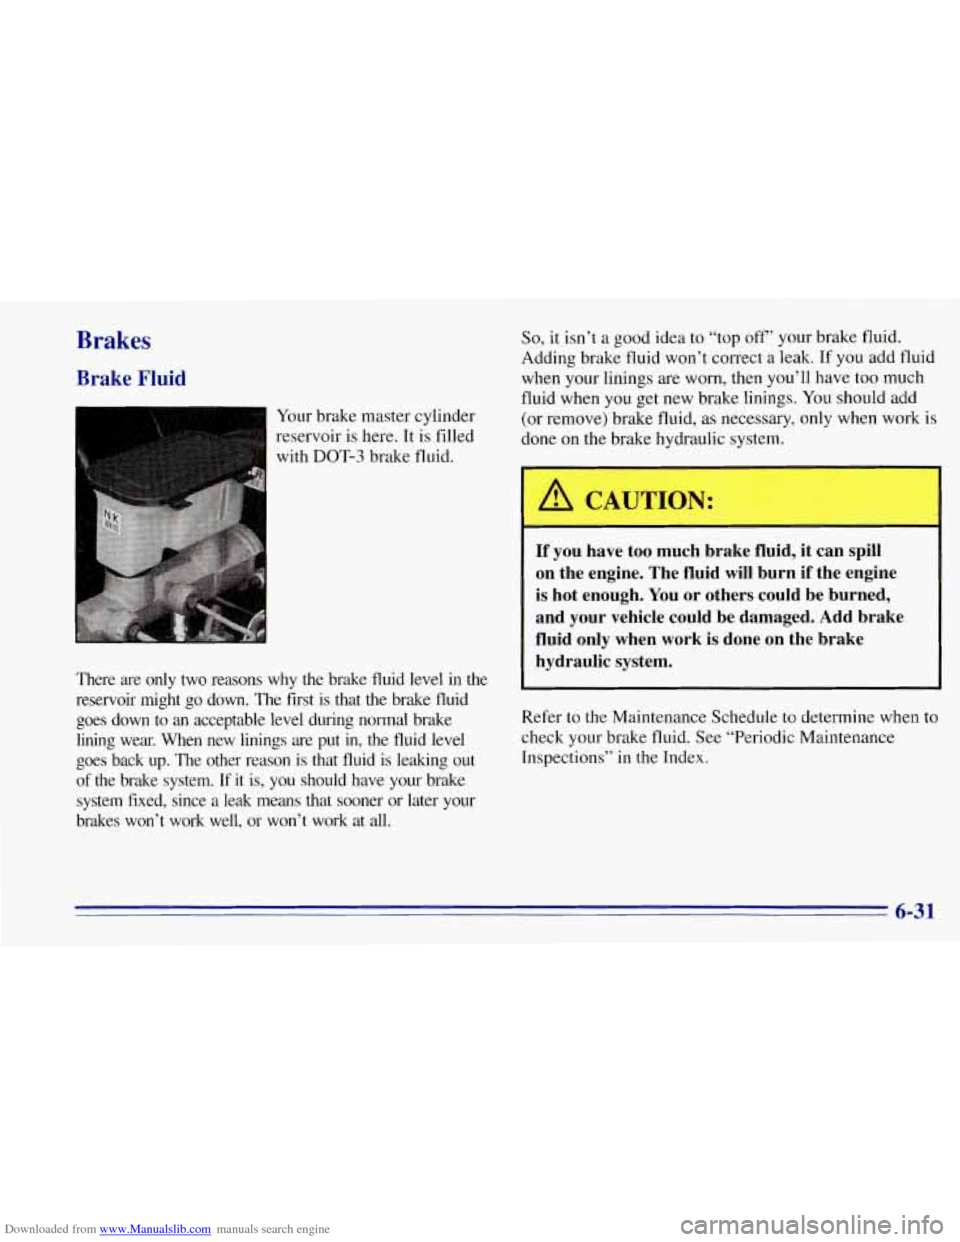
Your brake master cylinder
reservoir
is here. It is filled
with
DOT-3 brake fluid.
There are only two reasons why the brake fluid level in the
reservoir might go down. The first is that the brake fluid
goes down to an acceptable level during normal brake
lining wear. When new linings are put in, the fluid level
goes back up. The other reason is that fluid is leaking out
of the brake system. If
it is, you should have your brake
system fixed, since a leak means that sooner or later your
brakes won’t work well, or won’t work at all.
So, it isn’t a good idea to “top off’ your brake fluid.
Adding brake fluid won’t correct a leak. If you add fluid
when your linings are worn, then you’ll have
too much
fluid when you get new brake linings. You should add
(or remove) brake fluid, as necessary, only when work is
done on the brake hydraulic system.
-
-
If you have too much brake fluid, it can spill
on the engine. The fluid
will burn if the engine
is hot enough. You or others could be burned,
and your vehicle could be damaged. Add brake
fluid only when work is done
on the brake
hydraulic system.
Refer to the Maintenance Schedule to determine when to
check your brake fluid. See “Periodic Maintenance
Inspections” in the Index.
6-31
Page 295 of 403
Downloaded from www.Manualslib.com manuals search engine 4. Remove the screws from
the bulb retainer and
take the bulb retainer
off
of the lamp assembly.
5. Pull the old bulb straight out of the socket.
6. Put in a new bulb and push it in until it is tight.
7. Replace the bulb retainer.
8. Replace the rear lamp assembly and tighten the
screws.
You may want to use a magnetic screwdriver
when installing the screws.
9. Close the tailgate or rear doors.
Windshield Wiper Blade Replacement
For proper type and length, see “Normal Maintenance
Replacement Parts” in‘the Index.
To replace the
windshield wiper blade assembly:
1. Lift the wiper arm and rotate the blade until it is..
facing away from the windshield.
2. Push the release lever and slide the wiper assembly
toward the driver’s side
of the vehicle.
3. Install a new blade by reversing Steps 1 and 2.
6-42 . =.