Page 72 of 403
Downloaded from www.Manualslib.com manuals search engine Parking at Night
Park in a lighted spot, close all windows and lock your
vehicle. Remember to keep
your valuables out of sight.
Put them in a storage area,
or take them with you.
Parking Lots
If you park in a lot where someone will be watching
your vehicle, it’s best
to lock it up and take your keys.
But what
if you have to leave your ignition key? What if
you have to leave something valuable in your vehicle?
Put your valuables in a storage area, like your
0 Lock all the doors except the driver’s.
glove box.
New Vehicle “Break-In”
NOTICE:
Your
modern vehicle doesn’t need an elaborate
“break-in.” But it wil1,perform better in the long
run
if you follow these guidelines:
0
0
0
0
Keep your speed at 55 mph (88 kmh) or
less for the first
500 miles (804 km).
Don’t drive at any one speed 0- fast or
slow
-- for the first 500 miles (804 km).
Don’t make full-throttle starts.
Avoid making hard stops for the
first
200 miles (322-km) or so. During this time
your new brake linings aren’t yet broken
in. Hard stops with new linings can mean
premature wear and earlier replacement.
Follow this breaking-in guideline every
time you get new brake linings.
Don’t tow a trailer during break-in.
See “Towing a Trailer” in the Index for
more information.
2-9
Page 105 of 403
Downloaded from www.Manualslib.com manuals search engine Convex Outside Mirror
Your passenger’s side mirror may be convex. A convex
mirror’s surface is curved
so you can see more from the
driver’s seat.
I A CAUTION:
A convex mirror can make things (like other
vehicles) look farther away than they really are.
If you cut too sharply into the right lane, you
could hit a vehicle on your right. Check your
inside mirror
or glance over your shoulder before
changing lanes.
Storage Compartments
Your vehicle has a variety of storage compartments
designed to store small items.
Glove Box
To open your glove box, move the switch button toward
the passenger side and pull the door open.
Two cup depressions are provided at the top
of the
instrument panel to hold cups or other containers when
the vehicle is not moving.
Center Floor Console
Your vehicle may have a console compartment between
the bucket seats.
To open it, lift the latch handle and swing the door open.
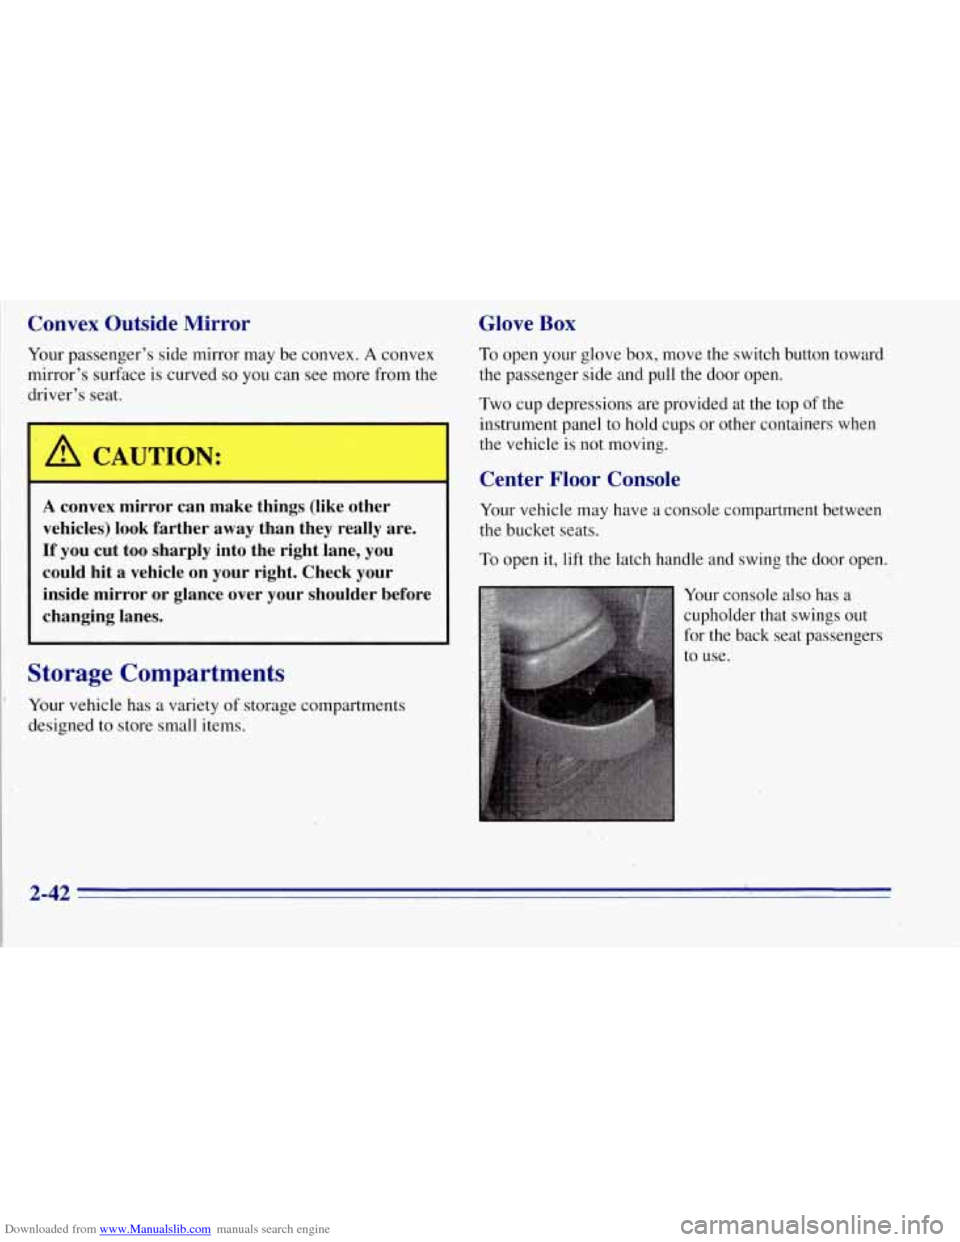
Your console also has a
cupholder that swings out
for the back seat passengers
to use.
2-42
Page 118 of 403
Downloaded from www.Manualslib.com manuals search engine A. Dome Lamp Switch
B. Lamp Controls
C. Air Vents
D. Multifunction Lever
E. Instrument Cluster
E Gearshift Lever
G. Audio ,System
H. Comfort Control System
I. Glove
Box
J. Storage Tray
K. Ashtray
L. Cupholder
M. Power Outlets
N. Storage Area or Optional. Compact Disc Player
0. Rear Window Defogger Switch
P. Tilt Lever
Q. Parking Brake Release Handle
R. Hood Release
S. Fuse Panel
2-55
Page 237 of 403
Downloaded from www.Manualslib.com manuals search engine Follow these instructions to lower the spare tire:
1. One side of the ratchet has an UP marking. The other
side has a
DOWN marking. Assemble the ratchet to
the hook near the end
of the jack handle (as
illustrated) with the
DOWN marking facing you.
Insert the other end through the hole in the rear
bumper and into the hoist shaft.
2. Turn the ratchet to lower the spare tire to the ground.
Continue to turn the ratchet until the spare tire can be
pulled out from under the vehicle.
3. When the tire has been lowered, tiltlthe retainer at
the end
of the cable so it can be pulled up through
the wheel opening.
4. Put the spare tire near the flat tire. If
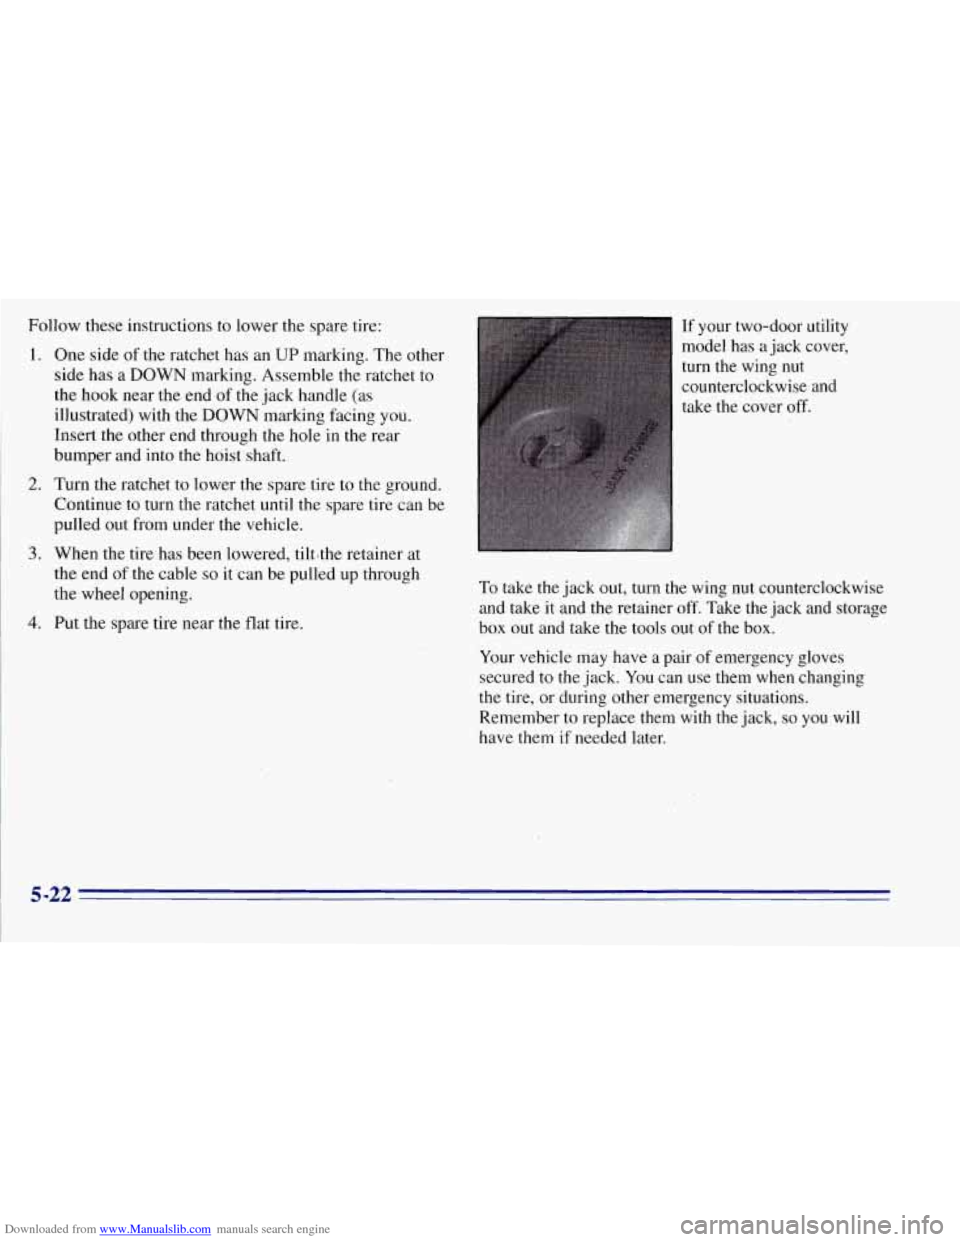
your two-door utility
model has a jack cover,
turn the wing nut
counterclockwise and
take the cover off.
To take the jack out, turn the wing nut counterclockwise
and take it and the retainer off. Take the jack and storage
box out and take the tools out of the box.
Your vehicle may have a pair of emergency gloves
secured to the jack. You can use them when changing
the tire, or during other emergency situations.
Remember to replace them with the jack,
so you will
have them
if needed later.
5-22
Page 238 of 403
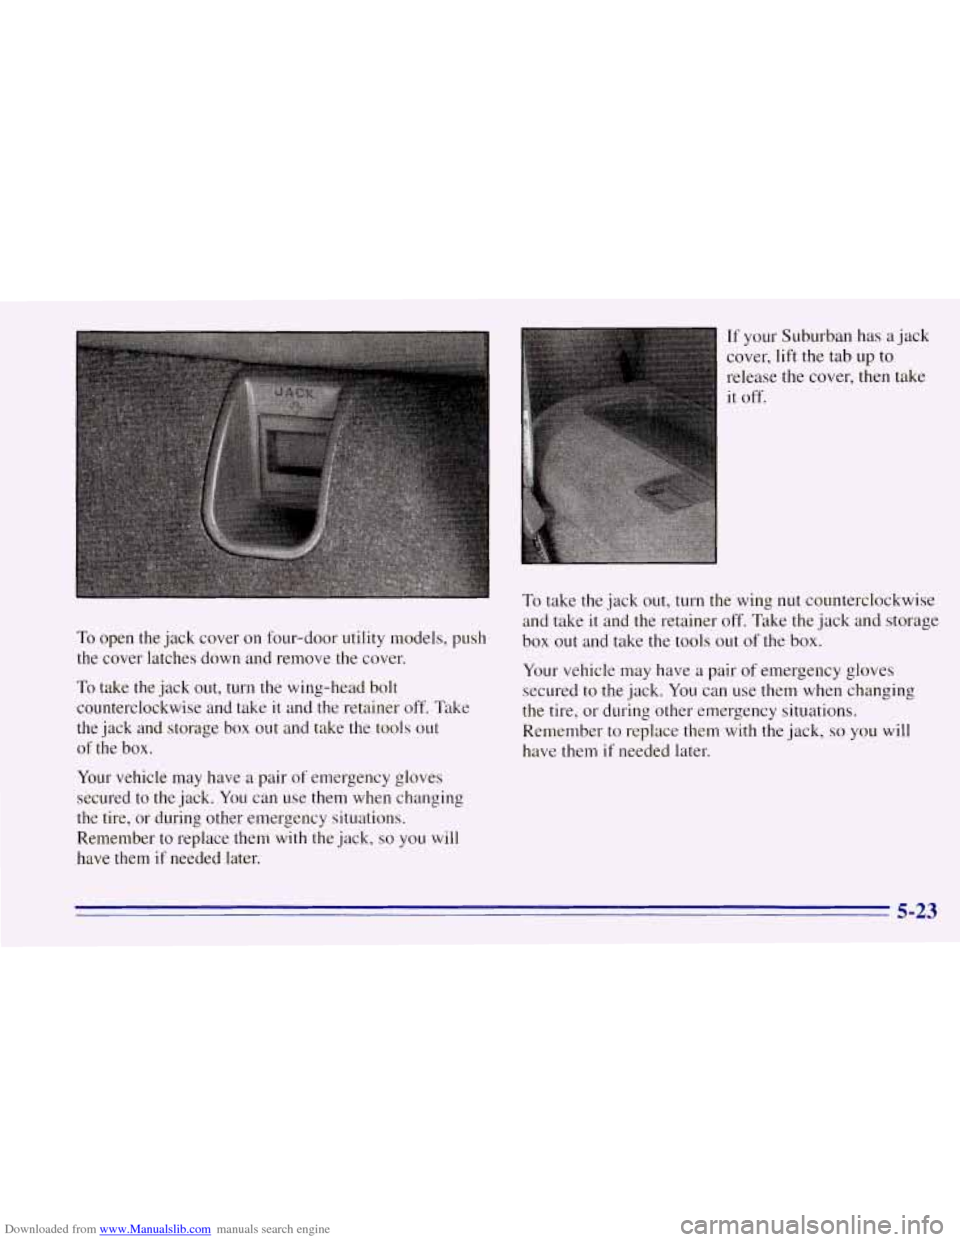
Downloaded from www.Manualslib.com manuals search engine To open the jack cover on four-door utility models, push
the cover latches down and remove the cover.
To take the jack out, turn the wing-head bolt
counterclockwise and take
it and the retainer off. Take
the jack and storage box out and take the
tools out
of the box.
Your vehicle may have a pair of emergency gloves
secured to the jack.
You can use them when changing
the tire, or during other emergency situations.
Remember to replace them with the jack,
so you will
have them
if needed later.
If your Suburban has a jack
cover, lift the tab
up to
release the cover, then take
it off.
To take the jack out, turn the wing nut counterclockwise
and take it and the retainer off. Take the jack and storage
box out and take the tools out of the box.
Your vehicle may have a pair of emergency gloves
secured to the jack. You can use them when changing
the tire, or during other emergency situations.
Remember to replace them with the jack,
so you will
have them
if needed later.
5-23
Page 246 of 403
Downloaded from www.Manualslib.com manuals search engine NOTICE:
Improperly tightened wheel nuts can lead to
brake pulsation and rotor damage.
To avoid
expensive brake repairs, evenly tighten the wheel
nuts in the proper sequence and to the proper
torque specification.
11. Put the wheel trim back on. For vehicles with
plastic wheel nut caps, tighten the caps until they
are finger tight, then tighten them an additional
one-half turn with the ratchet and wheel wrench.
Storing a Flat or Spare Tire and "001s
1 A CAUTION:
Storing a jack, a tire or other equipment in the
passenger compartment
of the vehicle could
cause injury. In
a sudden stop or collision, loose
equipment could strike someone. Store
all these
in the proper place.
Store the flat tire where the spare tire is stored.
Put the tools into the storage box and close
it tightly.
Fit the storage box
on the bracket with the bolt through
the box. Put the jack onto the box. Be sure the jack is
stored as shown in the following illustrations. Secure the
emergency gloves, if your vehicle has them, to the jack
using the provided strap.
Slide the retainer over the bolt onto the jack and put
the
wing nut on it. Turn the nut clockwise until it is tight
against the retainer.
Replace the jack storage cover, if your vehicle has
one, by simply reversing the removal procedure
described earlier.
5-31
Page 313 of 403
Downloaded from www.Manualslib.com manuals search engine Vehicle Identification Number (VIN)
ENGINEyl996 f A- ASSEMBLY
CODE M,ODEL YEAR PLANT
This is the legal identifier for your vehicle. It appears on
a plate in.the front corner of the instrument panel, on the
driver’s side. You can see it if you
look through the
windshield from outside your vehicle. The VIN also
appears
on the Vehicle Certification and Service Parts
l labels and the certificates of title and registration.
Engine Identification
The eighth character in your VIN is the engine code.
This code wil1,help you identify your engine,
specifications and replacement parts.
Service Parts Identification Label
You’ll find this label on the inside of the glove box. It’s
very helpful if you ever need to order parts. On this
label is:
0 your VIN,
0 the model designation,
paint information, and
0 a list of all production options and
Be sure that this label is not removed from the vehicle.
special equipment.
6-60
Page 317 of 403
Downloaded from www.Manualslib.com manuals search engine -1
01
07
03
o9
04
0 lo
Fuse
1 .........
2 .........
Usage
Stop/TCC Switch, Buzzer, CHMSL,
Hazard Lamps, Stoplamps
Transfer Case
Fuse Usage
3 ......... Courtesy Lamps, Cargo Lamp, Glove
Box Lamp, Dome/Reading Lamps,
Vanity Mirrors, Power Mirrors
Switch, Keyless Entry, Low Coolant
Module, Illuminated Entry Module,
DRAC (Diesel Engine)
5 .......... Rear Comfort Controls
6 ......... Cruise Control
7 ......... Auxiliary Power Outlet
8 ......... Air.Bag System
9 ......... License Lamp, Parking Lamps,
Taillamps, Roof Marker Lamps,
Tailgate Lamps, Front Sidemarkers, Fog Lamp Relay, Door Switch
Illumination, Fender Lamps, Headlamp
Switch Illumination
4 ......... Instrument Cluster, DRL Relay, Lamp
10 ........ Air Bag System
11 ........ Wiper Motor, Washer Pump
12
........ A/C, A/C Blower, High Blower Relay
6-64 -. ._