1996 CHEVROLET TAHOE lights
[x] Cancel search: lightsPage 6 of 403

Downloaded from www.Manualslib.com manuals search engine Vehicle Symbols
These are some of the symbols you may find on your vehicle.
For example,
these symbols are used on an
original battery:
POSSIBLE A
CAUTION
INJURY
PROTECT EYES BY
SHIELDING
CAUSTIC
ACID COULD BATTERY
CAUSE
BURNS
SPARK
OR ,\I/,
COULD FLAME
EXPLODE BATTERY
These symbols
are important
for you and
your passengers
whenever your
vehicle
is
driven:
DOOR LOCK
UNLOCK
These symbols have to do with
your lights:
SIGNALS e e
TURN
WARNING
A
HAZARD
FLASHER
RUNNING
* ' 0
DAYTIME -. e
LAMPS ' **
FOG LAMPS $0
These symbols
are on some of
your controls:
WINDSHIELD
DEFROSTER
VENTILATING
a*
FAN -d
These symbols are used on
warning and
indicator lights:
COOLANT -
TEMP -
CHARGING BATTERY
SYSTEM
BRAKE
(0)
COOLANT a
ENGINE OIL w,
PRESSURE
ANTI-LOCK
(a)
BRAKES
Here are some
other symbols you may see:
FUSE
t
LIGHTER n
HORN )tr
SPEAKER
b
FUEL p3
V
Page 83 of 403
Downloaded from www.Manualslib.com manuals search engine 4HI: This setting engages your front axle to help
drive your vehicle. Use 4HI when
you need extra
traction, such as on snowy or icy roads, or in most
off-road situations.
4LO: This setting also engages your front axle'to give
you extra traction.
You may never need 4LO. It sends
the maximum power to all four wheels. You might
choose 4LO if
you were driving off-road in sand, mud
or deep snow and climbing or descending steep hills.
Indicator lights in the switches show
you which setting
you are in. The indicatorlights will come on briefly
when ,you turn on the ignition and one will stay on. If
the lights do not come on, you should take your vehicle
in for service. An indicator light will flash while
shifting. It will remain illuminated when the shift
is completed.
Shifting from 2HI to 4HI
,Press and release the 4HI switch. This can be done at any
speed,
and the indicator light will flash while shifting. It
will remain illuminated when the shift is completed.
Shifting from 4HI to 2HI
Press and release the 2HI switch. This can be done at
any speed, and the system will unlock automatically.
Shifting from 2HI or 4HI to 4LO
To shift from 2HI or 4HI to 4L0, the vehicle must be
stopped or moving less than
3 mph (4.8 km/h) with the
transmission in NEUTRAL (N). The preferred method
for shifting into 4LO is to have your vehicle moving
1 to 2 mph (1.6 to 3.2 km/h). Press and release the
4LO switch. You must wait for the 4LO indicator light
to stop flashing and remain illuminated before shifting
your transmission into gear.
If the 4LO switch is pressed when your vehicle is in
gear and/or moving, the 4LO indicator light will flash
for
30 seconds and not complete the shift unless your
vehicle is moving slower than
3 mph (4.8 km/h) and the
transmission is in NEUTRAL (N).
I 2-20
Page 98 of 403
Downloaded from www.Manualslib.com manuals search engine Ending Cruise Control Lamps
There are two ways to turn off the cruise control:
Step lightly on the brake pedal; OR
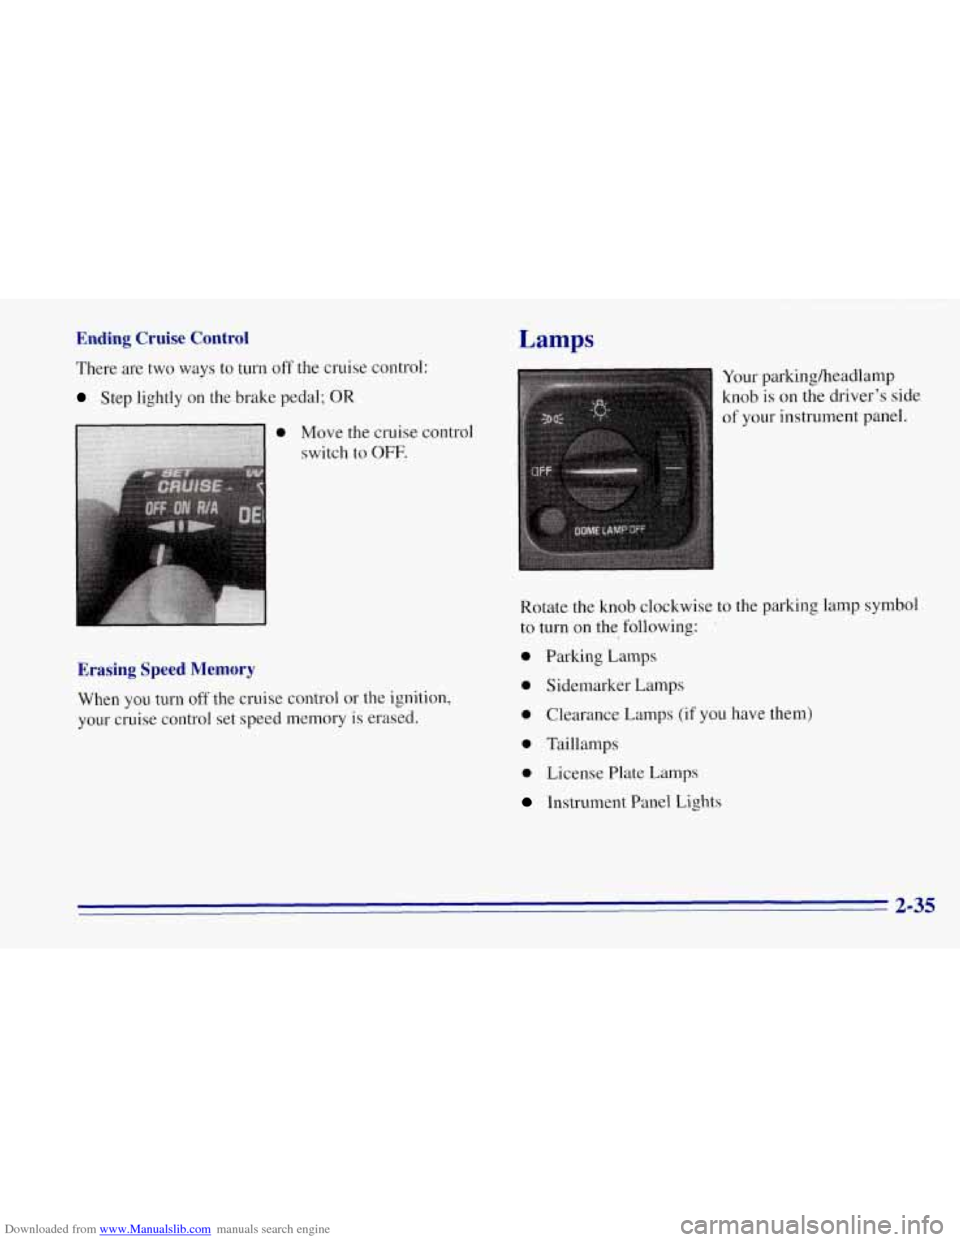
Move the cruise control
switch to
OFF.
Erasing Speed Memory
When you turn off the cruise control or the ignition,
your cruise control set speed memory is erased. Your
parkingheadlamp
knob is
on the driver’s side
of your instrument panel.
Rotate the knob clockwise to the parking lamp symbol
to turn on the following:
’
0 Parking Lamps
0 Sidemarker Lamps
0 Clearance Lamps (if you have them)
0 Taillamps
0 License Plate Lamps
Instrument Panel Lights
2-35
Page 99 of 403
Downloaded from www.Manualslib.com manuals search engine Rotate the knob clockwise again to the master
lighting symbol to turn on all
the lamps listed as
well as the headlamps.
Rotate the knob counterclockwise to the
OFF symbol to
turn
off your lamps.
Rotate the thumb wheel next to the knob up
to adjust
instrument panel lights. Rotate the thumb wheel up to
the first notch
to return the radio display and gearshift
indicator LED display to full intensity when the
headlamps or parking lamps are on.
To turn on the dome
lamps (with the vehicle doors closed) rotate the thumb
wheel up to the second notch position.
You can switch your headlamps from high
to low beam
by pulling on the turn signalhigh beam lever.
A circuit breaker protects your headlamps. If you have
an electrical overload, your headlamps will flicker on
and
off. Have your headlamp wiring checked right away
if this happens.
Headlamps-On Reminder
A buzzer will sound when your headlamps are turned
on and your ignition
is in OFF, LOCK or ACCESSORY.
If you need to use your headlamps when the ignition
switch is
in OFF, LOCK or ACCESSORY, the buzzer
can be turned off
by turning the thumb wheel next to the
parkingheadlamp switch all the way down.
Daytime Running Lamps
Daytime Running Lamps (DRL) can make it easier
for others to see the front of your vehicle during the
day. DRL can be helpful in many different driving
conditions, but they can be especially helpful
in the
short periods after dawn and before sunset.
The DRL system will make your headlamps come on
at a reduced brightness when:
The ignition is on,
0 The headlamp switch is off, and
The parking brake is released.
2-36
Page 102 of 403
Downloaded from www.Manualslib.com manuals search engine Reading Lamps
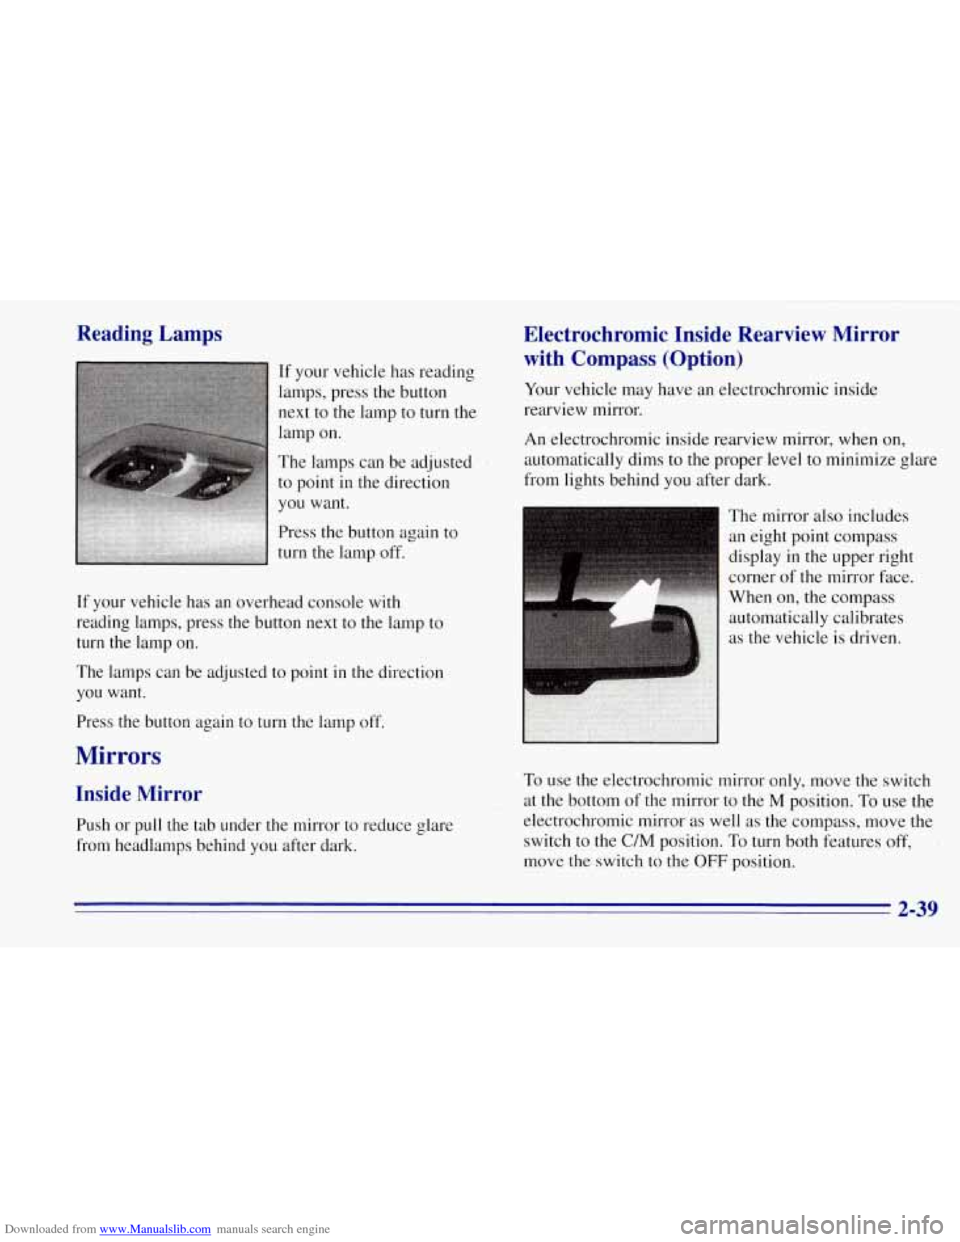
If your vehicle has reading
lamps, press the button
next to the lamp
to turn the
lamp on.
The lamps can be adjusted
to point in the direction
you want.
Press the button again to
turn the lamp off.
If your vehicle has an overhead console with
reading lamps, press the button next to the lamp to
turn the lamp on.
The lamps can be adjusted to point in the direction
you want.
Press the button again to turn the lamp off.
Mirrors
Inside Mirror
Push or pull the tab under the mirror to reduce glare
from headlamps behind
you after dark.
Electrochromic Inside Rearview Mirror
with Compass (Option)
Your vehicle may have an electrochromic inside
rearview mirror.
An electrochromic inside rearview mirror, when on,
automatically dims to the proper level to minimize glare
from lights behind you after dark.
The mirror also includes
an eight point compass
display in the upper right
corner of the mirror face.
When
on, the compass
automatically calibrates
as the vehicle is driven.
To use the electrochromic mirror only, move the switch
at the bottom of
the mirror to the M position. To use the
electrochromic mirror as well as the compass, move the
switch to the
C/M position. To turn both features off,
move the switch to the
OFF position.
2-39
Page 116 of 403
Downloaded from www.Manualslib.com manuals search engine Sun Visors
To block out glare, you can swing down the visors. You
can also swing them out
to help block glare at the front
and side windows.
Your visor may have a strap to hold small items, such
as maps.
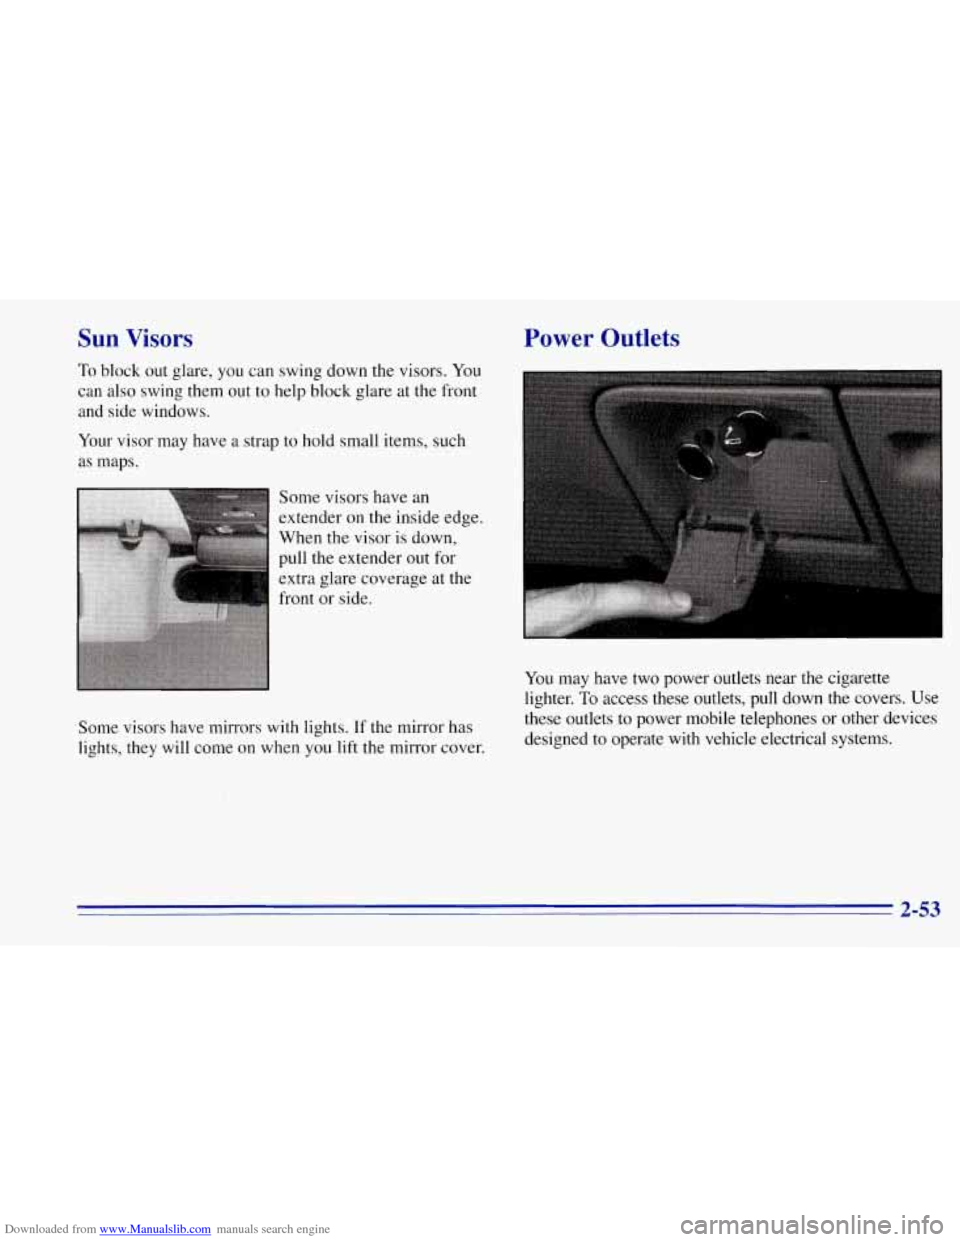
Some visors have an
extender on the inside edge.
When
the visor is down,
pull the extender out for
extra glare coverage at the
front or side.
Some visors have mirrors with lights. If the mirror has
lights, they will come on when you lift the mirror cover.
Power Outlets
You may have two power outlets near the cigarette
lighter.
To access these outlets, pull down the covers. Use
these outlets to power mobile telephones or other devices
designed
to operate with vehicle electrical systems.
2-53
Page 121 of 403
Downloaded from www.Manualslib.com manuals search engine Warning Lights, Gages
and Indicators
This part describes the warning lights and gages tha .t
may be on your vehicle. The pictures will help you
locate them.
Warning lights and gages can signal that something is
wrong before it becomes serious enough to cause an
expensive repair or replacement. Paying attention to
your warning lights and gages could also save
you or
others from injury.
Warning lights come on when there may be or is a
problem with one
of your vehicle’s functions. As you
will see in the details on the next few pages, some
warning lights come on briefly when you start the
engine just to let
you know they’re working. If you are
familiar with this section,
you should not be alarmed
when this happens.
Gages can indicate when there may be or is a problem
with one
of your vehicle’s functions. Often gages and
warning lights work together to let
you know when
there’s a problem with your vehicle. When
one
of the warning lights comes on and stays on
when you are driving, or
when one of the gages shows
there may be a problem, check the section that tells you
what to do about it. Please follow this manual’s advice.
Waiting to do repairs can be costly
-- and even
dangerous.
So please get to know your warning lights
and gages. They’re a big help.
Safety Belt Reminder Light
When the key is turned to RUN or START, a tone will
come on for about eight seconds to remind people to
fasten their safety belts, unless the driver’s safety belt is
already buckled.
I
The safety belt light wilI
also come on and stay
on for about
20 seconds,
then it will flash for about
55 seconds. If the driver’s
belt is already buckled,
neither the tone nor the
light will come on.
2-58
Page 130 of 403
Downloaded from www.Manualslib.com manuals search engine Check Gages Light
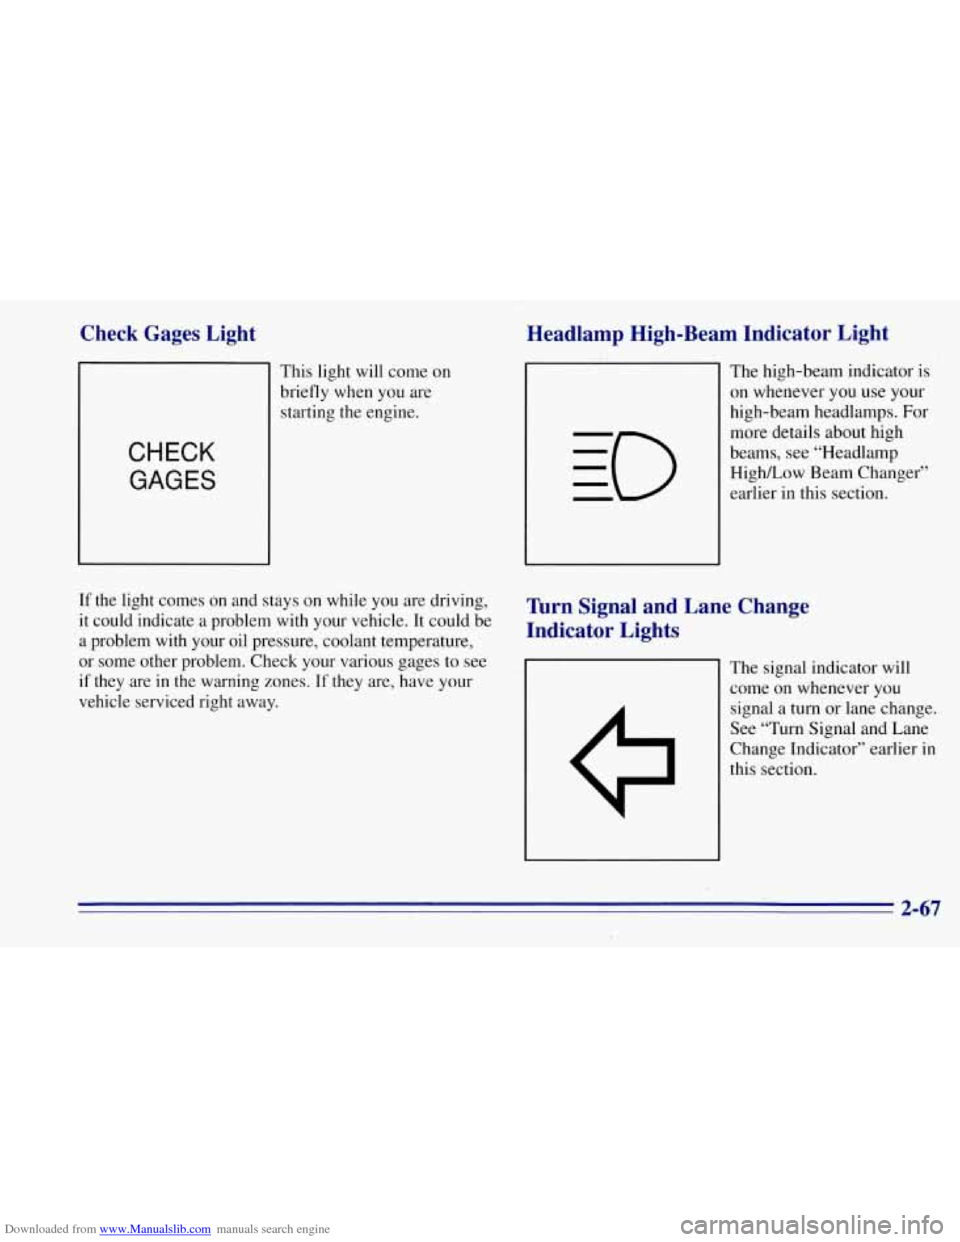
This light will come on
briefly when you are
starting the engine.
CHECK
GAGES
If the light comes on and stays on while you are driving,
it could indicate a problem with your vehicle. It could be
a problem with your oil pressure, coolant temperature,
or some other problem. Check your various gages to see
if they are in the warning zones.
If they are, have your
vehicle serviced right away.
Headlamp High-Beam Indicator Light
The high-beam indicator is
on whenever you use your
high-beam headlamps.
For
more details about high
beams,
see “Headlamp
HighLow Beam Changer”
earlier in this section.
Turn Signal and Lane Change
Indicator Lights
The signal indicator will
come on whenever
you
signal a turn or lane change.
See “Turn Signal and Lane
Change Indicator’’ earlier in
this section.
2-67