1996 CHEVROLET S10 radio
[x] Cancel search: radioPage 56 of 375
Downloaded from www.Manualslib.com manuals search engine Keyless Entry System (Option)
If your vehicle has this option, you can lock and unlock
your doors from up to
30 feet (9 m) away using the key
chain transmitter supplied with your vehicle.
Your Keyless
Entry System operates on a radio
frequency subject
to Federal Communications
Commission
(FCC) Rules.
This device complies with Part 15 of the FCC Rules.
Operation is subject to the following two conditions:
(1) This device may not cause harmful interference, and
(2), This device must accept any interference received,
including interference that may cause undesired operation.
Should interference to this system occur, try this:
0
0
0
0
Check to determine if battery replacement is necessary.
See the instructiohs on battery replacement.
Check the distance.
You may be too far from your
vehicle.
This product has a maximum range.
Check the location. Other vehicles or objects may be
blocking the signal.
See your
GM dealer or a qualified technician
for service.
Changes or modifications to this system by other than an
authorized service facility could void authorization to
use this equipment.
Operation
When you press UNLOCK, the driver's door will
unlock 'automatically.
If you press UNLOCK again
within five seconds, all the doors will unlock. Press
LOCK to lock all the doors.
.Matching Transmitter(s) To Your Vehicle
Each key chain transmitter is coded to prevent another
transmitter
from unlocking. your vehicle. If a transmitter is
lost or stolen, a replacement can
be .purchased through
your dealer. Remember to bring any remaining transmitters
with you when you
go to your dealer. When the dealer
matches the replacement'transmitter to your vehicle, any
remaining transmitters must also be matched. Once the
new transmitter is coded, the lost transmitter will not
unlock your vehicle. Each vehicle can have only two
transmitters matched to it.
Battery Replacement
Under normal use, the batteries in your key chain
transmitter should last about two years.
You can tell the batteries are weak if the transmitter
won't work at the normal range in any location.
If you
have to get close to your vehicle before the transmitter
works, it's probably time to change the batteries.
2-5
,
Page 59 of 375
Downloaded from www.Manualslib.com manuals search engine New Vehicle “Break-In”
NOTICE:
Your modern vehicle doesn’t need an elaborate
“break-in.” But it will perform better in the long
run if you follow these guidelines:
0
0
0
0
Keep your speed at 55 mph (88 km/h) or
less for the first
500 miles (804 km).
Don’t drive at any one speed
-- fast or
slow
-- for the first 500 miles (804 km).
Don’t make full-throttle starts.
Avoid making hard stops for the first
200 miles (322 km) or so. During this time
your new brake linings aren’t yet broken in.
Hard stops with new linings can mean
premature wear and earlier replacement.
Follow this breaking-in guideline every time
you get new brake linings.
Don’t tow
a trailer during break-in.
See “Towing a Trailer” in the Index for
more information.
Ignition Positions
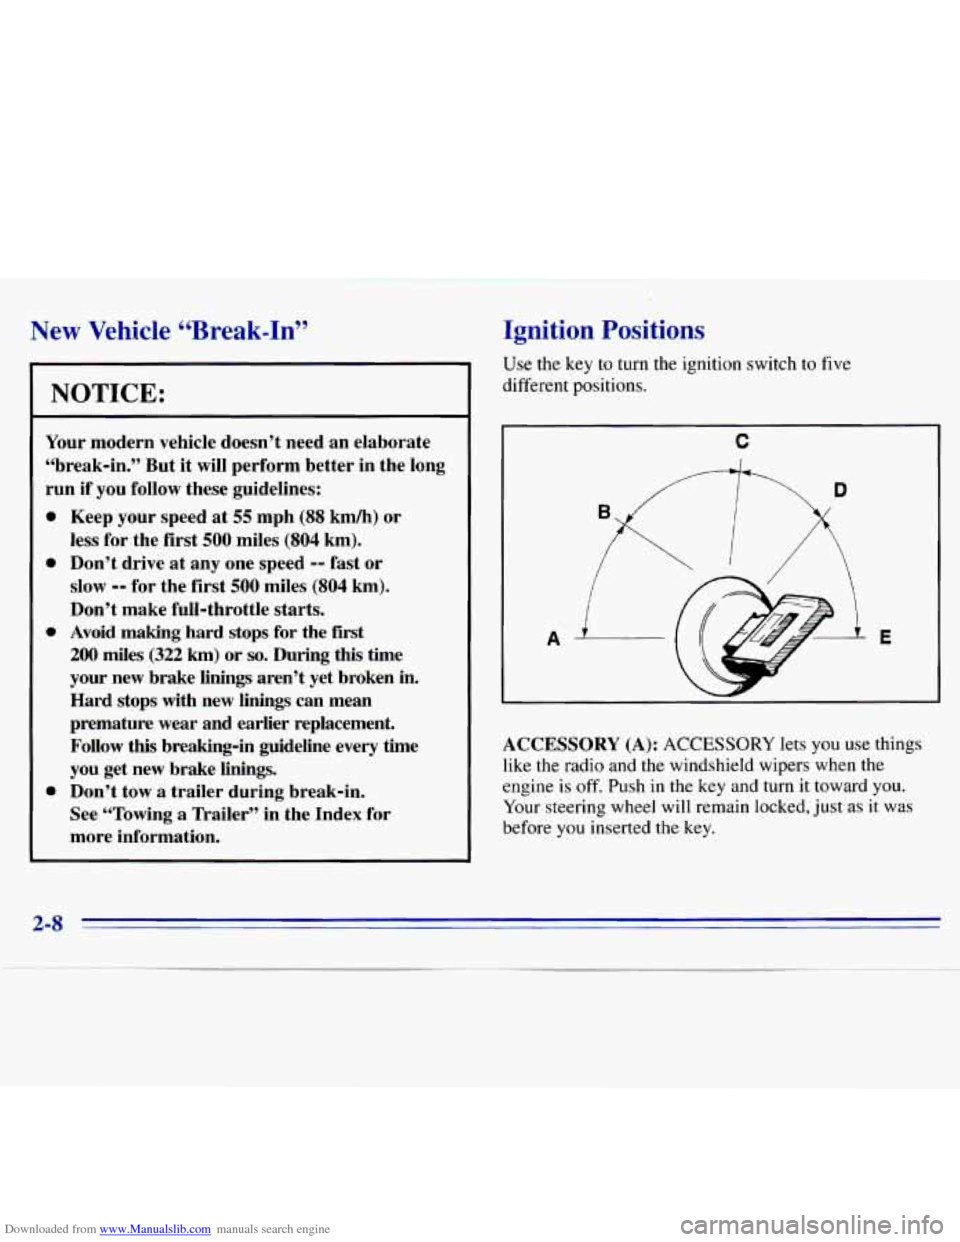
Use the key to turn the ignition switch to five
different positions.
A
C
E
ACCESSORY (A): ACCESSORY lets you use things
like the radio and the windshield wipers when the
engine is off. Push in
the key and turn it toward you.
Your steering wheel will remain locked, just as
it was
before you inserted the key.
2-8
Page 74 of 375
Downloaded from www.Manualslib.com manuals search engine Electronic Transfer Case (Option)
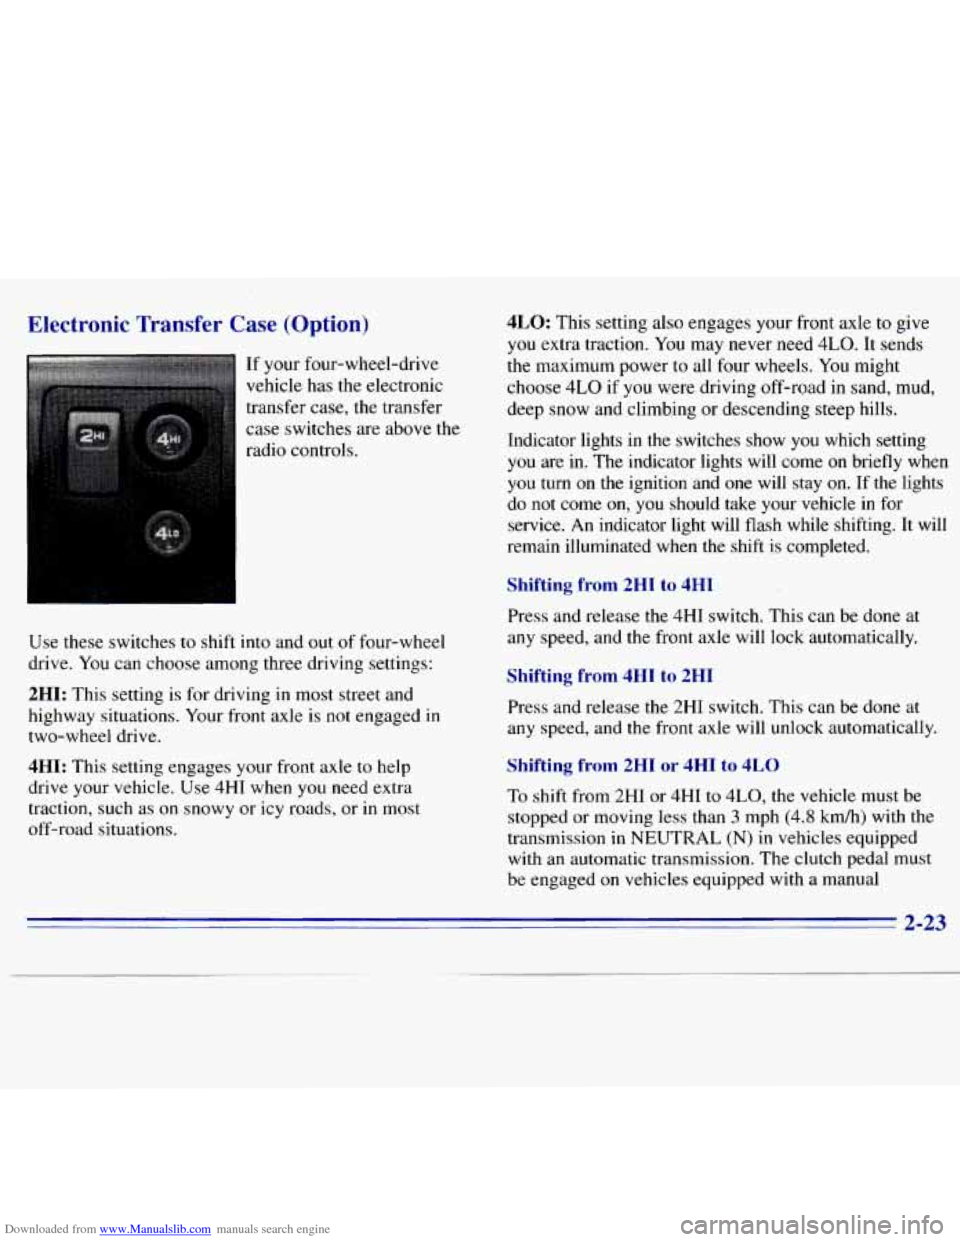
If your four-wheel-drive
vehicle has the electronic
transfer case, the transfer case switches are above the
radio controls.
Use these switches
to shift into and out of four-wheel
drive. You can choose among three driving settings:
2HI: This setting is for driving in most street and
highway situations. Your front axle is not engaged in
two-wheel drive.
4HI: This setting engages your front axle to help
drive your vehicle.
.Use 4HI when you need extra
traction, such as on snowy or icy roads, or
in most
off-road situations.
4LO: This setting also engages your front axle to give
you extra traction. You may never need
4LO. It sends
the maximum power to all four wheels.
You might
choose
4LO if you were driving off-road in sand, mud,
deep snow and climbing or descending steep hills.
Indicator lights in the switches show
you which setting
you are in. The indicator lights will come on briefly when
you turn on the ignition and one will stay on. If the lights
do
not come on, you should take your vehicle in for
service.
An indicator light will flash while shifting. It will
remain illuminated when
the shift is completed.
Shifting from 2HI to 4HI
Press and release the 4HI switch. This can be done at
any speed, and the front axle will lock automatically.
Shifting from 4HI to 2HI
Press and release the 2HI switch. This can be done at
any speed, and the front axle will unlock automatically.
Shifting from 2HI or 4HI to 4LO
To shift from 2HI or 4HI to 4L0, the vehicle must be
stopped or moving less than
3 mph (4.8 kmh) with the
transmission
in NEUTRAL (N) in vehicles equipped
with an automatic transmission. The clutch pedal
must
be engaged on vehicles equipped with a manual
2-23
Page 105 of 375

Downloaded from www.Manualslib.com manuals search engine Air Bag Readiness Light
There is an air bag readiness light on the instrument
panel, which shows AIR
BAG. The system checks
the air bag’s electrical system for malfunctions. The
light tells
you if there is an electrical problem. The
system check includes the air bag sensors, the air
bag
module, the wiring and the diagnostic module. For
more information on the air bag system, see “Air Bag”
in the Index.
AIR
BAG
You will see this light flash
for a few seconds when you
turn your ignition to RUN
or START. Then
the light
should
go out. This means
the system is ready.
If the air bag readiness light doesn’t come
on when you
start your vehicle, or stays on, or comes on when you
are driving, your air bag system may not work properly.
Have your vehicle serviced right away.
Charging System Indicator Light
The charging system light
will come
on briefly when
you turn on the ignition,
but the engine is not
running, as
a check to
show you it is working.
It should go out once the engine
is running. If it stays
on, or comes on while you are driving, you may have a
problem with the charging system. It could indicate that
you have problems with a generator drive belt, or
another electrical problem. Have
it checked right away.
Driving while this light is on could drain your battery.
If you must drive a short distance with the light on, be
certain to turn off all your accessories, such as the radio
and air conditioner.
2-54
Page 118 of 375
Downloaded from www.Manualslib.com manuals search engine Ventilation Tips
0
0
0
Keep the hood and front air inlet free of ice, snow or
any other obstruction (such as leaves). The heater
and defroster will work far better, reducing the
chance of fogging the inside of your windows.
When you enter a vehicle in cold weather, turn the
blower fan
to HI for a few moments before driving
off. This helps clear the intake ducts
of snow and
moisture, and reduces the chance
of fogging the
inside of your windows.
Keep the air path under the front seats clear of
objects. This helps air to circulate throughout
your vehicle.
Defogging and Defrosting
On cool, humid days, use BLEND to keep the
windshield and side windows clear.
Use DEFROST to remove fog or ice from the
windshield quickly in extremely humid or cold
conditions. Turn the temperature knob clockwise
and move the fan control toward
HI.
Audio Systems
Your Delco' audio system has been designea to operate
easily and give years of listening pleasure. You will get
the most enjoyment out of it
if you acquaint yourself
with it first. Find out what your Delco system can do
and how to operate all its controls, to be sure you're
getting the most out of the advanced engineering that
went into
it.
Setting the Clock for All Systems Except
AM-FM Stereo with Compact Disc Player
Press SET. Within five seconds, press and hold SEEK
until the correct minute appears on the display. Press and
hold
SCAN until the correct hour appears on the display.
Setting the Clock for AM-FM Stereo with
Compact Disc Player
Press SET. (The radio may be on or off.) Within five
seconds, press the
SEEK right or left arrow until the
correct minute appears on the display. Press and hold
SCAN until the correct hour appears on the display.
3-5
Page 119 of 375
Downloaded from www.Manualslib.com manuals search engine Finding a Station AM-FM Stereo
I
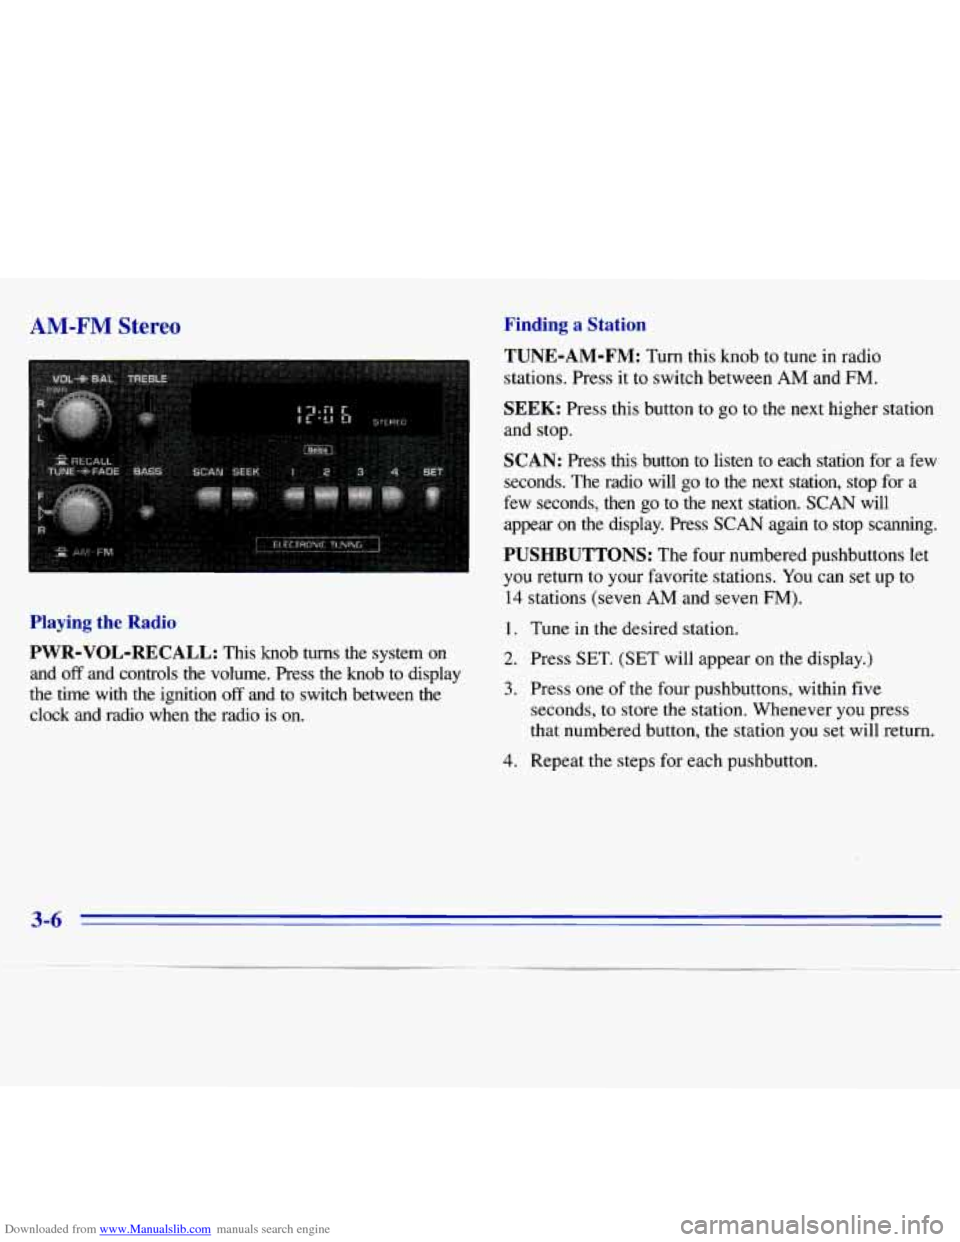
Playing the Radio
PWR-VOL-RECALL:
This knob turns the system on
and off and controls the volume. Press the knob to display
the time with the ignition
off and to switch between the
clock and radio when the radio is
on.
TUNE-AM-FM: Turn this knob to tune in radio
stations. Press it
to switch between AM and FM.
SEEK: Press this button to go to the next higher station
and stop.
SCAN: Press this button to listen to each station for a few
seconds. The radio will go to the next station, stop for a
few seconds, then go
to the next station. SCAN will
appear
on the display. Press SCAN again to stop scanning.
PUSHBUTTONS: The four numbered pushbuttons let
you return to your favorite stations. You can set up to
14 stations (seven
AM and seven FM).
1. Tune in the desired station.
2. Press SET. (SET will appear on the display.)
3. Press one of the four pushbuttons, within five
seconds, to store the station. Whenever you press
that numbered button, the station you set will return.
4. Repeat the steps for each pushbutton.
3-6
Page 120 of 375
Downloaded from www.Manualslib.com manuals search engine In addition to the four stations set as above, up to three
additional stations may be preset on each band by
pressing two adjoining buttons at the same time. Just:
1. Tune in the desired station.
2. Press SET. (SET will appear on the display.)
3. Press two adjoining pushbuttons at the same time,
within five seconds. Whenever you press the same
two buttons, the station
you set will return.
4. Repeat these steps for each pair of buttons.
Setting the Tone
BASS:
Slide this lever up to increase the bass. Adjust
the lever until the sound is pleasing to your ear.
TREBLE: Slide this lever up to increase the treble. You
can reduce noise for weak or noisy stations by sliding
this lever down.
Adjusting the Speakers
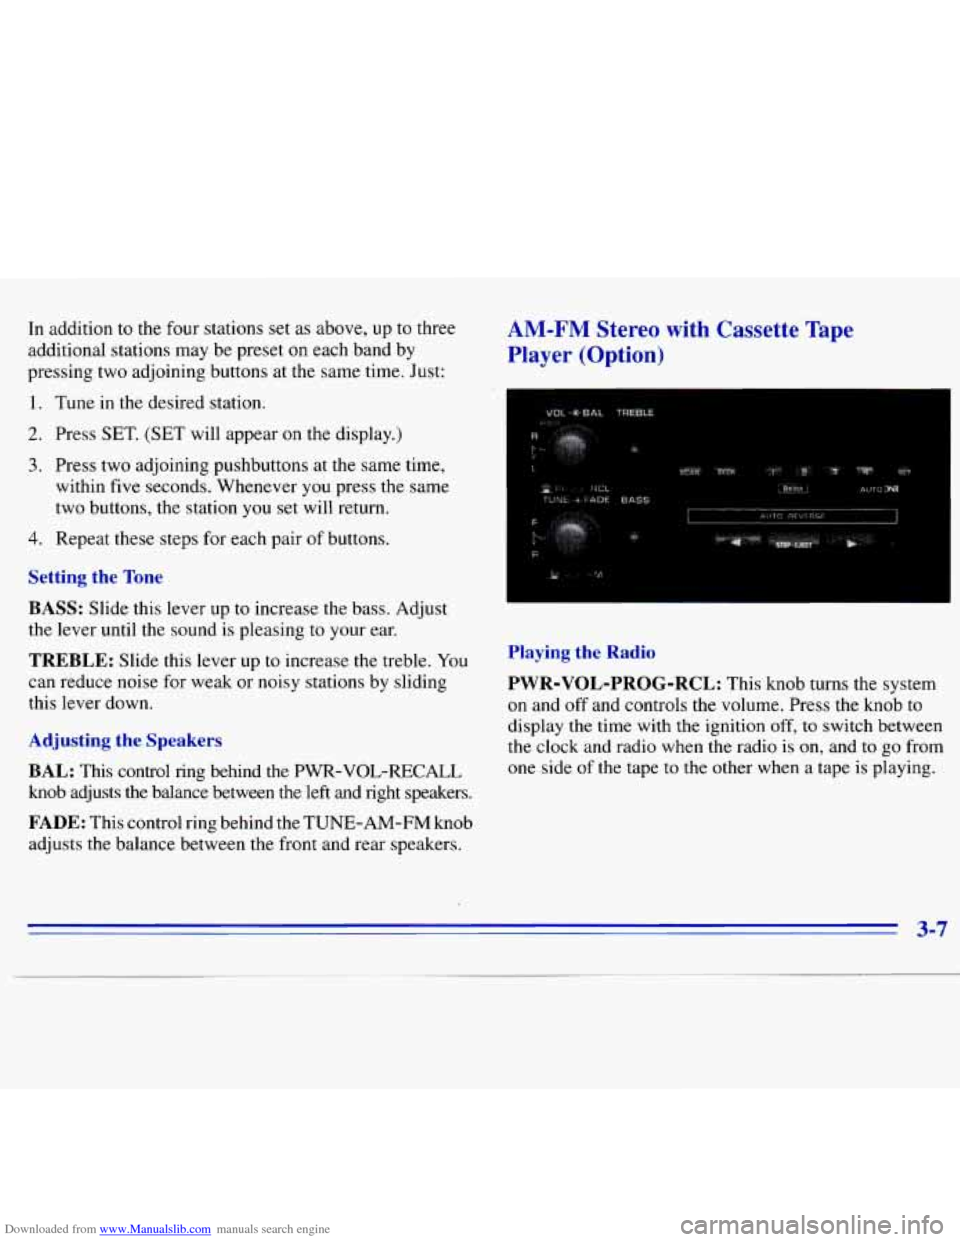
BAL: This control ring behind the PWR-VOL-RECALL
knob adjusts the balance between the left and right speakers.
FADE: This control ring behind the TUNE-AM-FM knob
adjusts the balance between the front and rear speakers.
Playing the Radio
PWR-VOL-PROG-RCL:
This knob turns the system
on and off and controls the volume. Press the knob to
display the time with the ignition off,
to switch between
the clock and radio when the radio is on, and
to go from
one side
of the tape to the other when a tape is playing.
3-7
Page 121 of 375
Downloaded from www.Manualslib.com manuals search engine Finding a Station
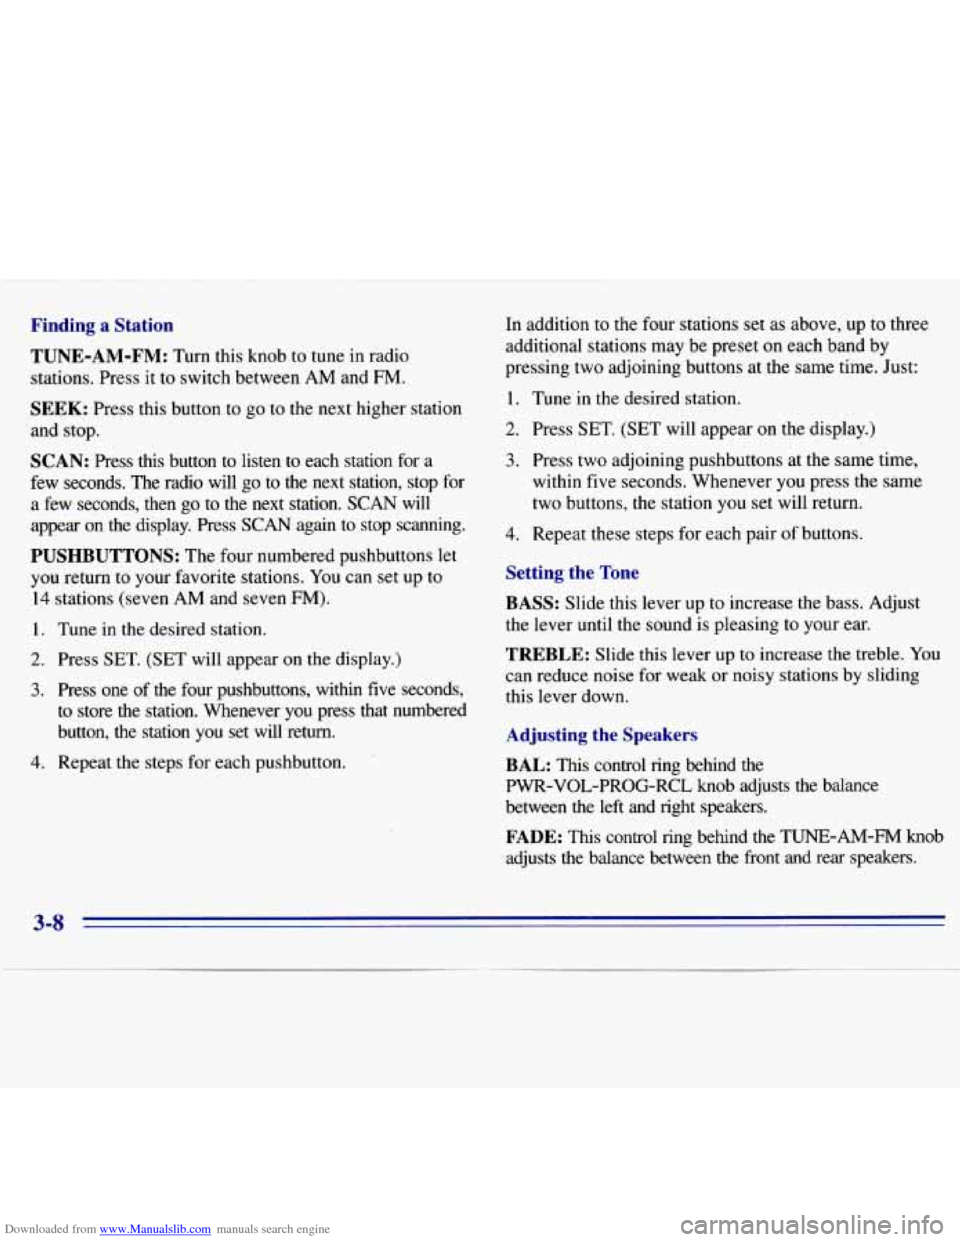
TUNE-AM-FM:
Turn this knob to tune in radio
stations. Press it to switch between AM and FM.
SEEK: Press this button to go to the next higher station
and stop.
SCAN: Press this button to listen to each station for a
few seconds. The radio will go to
the next station, stop for
a few seconds, then go to the next station.
SCAN will
appear on the display. Press
SCAN again to stop scanning.
PUSHBUTTONS: The four numbered pushbuttons let
you return to your favorite stations. You can set up to
14 stations (seven AM and seven FM).
1. Tune in the desired station.
2. Press SET. (SET will appear on the display.)
3. Press one of the four pushbuttons, within five seconds,
to store the station. Whenever you press that numbered
button, the station you set will
return.
4. Repeat the steps for each pushbutton. In addition
to the four stations
set as above, up to three
additional
stations may be preset on each band by
pressing two adjoining buttons at the same time. Just:
1.
2.
3.
4.
Tune in the desired station.
Press
SET. (SET will appear on the display.)
Press two adjoining pushbuttons at the same time,
within five seconds. Whenever you press the same
two buttons, the station you set will return.
Repeat these steps for each pair of buttons.
Setting the Tone
BASS:
Slide this lever up to increase the bass. Adjust
the lever until the sound is pleasing to your
ear.
TREBLE: Slide this lever up to increase the treble. You
can reduce noise for weak or noisy stations by sliding
this lever down.
Adjusting the Speakers
BAL: This control ring behind the
PWR-VOL-PROG-RCL
knob adjusts the balance
between the left
and right speakers.
FADE: This control ring behind the "E-AM-EM knob
adjusts the balance between the front and rear speakers.
3-8