1996 CHEVROLET ASTRO tow
[x] Cancel search: towPage 117 of 372
If the light comes on while you are driving, pull off the
road and stop carefully. You may notice that the pedal is
harder to push. Or, the pedal may go closer to the floor.
It may take longer to stop. If the light is still
on, have the
vehicle towed for service. (See “Towing Your Vehicle”
in the Index.)
A CAUTION:
..
Your brake system may not be working properly
if the brake system warning light is on. Driving
with the brake system warning light on can lead
to an accident.
If the light is still on after you’ve
pulled
off the road and stopped carefully, have
the vehicle towed
for service.
When the ignition is on, the brake system warning light
will also come on when
you set your parking brake. The
light will stay on if your parking brake doesn’t release
fully. If
it stays on after your parking brake is fully
released,
it means you have a brake problem.
Anti-Lock Brake System Warning Light
ANTI -
LOCK
With the anti-lock brake
system, this light will come
on when you start your
engine and may stay on
for several seconds.
That’s normal.
If the light stays
on, or comes on when you’re driving,
your vehicle needs service. If the regular brake system
warning light isn’t
on, you still have brakes, but you
don’t have anti-lock brakes. If
the regular brake system
warning light is also on, you don’t have anti-lock brakes
and there’s a problem with your regular brakes. See
“Brake System Warning Light” earlier
in this part.
The anti-lock brake system warning light should come
on briefly when you turn the ignition key to RUN. If the
light doesn’t come
on then, have it fixed so it will be
ready
to warn you if there is a problem.
2-57
Page 119 of 372
If the Light Is Flashing
The following may prevent more serious damage to
your vehicle:
If the Light Is On Steady
You may be able to correct the emission system
malfunction by considering the following:
Did
you just put fuel into your vehicle?
If
so, reinstall the fuel cap, making sure to fully install
the cap. The diagnostic system can determine if the fuel
cap has been left off or improperly installed. This will
allow fuel
to evaporate into the atmosphere. A few
driving trips should turn the light off.
0 Reduce vehicle speed.
0 Avoid h - -- -1 accelerations.
0 Avoid steep uphill grades.
0 If towing a trailer, reduce the amount of cargo being
hauled as soon as it is possible.
If the light stops flashing and remains on steady, see “If
the Light Is On Steady” following.
If the light continues
to flash, when it is safe to do so,
stop the vehicle. Put your vehicle in PARK (P). Turn the
key off, wait at least
10 seconds and restart the engine.
If the light remains
on steady, see “If the Light Is On
Steady” following. If the light is still flashing follow the
previous steps, and drive
the vehicle to your dealer or
qualified service center for service. Did you
just drive through a deep puddle of water?
If
so, your electrical system may be wet. The condition
will usually be corrected when the electrical system
dries out. A few driving trips should turn the light off.
Are
you low on fuel?
As your engine starts to run
out of fuel, your engine may
not run as efficiently as designed since small amounts
of
air are sucked into the fuel line causing a misfire. The
system can detect this. Adding fuel should correct this
condition. Make sure to install the
fuel cap properly. It
will take a few driving trips to turn the light off.
2-59
Page 126 of 372
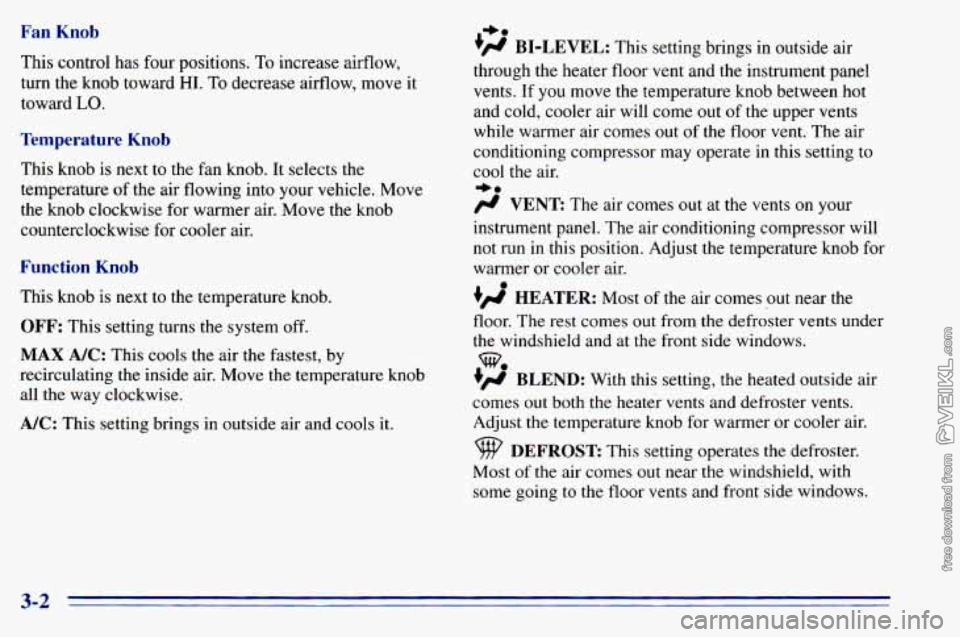
Fan Knob
This control has four positions. To increase airflow,
turn the knob toward
HI. To decrease airflow, move it
toward
LO.
Temperature Knob
This knob is next to the fan knob. It selects the
temperature
of the air flowing into your vehicle. Move
the knob clockwise for warmer air. Move the knob
counterclockwise for cooler
air.
Function Knob
This knob is next to the temperature knob.
OFF: This setting turns the system off.
MAX A/C: This cools the air the fastest, by
recirculating the inside air. Move the temperature knob
all the way clockwise.
A/C: This setting brings in outside air and cools it.
I,.
+fl BI-LEVEL: This setting brings in outside air
through the heater floor vent and the instrument panel
vents.
If you move the temperature knob between hot
and cold, cooler air will come out
of the upper vents
while warmer air comes out of the floor vent. The air
conditioning compressor may operate in this setting to
cool the air.
+.
/J VENT The ax comes out at the vents on your
instrument panel. The air conditioning compressor will
not run in this position. Adjust the temperature knob for
warmer or cooler air.
+’ HEATER: Most of the air comes out near the
floor. The rest comes out from the defroster vents under
the windshield and at the front side windows.
+’ BLEND: With this setting, the heated outside air
comes
out both the heater vents and defroster vents.
Adjust the temperature knob for warmer or cooler air.
Most
of the air comes out near the windshield, with
some going
to the floor vents and front side windows.
we
DEFROST This setting operates the defroster.
3-2
Page 127 of 372
Heating System Function Knob
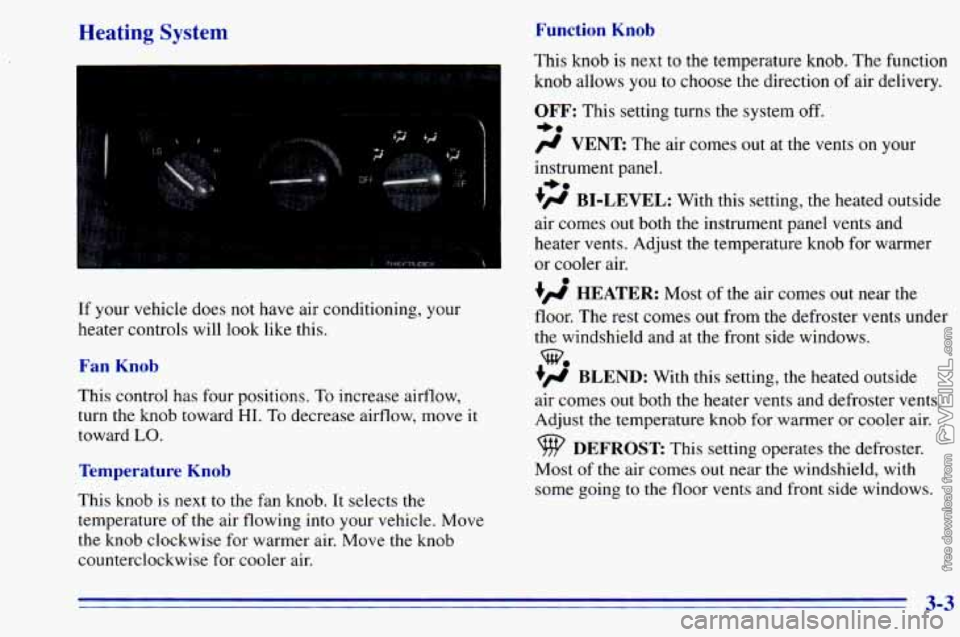
If your vehicle does not have air conditioning, your
heater controls will look like this.
Fan Knob
This control has four positions, To increase airflow,
turn the knob toward
HI. To decrease airflow, move it
toward
LO.
Temperature Knob
This knob is next to the fan knob. It selects the
temperature
of the air flowing into your vehicle. Move
the knob clockwise for warmer air. Move
the knob
counterclockwise for cooler air. This
knob is next to the temperature knob. The function
knob allows
you to choose the direction of air delivery.
OFF: This setting turns the system off.
-a
# VENT The air comes out at the vents on y r
instrument panel.
+# BI-LEVEL: With this setting, the heated outside
air comes out both the instrument panel vents and
heater vents. Adjust the temperature knob for warmer
or cooler air.
+’, HEATER: Most of the air comes out near the
floor. The rest comes out from the defroster vents under
the windshield and at the front side windows.
+’, BLEND: With this setting, the heated outside
air comes
out both the heater vents and defroster vents.
Adjust
the temperature knob for warmer or cooler air.
+.
%
DEFROST This setting operates the defroster.
Most
of the air comes out near the windshield, with
some going to the floor vents and front side windows.
3-3
Page 128 of 372

Rear Heating System (Option) Rear Air Conditioning System (Option)
You may have the optional rear heater. The three-speed
fan switch is
to the right of the radio. Turn the switch
toward
HIGH for higher airflow in the rear area. Turn
the switch to the
OFF position to turn the system off.
You may have rear air conditioning. The rear air
conditioning switch is located to
the right of the heater
controls. Turn the switch toward
HIGH for higher
airflow
in the rear area. Turn the switch to the OFF
position to turn the system off.
3-4
Page 130 of 372
Defrosting
Use DEFROST to remove fog or ice from the
windshield quickly in extremely cold conditions. The
temperature knob should be in the red area and the fan
control toward high. The air conditioning compressor
may operate in this setting to dehumidify the air.
The
BLEND setting is useful for cold weather with a
large number of passengers or very humid conditions to
help keep the windshield clear.
Ventilation System
For mild outside temperatures when little heating or
cooling is needed,
use VENT to direct outside air
through your vehicle. Air will flow through the
instrument panel
vents.
Your vehicle’s flow-through ventilation system supplies
outside air
to the inside of your vehicle when it is
moving. With the side windows closed, air will flow into
the front air inlet grilles at the base
of the windshield,
through the vehicle and out the rear air exhaust valves.
Outside air will also enter the vehicle when the heater or
the air conditioning fan is running. Your
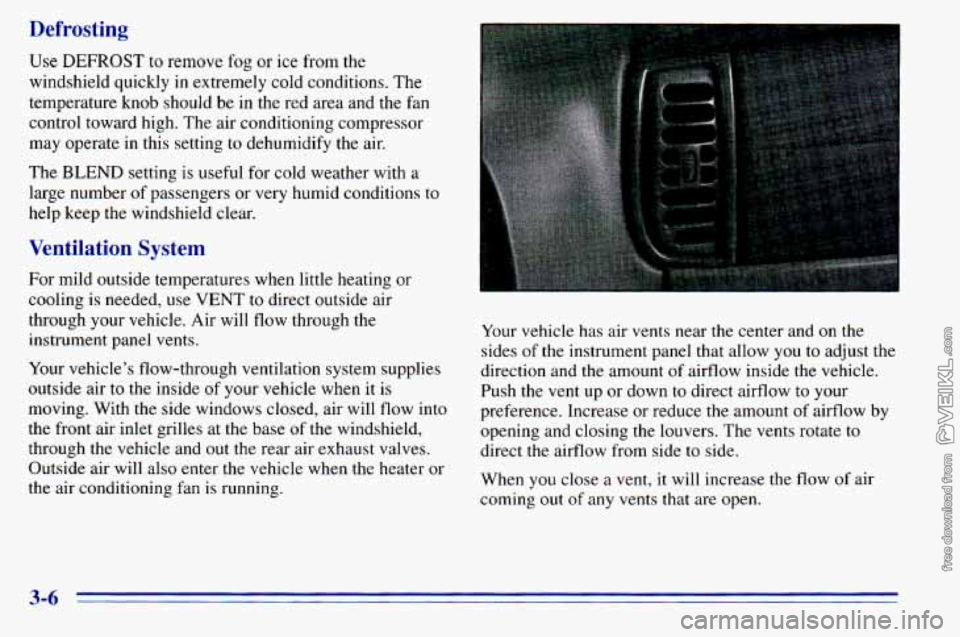
vehicle has air vents near the center and
on the
sides of the instrument panel that allow
you to adjust the
direction and the amount
of airflow inside the vehicle.
Push the vent up or down
to direct airflow to your
preference. Increase or reduce
the amount of airflow by
opening and closing the louvers. The vents rotate to
direct the airflow from side to side.
When
you close a vent, it will increase the flow of air
coming out
of any vents that are open.
3-6
Page 182 of 372
Payload
The Payload Capacity is shown on the Certificationflire
label. This is the maximum load capacity that your
vehicle can carry. Be sure
to include the weight of the
people inside as part of your load.
If you added any
accessories or equipment after your vehicle
left the
factory, remember to subtract the weight of
these things
from
the payload. Your dealer can help you with this.
Trailering Package
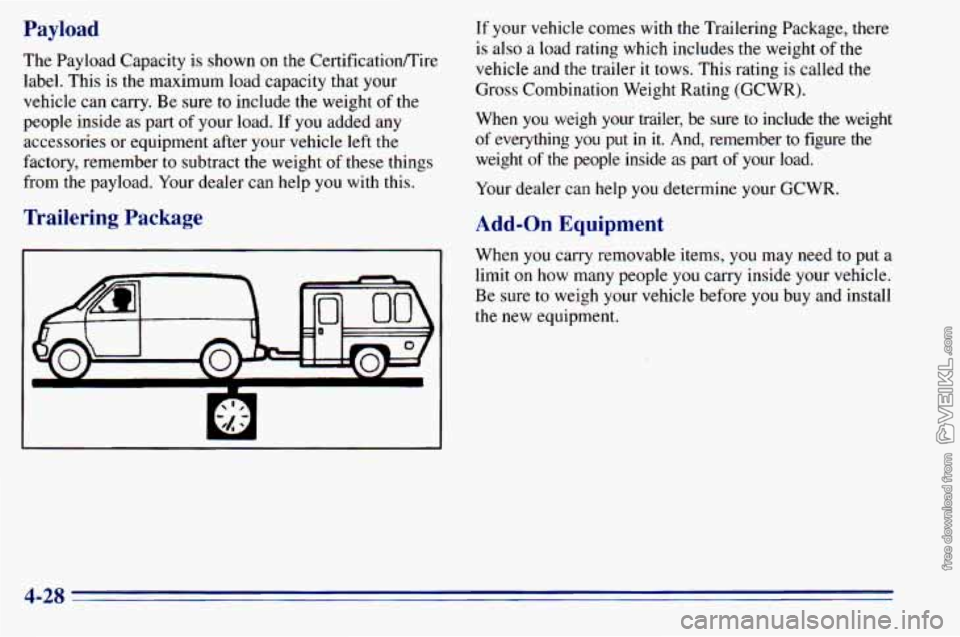
If your vehicle comes with the Trailering Package, there
is also a load rating which includes the weight of the
vehicle and
the trailer it tows. This rating is called the
Gross Combination Weight Rating (GCWR).
When
you weigh your trailer, be sure to include the weight
of everything you put in it. And, remember to figure the
weight
of the people inside as part of your load.
Your dealer can help
you determine your GCWR.
Add-on Equipment
When you carry removable items, you may need to put a
limit
on how many people you carry inside your vehicle.
Be sure to weigh your vehicle before you buy and install
the new equipment.
A 34
Page 183 of 372
Towing a Trailer
r
A CAUTION:
If you don’t use the correct equipment and drive
properly, you can lose control when you pull a
trailer. For example,
if the trailer is too heavy, the
brakes may not work well
-- or even at all. You
and your passengers could be seriously injured. Pull a trailer only
if you have followed all the
steps in this section.
Ask your GM dealer for
advice and information about towing a trailer
with your vehicle.
NOTICE:
Pulling a trailer improperly can damage your
vehicle and result in costly repairs not covered by
your warranty.
To pull a trailer correctly, follow
the advice in this part, and see your
GM dealer
for important information about towing a trailer with your vehicle.
Every vehicle is ready for some trailer towing.
If yours
was built with trailering options, as many are, it’s ready
for heavier trailers. But trailering is different than just
driving your vehicle by itself. Trailering means changes
in handling, durability and fuel economy. Successful,
safe trailering takes correct equipment, and it has
to be
used properly.
That’s the reason for this part. In it are many
time-tested, important trailering tips and safety rules.
Many
of these are important for your safety and that of
your passengers.
So please read this section carefully
before
you pull a trailer.
4-29