1996 CHEVROLET ASTRO clock
[x] Cancel search: clockPage 138 of 372

P.SCAN: The preset scan button lets you scan through
your favorite stations stored on your pushbuttons. Select
either the
AM, FMl or FM2 mode and then press
€?SCAN. It will scan through each station stored on your
pushbuttons and stop for
a few seconds before continuing
to scan through all of the pushbuttons. Press P.SCAN
again or one
of the pushbuttons to stop scanning to listen
to a specific preset station. PSCAN will light up on the
display while in
this mode. If one of the stations stored on
a pushbutton is too weak for the location you are in, the
radio display
will show the channel number (Pl-P6) for
several seconds before advancing
to the next preset station.
Setting the Tone
BASS:
Press lightly on this knob to release it from its
stored position. Turn the knob clockwise to increase the
bass and counterc.lockwise
to decrease the bass. When
the BASS control is rotated, the AUTO TONE setting
will change to MAN. Push the knob back in to its stored
position when done.
TREB: Press lightly on the TREB knob to release it
from its stored position. Turn the knob clockwise to
increase the treble and counterclockwise to decrease the
treble. When the TREB control is rotated,-the AUTO
TONE setting will change to MAN. Push the knob back
in to its stored position when done.
Adjusting the Speakers
BAL: Press this button to remove the control from its
stored position.
Turn the control clockwise to adjust
sound to the right speakers and counterclockwise to
adjust sound to the left speakers. Press the button again
to return BAL to its stored position.
FADE: Press this button to remove the control from
its stored position. Turn the control clockwise to adjust
the sound to
the front and counterclockwise for rear
speakers. Press the button again to return
FADE to its
stored position.
Playing a Cassette Tape
Your 'tape player is built to work best with tapes that are
30 to 45 minutes long on each side. Tapes longer than
that are
so thin they may not work well in this player.
To load a cassette tape with the ignition off, press
EJECT or RECALL. Then, insert the cassette tape.
If the ignition is on but the radio is 'off,
the tape will
begin playing.
'The player automatically senses if the cassette tape is
metal or CrO2 and adjusts for best playback sound.
For metal tapes, the double-D symbol will appear
on
the display.
3-14
Page 140 of 372
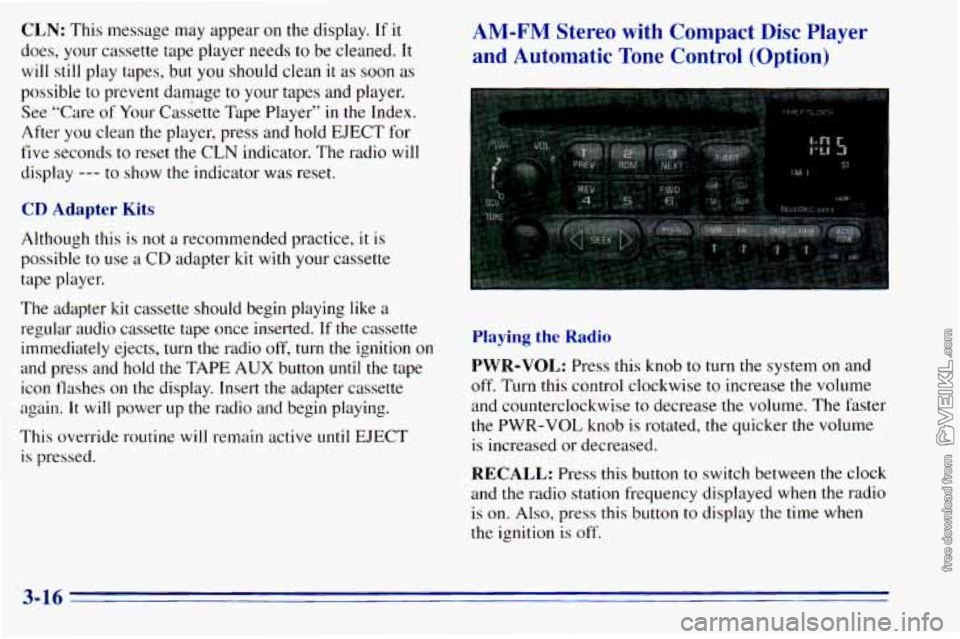
CLN: This message may appear on the display. If it
does, your cassette tape player needs to be cleaned. It
will still play tapes, but
you should clean it as soon as
possible to prevent damage to your tapes and player.
See “Care of Your Cassette Tape Player’’
in the Index.
After you clean the player, press and hold EJECT for
five seconds to reset the CLN indicator. The radio will
display --- to show the indicator was reset.
CD Adapter Kits
Although this is not a recommended practice, it is
possible
to use a CD adapter kit with your cassette
tape player.
The adapter
kit cassette should begin playing like a
regular audio cassette tape once inserted. If the cassette
immediately ejects, turn the radio off, turn the ignition on
and press and hold the TAPE
AUX button until the tape
icon flashes on the display. Insert the adapter cassette
again. It will power up the radio and begin playing.
This override routine
will remain active until EJECT
is pressed.
AM-FM Stereo with Compact Disc Player
and Automatic Tone Control (Option)
Playing the Radio
PWR-VOL: Press this knob to turn the system on and
off. Turn this control clockwise to increase the volume
and counterclockwise to decrease the volume. The faster
the PWR-VOL knob
is rotated, the quicker the volume
is increased or decreased.
RECALL: Press this button to switch between the clock
and the radio station frequency displayed when the radio is on.
Also, press this button to display the time when
the ignition is off.
3-16
Page 141 of 372
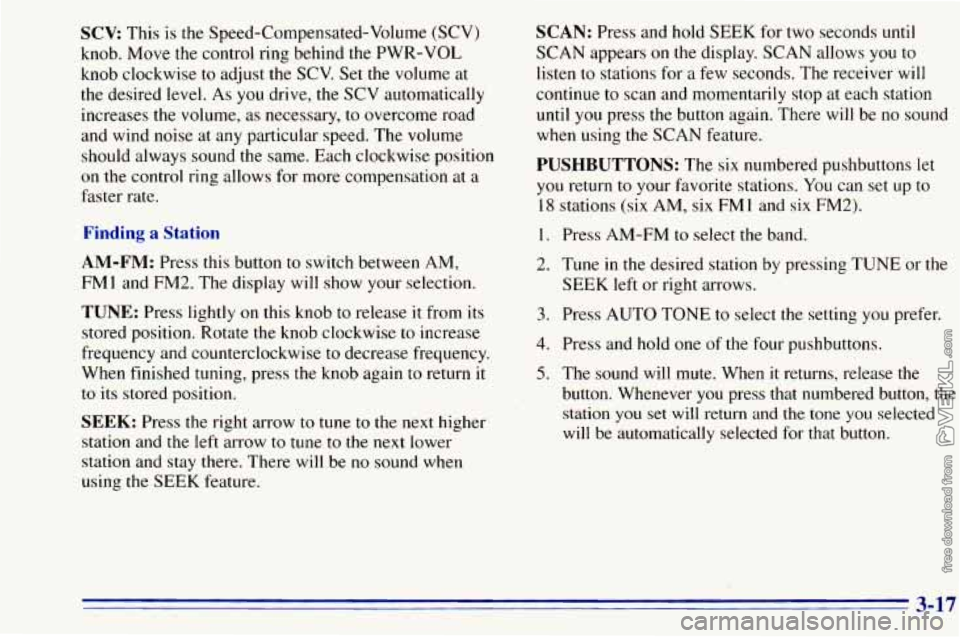
SCV: This is the Speed-Compensated-Volume (SCV)
knob. Move the control ring behind the PWR-VOL
knob clockwise
to adjust the SCV. Set the volume at
the desired level. As you drive, the SCV automatically
increases the volume, as necessary, to overcome road
and wind noise at any particular speed. The volume
should always sound
the same. Each clockwise position
on the control ring allows for more compensation at a
faster rate.
Finding a
AM-FM: Press this button to switch between AM,
FM1 and FM2. The display will show your selection.
TUNE: Press lightly on this knob to release it from its
stored position. Rotate the knob clockwise
to increase
frequency and counterclockwise to decrease frequency.
When finished tuning, press the knob again
to return it
to its stored position.
SEEK: Press the right arrow to tune to the next higher
station and the left arrow to tune
to the next lower
station and stay there. There will be
no sound when
using the
SEEK feature.
SCAN: Press and hold SEEK for two seconds until
SCAN appears
on the display. SCAN allows you to
listen to stations for a few seconds. The receiver will
continue to scan and momentarily stop at each station
until you press the button again. There will be no sound
when using
the SCAN feature.
PUSHBUTTONS: The six numbered pushbuttons let
you return to your favorite stations. You can set up to
18 stations (six AM, six
FM 1 and six FM2).
1.
2.
3.
4.
5.
Press AM-FM to select the band.
Tune
in the desired station by pressing TUNE or the
SEEK left or right arrows.
Press AUTO TONE
to select the setting you prefer.
Press and hold one of the four pushbuttons.
The sound will mute. When
it returns, release the
button. Whenever you press that numbered button, the
station you set
will return and the tone you selected
will be automatically selected for that button.
3-17
Page 142 of 372
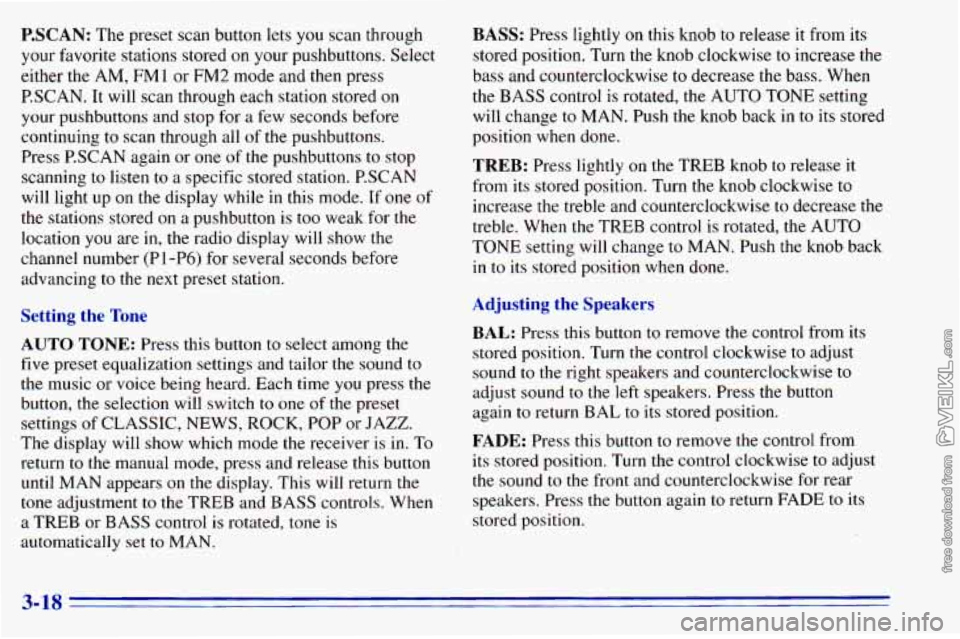
P.SCAN: The preset scan button lets you scan through
your favorite stations stored on your pushbuttons. Select
either the AM,
FMl or FM2 mode and then press
P.SCAN. It will scan through each station stored on
your pushbuttons and stop for a few seconds before
continuing to scan through all of the pushbuttons.
Press P.SCAN again or one
of the pushbuttons to stop
scanning to listen to a specific stored station. PSCAN
will light up on the display while in this mode. If one of
the stations stored
on a pushbutton is too weak for the
location you are in, the radio display will show the
channel number (Pl-P6)
for several seconds before
advancing
to the next preset station.
Setting the Tone
AUTO TONE: Press this button to select among the
five preset equalization settings and tailor the sound to
the music or voice being heard. Each time you press the
button, the selection will switch
to one of the preset
settings
of CLASSIC, NEWS, ROCK, POP or JAZZ.
The display will show which mode the receiver
is in. To
return to the manual mode, press and release this button
until MAN appears
on the display. This will return the
tone adjustment to the TREB and BASS controls. When
a TREB or BASS control is rotated, tone
is
automatically set to MAN.
BASS: Press lightly on this knob to release it from its
stored position. Turn
the knob clockwise to increase the
bass and counterclockwise
to decrease the bass. When
the
BASS control is rotated, the AUTO TONE setting
will change to MAN. Push
the knob back in to its stored
position when done.
TREB: Press lightly on the TREB knob to release it
from its stored position. Turn the knob clockwise to
increase the treble and counterclockwise to decrease the
treble. When the TREB control is rotated, the AUTO
TONE setting will change to MAN. Push the knob back
in to its stored position when done.
Adjusting the Speakers
BAL: Press this button to remove the control from its
stored position. Turn
the control clockwise to adjust
sound to the right speakers and counterclockwise to
adjust sound
to the left speakers. Press the button
again to return BAL
to its stored position.
FADE: Press this button to remove the control from
its stored position. Turn the control clockwise to adjust
the sound to the front and counterclockwise for rear
speakers. Press the button again
to return FADE to its
stored position.
3-18
Page 147 of 372
P.SET PROG: The front passengers must be listening
to something different for each of these three functions
to work:
0 Press this button to seek through your preset radio
stations set on your primary radio pushbuttons.
0 When a cassette tape is playing, press this button to
go to the other side of the tape.
VOL: Press this knob lightly so it extends. Turn the knob
clockwise to increase volume and counterclockwise to
decrease volume. Push the
knob back in when you're
not using
it. The upper VOL knob controls the upper
headphone and the lower
VOL knob controls the
lower headphone.
Theft-Deterrent Feature
THEFTLOCK" is designed to discourage theft of your
radio. It works by using a secret code to disable all radio
functions whenever battery power is removed.
The THEFTLOCK feature for the radio may be used or
ignored. If ignored,
the system plays normally and the
radio is not protected by the feature. If THEFTLOCK
is activated, your radio
will not operate if stolen.
When THEFTLOCK is activated, the radio will display
LOC to indicate a locked condition anytime battery
power is removed. If your battery loses power for any
reason, you must unlock the radio with the secret code
before
it will operate.
3-23
Page 163 of 372
Speed limit signs near curves warn that you should
adjust your speed. Of course, the posted speeds are
based on,good weather and road conditions. Under less
favorable conditions
you’ll want to go slower.
If you need to reduce
your speed as you approach a
curve, do it before
you enter the curve, while your front
wheels are straight ahead.
Try
to adjust your speed so you can “drive” through the
curve. Maintain a reasonable, steady speed. Wait
to
accelerate until you are out of the curve, and then
accelerate gently
into the straightaway.
Steering in Emergencies
There are times when steering can be more effective than
braking. For example, you come over a
hill and find a
truck stopped in your lane, or a car suddenly pulls out
from nowhere, or a child darts out from between parked
cars and stops right
in front of you. You can avoid these
problems
by braking -- if you can stop in time. But
sometimes you can’t; there isn’t room. That’s the time for
evasive action
-- steering around the problem.
Your vehicle can perform very well
in emergencies like
these. First apply your brakes. (See “Braking
in
Emergencies’’ earlier in this section.) It is better to
remove as much speed as you can from a possible
collision. Then steer around the problem,
to the left or
right depending on
the space available. An
emergency like this requires close attention and a
quick decision.
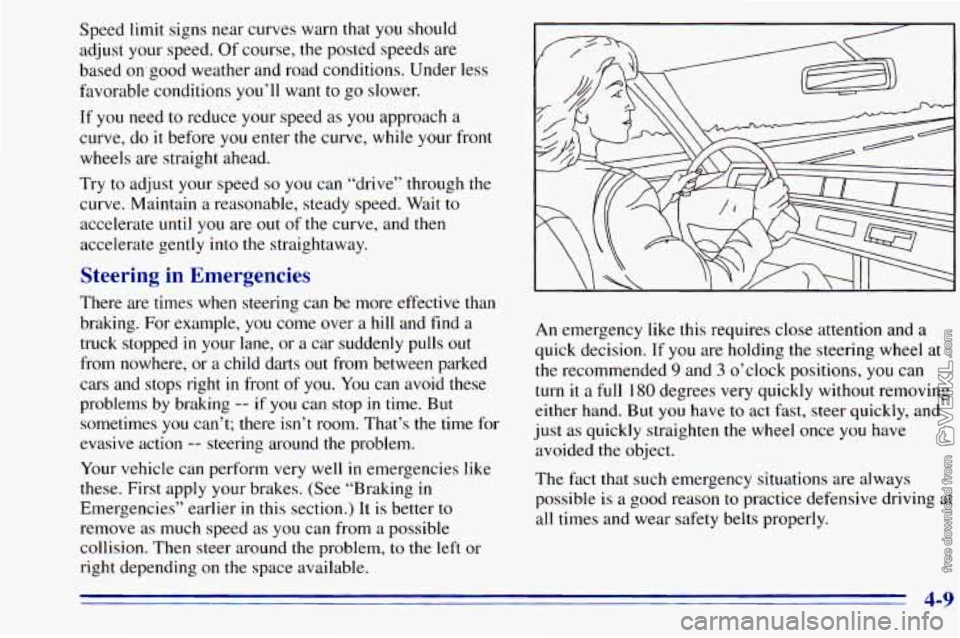
If you are holding the steering wheel at
the recommended 9 and 3 o’clock positions, you can
turn
it a full 180 degrees very quickly without removing
either hand. But you have
to act fast, steer quickly, and
just as quickly straighten the wheel once
you have
avoided the object.
The fact that such emergency situations are always
possible is a good reason
to practice defensive driving at
all times and wear safety belts properly.
4-9
Page 211 of 372
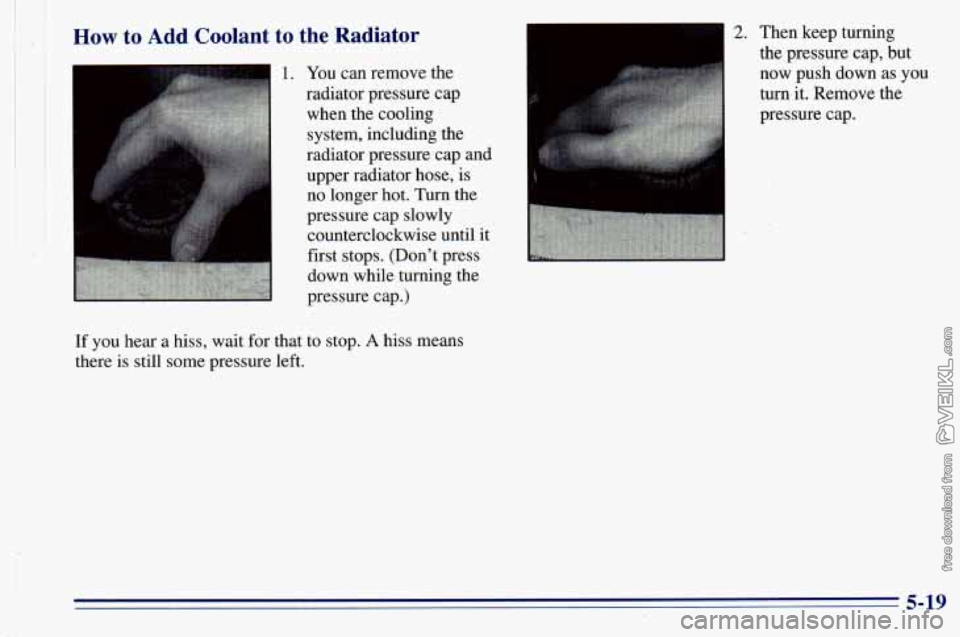
How to Add Coolant to the Radiator
1. You can remove the
radiator pressure cap
when the cooling
system, including the
radiator pressure cap and
upper radiator hose, is
no longer hot. Turn the
pressure cap slowly
counterclockwise until it
first stops. (Don't press
down while turning the
If
you hear a hiss, wait for that to stop. A hiss means
there is still some pressure left.
I 2. Then keep turning
I ,the pressure cap, but
now push down as you
5-19
Page 216 of 372
- Removing the Spare Tire and Tools
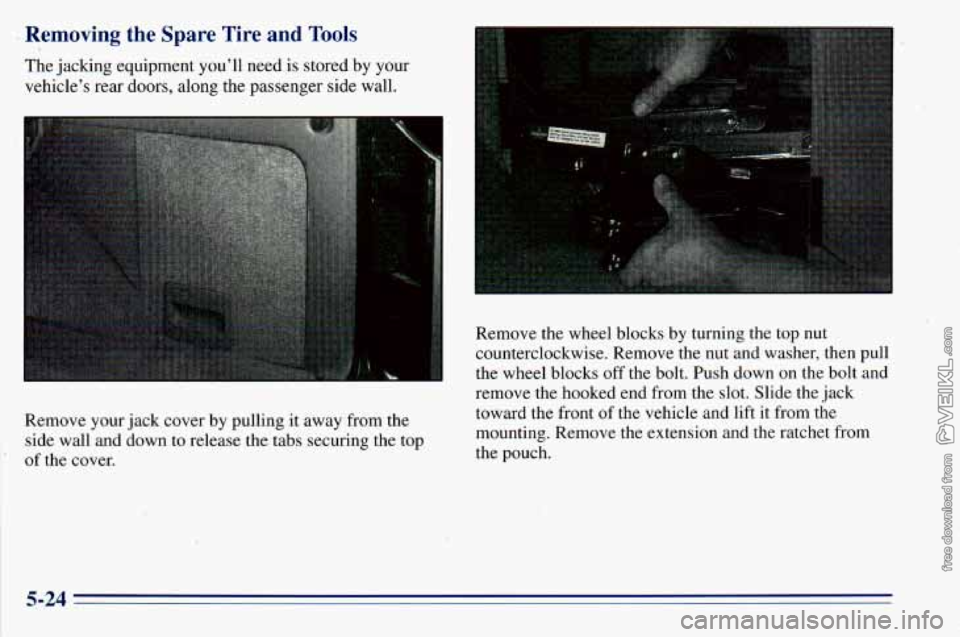
The jacking equipment you’ll need is stored by your
vehicle’s rear doors, along the passenger side wall.
Remove your jack cover by pulling
it away from the
side wall and down to release the tabs securing the top
‘ of the cover. Remove the wheel, blocks by turning the top nut
counterclockwise. Remove the nut and washer, then pull
the wheel blocks off the bolt. Push down on the bolt and
remove the hooked
end from the slot. Slide the jack
toward the front of the vehicle and lift it from the
mounting. Remove the extension and the ratchet from
the pouch.
5-24