1996 CHEVROLET ASTRO radio controls
[x] Cancel search: radio controlsPage 128 of 372

Rear Heating System (Option) Rear Air Conditioning System (Option)
You may have the optional rear heater. The three-speed
fan switch is
to the right of the radio. Turn the switch
toward
HIGH for higher airflow in the rear area. Turn
the switch to the
OFF position to turn the system off.
You may have rear air conditioning. The rear air
conditioning switch is located to
the right of the heater
controls. Turn the switch toward
HIGH for higher
airflow
in the rear area. Turn the switch to the OFF
position to turn the system off.
3-4
Page 139 of 372

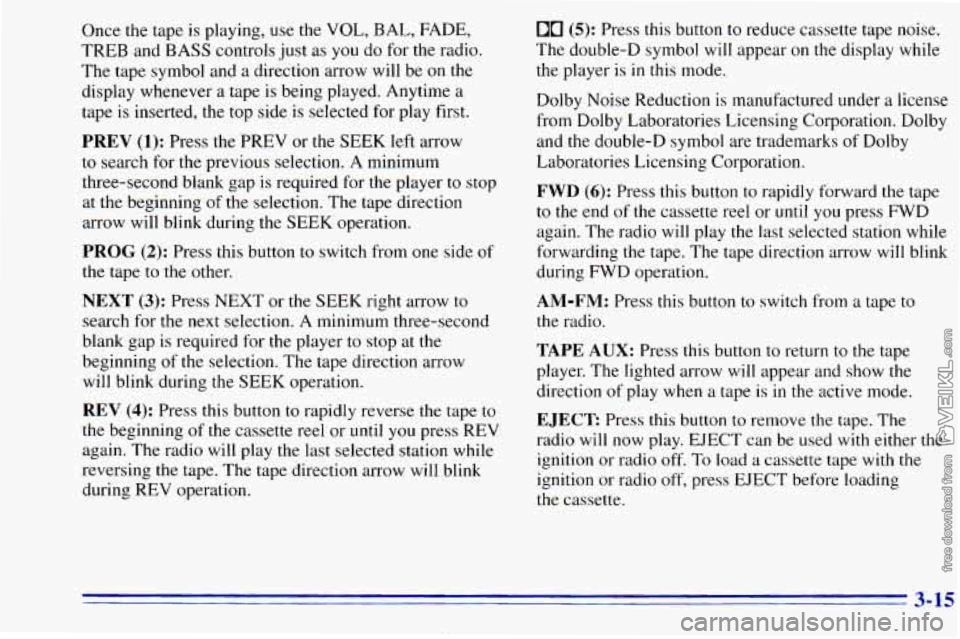
Once the tape is playing, use the VOL, BAL, FADE,
TREB and BASS controls just as
you do for the radio.
The tape symbol and
a direction arrow will be on the
display whenever
a tape is being played. Anytime a
tape is inserted, the top side is selected for play first.
PREV (1); Press the PREV or the SEEK left arrow
to search for the previous selection. A minimum
three-second blank gap is required for the player
to stop
at the beginning of the selection. The tape direction
arrow will blink during the SEEK operation.
PROG (2): Press this button to switch from one side of
the tape to the other.
NEXT (3): Press NEXT or the SEEK right arrow to
search for the next selection. A minimum three-second
blank gap is required for the player to stop at
the
beginning of the selection. The tape direction arrow
will blink during
the SEEK operation.
REV (4): Press this button to rapidly reverse the tape to
the beginning
of the cassette reel or until you press REV
again. The radio will play the last selected station while
reversing
the tape. The tape direction arrow will blink
during REV operation.
00 (5): Press this button to reduce cassette tape noise.
The double-D symbol will appear
on the display while
the player
is in this mode.
Dolby Noise Reduction is manufactured under
a license
from Dolby Laboratories Licensing Corporation. Dolby
and the double-D symbol are trademarks of Dolby
Laboratories Licensing Corporation.
FWD (6): Press this button to rapidly forward the tape
to the end of
the cassette reel or until you press FWD
again. The radio will play
the last selected station while
forwarding the tape. The tape direction arrow will blink
during FWD operation.
AM-FM: Press this button to switch from a tape to
the radio.
TAPE AUX: Press this button to return to the tape
player. The lighted arrow will appear and show the
direction of play when a tape is in the active mode.
EJECT Press this button to remove the tape. The
radio will now play. EJECT can be used
with either the
ignition
or radio off, To load a cassette tape with the
ignition or radio off, press EJECT before loading
the cassette.
3-15
Page 142 of 372

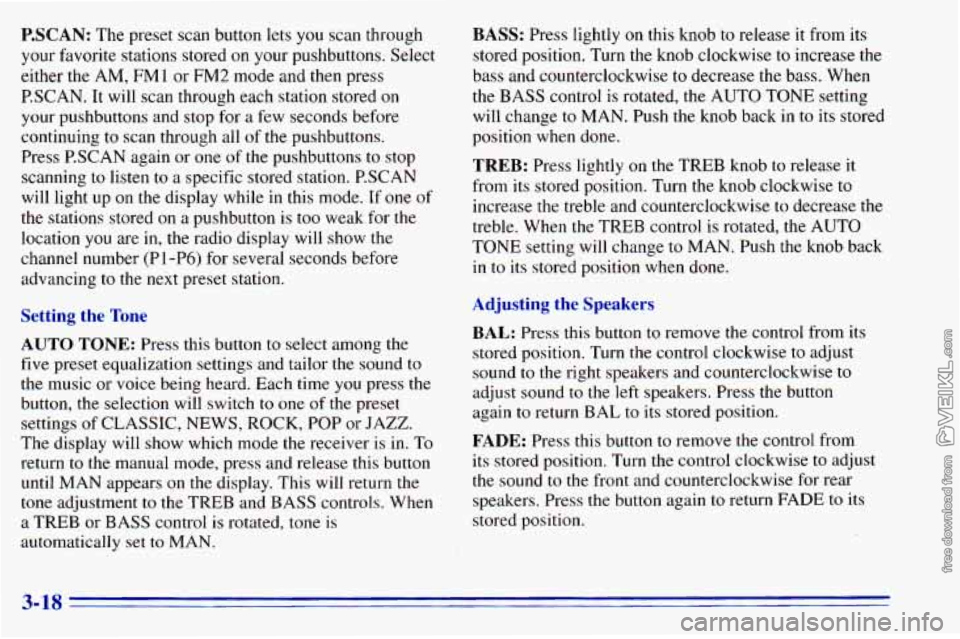
P.SCAN: The preset scan button lets you scan through
your favorite stations stored on your pushbuttons. Select
either the AM,
FMl or FM2 mode and then press
P.SCAN. It will scan through each station stored on
your pushbuttons and stop for a few seconds before
continuing to scan through all of the pushbuttons.
Press P.SCAN again or one
of the pushbuttons to stop
scanning to listen to a specific stored station. PSCAN
will light up on the display while in this mode. If one of
the stations stored
on a pushbutton is too weak for the
location you are in, the radio display will show the
channel number (Pl-P6)
for several seconds before
advancing
to the next preset station.
Setting the Tone
AUTO TONE: Press this button to select among the
five preset equalization settings and tailor the sound to
the music or voice being heard. Each time you press the
button, the selection will switch
to one of the preset
settings
of CLASSIC, NEWS, ROCK, POP or JAZZ.
The display will show which mode the receiver
is in. To
return to the manual mode, press and release this button
until MAN appears
on the display. This will return the
tone adjustment to the TREB and BASS controls. When
a TREB or BASS control is rotated, tone
is
automatically set to MAN.
BASS: Press lightly on this knob to release it from its
stored position. Turn
the knob clockwise to increase the
bass and counterclockwise
to decrease the bass. When
the
BASS control is rotated, the AUTO TONE setting
will change to MAN. Push
the knob back in to its stored
position when done.
TREB: Press lightly on the TREB knob to release it
from its stored position. Turn the knob clockwise to
increase the treble and counterclockwise to decrease the
treble. When the TREB control is rotated, the AUTO
TONE setting will change to MAN. Push the knob back
in to its stored position when done.
Adjusting the Speakers
BAL: Press this button to remove the control from its
stored position. Turn
the control clockwise to adjust
sound to the right speakers and counterclockwise to
adjust sound
to the left speakers. Press the button
again to return BAL
to its stored position.
FADE: Press this button to remove the control from
its stored position. Turn the control clockwise to adjust
the sound to the front and counterclockwise for rear
speakers. Press the button again
to return FADE to its
stored position.
3-18
Page 146 of 372

Rear Seat Audio (Option)
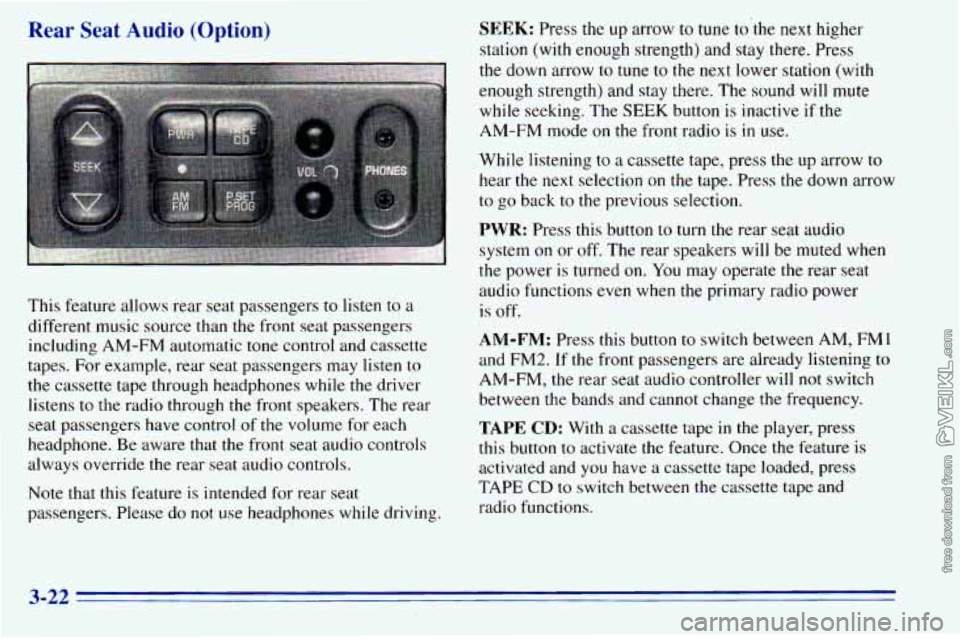
This feature allows rear seat pas - - -- - :rs to listen to a
different music source than the iron1 seat passengers including AM-FM automatic tone control and cassette
tapes. For example, rear seat passengers may listen
to
the cassette tape through headphones while the driver
listens to
the radio through the front speakers. The rear
seat passengers have control
of the volume for each
headphone. Be aware that the front seat audio controls
always override the rear seat audio controls.
Note that this feature is intended for rear seat
passengers. Please do
not use headphones while driving.
SEEK: Press the up arrow to tune to’the next higher
station (with enough strength) and stay
there. Press
the down arrow to tune to the next lower station (with
enough strength) and stay there. The sound will mute
while seeking. The SEEK button
is inactive if the
AM-FM mode
on the front radio is in use.
While listening to a cassette tape, press the up arrow to
hear the next selection on the tape. Press the down arrow
to go back to the previous selection.
PWR: Press this button to turn the rear seat audio
system
on or off. The rear speakers will be muted when
the power is turned on. You may operate
the rear seat
audio functions even when the primary radio power
is off.
AM-FM: Press this button to switch between AM, FM1
and FM2. If the front passengers are already listening to
AM-FM, the rear seat audio controller will not switch
between
the bands and cannot change the frequency.
TAPE CD: With a cassette tape in the player, press
this button to activate the feature. Once
the feature is
activated and
you have a cassette tape loaded, press
TAPE CD to switch between the cassette tape and
radio functions.
3-22
Page 147 of 372

P.SET PROG: The front passengers must be listening
to something different for each of these three functions
to work:
0 Press this button to seek through your preset radio
stations set on your primary radio pushbuttons.
0 When a cassette tape is playing, press this button to
go to the other side of the tape.
VOL: Press this knob lightly so it extends. Turn the knob
clockwise to increase volume and counterclockwise to
decrease volume. Push the
knob back in when you're
not using
it. The upper VOL knob controls the upper
headphone and the lower
VOL knob controls the
lower headphone.
Theft-Deterrent Feature
THEFTLOCK" is designed to discourage theft of your
radio. It works by using a secret code to disable all radio
functions whenever battery power is removed.
The THEFTLOCK feature for the radio may be used or
ignored. If ignored,
the system plays normally and the
radio is not protected by the feature. If THEFTLOCK
is activated, your radio
will not operate if stolen.
When THEFTLOCK is activated, the radio will display
LOC to indicate a locked condition anytime battery
power is removed. If your battery loses power for any
reason, you must unlock the radio with the secret code
before
it will operate.
3-23
Page 293 of 372

15
16
', 17
18
19
Fuse/Circuit Usage Breaker
14 Cluster HVAC Controls, Chime
Module, Radio Illumination, Rear Heat
Switch Illumination, Rear
WiperNasher Switch Illumination,
Rear Liftgate Switch Illumination, Remote Cassette Illumination,
OH Console
DRL Lamps
Front Turn Signals, Rear Turn Signals,
Trailer Turn Signals, Back-up Lamps,
BTSI Solenoid
Radio: ATC (Standby), 2000 Series
(Main Feed), Rear Seat Audio Controls
VCM-Ign 3, VCM- Brake, 4WAL,
Cruise Stepper Motor
Radio: ATC (Main Feed),
2000 Series (Standby)
A
B
Fuse/Circuit Usage
Breaker
20 PRNDLI Odometer, TCC Enable and
PWM Solenoids, Shift
A and Shift B
Solenoids, 3-2 Downshift Solenoids
Not Used
Not Used Rear Wiper, Rear Washer Pump
Not Used
(Circuit Breaker) Power Door Lock,
6-way Power Seat, Keyless Entry
Module, Dutch Door Module, Dutch
Door Release
(Circuit Breaker) Power Windows
21
22
23
24
6-63