Page 99 of 372

Outside Mirrors
Adjust your outside mirrors so you can just see the side
of your vehicle.
Some mirrors are manually adjustable. The optional
electric mirrors come with a remote control adjustment
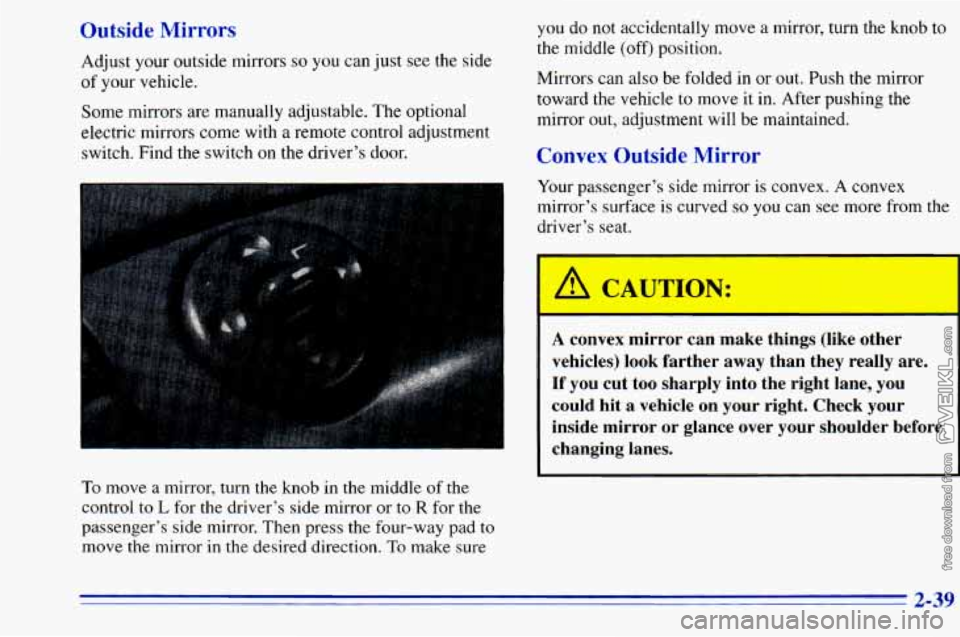
switch. Find the switch on the driver’s door. you
do not accidentally move a mirror, turn the knob to
the middle (off‘) position.
Mirrors can also be folded in
or out. Push the mirror
toward the vehicle to move it in. After pushing the
mirror out, adjustment will be maintained.
Convex Outside Mirror
Your passenger’s side mirror is convex. A convex
mirror’s surface
is curved so you can see more from the
driver’s seat.
To move a mirror, turn the knob in the middle of the
control
to L for the driver’s side mirror or to R for the
passenger’s side mirror. Then press the four-way pad to
move the mirror in
the desired direction. To make sure
A convex mirror can make things (likl- Aher
vehicles) look farther away than they really are.
If you cut too sharply into the right lane, you
could hit
a vehicle on your right. Check your
inside mirror or glance over your shoulder before
changing lanes.
2-39
Page 144 of 372

FWD (6): Press and hold this button to advance rapidly
within a track. You will hear the disc selection play at
high speed while you press the FWD button. This allows Playing a Cassette in the Remote Cassette
Tape Player (Option)
you to listen and find out when the disc is at the desired
selection. Release FWD to resume playing.
AM-FM: While in the CD mode, press this button to
stop playing the CD and play the radio. The CD symbol
will still display but the word CD will be replaced with
either AM, FMl or
FM2. (If the radio is turned off,
the disc stays in the player and will resume playing at
the point where it stopped.)
CD AUX: To switch between the player and the radio
when a disc is playing, press the AM-FM button.
To
return to the player, press CD AUX. When a disc is
playing,
the letters CD and the CD symbol will appear
on the display. (If the radio is turned off, the disc stays
in the player and will resume playing at the point where
it stopped.)
EJECT: Press this button to eject the disc from the
player and play the radio. When the same or a new disc
is inserted, the disc will start playing
on track one. If a
compact disc is
left sitting in the opening for more than
a few seconds, the player will pull
the CD back in. The
radio will continue playing. When the
ignition is off,
press this button to load a CD.
If you have an AM-FM Stereo Audio Compact Disc
Automatic Tone Control System that includes a remote
cassette player, the cassette player is located in the
center
of the instrument panel.
Your tape player is built
to work best with tapes that are
30 to 45 minutes long on each side. Tapes longer than
that are
so thin they may not work well in this player.
To load a cassette tape with
the ignition off, first press
EJECT on the remote player. Then, insert the cassette
tape. The tape will play
if the ignition is on but the radio
is off.
3-20
Page 145 of 372

Once the tape is playing, use the control knobs for VOL,
AUTO TONE, BAL, FADE, TREB and BASS just as
you do for the radio. A lighted tape symbol shows when
a cassette tape is in
the player. A lighted arrow will also
appear and show the direction of play when a tape is active.
The player automatically senses if the cassette tape is
metal or
002 and adjusts for best playback sound.
For metal tapes, the double-D symbol will appear on
the display.
Anytime a cassette tape is inserted,
the top side is
selected for play first.
PREV (1): Press PREV or the SEEK left arrow (in the
opposite direction that the lighted tape direction arrow
points) to search for the previous selection.
A minimum
three-second blank gap is needed for the player to stop
at the beginning of the selection. The tape direction
arrow will blink during the SEEK operation and the
sound is muted in this mode.
PROG: Press this button on the remote player to go
from one side
of the tape to the other.
NEXT (3): Press NEXT or the SEEK right arrow (in the
direction that
the lighted tape direction arrow points) to
search for the next selection. The tape direction arrow
will blink during SEEK operation and the sound
is
muted in this mode.
REV (4): Press this button to rapidly reverse the tape.
The tape will rapidly reverse
to the beginning of the
cassette reel or until you press REV again. The radio
plays the last selected station during REV.
(5): Press this pushbutton to turn Dolby on and off.
Dolby is active
when a tape inserted in the remote
cassette. The double-D symbol will appear
on
the display.
Dolby Noise Reduction
is manufactured under a license
from Dolby Laboratories Licensing Corporation. Dolby
and the double-D symbol are trademarks
of Dolby
Laboratories Licensing Corporation.
FWD (6): Press this button to rapidly advance the tape.
The tape will rapidly advance to the end
of the cassette
reel or until you press FWD again. The radio plays the
last selected station during FWD.
TAPE: Press the AM-FM button to switch from the
player and
the radio when a tape is playing. To return to
the tape player, press CD AUX. The lighted arrow will
appear next to
the symbol and show the direction of play
when a tape is active.
EJECT Press this button on the remote player to
remove the tape. EJECT can be used with either the
ignition or radio off. Also,
you must press EJECT before
loading a cassette with the radio off
to allow loading.
3-21 U
Page 293 of 372
15
16
', 17
18
19
Fuse/Circuit Usage Breaker
14 Cluster HVAC Controls, Chime
Module, Radio Illumination, Rear Heat
Switch Illumination, Rear
WiperNasher Switch Illumination,
Rear Liftgate Switch Illumination, Remote Cassette Illumination,
OH Console
DRL Lamps
Front Turn Signals, Rear Turn Signals,
Trailer Turn Signals, Back-up Lamps,
BTSI Solenoid
Radio: ATC (Standby), 2000 Series
(Main Feed), Rear Seat Audio Controls
VCM-Ign 3, VCM- Brake, 4WAL,
Cruise Stepper Motor
Radio: ATC (Main Feed),
2000 Series (Standby)
A
B
Fuse/Circuit Usage
Breaker
20 PRNDLI Odometer, TCC Enable and
PWM Solenoids, Shift
A and Shift B
Solenoids, 3-2 Downshift Solenoids
Not Used
Not Used Rear Wiper, Rear Washer Pump
Not Used
(Circuit Breaker) Power Door Lock,
6-way Power Seat, Keyless Entry
Module, Dutch Door Module, Dutch
Door Release
(Circuit Breaker) Power Windows
21
22
23
24
6-63