1996 CHEVROLET ASTRO automatic transmission
[x] Cancel search: automatic transmissionPage 72 of 372

To release the hatch using the optional Keyless Entry
hand-held transmitter, see “Keyless Entry System”
in
the Index.
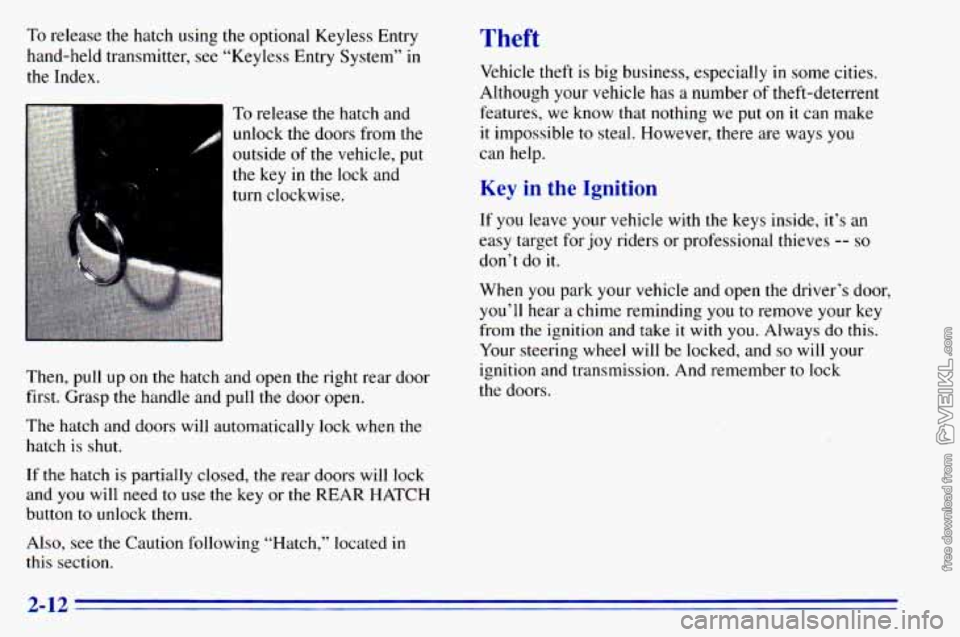
To release the hatch and unlock the doors from the
outside
of the vehicle, put
the key in the lock and
turn clockwise.
Then, pull up
on the hatch and open the right rear door
first. Grasp the handle and pull the door open.
The hatch and doors will automatically lock when the
hatch is shut.
If
the hatch is partially closed, the rear doors will lock
and you will need to use the key or the REAR HATCH
button to unlock them.
Also, see the Caution following “Hatch,” located in
this section.
Theft
Vehicle theft is big business, especially in some cities.
Although your vehicle has a number
of theft-deterrent
features, we know
that nothing we put on it can make
it impossible
to steal. However, there are ways you
can help.
Key in the Ignition
If you leave your vehicle with the keys inside, it’s an
easy target for joy riders or professional thieves
-- so
don’t do it.
When you park your vehicle and open the driver’s door,
you’ll hear a chime reminding
you to remove your key
from the ignition and take
it with you. Always do this.
Your steering wheel will be locked, and
so will your
ignition and transmission. And remember to lock
the doors.
2-12
Page 78 of 372

Automatic Transmission Operation
There are several different positions for your shift lever.
PARK (P): This locks your rear wheels. It’s the best
position to use when you start your engine because your
vehicle can’t move easily.
, ’
I
It is dangerous to get out of your vehicle if the
shift lever
is not fully in PARK (P) with the
parking brake firmly set. Your vehicle can roll.
CAUTION: (Continued)
I I
I CAUTION: (Continued)
Don’t leave your vehicle when the engine
is
running unless you have to. If you have left the
.engine running, the vehicle can move suddenly.
You or others could be injured. To be sure your
vehicle won’t move, even when you’re on fairly
level ground, always set your parking brake and
move the shift lever to
PARK (P).
See “Shifting Into PARK (P)” in the Index. If
you’re pulling a trailer, see “Towing a Trailer”
in the Index.
I
v
Ensure the shift lever is fully in PARK (P).range
before starting the engine. Your vehicle has a
brake-transmission shift interlock. You have to fully
apply your regular brakes before you can shift from
PARK
(P) when the ignition key is in the RUN position.
If you cannot shift out of PARK
(P), ease pressure on’
the shift lever
-- push the shift lever all the way into
PARK (P) as you maintain brake application. Then
move the shift lever into the gear you wish. See
’‘Shifting Out of PARK
(P)” in this section.
2-1s
Page 85 of 372

Shifting Out of PARK (P)
Your vehicle has a brake-transmission shift interlock.
You have to fully apply your regular brake before you
can shift from PARK (P) when the ignition is in the
RUN position. See “Automatic Transmission” in
the Index.
If
you cannot shift out of PARK (P), ease pressure on
the shift lever
-- push the shift lever all the way into
PARK
(P) as you maintain brake application. Then
move the shift lever into the gear
you want.
If
you ever hold the brake pedal down but still can’t
shift out
of PARK (P), try this:
I. Turn the key to OFF.
2. Apply and hold the brake until the end of Step 4.
3. Shift to NEUTRAL (N).
4. Start the vehicle and then shift to the drive gear
you want.
5. Have the vehicle fixed as soon as you can.
Parking nvPr Thiq Th: A R rn
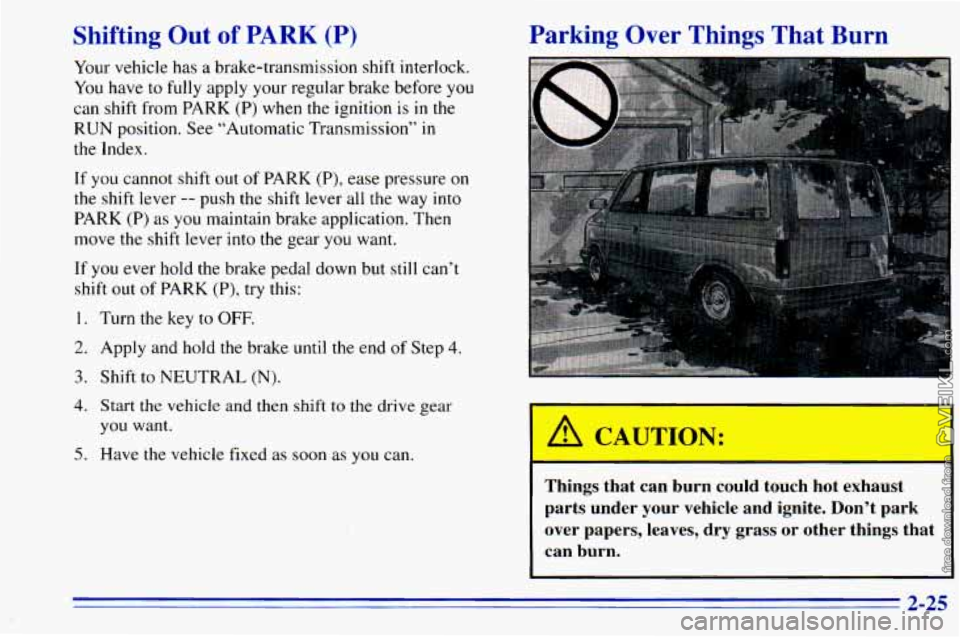
CAUTION:
Things that can burn could touch hot exhaust
parts under your vehicle and ignite. Don’t park
over papers, leaves, dry grass or other things that
can
burn.
2-25
Page 189 of 372

Making Turns
NOTICE:
Making very sharp turns while trailering could
cause the trailer to come in contact with the
vehicle. Your vehicle could
be damaged. Avoid
making very sharp turns while trailering.
When you’re turning with a trailer, make wider turns than
normal.
Do this so your trailer won’t strike soft shoulders,
curbs, road signs, trees or other objects. Avoid jerky or
sudden maneuvers. Signal well in advance.
Tbrn Signals When Towing a Trailer
When you tow a trailer, your vehicle has to have extra
wiring and a heavy-duty turn signal flasher (included
in
the optional trailering package).
The green arrows on your instrument panel will flash
whenever you signal a turn or lane change. Properly
hooked up, the trailer lamps will also flash, telling other
drivers you’re about to turn, change lanes or stop. When
towing
a trailer, the green arrows on your
instrument panel will flash for turns even if the bulbs
on
the trailer are burned out. Thus, you may think drivers
behind you are seeing your signal when they are not. It’s
important
to check occasionally to be sure the trailer
bulbs are still working.
Driving On Grades
Reduce speed and shift to a lower gear before you start
down a long or steep downgrade. If
you don’t shift
down, you might have to use your brakes
so much that
they would get hot and
no longer work well.
On a long uphill grade, shift down and reduce your
speed to around
45 mph (70 km/h) to reduce the
possibility
of engine and transmission overheating.
When towing at high altitude on steep uphill grades,
consider the following: Engine coolant will boil at a
lower temperature than at normal altitudes. If you turn
your engine off immediately after towing at high altitude
on steep uphill grades, your vehicle may show signs
similar to engine overheating.
To avoid this, let the
engine run while parked (preferably on level ground)
with the automatic transmission in
PARK (P) for a few
minutes before turning
the engine off. If you do get the
overheat warning, see “Engine Overheating” in
the Index.
4-35
Page 190 of 372

Parking on Hills
Youereally should not park your vehicle, with a trailer
attached,
on a hill. If something goes wrong, your rig
could start to move. People can be injured, and both
your vehicle and the trailer can be damaged.
But
if you ever have to park your rig on a hill, here’s
how to do it:
1. Apply your regular brakes, but don’t shift into
PARK
(P) yet. Turn your wheels into the curb
when facing downhill and away from the curb when
facing uphill.
2. Have someone place chocks under the trailer wheels.
3, When the wheel chocks are in place, release the
regular brakes until the chocks absorb the load.
4. Reapply the regular brakes. Then apply your parking
brake, and shift to PARK
(P).
5. Release the regular brakes.
When You Are Ready to Leave After
Parking on a
Hill
1. Apply your regular brakes and hold the pedal down
while you:
Start your engine;
Shift into a gear; and
0 Release the parking brake.
2. Let up on the brake pedal.
3. Drive slowly until the trailer is clear of the chocks.
4. Stop and have someone pick up and store the chocks.
Maintenance When Trailer Towing
Your vehicle will need service more often when you’re
pulling a trailer. See the Maintenance Schedule for more
on this. Things that are especially important in trailer
operation are automatic transmission fluid (don’t
overfill), engine
oil, axle lubricant, belt, cooling system
and brake adjustment. Each
of these is covered in this
manual, and
the Index will help you find them quickly.
If you’re trailering, it’s a good idea
to review these
sections before you start your trip.
Check periodically
to see that all hitch nuts and bolts
are tight.
4-36
Page 195 of 372

1. Check the other vehicle. It must have a 12-volt
battery with
a negative ground system.
NOTICE:
If the other system isn’t a 12-volt system with a
negative ground, both vehicles can be damaged.
2. Get the vehicles close enough so the jumper cables
can reach, but be sure the vehicles aren’t touching
each other.
If they are, it could cause a ground
connection you don’t want.
You wouldn’t be able to
start your vehicle, and the bad grounding could
damage the electrical systems.
You could be injured
if the vehicles roll. Set the
parking brake firmly on each vehicle. Put an
automatic transmission
in PARK (P) or a manual
transmission in NEUTRAL (N). If you have a
four-wheel-drive vehicle
with a manual transfer case
shift lever, be sure the transfer case
is not in
NEUTRAL (N).
3. Turn off the ignition on both vehicles. Unplug
unnecessary accessories plugged into
the cigarette
lighter or accessory power outlets. Turn off all lamps
that aren’t needed
as well as radios. This will avoid
sparks and help save both batteries.
In addition, it
could save your radio!
I NOTICE:
If you leave your radio on, it could be badly
damaged. The repairs wouldn’t be covered by
your warranty.
4. Open the hoods and locate the batteries. Find the
positive
(+) and negative (-) terminals on
each battery.
5-3
Page 250 of 372

Refer to the Maintenance Schedule to determine when to
replace the air filter and the crankcase ventilation filter.
See “Scheduled
N ntenance Services” in the Index.
Operating th, mgine with the air cleaner off
can cause
you or others to be burned. The air
cleaner not only cleans the air, it stops flame if
the engine backfires. If it isn’t there, and the
engine backfires, you could be burned. Don’t
drive with it
off, and be careful working on the
engine with the
air cleaner off.
NOTICE:
If the air cleaner is off, a backfire can cause a
damaging engine fire. And, dirt can easily get
into your engine, which will damage it. Always
have the air cleaner in place when you’re driving.
Automatic Transmission Fluid
When to Check and Change
A good time to check your automatic transmission fluid
level is when the engine oil is changed,
Change both the fluid and filter every
15,000 miles
(25 000 km) if the vehicle is mainly driven under one
or more of these conditions:
In heavy city traffic where the outside temperature
In hilly or mountainous terrain.
When doing frequent trailer towing.
Uses such as found in taxi, police or delivery service.
If
you do not use your vehicle under any of these
conditions, change
the fluid and filter every
30,000 miles (50 000 km).
See “Scheduled Maintenance Services” in
the Index.
regularly reaches
90°F (32°C) or
higher.
6-20
Page 253 of 372

3.
4.
Check both sides of the dipstick, and read the lower
level. The fluid level must be
in the COLD area for a
cold check or
in the HOT area or cross-hatched area
for a hot check.
If the fluid
level is in the acceptable range, push the
dipstick back in all the way; then flip the handle
down to lock the dipstick in place.
How to Add Fluid
Refer to the Maintenance Schedule to determine what
kind
of transmission fluid to use. See “Recommended
Fluids and Lubricants” in the Index.
Add fluid only after checking the transmission fluid
HOT. (A COLD check is used only as a reference.)
If the fluid level is low, add only enough of the proper fluid
to bring the level up
to the HOT area for a hot
check. It doesn’t take much fluid, generally less than a
pint
(0.5 L). Don ’r ove$iZl. We recommend you use only
fluid labeled DEXRON@-111, because fluid with that
label is made especially for your automatic transmission.
Damage caused by fluid other than DEXRON-TI1 is not
covered by your new vehicle warranty.
a After adding fluid, recheck the fluid level as
described under “How
to Check.”
When the correct fluid level is obtained, push the
dipstick back
in all the way; then flip the handle
down to lock the dipstick
in place.
All- Wheel Drive
If you have an all-wheel-drive vehicle, be sure to perform
the lubricant checks described
in this section. However,
they have two additional systems that need lubrication.
Transfer Case
When to Check Lubricant
Refer to the Maintenance Schedule to determine how
often to check the lubricant. See “Periodic Maintenance
Inspections’’
in the Index.
6-23