1996 CADILLAC ELDORADO run flat
[x] Cancel search: run flatPage 2 of 354

Downloaded from www.Manualslib.com manuals search engine /r”‘ --.
The 1996 Cadillac Eldorado Owner’s Manual
Seats and Kestraint Systems ............................................................. 1-1
FeaturesandControls .................................................................. 2-1
Comfort Controls and Audio Systems ..................................................... 3-1
This section tells you how to use your seats and safety belts\
properly. It also explains the “SIR” system.
This section explains how to start and operate your Cadillac.
This section tells you how to adjust the ventilation and comfo\
rt controls and how to operate your
audio system.
Here you’ll find helpful information and tips about the road\
and how to drive under different conditions.
This section tells you what to do if you have a problem while driving, such as a flat tire or \
overheated
engine, etc.
Here the manual tells you how to keep your Cadillac running p\
roperly and looking good.
This section tells you how to contact Cadillac for assistance \
and
how to get service and owner publications.
It also gives you information on “Reporting Safety Defects”\
on page
7-10.
Here’s an alphabetical listing of almost every subject in th\
is manual. You can use it to quickly find something you want to read.
YourDrivingandtheRoad .............................................................. 4-1
ProblemsontheRoad .................................................................. 5-1
Service and Appearance Care.. .......................................................... 6-1
Customer Assistance Information ........................................................ 7-1
Index ........................................................................\
........ 8-1
i
Page 55 of 354
Downloaded from www.Manualslib.com manuals search engine Securing a Child Restraint in the Right
Front Seat Position
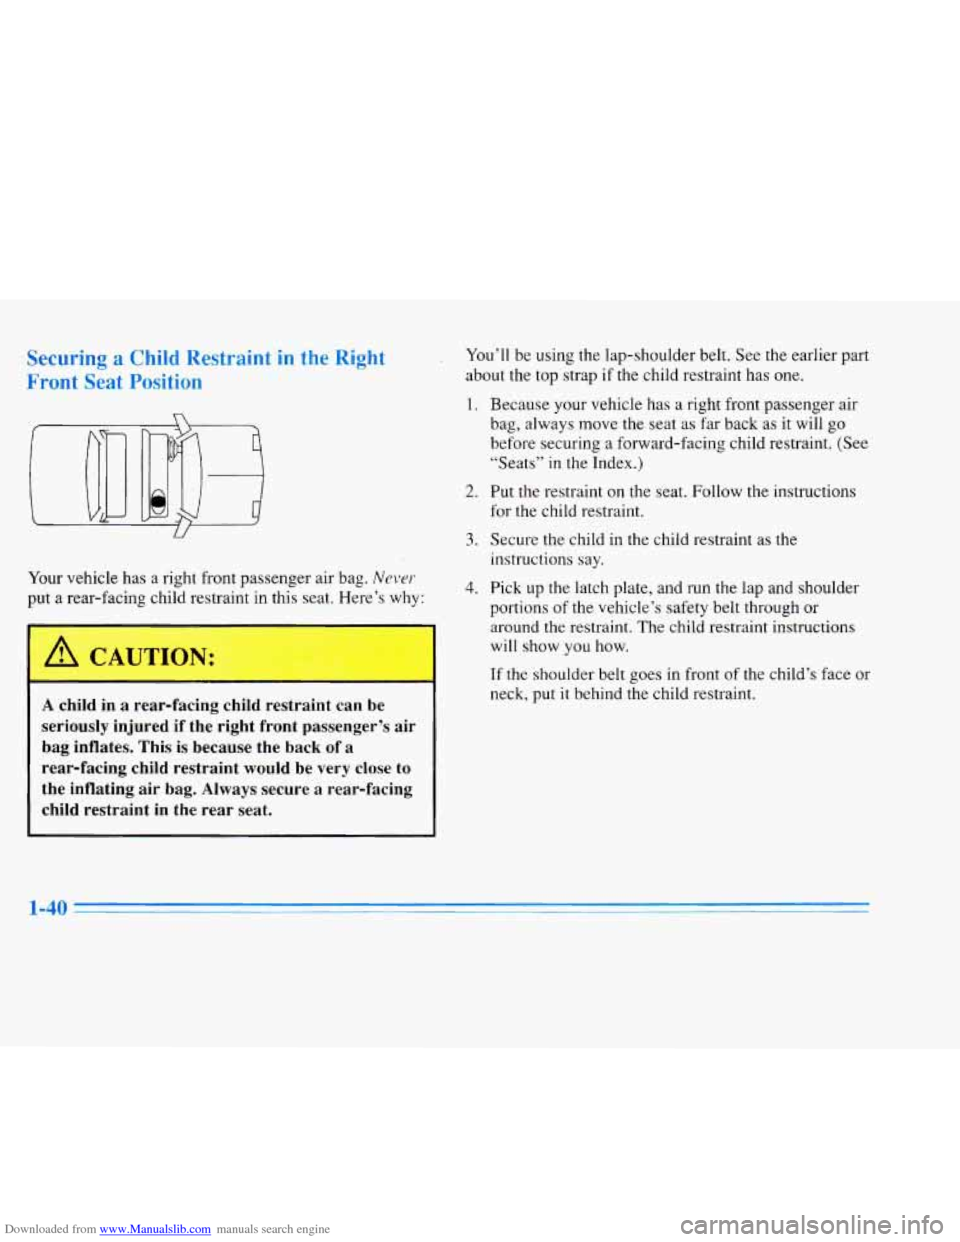
Your vehicle has a right front passenger air bag. Never
put a rear-facing child restraint in this seat. Here’s why:
i
A child in a rear-facing child restraint can be
seriously injured if the right front passenger’s air
bag inflates. This is because the back
of a
rear-facing child restraint would be very close to
the inflating air bag. Always secure a rear-facing
child restraint in the rear seat.
You’ll be using the lap-shoulder belt. See the earlier part
about the top strap if the child restraint has one.
1. Because your vehicle has a right front passenger air
bag, always move the seat as far back as it will go
before securing a forward-facing child restraint. (See
“Seats”
in the Index.)
2. Put the restraint on the seat. Follow the instructions
for the child restraint.
3. Secure the child in the child restraint as the
instructions say.
4. Pick up the latch plate, and run the lap and shoulder
portions
of the vehicle’s safety belt through or
around the restraint. The child restraint instructions
will show you how.
If the shoulder belt goes in front of the child’s face or
neck, put it behind the child restraint.
Page 143 of 354
Downloaded from www.Manualslib.com manuals search engine napkin before inserting the key back into the ignition.
Have your vehicle serviced if the message still appears.
SERVICE A/C SYSTEM A/C COMPRESSOR
OFF
- 14: This message appears when the electronic
sensors that control the A/C and heating systems are
no longer working. Have the climate control system
serviced if you notice a drop
in heating and
A/C efficiency.
SERVICE AIR BAG - 83: There is a problem with the
Supplemental Inflatable Restraint (air bag) system when
this message appears. Let only a qualified technician
work on your vehicle. See your Cadillac dealership for
service at once.
SERVICE BRAKE FLUID SWITCH - 37: A high
level of brake fluid causes this message to display if the
ignition
is in the RUN position. Have the brake system
serviced by
a Cadillac technician as soon as possible. If
the brake warning light is on, refer to the directions
listed in that part.
SERVICE CHARGING SYSTEM - 102: This
message will display when a problem with the charging
system has been detected. Have your vehicle serviced at
your Cadillac dealership,
SERVICE ELECTRICAL SYSTEM - 106: This
message
will display if an electrical problem has
occurred within the PCM. Have your vehicle service
by your Cadillac dealership.
SERVICE EMISSIONS SYSTEM - 104: A problem in
the emissions system has occurred when this message
appears. Have your Cadillac dealership service your vehicle.
SERVICE ENGINE COOLING SYSTEM - 103:
problem within the engine cooling system has been
detected when this message displays. See your Cadi
dealership for service.
SERVICE FUEL SYSTEM - 101: The PCM has
A
llac
detected a problem within the fuel system when this
message appears. See your Cadillac dealership
for service.
SERVICE IDLE CONTROL SYSTEM - 107: A
problem with the idle control has occurred when this
message displays. Bring your vehicle to your Cadillac
dealership for service.
SERVICE IGNITION SYSTEM - 105: This message
displays when a failure
in the ignition system has
been detected. Have your vehicle serviced by your Cadillac dealership.
Page 212 of 354
Downloaded from www.Manualslib.com manuals search engine Run your engine only as long as you must. This saves
fuel. When you run the engine, make it go a little faster
than just idle. That
is, push the accelerator slightly. This
uses less fuel for the heat that you get and it keeps the
battery charged. You will need a well-charged battery to
restart the vehicle, and possibly for signaling later on
with your headlamps. Let the heater run for awhile.
Then, shut the engine off and close the window almost
all the way to preserve the heat. Start the engine again
and repeat this only when you feel really uncomfortable
from the cold. But do it as little as possible. Preserve the
fuel as long
as you can. To help keep warm, you can get
out of the vehicle and do some fairly vigorous exercises
every half hour or
so until help comes.
Loading Your Vehicle
‘ OCCUPANTS
VEHICLE CAP. WT.
TIRE-LOADING INFORMATION
FRT. CTR.
RR. TOTAL LBS. KG
MAX. LOADING & GVWR SAME AS VEHICLE
CAPACITY WEIGHT
XXX COLD TIRE
TIRE SIZE SPEED PRESSURE
RTG PSI/KPa
FRT.
RR.
SPA.
IF TIRES ARE HOT. ADD 4PS1/28KPa
SEE OWNER’S MANUAL FOR ADDITIONAL
INFORMATION
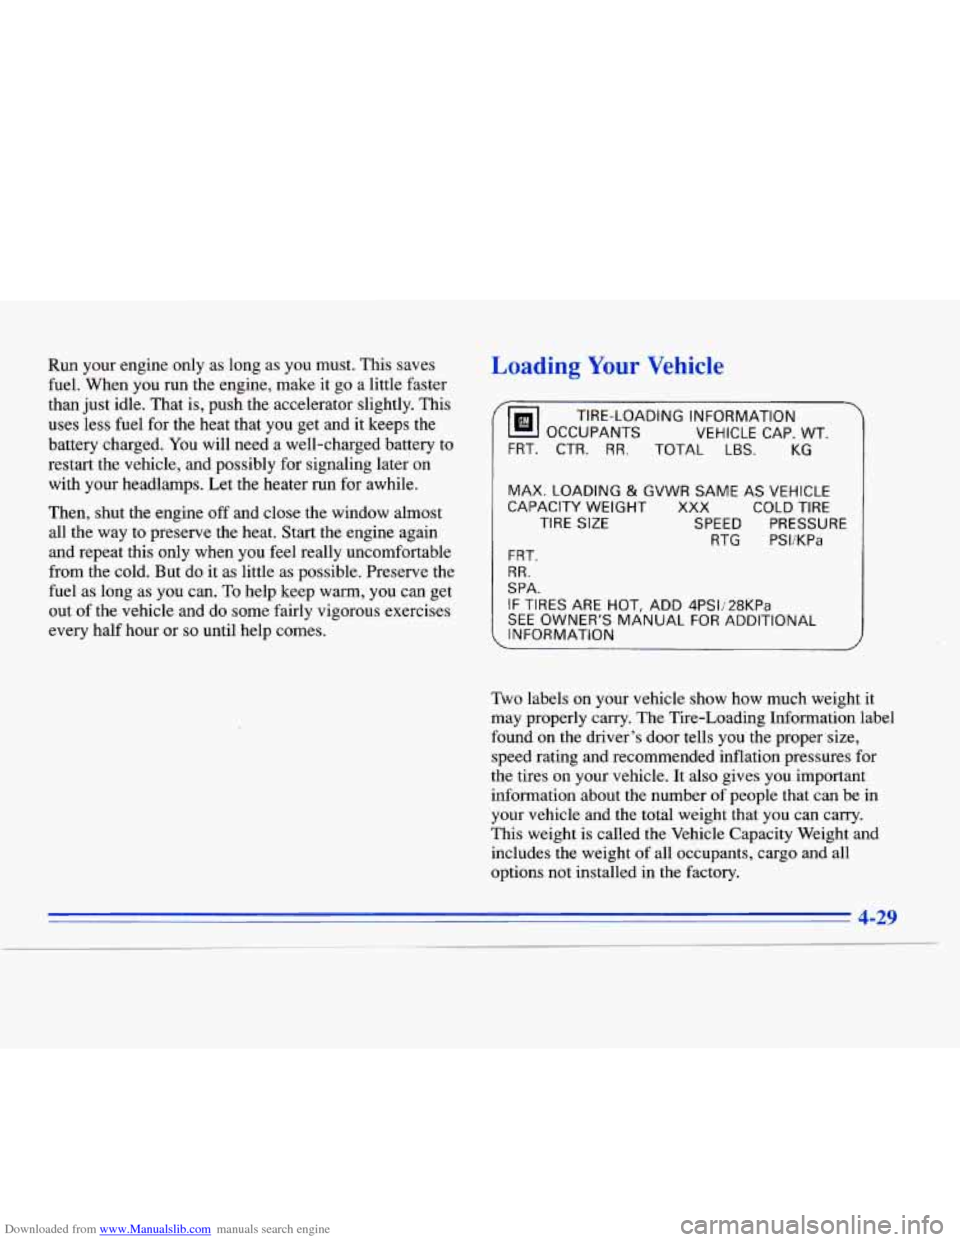
Two labels on your vehicle show how much weight it
may properly carry. The Tire-Loading Information label
found on the driver’s door tells you the proper size,
speed rating and recommended inflation pressures for
the tires on your vehicle. It also gives you important
information about the number of people that can be in
your vehicle and the total weight that you can carry.
This weight is called the Vehicle Capacity Weight and
includes the weight of all occupants, cargo and all
options not installed in the factory.
I
4-29
Page 254 of 354
Downloaded from www.Manualslib.com manuals search engine NOTICE:
Improperly tightened wheel nuts can lead to
brake pulsation and rotor damage.
To avoid
expensive brake repairs, evenly tighten the wheel
nuts in the proper sequence and to the proper
torque specification.
Don’t try to put a wheel cover on your compact spare
tire.
It won’t fit. Store the wheel cover in the trunk until
you have the flat tire repaired or replaced.
I NOTICE:
Wheel covers won’t fit on your compact spare. If
you try to put a wheel cover on your compact
spare, you could damage the cover or the
compact spare.
Storing the Fla’ Tire and Tools
A CAUTION:
Storing a jack, a tire or other equipment in the
passenger compartment
of the vehicle could
cause injury. In
a sudden stop or collision, loose
equipment could strike someone. Store all these
in the proper place.
After you’ve put the compact spare tire on your vehicle,
you’ll need to store the flat tire
in your trunk. Use the
following procedure to secure the flat tire in the
trunk.
Put the flat tire in the trunk so the side that faces out
when it is on the vehicle is facing down. The full-size
tire will not fit down into the well. Place it
so the front is
in the well and the rear is out of the well.
5-33
Page 256 of 354

Downloaded from www.Manualslib.com manuals search engine The compact spare is for temporary use only. Replace
the compact spare tire with a full-size tire as
soon as you
can. See the storage instructions label to replace your
compact spare into your trunk properly.
SPARE TIRE
&
Compact Spare Tire
Although the compact spare tire was fully inflated when
your vehicle was new, it can lose air after a time. Check
the inflation pressure regularly. It should be
60 psi
(420 Wa).
After installing the compact spare
on your vehicle, you
should stop as
soon as possible and make sure your
spare tire is correctly inflated. The compact spare is
made to perform well at posted speed limits for
distances up
to 3,000 miles (5 000 km), so you can
finish your trip and have your full-size tire repaired or
replaced where you want. Of course, it’s best
to replace
your spare with a full-size tire as
soon as you can. Your
spare will last longer and be in good shape in case you
need it again.
5-35
Page 345 of 354
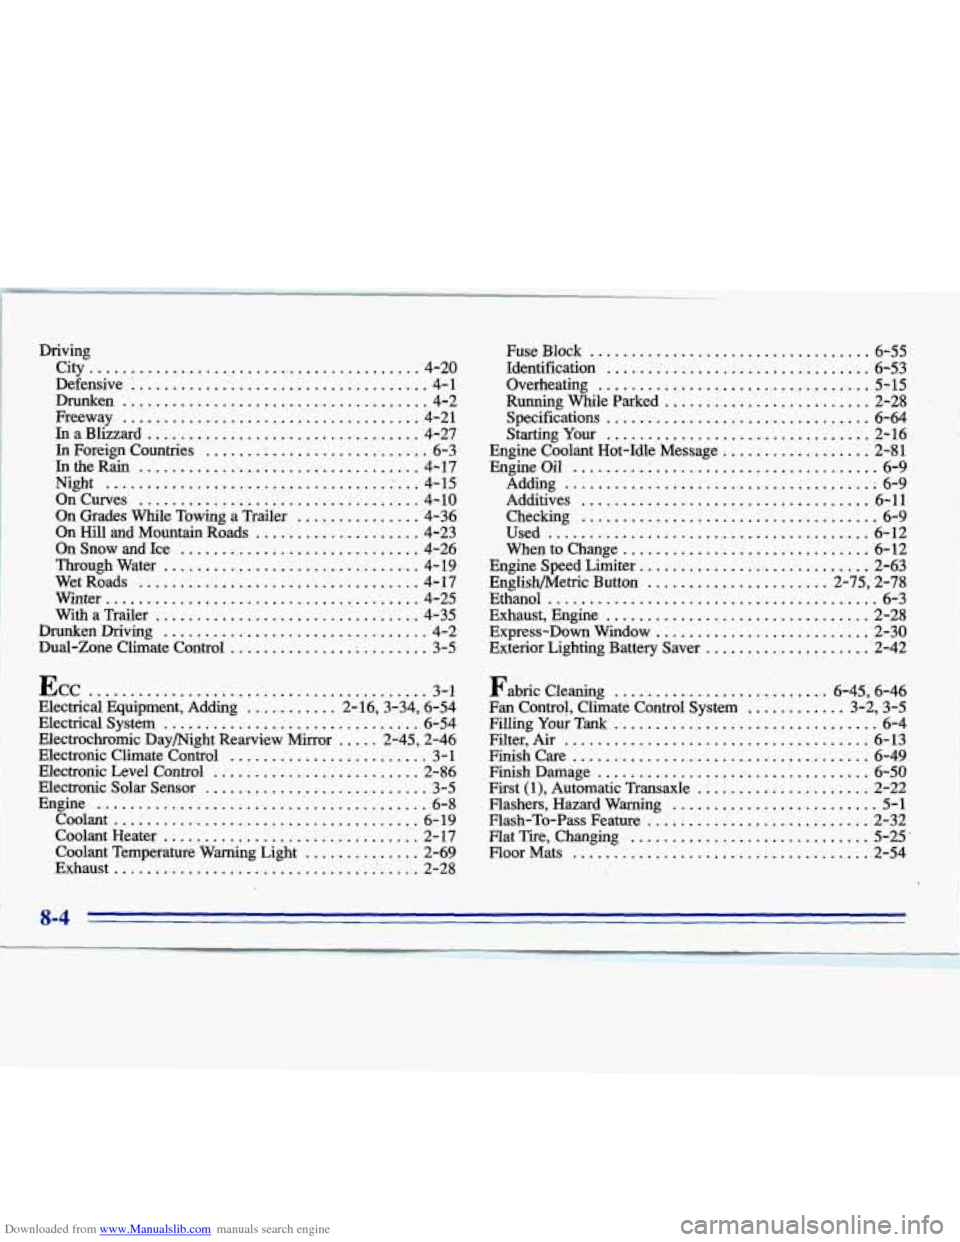
Downloaded from www.Manualslib.com manuals search engine Driving City
........................................ 4-20
Defensive
................................... 4-1
Drunken
..................................... 4-2
Freeway
.................................... 4-21
In Foreign Countries ....... 1 ................... 6-3
Night
....................................... 4-15
In a Blizzard .................................. 4-27
IntheRain
.................................. 4-17
On Curves
.................................. 4-10
On Grades While Towing a Trailer ............... 4-36
Through Water
............................... 4-19
Wet Roads
.................................. 4-17
Winter
...................................... 4-25
With a Trailer
................................ 4-35
On Hill and Mountain Roads .................... 4-23
On Snow and Ice
............................. 4-26
DrunkenDriving
................................ 4-2
Dual-Zone Climate Control
............... -, ........ 3-5
I ECC .......................................... 3-I
Electrical Equipment, Adding
........... 2-16,3-34, 6-54
Electrical System
............................... 6-54
Electronic Climate Control
........................ 3 - 1
Electronic Level Control ......................... 2-86
Electronic Solar Sensor
........................... 3-5
Coolant Heater
............................... 2-17
Coolant Temperature Warning Light
.............. 2-69
Electrochromic
Daymight Rearview Mirror
..... 2-45, 2-46
Engine
......................................... 6-8
Coolant
...................................... 6-19
Exhaust
...................................... 2-28 Fuse Block
.................................. 6-55
Overheating
................................. 5-15
Running
While Parked ......................... 2-28
Specifications
................................ 6-64
Starting Your ................................ 2-16
Engine Coolant Hot-Idle Message
.................. 2-81
Identification
................................. 6-53
Engine Oil ..................................... 6-9
Adding
...................................... 6-9
Additives 6-11
Used ....................................... 6-12
Engine Speed Limiter 2-63
Ethanol
........................................ 6-3
...................................
Checking .................................... 6-9
When to Change ............................... 6-12
English/Metric Button
...................... 2-75, 2-78
Exhaust, Engine
................................ 2-28
Express-Down Window
.......................... 2-30
Exterior Lighting Battery Saver
.................... 2-42
Fabric Cleaning
.................. 1 ........ 6-45, 6-46
Fan Control, Climate Control System
........... 3-2, 3-5
Filling
Your Tank ................................ 6-4
Finish Care
.................................... 6-49
First
(l), Automatic Transaxle ..................... 2-22
Flashers, Hazard Warning
......................... 5-1
Flat Tire, Changing
............................. 5-25
Floor Mats
.................................... 2-54
............................
Filter, Air ..................................... 6-13
FinishDamage
6-50 ! ..................................
Flash-To-PassFeature ........................... 2-32