1996 CADILLAC ELDORADO ECO mode
[x] Cancel search: ECO modePage 66 of 354

Downloaded from www.Manualslib.com manuals search engine Programmable Automatic Door Locks
With the ignition in the RUN position, the door locks
can be programmed through the Driver Information
Center (DIC) to allow the driver to choose various lock
settings. Press the RESET button to answer “yes” and
press the INFO button to indicate a “no” response.
To begin programming, press the INFO and RESET
buttons at the same time. The first prompt to appear is
AUTOMATIC DOOR LOCK?.
You must press the
RESET button when this prompt appears to continue
programming the doors. The next prompt to appear is
ENABLE ALL DOORS FOR LOCK AND UNLOCK?.
This selection locks all doors when shifting out of
PARK (P) and unlocks all doors when shifting back into
PARK (P). DISABLE ALL DOORS FOR LOCK AND
UNLOCK? is used when you do not want any automatic
lock functions. The ENABLE ALL LOCKS AND
DRIVER DOOR
UNLOCK? prompt locks all doors
when shifting out of PARK (P) and unlocks only the
driver’s door when shifting back into PARK (P).
ENABLE ALL DOORS FOR LOCK ONLY? selection
appears next. This prompt is used to lock all doors when
shifting out of PARK (P) and keeps the doors locked
when you shift back into PARK (P).
N yes or no response must be programmed when a
prompt is displayed. A yes response selects the prompt
and a no response displays the next prompt.
When you finish programming the door locks, the next
prompt to appear is for the vehicle storage mode. For
more information on vehicle storage, see “Battery Guard
Storage” later in this section.
Anti-Lockout Feature
Leaving your key in any ignition position with the
driver’s door open will disable the use of the power door
lock switches. The anti-lockout feature is disabled when
the ignition is on. If you close the door, you can lock it
using the Keyless Entry system. It is always
recommended that you remove your ignition key when
locking your vehicle.
Note that this feature is only available with the driver’s
door open.
Also note that the anti-lockout feature can be overridden
by holding the power door lock switch for three seconds
or longer.
Leaving Your Vehicle
If you are leaving the vehicle, open the door, set the
locks from the inside, get out and close the door.
Page 105 of 354
Downloaded from www.Manualslib.com manuals search engine Inadvertent Power Battery Saver
This feature is designed to protect your vehicle's battery against drainage from the interior lamps, trunk lamp,
glove
box lamp, cigarette lighters or the garage door
opener. When the ignition is turned
OFF, the power to
these features will automatically
turn off' after 10 minutes
(three minutes if a new car has 15 miles or less). Power
will be restored for an additional
10 minutes if either
door is opened, the trunk
is opened or the courtesy lamp
switch is turned
on.
Battery Guard Storage
This feature is for long term use and must be
programmed through the
DIC while the ignition is in the
RUN position. Battery guard storage protects the battery
by placing the vehicle in a storage mode so that the
radio, amplifiers, instrument cluster
and Remote Keyless
Entry
(RKE) will not drain the battery over a long
period of time.
To begin programming, press the INFO and RESET
buttons at the same time for approximately two seconds.
Press the RESET button to answer "yes" and press the
INFO button to indicate
a "no" response. The first prompt
to appear relates to the automatic
door
locks.
This feature can be bypassed by pressing the
INFO button. The STORAGE MODE? prompt appears
next.
To select, press the RESET button. ENABLE
STORAGE
MODE? will then appear. A yes or no
response must be give.n. If the
INFO (no) button is
pressed, the DISABLE STORAGE MODE? prompt will
appear. Oncc again,
a yes or no response is required.
Once the battery guard has been programmed, your
vehicle
will enter the storage mode approximately
20 minutes after the ignition key has been turned off.
The RKE will also be disabled at this point. The RKE
will reactivate when a door or the trunk is opened,
however.
if your vehicle is left inactive for another
20 minutes the RKE will re-enter the storage mode.
Your vehicle will stay in the storage mode until the
ignition
key is turned out of LOCK. The system will
"wake-up" when the door key is inserted into the door
however, your vehicle
will remain in the storage mode.
The ignition must
5 ~~~ard is disabled. be
out of LOCK before the battery
2-44
Page 107 of 354
Downloaded from www.Manualslib.com manuals search engine Time Delay
This feature prevents rapid changing of the mirror from
the night mode to the day mode as you drive under
lights and through traffic.
Reverse Gear Day Mode.
The reverse mode is another important feature of the
automatic mirror. When the
shift lever is placed in
' REVERSE (R), the mirror changes to the day mode.
This gives you a bright image in the mirror as you
back up.
Cleaning Photocells
Electrochromic Day/Night Rearview Mirror
with Compass (Option)
Use a cotton swab and glass cleaner to clean the front
and rear photocells that make the auto-dimming
feature work.
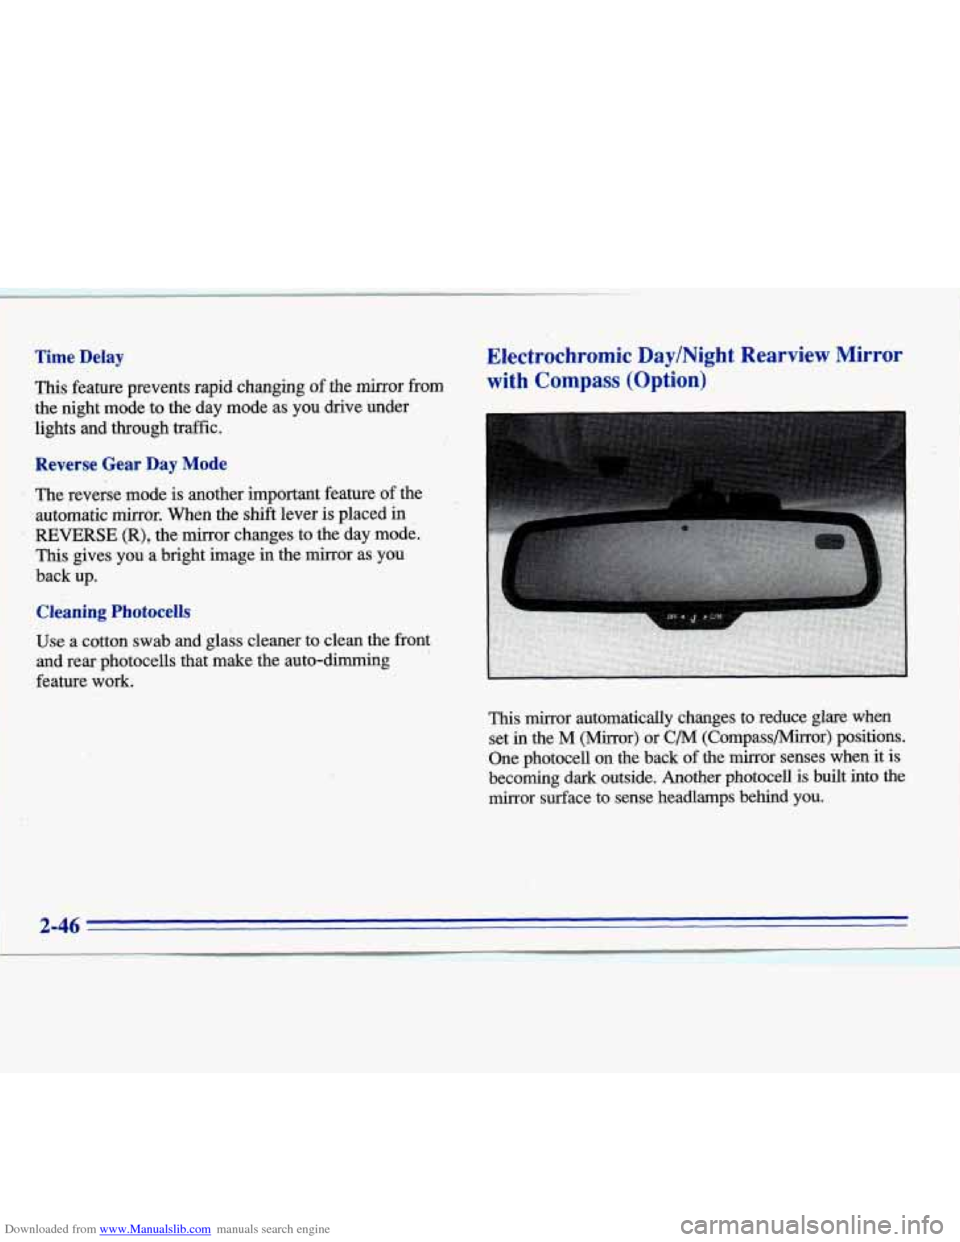
This mirror automatically changes to reduce glare when
set
in the M (Mirror) or C/M (Compass/Mirror) positions.
One photocell on the back
of the mirror senses when it is
becoming
dark outside. Another photocell is built into the
mirror surface to sense headlamps behind
you.
2-46
Page 117 of 354
Downloaded from www.Manualslib.com manuals search engine The transmitter will learn and transmit the frequencies
of most current transmitters and is powered by your
vehicle’s battery and charging system.
This device complies with Part
15 of the FCC Rules.
Operation is subject to the following two conditions:
(1) This device may not cause harmful interference, and
(2) This device must accept any interference received,
including interference that may cause undesired
operation.
;ramming thc n 1111
Do not use the universal transmitter with any garage
door opener that does not have the “stop and reverse”
safety feature. This includes
any garage door opener
model manufactured before April
1, 1982.
Be sure that people and objects are clear of the garage
door you are programming. Your
vehicle’s engine should be turned
off while
programming the transmitter. Follow these steps to
program up to three channels:
1. If you have not previously programmed a universal
transmitter channel, proceed to Step
2. Otherwise,
hold down the two outside buttons
on the universal
transmitter until the red light begins to flash rapidly
(approximately
20 seconds). Then release the
buttons. This procedure initializes the memory and
erases any previous settings for all three channels.
2. Hold the end of the hand-held transmitter against the
bottom surface of the universal transmitter
so that
you can still see the red light.
3. Decide which one of the three channels you want to
program. Using both hands, press the hand-held
transmitter button and the desired button on the
universal transmitter. Continue to hold both buttons
through Step
4.
4. Hold down both buttons until you see the red light
on the universal transmitter flash rapidly and then
stop. The rapid flashing, which could take up to
90 seconds, indicates that the universal transmitter
has been programmed. Release both buttons once the
light starts to flash rapidly.
Page 137 of 354

Downloaded from www.Manualslib.com manuals search engine INFORMATION: Pressing this button repeatedly will
display the AVG MPG, FUEL
USED, AVG MPH, OIL
LIFE LEFT, ENGINE RPM, BATTERY VOLTS and
COOLANT TEMP.
TIMER: This feature is like a stopwatch, in that you
can clock the time it takes to get from one point to
another.
To operate, press the TIMER button until TIMER
0O:OO:OO is displayed on the DIC. Each of the fields for
the hours, minutes and seconds are two numeric digits.
Once TIMER OFF
0O:OO:OO is displayed, press the
TIMER button to start
the timing feature. Press the
TIMER button again
to stop it. If you will be starting
and stopping your Cadillac, during
a trip for instance,
the TIMER feature will automatically start timing where
it left off when you last stopped. To reset it, press and
hold the RESET button until the display reads TIMER
0O:OO:OO. Press the INFORMATION button to exit from
the TIMER function.
RESET Pressing this button will reset the MPG AVG,
FUEL USED, AVG MPH and OIL LIFE LEFT. Pressing
RESET when
a non-resettable display appears will
cause
a “recall” mode to occur. When this happens, all
DIC warning messages that have been displayed since
the ignition key was turned to RUN will redisplay.
If no
messages were displayed, a MONITORED SYSTEMS
OK message will appear.
MPG AVG (Average Fuel Economy) Reset: Press the
INFORMATION button to display the MPG AVG, then
press and hold the RESET button until
0.0 MPG AVG
is displayed.
Fuel Used Reset: Press the INFORMATION button
to display the
FUEL USED on the DIC, then press
and hold
the RESET button until FUEL USED 0.0
is displayed.
AVG MPH (Average Speed) Reset: Press the
INFORMATION button to display the AVG MPH, then
press and hold the RESET button until
0.0 AVG MPH
is displayed.
Oil Life Left Reset: Press the INFORMATION button
to display the OIL LIFE LEFT, then press and hold the
RESET button
until 100% OIL LIFE LEFT is displayed.
A n/
Page 138 of 354

Downloaded from www.Manualslib.com manuals search engine nalog Control Buttons
INFO RESET Pressing this button will reset the MPG
AVG, FUEL USED, AVG MPH, TIMER, OIL LIFE
LEFT and ENGLISHMTRIC RESET. Pressing INFO
RESET when a non-resettable display appears will
cause a “recall” mode to occur. When this happens, all
DIC warning messages that have been displayed since
the ignition key was turned to RUN will redisplay. If no
messages were displayed, a MONITORED SYSTEMS
OK message will appear.
MPG AVG (Average Fuel Economy) Reset: Press the
INFO button to display the MPG AVG, then press and
hold the INFO RESET button until
0.0 MPG AVG
is displayed.
Fuel Used Reset: Press the INFO button to display the
FUEL USED on the DIC, then press and hold the INFO
RESET button until FUEL USED
0.0 is displayed.
AVG MPH (Average Speed) Reset: Press the INFO
button to display the AVG MPH, then press and hold the
INFO RESET button until
0.0 AVG MPH is displayed.
Timer: This feature is like a stopwatch, in that you can
clock the time it takes to get from one point to another.
To operate, press the INFO button to display TIMER.
Each of the fields for the hours, minutes and seconds are
two numeric digits.
Once TIMER OFF
0O:OO:OO is displayed, press the
INFO RESET button to start the timing feature. Press
the INFO RESET button again to stop it. If you will be
starting and stopping your Cadillac, during a trip for
instance, the TIMER feature will automatically start
timing where it left
off when you last stopped. To reset
it, press and hold the INFO RESET button until the
display reads TIMER
0O:OO:OO. Press the INFO button
to exit from the TIMER function.
Page 149 of 354
Downloaded from www.Manualslib.com manuals search engine n Rmttn
'l'he button with the fan symbol adjusts the fan speed.
Press the up arrow to increase fan speed and the down
arrow to decrease fan speed.
mperature Butt
The red and blue temperature buttons adjust the air
temperature coming through the system. Press the blue
button for
a cooler setting or the red button for a warmer
setting. The outside temperature is always displayed
when your vehicle is running.
You can change it from
Fahrenheit to Celsius by pressing
the ENG/MET
(English/metric) button on the DIC.
2C ntrols
The AUTO/ECON button automatically controls the
direction
of air delivery for air conditioning and non-air
conditioning modes.
Automatic Operation
When the system is set for AUTO, sensors will control
the air delivery mode. Air
will come from the floor,
middle or windshield outlets. The i'an speed
will vary as
the system maintains the selected temperature setting. Be careful not to put anything over the solar sensor
located
in the middle of the instrument panel near the
windshield. This sensor is used by the automatic system
to regulate temperature.
To
find your comfort zone, start with 75°F (24°C)
setting, allow about 20 minutes for the system to
regulate. Press the red or blue temperature buttons to
adjust the temperature if necessary. If you choose
60°F
(lb"C), the system will remain at that maximum cooling
setting and
will not regulate fan speed. If you choose the
temperature of
90°F (32"C), the system will remain at
that maximum heating setting and
will not regulate fan
speed. Choosing either maximum setting
will not cause
the system to heat or cool any faster.
With this setting, the air conditioning compressor
automatically cycles when needed to cool the air. In
cold weather, when the system senses the need for
heat, the airflow will
be directed out the floor outlets.
As the interior temperature approaches a desired setting,
the blower speed will decrease. To maintain interior
comfort. the airflow may move to the instrument panel
air outlets and floor outlets
(BI-LEVEL mode). On
bright,
sunny days in cold weather, the airflow may
come out
of the A/C outlets (A/C mode) to maintain
comfort and prevent stuffiness.
Page 150 of 354
Downloaded from www.Manualslib.com manuals search engine If your vehicle is sitting out on a hot day and you have it
set on AUTO, the air will first flow out the floor air
outlets for a few seconds. That is normal. This
is to
expel hot air in the air outlets. As the air is cooled, the
airflow will move through the
A/C outlets. If you start
your vehicle with the fan setting on
HI, it will skip the
A/C Purge.
To avoid blowing cold air in cold weather, the system
will delay turning on the fan until warm air is available.
The length of delay depends on the outside air
temperature, engine coolant temperature or the time
since the engine was last started.
As the coolant warms
up, the blower fan speed will gradually increase and
air will flow from the heater outlets, with some airflow
to the windshield
to prevent fogging under most
normal conditions.
If you leave your vehicle, the system will remember the
control setting the next time you start your engine,
except for recirculation and defrost. Each ignition cycle
cancels recirculation, whereas,
DEFROST will change
to AUTO when the ignition is shut
off and then turned
back on.
Manual Operation
RECIRCULATION: Press this button to limit the
amount of fresh air entering your vehicle. This
is helpful
when you are trying to cool the air quickly or limit odors
entering your vehicle. In the AUTO mode, the system
will use recirculation as necessary to cool the air.
Pressing the recirculation button will change the
operation
to a manual mode and the air will recirculate
non-stop. Press this button again
to turn off the
recirculation feature.
If you notice the windows fogging, press the
recirculation button to exit the recirculation mode.
OFF: Press this button to turn the system off. Fresh air
will continue
to flow through the vehicle, and the
system will try to maintain the previously set
temperature. The outside temperature will show in the
display when the system is off.
DE-ICE (Option): Pressing this button helps to
remove ice or frost from the windshield. See “Heated
Windshield” later in this section.
3-3