1996 CADILLAC ELDORADO seat adjustment
[x] Cancel search: seat adjustmentPage 16 of 354

Downloaded from www.Manualslib.com manuals search engine /:-* %
Section 1 Seats and Restraint Systems
Here you’ll find information about the seats in your
Cadillac and how to use your safety belts properly. You
can also learn about some things you should
not do with
air bags and safety belts.
Seats and Seat Controls
This section tells you about the power seats -- how to
adjust them, and also about reclining front seatbacks,
lumbar adjustments, head restraints, heated seats and
seatback latches.
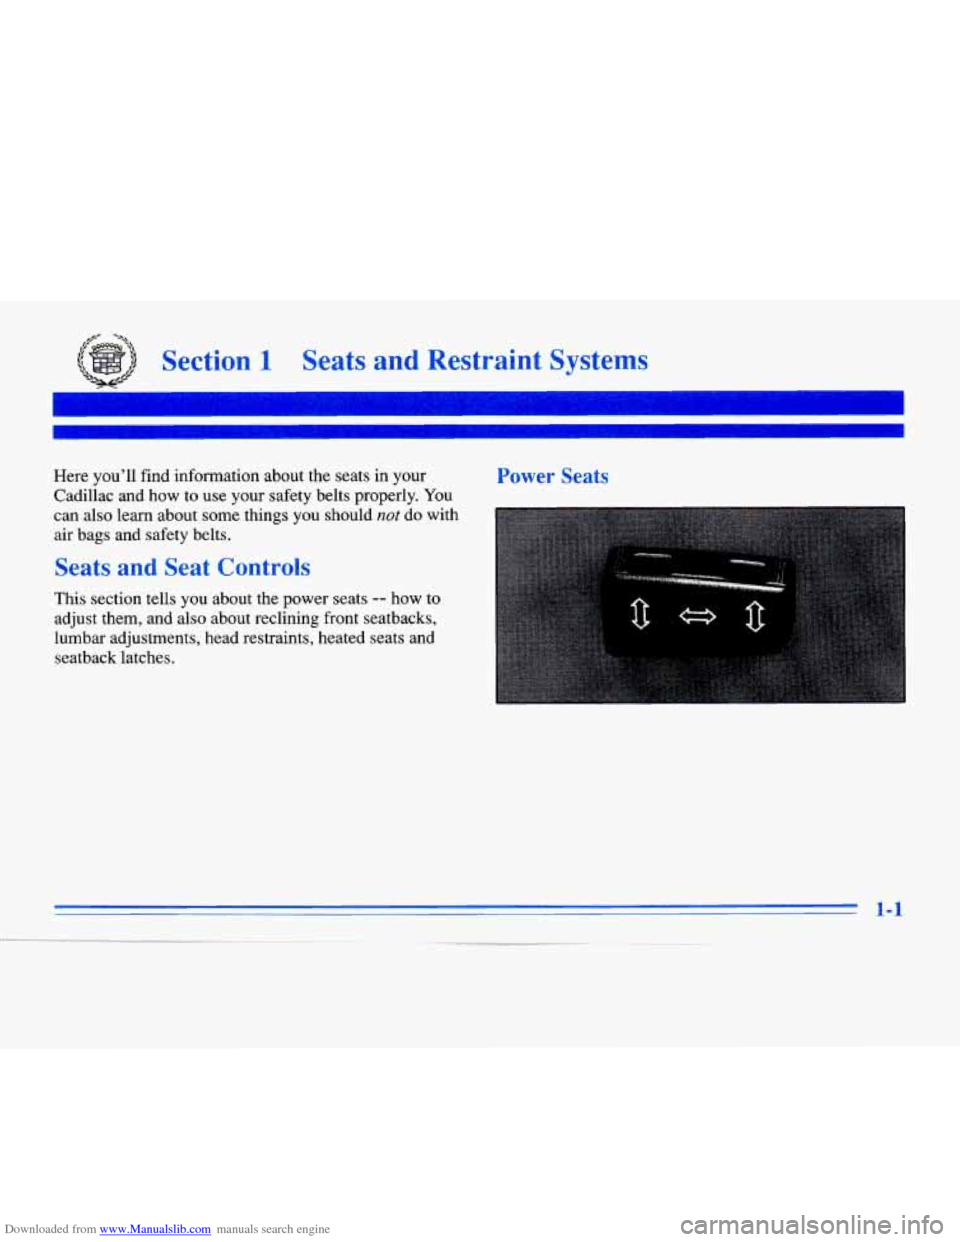
Power Seats
1-1
Page 17 of 354

Downloaded from www.Manualslib.com manuals search engine The power seat controls are located on the outboard side
of the front seat cushion.
0 Move the front of the control in the direction of the
arrows to adjust the front portion
of the cushion up
or down.
Move the rear of the control in the direction of the
arrows to adjust the rear portion of the cushion
up or
down.
0 Lift up or push down on both outer arrows at the
same time to move the entire seat up or down.
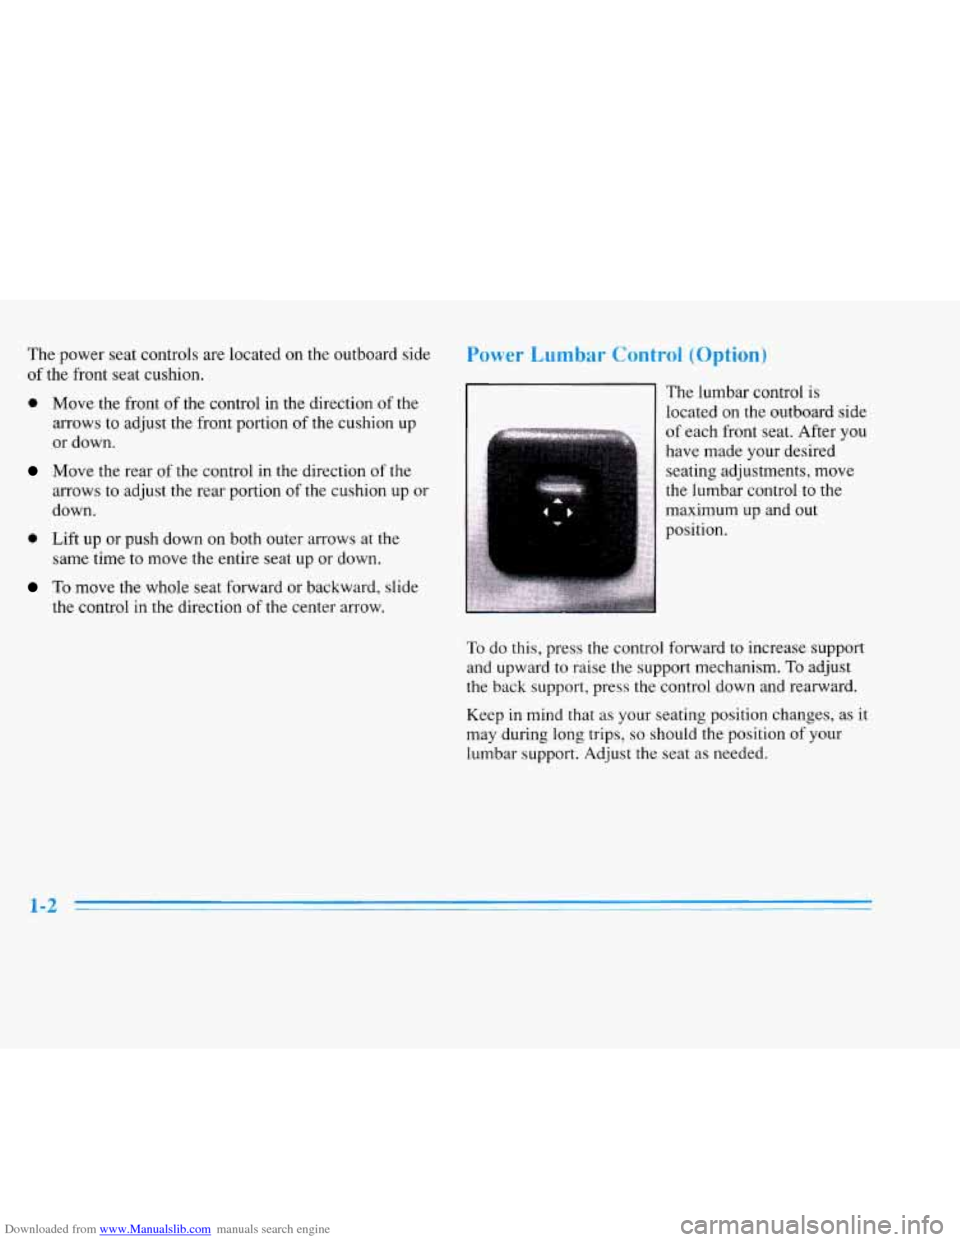
Power Lumbar Control (Option)
The lumbar control is
located on the outboard side
of each front seat. After you
have made your desired
seating adjustments, move
the lumbar control to the
maximum up and out
To move the whole seat forward or backward, slide
the control in the direction of the center arrow.
To do this, press the control forward to increase support
and upward to raise the support mechanism.
To adjust
the back support, press the control down and rearward.
Keep
in mind that as your seating position changes, as it
may during long trips, so should the position of your
lumbar support. Adjust the seat as needed.
1-2
Page 18 of 354

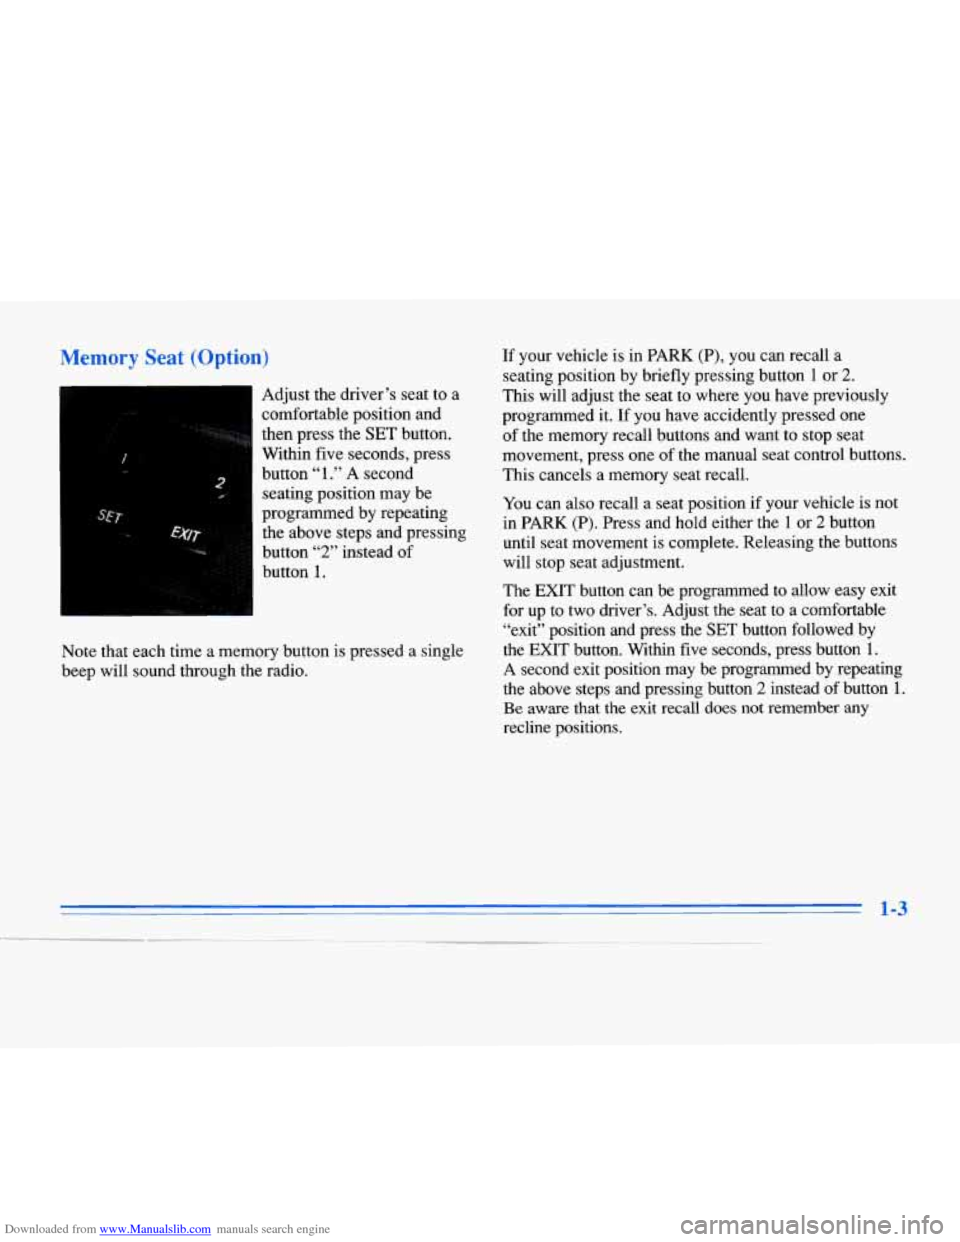
Downloaded from www.Manualslib.com manuals search engine Memory Seat (Option)
Adjust the driver’s seat to a
comfortable position and
.. I . *.,%,. . then press the SET button.
Within five seconds, press
button
“1 .” A second
seating position may be
programmed by repeating
the above steps and pressing
button 1.
, .:. ..__.>..< :,,
3 “l*M* button “2” instead of
Note that each time a memory button is pressed a single
beep will sound through the radio. If
your vehicle is in PARK (P), you can recall a
seating position by briefly pressing button
1 or 2.
This will adjust the seat to where you have previously
programmed it. If you have accidently pressed one
of the memory recall buttons and want to stop seat
movement, press one of the manual seat control buttons.
This cancels a memory seat recall.
You can also recall a seat position if your vehicle is not
in PARK (P). Press and hold either the
1 or 2 button
until seat movement is complete. Releasing the buttons will stop seat adjustment.
The EXIT button can be programmed to allow easy exit
for up to two driver’s. Adjust the seat to
a comfortable
“exit” position and press the SET button followed by
the EXIT button. Within five seconds, press button 1.
A second exit position may be programmed by repeating
the above steps and pressing button
2 instead of button 1.
Be aware that the exit recall does not remember any
recline positions.
1-3
Page 19 of 354

Downloaded from www.Manualslib.com manuals search engine While your vehicle is in PARK (P), briefly press the
EXIT button followed by either the
1 or 2 button to
recall your programmed exit position. The exit position
may also be recalled if the vehicle is not in
PARK (P) by
briefly pressing the EXIT button and then pressing and
holding either the
1 or 2 button until seat movement is
complete. Releasing the buttons will stop seat
adjustment.
Automatic seat movement will occur if the Remote
Keyless Entry (RKE) transmitter is used to enter the
vehicle. The number
on the back of the transmitter
corresponds to the
1 or 2 seat position. After the unlock
button is pressed on the
RKE transmitter and the key is
placed in the ignition and turned on, the seat will
automatically adjust to the appropriate position.
Heated Front Seat (Option)
1-4
Page 29 of 354

Downloaded from www.Manualslib.com manuals search engine The lap part of the belt should be worn low and snug on
the hips, just touching the thighs. In a crash, this applies
force to the strong pelvic bones. And you'd be less
likely to slide under the lap belt. If you
slid under it, the belt would apply
force at your abdomen. This could
cause serious or even fatal injuries. The shoulder belt
should
go over the shoulder and across the chest. These
parts of the body are best able
to take belt restraining
forces
.
The safety belt locks if there's a sudden stop or crash.
er n-It Tig"'--;s Adjus'-en
Your car has a shoulder belt tightness adjustment
feature.
If the shoulder belt seems too tight, adjust it
before you begin
to drive.
1. Sit well back in the seat.
2. Start pulling the shoulder belt out.
Page 343 of 354

Downloaded from www.Manualslib.com manuals search engine BBB Auto Line ................................. 7-8
Better Business Bureau Mediation
................... 7-8
Brake Adjustment
.................................. 6-27
Fluid
....................................... 6-25
Master Cylinder
.............................. 6-25
Parking
..................................... 2-22
PedalTravel
................................. 6-27
Replacing System Parts
........................ 6-28
System Warning Light
......................... 2-65
Trailer
...................................... 4-35
Transaxle Shift Interlock
....................... 2-27
Wear
....................................... 6-27
Brake Vacuum Problem Message
.................. 2-79
Brakes. Anti-Lock
............................... 4-6
Braking
........................................ 4-5
Braking
in Emergencies .......................... 4- 10
Break-In. New Vehicle .......................... 2- 14
Brightness Control
.............................. 2-43
Bulb Replacement
.............................. 6-29
BTSI
......................................... 2-27
Capacities and Specifications
............... 6.64. 6.65
Carbon Monoxide
.................... 2.28.4.28. 4.34
Cassette Tape Player
.................. 3.16.3.20. 3.27
Cassette Tape Player Care
........................ 3-35
Cassette Tape Player Errors
............. 3.16. 3.20. 3.28
Cellular Telephone
.............................. 2-54 Center Console
Storage Area
...................... 2-51
Center High-Mounted Stoplamp Bulb Replacement
.... 6-33
Center Rear Passenger Position
.................... 1-31
Certificationnire Label
.......................... 4-30
Chains. Safety
................................. 4-34
Chains. Tire
................................... 6-44
Change Engine Oil Message
...................... 2-79
Changing a Flat Tire
............................. 5-25
Chargmg System Indicator Light
................... 2-65
Check Brake Fluid Level Message
................. 2-80
Check Coolant Level Message
..................... 2-80
Check Fuel Gage Message
........................ 2-80
Check Oil Level Message
........................ 2-80
Check %&her Fluid Message
..................... 2-80
Checking Your Restraint Systems
.................. 1-45
Chemical Paint Spotting
.......................... 6-51
Child Restraints
................................ 1-34
Securing in
a Rear Outside Seat Position ........... 1-36
Securing
in the Center Rear Seat Position .......... 1-38
Securing
in the Right Front Seat Position .......... 1-40
TopStrap
................................... 1-35
WheretoPut ................................ 1-34
Chrome Wheels. Cleaning
........................ 6-50
Circuit Breakers and Fuses
....................... 6-55
Cleaner. Air
................................... 6-13
Central Door Unlocking System
.................... 2-3
Change Trans Fluid Message
...................... 2-79
Cigarette Lighter
............................... 2-52