1996 CADILLAC ELDORADO maintenance reset
[x] Cancel search: maintenance resetPage 140 of 354

Downloaded from www.Manualslib.com manuals search engine BATTERY NO CHARGE - 07: This message will
appear if the battery is not being charged. Have the
electrical system checked by your Cadillac dealership at
your earliest convenience.
BATTERY VOLTS HIGH - 08: This message shows
that the electrical charging system is overcharging (more
than 16 volts). To avoid being stranded, have the
electrical system checked by your Cadillac dealership.
You can reduce the charging overload by using the
accessories. Turn on the lamps and radio, set the climate
control on AUTO and the fan speed on
HI, and turn the
rear window defogger on. You can monitor battery
voltage on the DIC by pressing the INFORMATION
button. The normal range is 11.5 to 15.5 volts when the
engine
is running.
BATTERY VOLTS LOW - 06: This message will
appear when the electrical system is charging less than
10 volts or if the battery has been drained. If this
message appears immediately after starting,
it is possible
that the generator can still recharge the battery. The
battery should recharge after driving a few miles and the
message should go out. If this message appears while
driving or after starting your vehicle and stays on, have
it checked immediately to determine
the cause of this problem.
To help the generator recharge the battery
quickly you can reduce the load on the electrical system
by turning off the accessories. You can monitor battery
voltage on the DIC by pressing the INFORMATION
button. The normal range is 11.5 to 15.5 volts.
BRAKE VACUUM PROBLEM - 108: The circuit in
the brake booster vacuum has shorted or is loose when
this message appears. Your vehicle may lose power
brakes but you will still have the use of manual brakes.
The power brakes will not be affected if the problem is
caused by a failed sensor. Have your vehicle serviced
immediately at your Cadillac dealership.
CHANGE ENGINE OIL - 82: This means that the life
of the engine oil has expired and it should be changed
within
200 miles. See “Engine Oil” and “Filter
Recommendations’’ in the Maintenance Schedule. After
an oil change, the Oil Life Indicator must be reset. See
“Oil Life Indicator” in the Index on how to reset it.
CHANGE TRANS FLUID - 47: This message will
appear when
it is time to replace the transaxle fluid
(system has determined that the transaxle fluid has
reached
0%). See the Maintenance Schedule booklet for
the proper fluid and change intervals.
2-79
1 -
Page 147 of 354

Downloaded from www.Manualslib.com manuals search engine The DIC may display a CHECK OIL LEVEL message.
Always keep a written record of the mileage and date
when you changed your oil. For more information, see
the Cadillac Maintenance Schedule booklet. If you see
CHECK
OIL LEVEL, it means that you have less than
10% of the oil life left and you should consider
changing your engine
oil. If you see CHANGE
ENGINE
OIL, it. means the oil life is gone and you
should change the oil right away.
The system should indicate changing the oil between
3,000 miles (5 000 km) and 7,500 miles (12 500 km).
It may indicate changing the oil before 3,000 miles
(5 000 km) depending on your driving habits. If the
vehicle has been driven
7,500 miles (12 500 km) it will
indicate
to change the oil. If you drive in a dusty area,
you should change your oil every 3,000 miles
(5 000 km) or three months (whichever comes first)
unless the display indicates changing it sooner. The
system doesn’t check
how nzuch oil you have, so you’ll
still have to check for that. To see
how, see “Engine Oil”
in the
Index.
When new oil is added, you’ll need to reset the system.
To reset, display the
Oil Life Indicator by pressing the
INFORMATION button. Then press and hold the
RESET button until the display shows 100% OIL
LIFF
T ,EFT.
This feature keeps the rear of your vehicle level as the
load changes. It’s automatic
-- you don’t need to
adjust anything.
2-86
Page 277 of 354

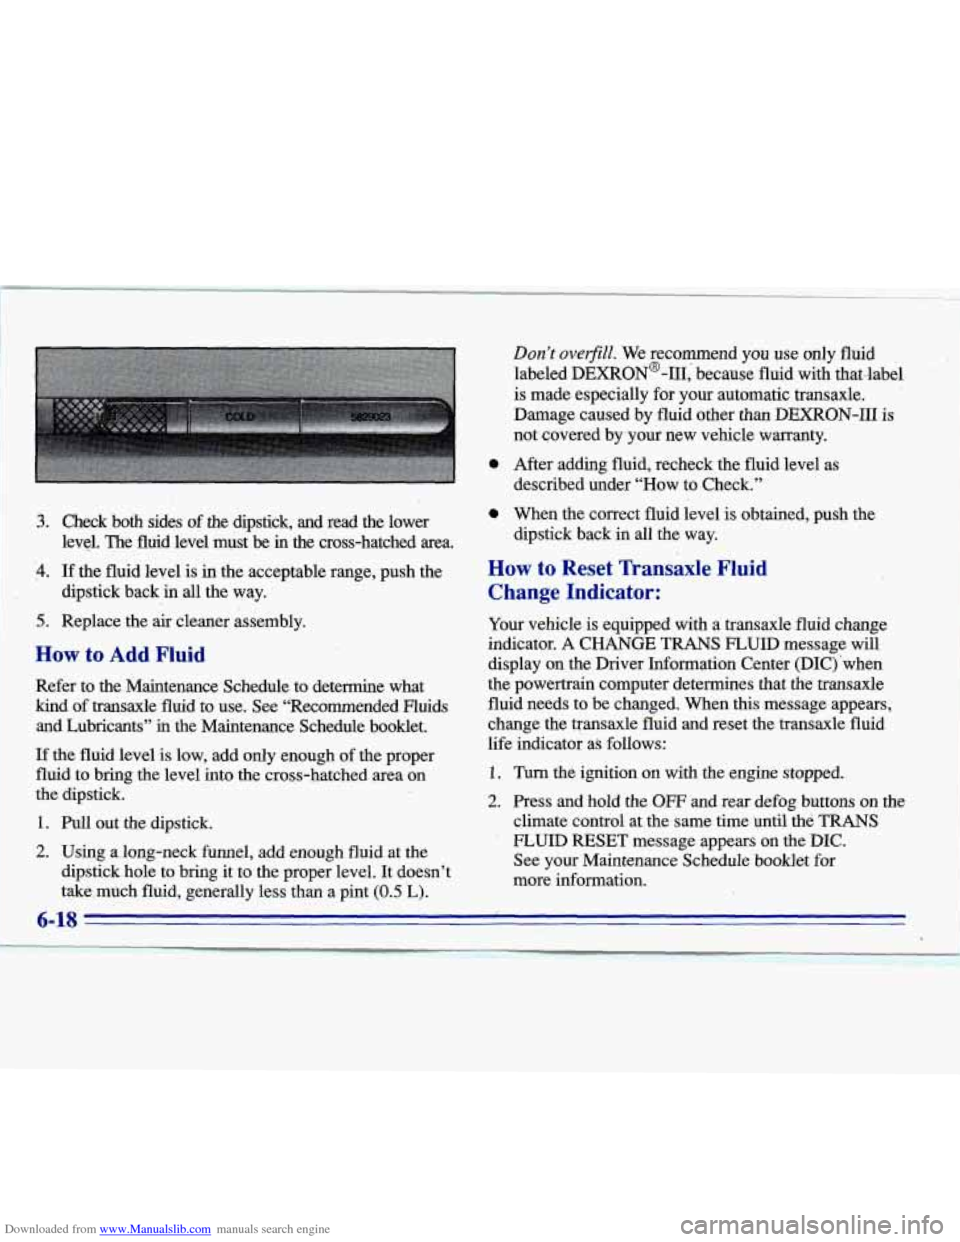
Downloaded from www.Manualslib.com manuals search engine I 3.
5.
Check both sides of the dipstick, and read the lower
level. The fluid level must be in’the cross-hatched area.
If the fluid level is in the acceptable range, push the
dipstick back in all the way.
Replace the
air cleaner assembly.
How to Add Fluid
Refer to the Maintenance Schedule to determine what
kind of transaxle fluid to use. See “Recommended Fluids and Lubricants”
ii.1 the Maintenance Schedule booklet.
If the fluid level is low, add only,enough of the proper
fluid to bring the level into the cross-hatched area on
the dipstick. 1
1. Pull out the dipstick.
2. Using along-neck funnel, add enough fluid at the
dipstick hole to bring it to the proper level. It doesn’t
take,much fluid, generally less than a pint
(0.5 ‘L).
0
0
Don’t overfiill. We recommend you use only fluid
labeled DEXRON@-111, because fluid with that-label
is made especially for your automatic transaxle.
Damage caused by fluid other than DEXRON-I11
is
not covered by your new vehicle warranty.
After adding fluid, recheck the fluid level
as
described under “How to Check.”
When the correct fluid level is obtained, push the
dipstick back in all the way.
How to Reset Transaxle Fluid
Change Indicator:
Your vehicle is equipped with a transaxle fluid change
indicator.
A CHANGE TRANS FLUID message will
display on the Driver Information Center (DIC) ‘when
the powertrain computer determines that the transaxle
fluid needs to be changed. When
this message appears,
change the transaxle fluid and reset the transaxle fluid
life indicator as follows:
1. Turn the ignition on with the engine stopped.
2. Press and hold the OW and rear defog buttons on the
climate control at the same time until the
TRANS
- FLUID RESET message appears on the DIC.
See your Maintenance Schedule booklet
for
more information.
Page 282 of 354

Downloaded from www.Manualslib.com manuals search engine Thermostat
Engine coolant temperature is controlled by a thermostat
in the engine coolant system. The thermostat stops the
flow of coolant through the radiator until the coolant
reaches a preset temperature.
If your thermostat needs to be replaced, a General
Motors thermostat is recommended.
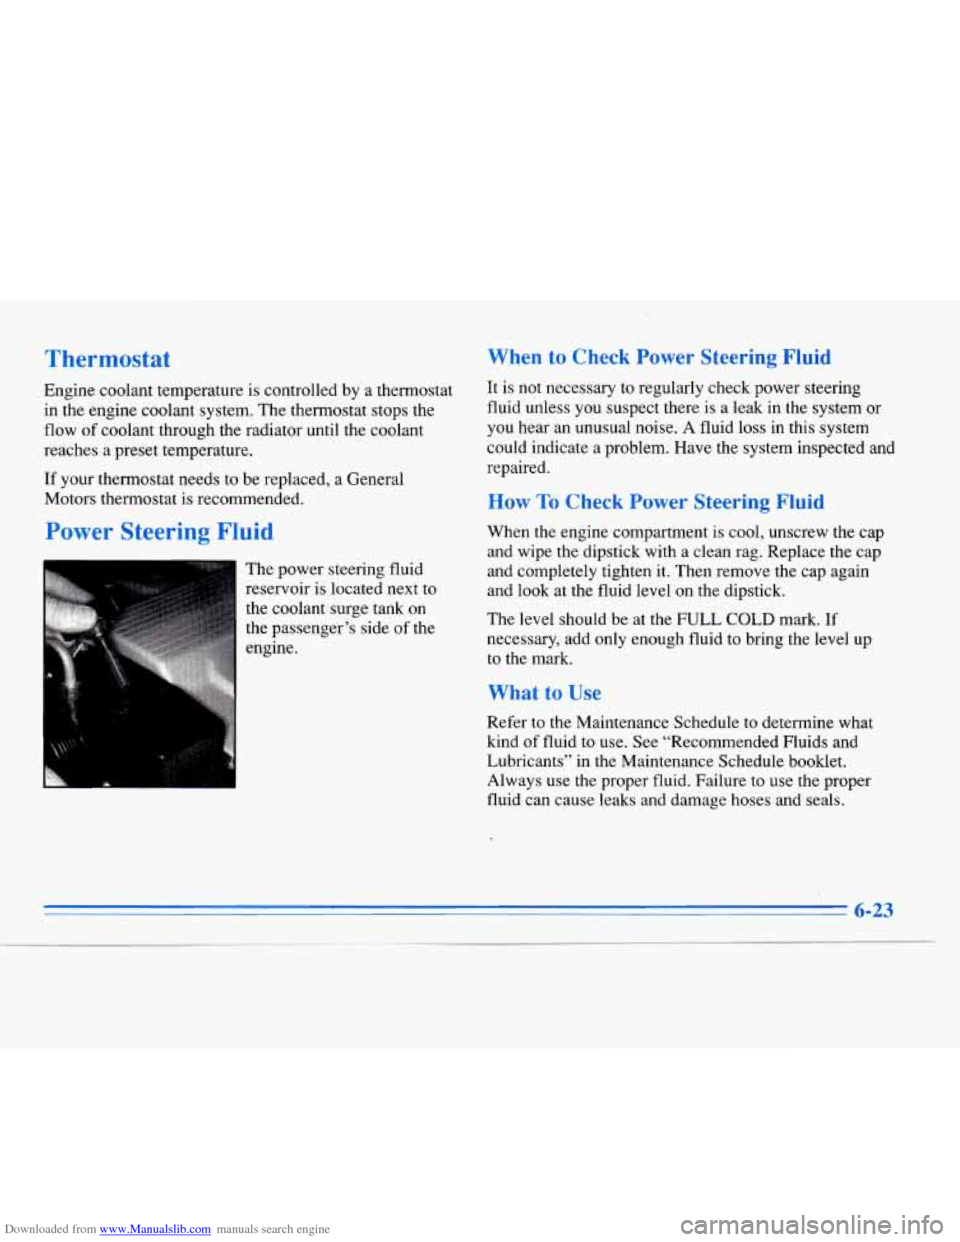
Power Steering Fluid
The power steering fluid
reservoir is located next to
the coolant surge tank on
the passenger’s side of the
engine.
When to Check Power Steering Fluid
It is not necessary to regularly check power steering
fluid unless you suspect there is a leak in the system or
you hear an unusual noise. A fluid loss in this system
could indicate a problem. Have the system inspected and
repaired.
How To Check Power Steering Fluid
When the engine compartment is cool, unscrew the cap
and wipe the dipstick with a clean rag. Replace the cap
and completely tighten
it. Then remove the cap again
and look at the fluid level on the dipstick.
The level should be at the FULL
COLD mark. If
necessary, add only enough fluid to bring the level up
to the mark.
What to Use
Refer to the Maintenance Schedule to determine what
kind of fluid to use. See “Recommended Fluids and
Lubricants” in the Maintenance Schedule booklet.
Always use the proper fluid. Failure to use the proper
fluid can cause leaks and damage hoses and seals.
6-23
Page 352 of 354

Downloaded from www.Manualslib.com manuals search engine Trailer Brakes
..................................... 4-35
Driving on Grades
............................ 4-36
Driving with
................................. 4-35
Maintenance When Towing
..................... 4-38
Parking on Hills
.............................. 4-37
Safety Chains
................................ 4-34
Total Weight on Tires
.......................... 4-34
Turn Signals
................................. 4-36
Automatic
................................... 6- 16
Reset Message
............................... 2-84
Transmission
Hot Message ....................... 2-84
Keyless Entry
................................. 2-6
Universal
................................... 2-55
Transportation, Courtesy
.......................... 7-7
Trip Set/Reset ............................. 2-75, 2-78
Automatic Pull-Down Feature
................... 2- 10
LockRelease
................................. 2-9
Mounted CD Changer
.................... 3-22, 3-29
OpenMessage
............................... 2-84
Security Override
............................. 2- 10
TTY Users
..................................... 7-3
Turn Signal and Lane Change Signals
............... 2-3 1
Turn Signal On Chime ........................... 2-31
Turn Signal On Message
......................... 2-84
Hitches
..................................... 4-34
Tongueweight
............................... 4-33
Towing
..................................... 4-31
Weight
..................................... 4-33
Transaxle Fluid
Transmitters
Trunk
Turn Signal/Multifunction Lever ................... 2-3 1
Turn Signals When Towing a Trailer ................ 4-36
Twilight Sentinel
............................... 2-42
Underbody Maintenance
........................ 6-51
Underhood Lamp
............................... 2-41
Universal Transmitter
............................ 2-55
Vehicle Control
...................................... 4-5
Damage Warnings
x11
Dimensions ................................. 6-65
Loading
.................................... 4-29
.. ..............................
Identification Number ......................... 6-53
Speed Limited to
XXX MPH Message ............ 2-84
Speed Limiter
................................ 2-62
Storage
..................................... 6-28
Ventilation System
.............................. 3-10
Visors, Sun
.................................... 2-53
Very Low
Refrigerant A/C Compressor
Off Message ... 2-84
warning Devices
............................... 5-3
Warning Lights. Gages and Indicators
............... 2-63
Washer Fluid. Windshield
........................ 6-24
Washing Your Vehicle
........................... 6-49
Weatherstrips
.................................. 6-48
Nut Torque ............................. 5-32, 6-65
Replacement
................................. 6-42
Wrench
..................................... 5-28
Wheel
Alignment
.................................. 6-42