1996 CADILLAC ELDORADO check engine
[x] Cancel search: check enginePage 167 of 354

Downloaded from www.Manualslib.com manuals search engine LEVEL: Press the plus or minus symbol on this button
to adjust the amount of effect desired when in
DSP
mode. Some experimenting with this button will help
you determine the best sound.
Adjusting the Speakers
BAL: Press this button lightly so it extends. Turn the
BAL knob to move the sound to the left or right
speakers. The middle position is a detent and balances
the speakers. Turn the knob clockwise to adjust sound to
the right speakers and counterclockwise for left
speakers.
FADE: Press this button lightly so it extends. Turn the
FADE knob to move the sound to the front or rear
speakers. The middle position is a detent and balances
the speakers. Turn the knob clockwise to adjust the
sound to the front speakers and counterclockwise for
rear speakers.
Push the knobs back in when you’re not using them.
Playing a Cassette Tape
With the radio on, insert a cassette tape. The tape will
begin playing as soon as
it is inserted. While the tape
is playing, use the VOL, FADE, BAL,
TREB and BASS controls just as you do for the radio.
Other controls may have different functions when a tape
is inserted. The display will show TAPE with an arrow
to indicate which side of the tape is playing.
PLAY will
appear on the display when a tape is playing.
If an error occurs while trying
to play a cassette tape, it
could be that:
The cassette tape is tight and the cassette player
cannot turn the hubs of the tape. (Hold the cassette
tape with the open end down and try turning the right
hub counterclockwise with a pencil. Flip the tape
over and repeat. If the hubs do not turn easily, your
cassette tape may
be damaged and should not be
used
in the player. Try a new tape to be sure your
player is working properly.
0 The cassette tape is broken. (Check to see if your
tape
is broken. Try a new tape.)
Note that cassette tape adapter kits for portable compact
disc players will not work
in your cassette player. These
adapters
will cause an error message to show on the
display, and the adapter cassette
will be ejected.
3-20
Page 170 of 354
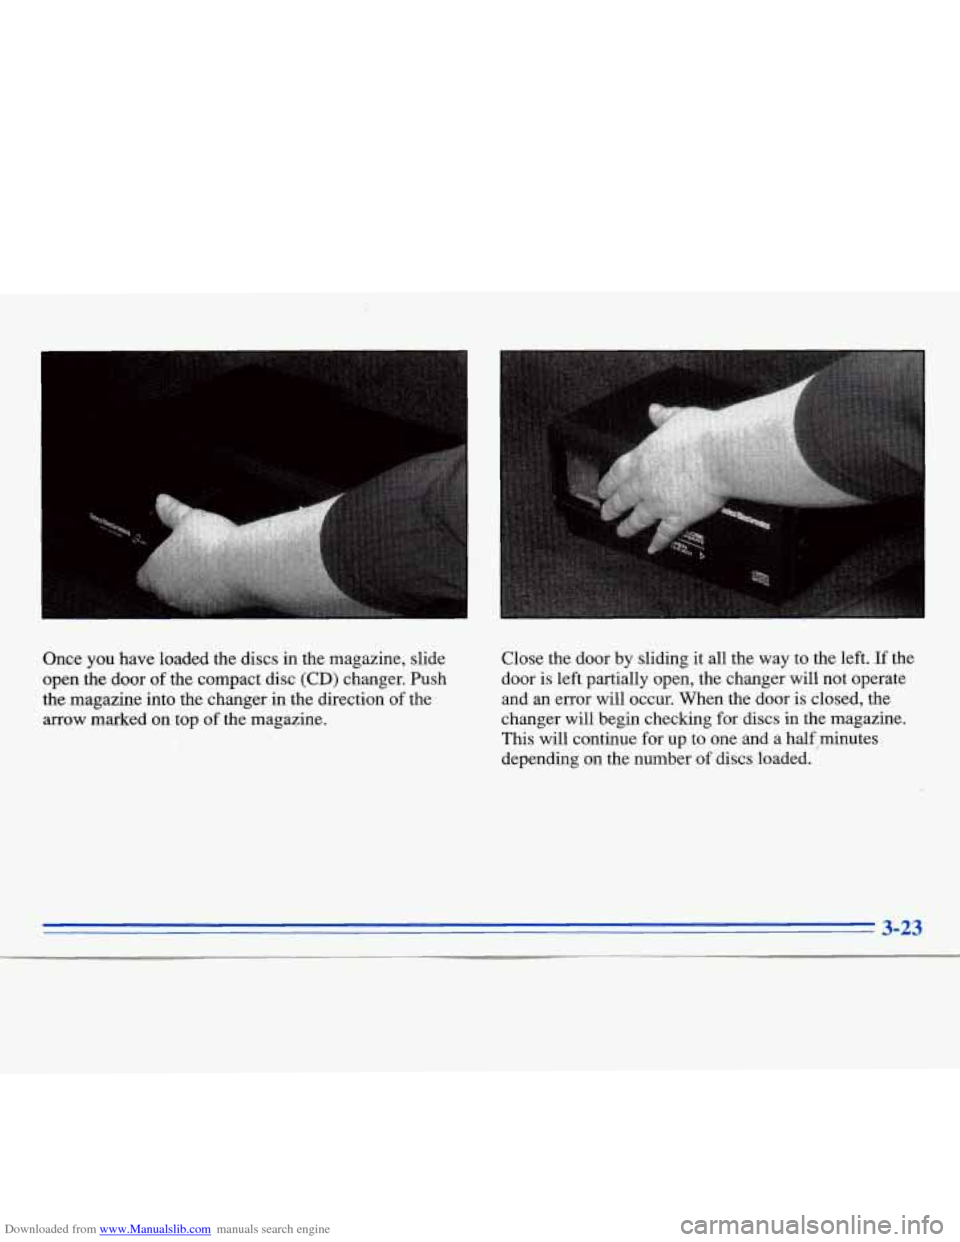
Downloaded from www.Manualslib.com manuals search engine Once you have loaded the discs in the magazine, slide
open the door of the compact disc (CD) changer. Push
the magazine into the changer
in the direction of the
arrow marked on top
of the magazine. Close the door by sliding it all the
way to the left. If the
door is left partially open, the changer will not operate
and an error will occur. When the door is closed, the
changer will begin checking for discs in the magazine.
This will continue for up to one and a half .minutes
depending on the number
of discs loaded.
- 3-23
Page 171 of 354

Downloaded from www.Manualslib.com manuals search engine To eject the magazine from the player, slide the CD
changer door all the way open. The magazine will
automatically eject. Remember to keep the door closed
whenever possible to keep dirt and dust from getting
inside the changer.
Whenever a CD magazine with discs
is loaded in the
changer, the CD symbol will appear on the radio display.
If the CD changer is checking the magazine for CDs, the
CD symbol will flash on the display until the changer is
ready to play. When a
CD begins playing, a disc and
track number will be displayed, The disc numbers are
listed on the front
of the magazine.
All
of the CD functions are controlled by the radio
buttons, except for ejecting the
CD magazine.
CD: Press this button, if you have a disc loaded in the
changer and the radio is playing,
to play a compact disc.
Press
AM or FM 1-2 to return to the radio when a
compact disc is playing. Press TAPE to switch between
the tape and compact disc if both are loaded. Press CD
to switch between the CD pushbuttons
1 through 6 and 7
through 12. These pushbuttons represent the order of the
discs loaded in the changer.
DSPL: Press this button to display the time of day. Press
this button again within five seconds to see the element
time. Press DSPL again within five seconds
to see how
many compact discs are loaded in the changer and
where they are loaded. Press DSPL again
to review the
active preset buttons
( 1 through 6 or 7 through 12).
PUSHBUTTONS: Press buttons one through six to go
from one compact disc to another that is loaded in the
changer.
SIDE: Press this button to select the next disc in the
changer. Each time
you press this button, DISC
LOADING
will appear on the display and the disc
number on the radio display will move to the next
available
CD.
REV Press this button to reverse quickly through a
track selection.
FF: Press this button to advance quickly through a
track selection.
RDM: Press this button to enter random play mode.
RDM will appear on
the display. The loaded discs will
be played
in random rather than sequential (1, 2, 3. . .)
order. Press SEEK while RDM is on the display to
randomly seek through discs and tracks. Press RDM
again
to return to sequential order.
Page 175 of 354

Downloaded from www.Manualslib.com manuals search engine If an error occurs while trying to play a cassette tape, it
could be that.:
The cassette tape is tight and the cassette player
cannot turn the hubs
of the tape. (Hold the cassette
tape with the open end down and try turning the right
hub counterclockwise with a pencil. Flip the tape
over and repeat. If the hubs do not turn easily, your
cassette tape may be damaged and should not be
used
in the player. Try a new tape to be sure your
player
is working properly.
The cassette tape is broken. (Check to see if your
tape is broken.
Try a new tape.)
Note that cassette tape adapter kits for portable compact
disc players will not work in your cassette player. These
adapters will cause an error message to show on the
display, and the adapter cassette will be ejected.
TAPE: Press this button to switch from radio or CD to
cassette tape play. Press
AM or FM 1-2 to switch to the
radio.
SEEK: Press the forward arrow to search for the next
selection on the tape. Press the backward arrow to
search for the previous selection on the tape (REP will appear on
the display). Your tape must have at least
three seconds of silence between each selection
for
SEEK to work. The sound will be muted while seeking.
REV Press this left arrow button to reverse the tape
rapidly. Press
it again to return to playing speed. The radio
will play while the tape reverses and
REV will appear on
the display. You may use your station pushbuttons
to tune
to another mdio station while in REV mode.
FF: Press this right arrow button to advance quickly to
another part
of the tape. Press the button again to return
to playing speed. The radio will play while the tape
advances and
FWD will appear on the display. You may
use your station pushbuttons to tune to another radio
station
while in FWD mode.
SIDE: Press this button to change the side of the tape
that
is playing.
SCAN: Press this button. SCAN will appear on the
display until the next selection is found and then PLAY
will appear on
the display. Use SCAN to listen to
selections for a few seconds.
The tape will go to a
selection, stop for a few seconds, then go on to the next
station. Press this button again
to stop scanning.
Page 178 of 354
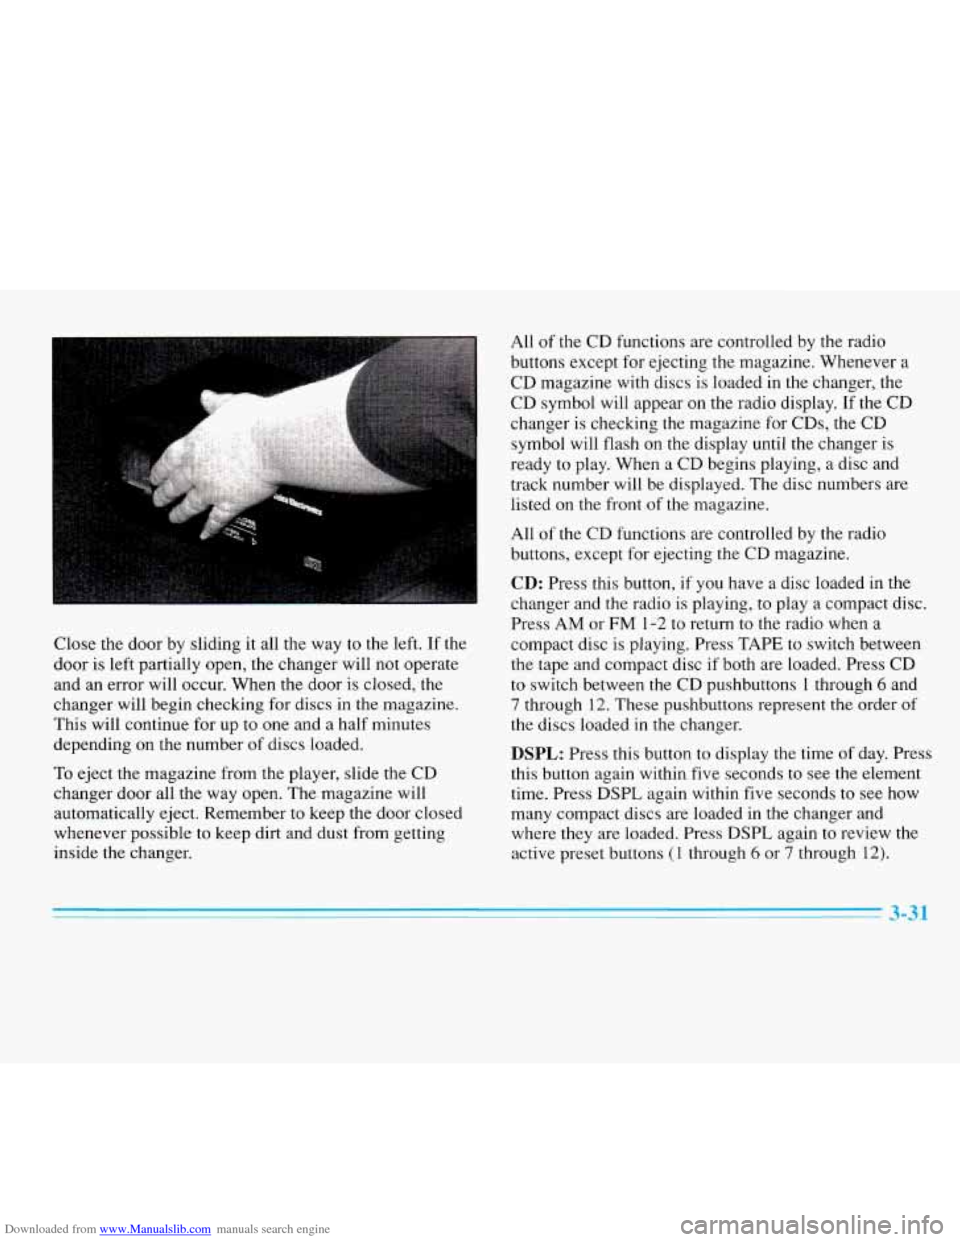
Downloaded from www.Manualslib.com manuals search engine Close the door by sliding it all the way to the left. If the
door is left partially open, the changer will not operate
and an error will occur. When the door is closed, the
changer will begin checking for discs in the magazine.
This will continue for up to one and a half minutes
depending on the number of discs loaded.
To eject the magazine from the player, slide the CD
changer door all the way open. The magazine will
automatically eject. Remember to keep the door closed
whenever possible to keep dirt and dust from getting
inside the changer. All of
the CD functions are controlled by the radio
buttons except for ejecting the magazine. Whenever a
CD magazine with discs is loaded in the changer, the
CD symbol will appear on the radio display. If the CD
changer is checking the magazine for CDs, the CD
symbol will flash on the display until
the changer is
ready
to play. When a CD begins playing, a disc and
track number will be displayed. The disc numbers are
listed on the front
of the magazine.
All
of the CD functions are controlled by the radio
buttons, except for ejecting the CD magazine.
CD: Press this button, if you have a disc loaded in the
changer and the radio is playing, to play a compact disc.
Press
AM or FM 1-2 to return to the radio when a
compact disc is playing. Press TAPE to switch between
the tape and compact disc if both are loaded. Press CD
to switch between the CD pushbuttons
1 through 6 and
7 through 12. These pushbuttons represent the order of
the discs loaded in the changer.
DSPL: Press this button to display the time of day. Press
this button again within five seconds
to see the element
time. Press
DSPL again within five seconds to see how
many compact discs are loaded in
the changer and
where they are loaded. Press DSPL again to review the
active preset buttons
(1 through 6 or 7 through 12).
Page 181 of 354
Downloaded from www.Manualslib.com manuals search engine Understanding Radio Reception
FM Stereo
FM stereo will give you the best sound. But FM signals
will reach only about 10 to 40 miles (16 to 65 km). Tall
buildings or hills can interfere with
FM signals, causing
the sound to come and
go.
AM
The range for most AM stations is greater than for FM,
especially at night. The longer range, however, can
cause stations to interfere with each other.
AM can pick
up noise from things like storms and power lines. Try
reducing the treble
to reduce this noise if you ever get it.
Tips About Your Audio System
Hearing damage from loud noise is almost undetectable
until it is too late. Your hearing can adapt to higher
volumes
of sound. Sound that seems normal can be
loud and harmful to your hearing. Take precautions by
adjusting the volume control on your radio to a safe
sound level before your hearing adapts
to it.
To help avoid hearing loss or damage:
0 Adjust the volume control to the lowest setting.
Increase volume slowly until you hear comfortably
and clearly.
~~
NOTICE:
Before you add any sound equipment to your
vehicle
-- like a tape player, CB radio, mobile
telephone or two-way radio
-- be sure you can
add what you want. If you can, it’s very important
to do it properly. Added sound equipment may
interfere with the operation
of your vehicle’s
engine, Cadillac radio
or other systems, and even
damage them. Your vehicle’s systems may
interfere with the operation of sound equipment
that has been added improperly.
So, before adding sound equipment, check with
your dealer and be sure to check Federal rules
covering mobile radio and telephone units.
Page 189 of 354
Downloaded from www.Manualslib.com manuals search engine Avoid needless heavy braking. Some people drive in
spurts -- heavy acceleration followed by heavy
braking
-- rather than keeping pace with traffic. This is a
mistake. Your brakes may not have time to cool between
hard stops. Your brakes will wear out much faster
if you
do a lot of heavy braking. If you keep pace with the
traffic and allow realistic following distances, you
will
eliminate a lot of unnecessary braking. That means
better braking and longer brake life.
If your engine ever stops while you’re driving, brake
normally but don’t pump your brakes. If you do, the
pedal may get harder
to push down. If your engine
stops,
you will still have some power brake assist. But
you will use it when
you brake. Once the power assist is
used
up, it may take longer to stop and the brake pedal
will be harder to push. Your
vehicle has anti-lock brakes
(ABS). ABS is an
advanced electronic braking system that will help
prevent
a braking skid.
When you start your engine and begin to drive away,
your anti-lock brake system will check itself. You may
hear
a momentary motor or clicking noise while this test
is going on, and you may even notice that your brake
pedal moves a little. This is normal,
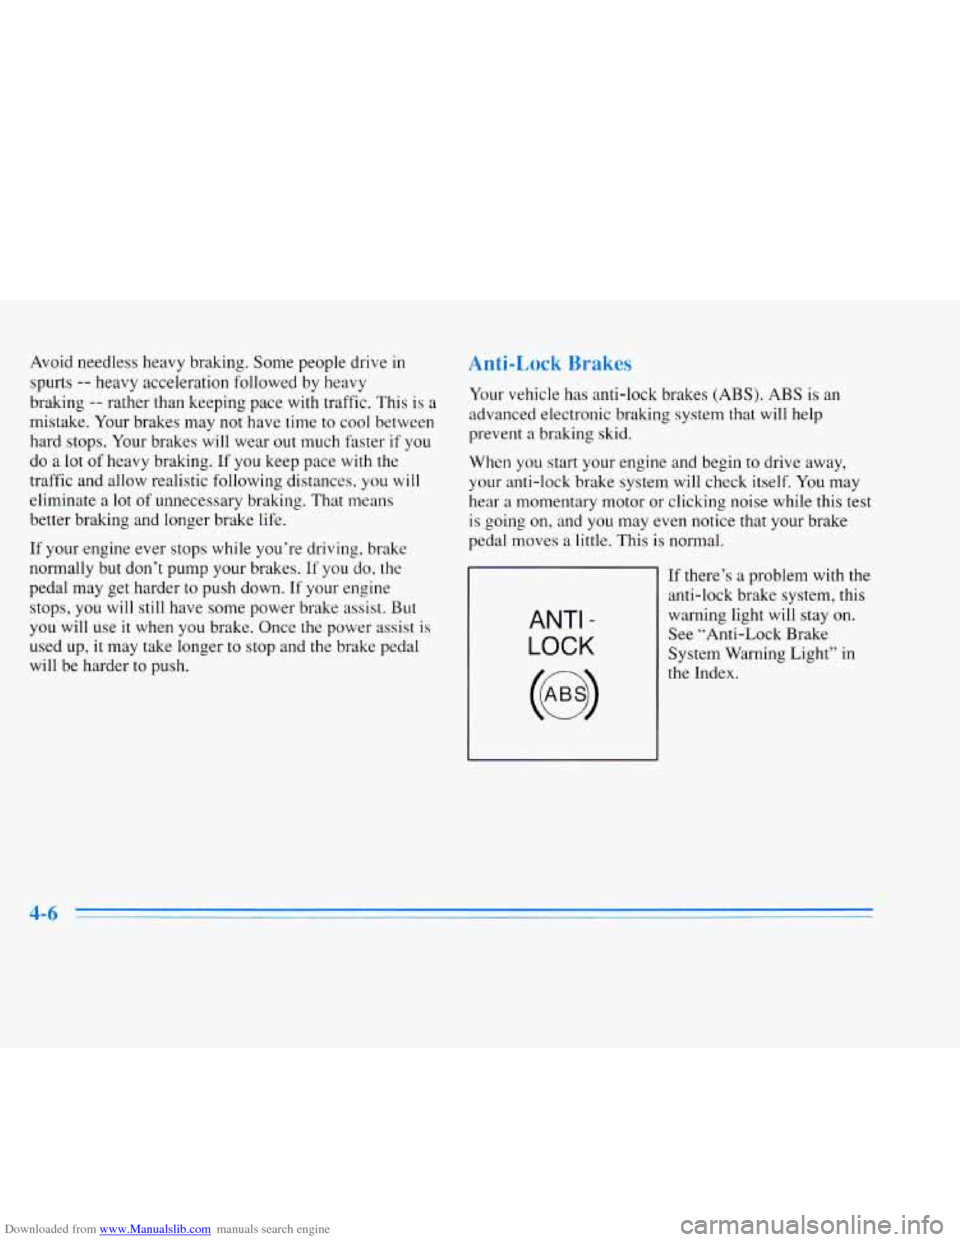
ANTI -
LOCK
If there’s a problem with the
anti-lock brake system, this
warning light will stay on.
See “Anti-Lock Brake
System Warning Light” in
the Index.
Page 196 of 354
Downloaded from www.Manualslib.com manuals search engine Passing
The driver of a vehicle about to pass another on a
two-lane highway waits for just the right moment,
accelerates, moves around the vehicle ahead, then goes
back into the right lane again. A simple maneuver?
Not necessarily! Passing another vehicle on a two-lane
highway is a potentially dangerous move, since the
passing vehicle occupies the same lane as oncoming
traffic for several seconds. A miscalculation, an error in
judgment, or a brief surrender to frustration or anger can
suddenly put the passing driver face to face with the
worst of all traffic accidents
-- the head-on collision.
So here are some tips for passing:
“Drive ahead.” Look down the road, to the sides and to
crossroads for situations that might affect your passing
patterns.
If you have any doubt whatsoever about
making a successful pass, wait for a better time.
Watch for traffic signs, pavement markings and lines.
If you
can see a sign up ahead that might indicate a
turn or in intersection, delay your pass. A broken
center line usually indicates it’s all right to pass (providing the road ahead is clear). Never cross a solid
line on your side of the lane or a double solid line,
even if the road seems empty of approaching traffic.
0 Do not get too close to the vehicle you want to pass
while you’re awaiting an opportunity. For one thing,
following too closely reduces your area of vision,
especially if you’re following a larger vehicle. Also,
you won’t have adequate space if the vehicle ahead
suddenly slows or stops. Keep back a reasonable
distance.
0 When it looks like a chance to pass is coming up,
start to accelerate but stay
in the right lane and don’t
get too close. Time your move
so you will be
increasing speed as the time comes to move into the
other lane. If the way is clear to pass, you will have a
“running start’’ that more than makes up for the
distance you would lose by dropping back. And if
something happens to cause you to cancel your pass,
you need only slow down and drop back again and
wait for another opportunity.
If other cars are lined up to pass a slow vehicle, wait
your turn. But take care that someone isn’t trying to
pass you as you pull out to pass the slow vehicle.
Remember to glance over your shoulder and check
the blind spot.
I
4-13