1996 CADILLAC ELDORADO check engine
[x] Cancel search: check enginePage 277 of 354
Downloaded from www.Manualslib.com manuals search engine I 3.
5.
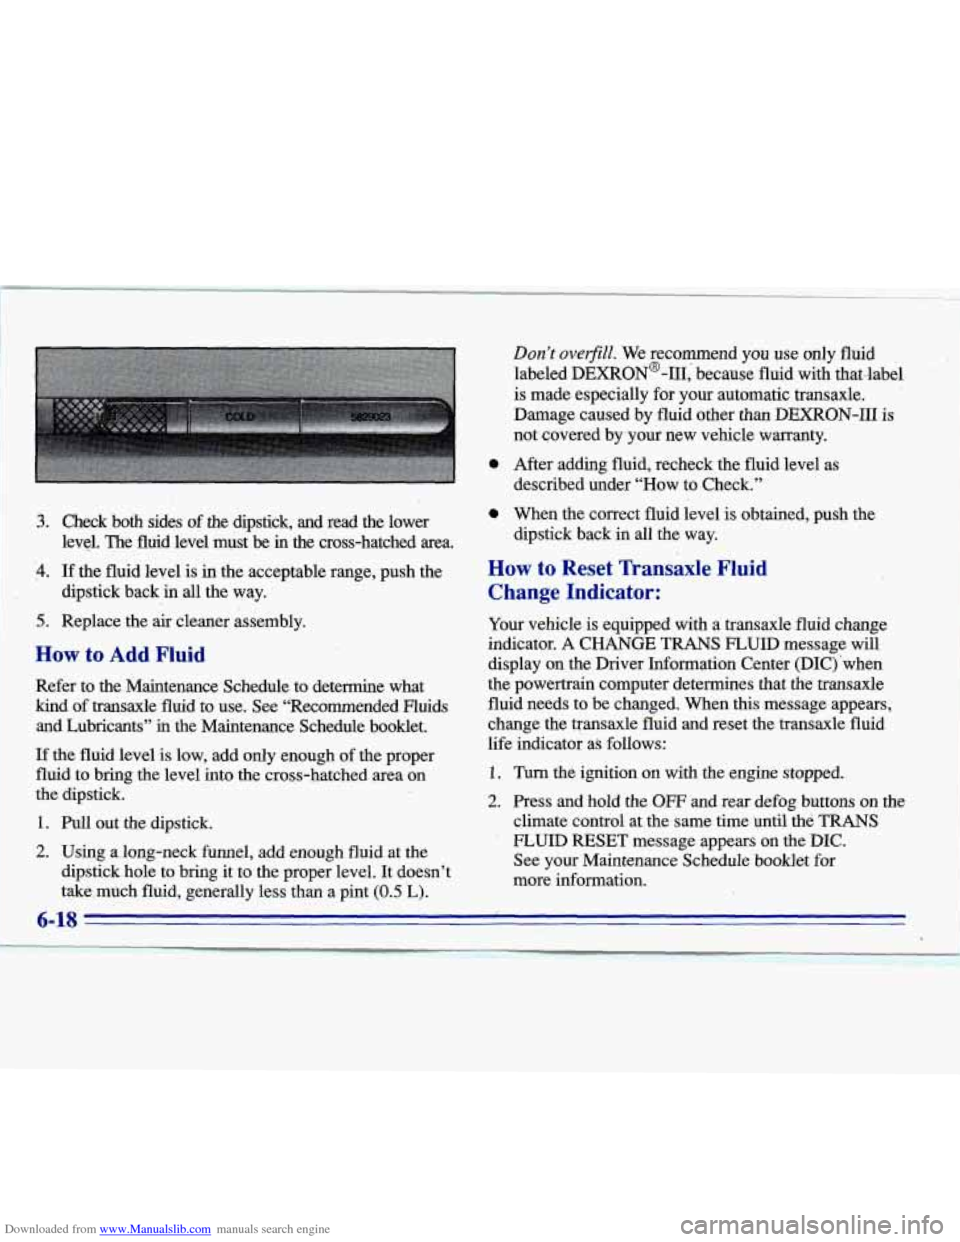
Check both sides of the dipstick, and read the lower
level. The fluid level must be in’the cross-hatched area.
If the fluid level is in the acceptable range, push the
dipstick back in all the way.
Replace the
air cleaner assembly.
How to Add Fluid
Refer to the Maintenance Schedule to determine what
kind of transaxle fluid to use. See “Recommended Fluids and Lubricants”
ii.1 the Maintenance Schedule booklet.
If the fluid level is low, add only,enough of the proper
fluid to bring the level into the cross-hatched area on
the dipstick. 1
1. Pull out the dipstick.
2. Using along-neck funnel, add enough fluid at the
dipstick hole to bring it to the proper level. It doesn’t
take,much fluid, generally less than a pint
(0.5 ‘L).
0
0
Don’t overfiill. We recommend you use only fluid
labeled DEXRON@-111, because fluid with that-label
is made especially for your automatic transaxle.
Damage caused by fluid other than DEXRON-I11
is
not covered by your new vehicle warranty.
After adding fluid, recheck the fluid level
as
described under “How to Check.”
When the correct fluid level is obtained, push the
dipstick back in all the way.
How to Reset Transaxle Fluid
Change Indicator:
Your vehicle is equipped with a transaxle fluid change
indicator.
A CHANGE TRANS FLUID message will
display on the Driver Information Center (DIC) ‘when
the powertrain computer determines that the transaxle
fluid needs to be changed. When
this message appears,
change the transaxle fluid and reset the transaxle fluid
life indicator as follows:
1. Turn the ignition on with the engine stopped.
2. Press and hold the OW and rear defog buttons on the
climate control at the same time until the
TRANS
- FLUID RESET message appears on the DIC.
See your Maintenance Schedule booklet
for
more information.
Page 279 of 354
Downloaded from www.Manualslib.com manuals search engine Adding only plain water to your cooling system
can be dangerous. Plain water, or some other
liquid like alcohol, can boil before the proper
coolant mix will. Your vehicle’s coolant warning
system is set
for the proper coolant mix. With
plain water or the wrong mix, your engine could
get too hot but you wouldn’t get the overheat
warning. Your engine could catch fire and you or
others could be burned.
Use a 50/50 mix of clean
water
and DEX-COOL (orange-colored,
silicate-free) antifreeze.
NOTICE:
If you use an improper coolant mix, your engine
could overheat and be badly damaged. The
repair cost wouldn’t be covered by your
warranty.
Too much water in the mix can freeze
and crack the engine, radiator, heater core and
other parts.
If you have to add coolant more than four times a year,
have your dealer check your cooling system.
NOTICE:
If you use the proper coolant, you don’t have to
add extra inhibitors or additives which claim to
improve the system. These can be harmful.
6-20
Page 280 of 354
Downloaded from www.Manualslib.com manuals search engine Checking Coolant
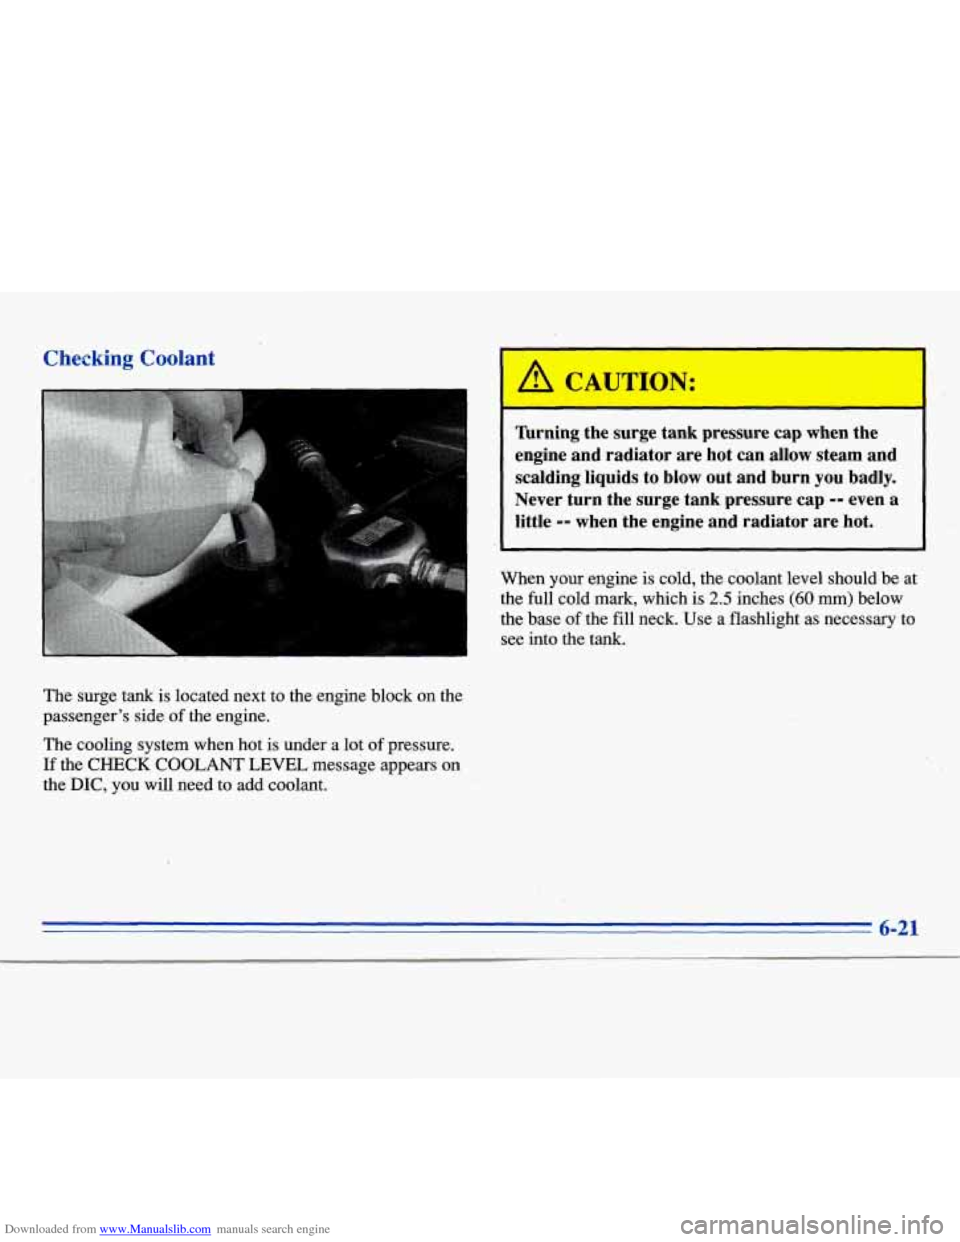
The surge tank is located next to the engine block on the
passenger’s side of the engine.
The cooling system when hot is under
a lot of pressure.
If the CHECK COOLANT LEVEL message appears on
the
DIC, you will need to add coolant.
A CAUTION:
I
I
lhrning the surge tank pressure cap when the
engine and radiator are hot can allow steam and
scalding liquids
to blow out and burn you badly.
Never turn the surge tank pressure cap
-- even a
little
-- when the engine and radiator are hot.
When your engine is cold, the coolant level should be at
the full cold mark, which is
2.5 inches (60 mm) below
the base
of the fill neck. Use a flashlight as necessary to
see into the tank..
6-21
Page 282 of 354
Downloaded from www.Manualslib.com manuals search engine Thermostat
Engine coolant temperature is controlled by a thermostat
in the engine coolant system. The thermostat stops the
flow of coolant through the radiator until the coolant
reaches a preset temperature.
If your thermostat needs to be replaced, a General
Motors thermostat is recommended.
Power Steering Fluid
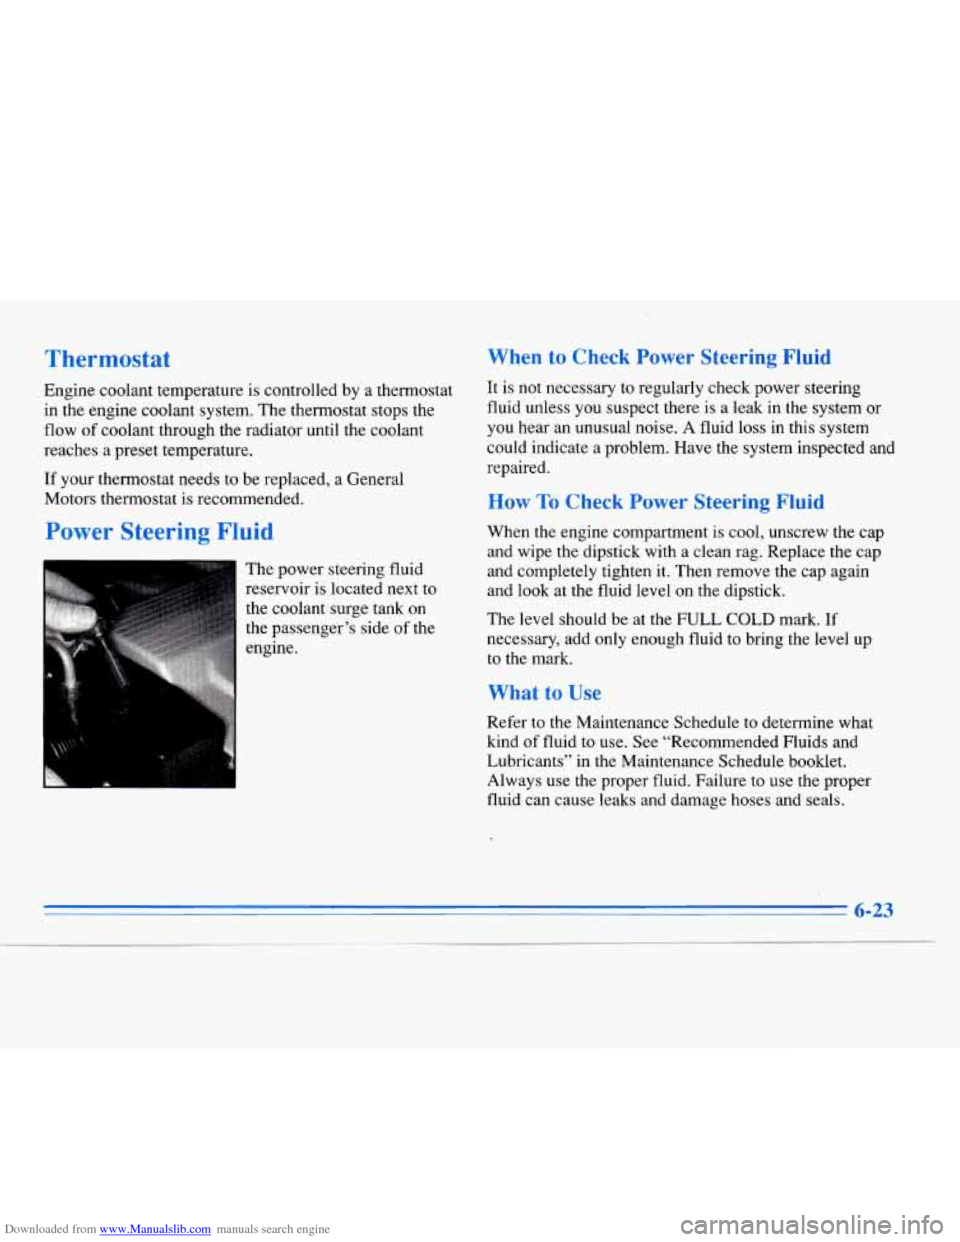
The power steering fluid
reservoir is located next to
the coolant surge tank on
the passenger’s side of the
engine.
When to Check Power Steering Fluid
It is not necessary to regularly check power steering
fluid unless you suspect there is a leak in the system or
you hear an unusual noise. A fluid loss in this system
could indicate a problem. Have the system inspected and
repaired.
How To Check Power Steering Fluid
When the engine compartment is cool, unscrew the cap
and wipe the dipstick with a clean rag. Replace the cap
and completely tighten
it. Then remove the cap again
and look at the fluid level on the dipstick.
The level should be at the FULL
COLD mark. If
necessary, add only enough fluid to bring the level up
to the mark.
What to Use
Refer to the Maintenance Schedule to determine what
kind of fluid to use. See “Recommended Fluids and
Lubricants” in the Maintenance Schedule booklet.
Always use the proper fluid. Failure to use the proper
fluid can cause leaks and damage hoses and seals.
6-23
Page 295 of 354
Downloaded from www.Manualslib.com manuals search engine We don’t make tires. Your new Cadillac comes with
high-quality tires made by a leading tire manufacturer.
If you ever have questions about your tire warranty and
where to obtain service,
see your Cadillac Warranty
booklet
for details.
A CAUTION:
Poorly maintained and improperly used tires are
dangerous.
0 Overloading your tires can cause
overheating
as a result of too much friction.
You could have an air-out and a serious
accident. See “Loading Your Vehicle”
in
the Index.
CAUTION: (Continued)
0
0
Underinflated tires pose the same danger as
overloaded tires. The resulting accident
could cause serious injury. Check
all tires
frequently to maintain the recommended pressure. Tire pressure should be checked
when your tires are cold.
Overinflated tires
are more likely to be
cut, punctured or broken by
a sudden
impact
-- such as when you hit a pothole.
Keep tires at the recommended pressure.
Worn, old tires can cause accidents.
If your
tread is badly worn, or if your tires have
been damaged, replace them.
See “Inflation
-- Tire Pressure” in this section
for inflation pressure adjustment for higher
speed driving.
Page 297 of 354

Downloaded from www.Manualslib.com manuals search engine When to Check
Check your tires once a month or more.
Don’t forget your compact spare tire. It should
be at
60 psi (420 Wa).
How to Check
Use a good quality pocket-type gage to check tire
pressure.
You can’t tell if your tires are properly inflated
simply by looking at them. Radial tires may look
properly inflated even when they’re underinflated.
Be sure to put the valve caps back on the valve stems.
They help prevent
le:.& by keeping out dirt and
moisture.
Tire Inspection and Rotation
Tires should be inspected every 6,000 to 8,000 miles
(10 000 to 13 000 km) for any signs of unusual wear.
If unusual wear is present, rotate your tires as soon as
possible and check wheel alignment. Also check for
damaged tires or wheels. See “When It’s Time for
New
Tires” and “Wheel Replacement” later in this section for
more information. The
purpose
of regular rotation is to achieve more
uniform wear for all tires on
the vehicle. The first
rotation
is the most important. See “Scheduled
Maintenance Services”
in the Maintenance Schedule
booklet for scheduled rotation intervals.
When rotating your tires, always use the correct rotation
pattern shown here.
Don’t include the compact spare tire
in your tire rotation.
After the tires have been rotated, adjust the front and
rear
inflation pressures as shown on the Tire-Loading
Information label. Make certain that all wheel nuts
are properly tightened. See ”Wheel Nut Torque” in
the Index.
6-38
Page 298 of 354
Downloaded from www.Manualslib.com manuals search engine I A CAUTION:
I
Rust or dirt on a wheel, or on the parts to which
it is fastened, can make wheel nuts become loose
after
a time. The wheel could come off and cause
an accident. When you change
a wheel, remove
any rust or dirt from places where the wheel
attaches to the vehicle. In an emergency,
you can
use
a cloth or a paper towel to do this; but be
sure to use a scraper or wire brush later, if you
need to, to get
all the rust or dirt off. (See
“Changing
a Flat Tire” in the Index.)
,
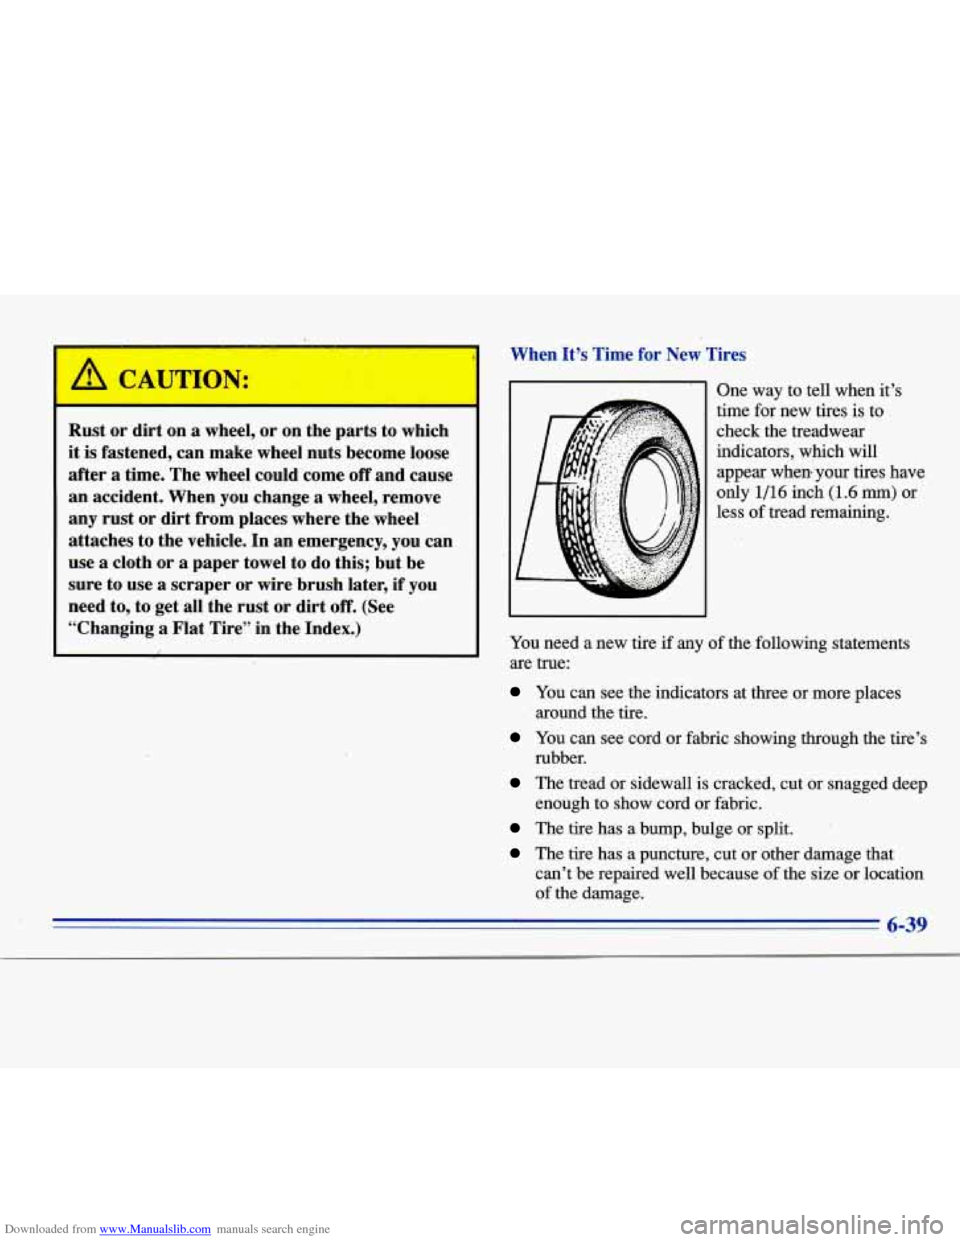
When It’s Time for New Tires
One way to tell when it’s
time for new tires is to check the treadwear
indicators, which
will
appear whenb’,your tires have
only
1/16 inch (1.6 mm) or
less of tread remaining.
You need a new tire if any of the following statements
are true:
You can see the indicators at three or more places
around the tire.
You can see cord or fabric showing through the tire’s
rubber.
The tread or sidewall is cracked, cut or snagged deep enough to show cord or fabric.
The tire has a bump, bulge or split.
The tire has a puncture, cut or other damage that can’t be repaired well because of the size or location
of the damage.
6-39
Page 307 of 354
Downloaded from www.Manualslib.com manuals search engine Care af Safety Belts
Keep belts clean and dry.
A CAUTION:
Do not bleach or dye safety belts. If you do, it
may severely weaken them.
In a crash they might
not be able to provide adequate protection.
Clean safety belts only with mild
soap and
lukewarm water.
Glass
Glass should be cleaned often. GM Glass Cleaner (GM
Part No. 1050427) or a liquid household glass cleaner
will remove normal tobacco smoke and dust films.
Don’t use abrasive cleaners on glass, because they may
cause scratches. Avoid placing decals on the inside rear
window, since they may have to be scraped
off later. If
abrasive cleaners are used on the inside of the rear
window, an electric defogger element may be damaged.
Any temporary license should not be attached across the
defogger grid.
Cleaning the Outside of the
Windshield and Wiper Blades
If the windshield is not clear after using the windshield
washer, or
if the wiper blade chatters when running, wax
or other material may be on the blade or windshield.
Clean the outside of the windshield with
GM
Windshield Cleaner, Bon-Ami Powder@ (GM Part
No. 105001 1). The windshield is clean if beads do not
form when you rinse it with water.
Clean the blade by wiping vigorously with a cloth
soaked in full-strength windshield washer solvent. Then
rinse the blade
with water.
Wiper blades should be checked on a regular basis and
replaced when worn.
Weatherstrips
Silicone grease on weatherstrips will make them last
longer, seal better, and not stick or squeak. Apply
silicone grease
with a clean cloth at least every six
months. During very cold, damp weather more frequent
application may be required. (See “Recommended Fluids
and Lubricants’’
in the Maintenance Schedule booklet.)
6-48