1995 PONTIAC PONTIAC turn signal
[x] Cancel search: turn signalPage 6 of 354
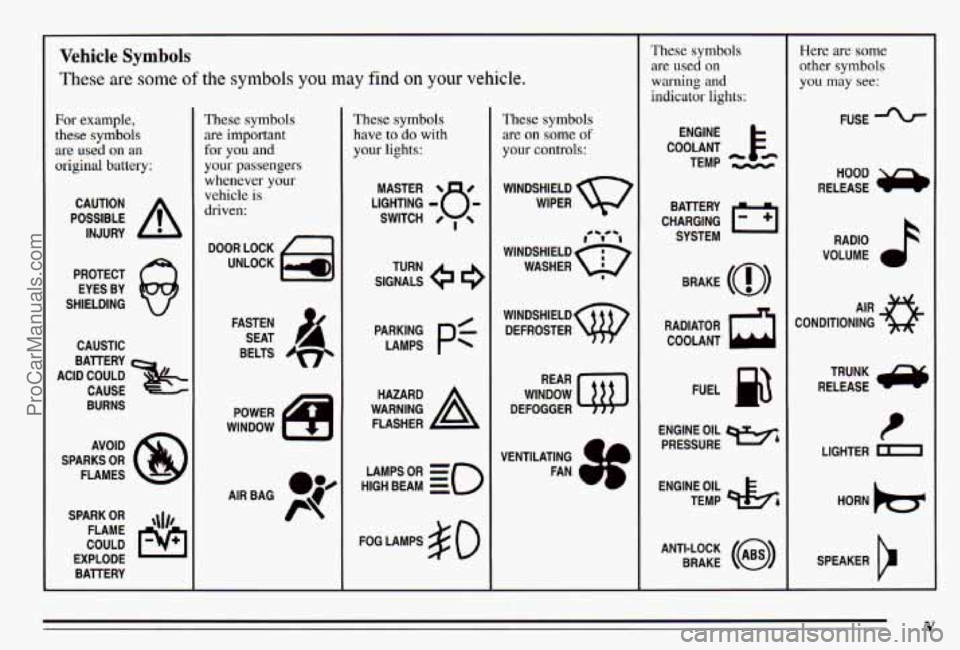
Vehicle Symbols
These are some of the symbols you may find on your vehicle.
For example,
these symbols
are used on an
original battery;
POSSIBLE A
CAUTION
INJURY
PROTECT EYES BY
SHIELDING
CAUSTIC
ACID COULD BATTERY
CAUSE
BURNS
AVOID
SPARKS
OR
FLAMES
SPARK
OR ,\I/,
COULD FLAME
EXPLODE BATTERY
These symbols
are important
for
you and
your passengers
whenever your
vehicle is
driven:
DOOR LOCK
UNLOCK
FASTEN SEAT
BELTS
S
These symbols
have to
do with
your lights:
SIGNALS e
TURN
HIGH
LAMPSoR BEAM = =o
FOG LAMPS $0
These symbols
are
011 some of
your controls:
WINDSHIELD WIPER
WINDSHIELD DEFROSTER
WINDOW
DEFOGGER
VENTILATING
a+
FAN w*
These symbols
are used
on
warning and
indicator lights:
COOLANT F-
ENGINE
TEMP
- k
CHARGING BATTERY
SYSTEM
BRAKE
(0)
RADIATOR COOLANT
a
FUEL
ENGINE OIL
PRESSURE
Wb
TEMP OIL &
ANTI-LOCK (@)
BRAKE
Here are some
other symbols
you may see:
FUSE
RELEASE RADIO
k
VOLUME a
CONDITIONING AIR 33
RELEASE TRUNK ru
t
LIGHTER m
SPEAKER
b
V
ProCarManuals.com
Page 89 of 354
Tilt Steering Wheel
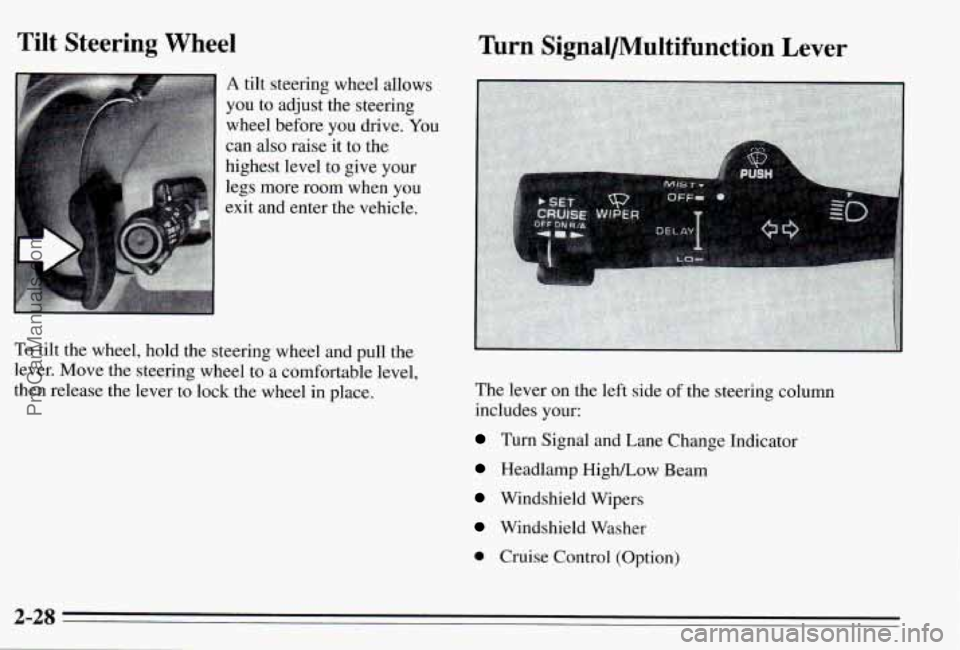
A tilt steering wheel allows
you to adjust the steering
wheel before you drive.
You
can also raise it to the
highest level
to give your
legs more room when you
exit and enter the vehicle.
To tilt the wheel, hold the steering wheel and pull the
lever. Move the steering wheel to a comfortable level,
then release the lever to lock the wheel in place.
Turn Signal/Multifunction Lever
The lever on the left side of the steering column
includes your:
Turn Signal and Lane Change Indicator
Headlamp HigWLow Beam
Windshield Wipers
Windshield Washer
0 Cruise Control (Option)
2-28
ProCarManuals.com
Page 90 of 354
Turn Signal and Lane Change Indicator
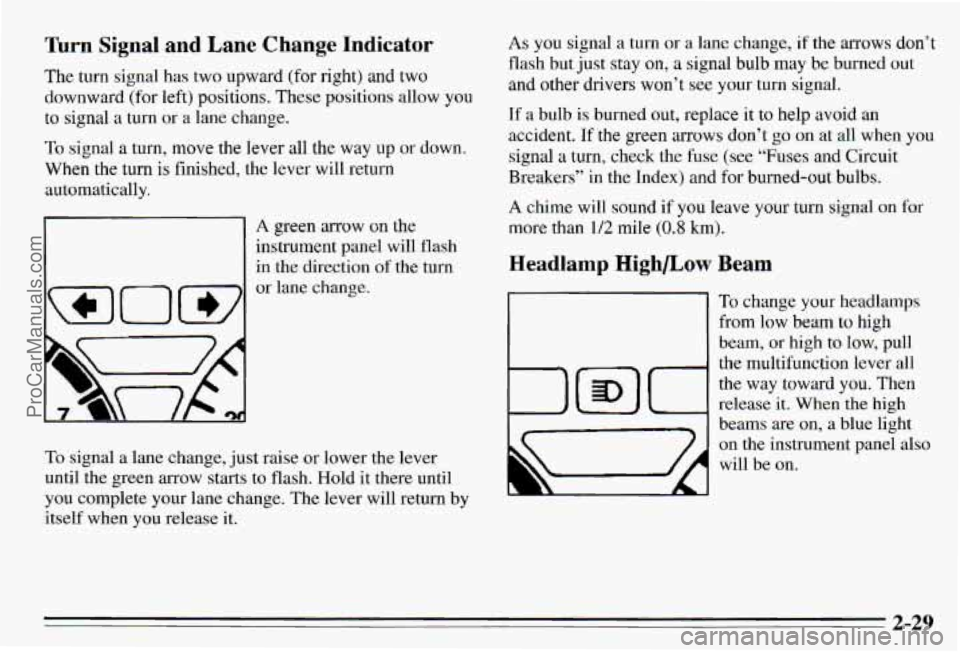
The turn signal has two upward (for right) and two
downward (for left) positions. These positic allow you
to signal a turn or a lane change.
To signal a turn, move the lever all the way up or down.
When the turn is finished, the lever will return
automatically.
r-l
WOW
A green arrow on the
instrument panel will flash
in the direction
of the turn
or lane change.
To signal
a lane change, just raise or lower the lever
until the green arrow starts to flash. Hold
it there until
you complete your lane change. The lever
will return by
itself when you release it.
As you signal a turn or a lane change, if the arrows don’t
flash but just stay on, a signal bulb may be burned out
and other drivers won’t see your turn signal.
If a bulb is burned out, replace it to help avoid an
accident.
If the green mows don’t go on at all when you
signal a
turn, check the fuse (see “Fuses and Circuit
Breakers” in the Index) and for burned-out bulbs.
A chime will sound if you leave your turn signal on for
more
than 1/2 mile (0.8 km).
Headlamp Highbow
1
Beam
To change your headlamps
from
low beam to high
beam, or high to low, pull
the multifunction lever all
the way toward you. Then
release
it. When the high
beams are on, a blue light
on the instrument panel also
will be on.
2-29
ProCarManuals.com
Page 121 of 354
Control Buttons
The trip calculator has three buttons that control its
functions.
MODE: Press this button to change the mode being
displayed.
EM: Press this button to change the display from
English to metric units or metric to English.
RESET Press this button for one second to reset the
mode displayed.
If you push and hold RESET for more
than five seconds, all the modes will reset. You can’t
reset
INST ECON, RANGE or EXT TEMP.
Head-Up Display (Option)
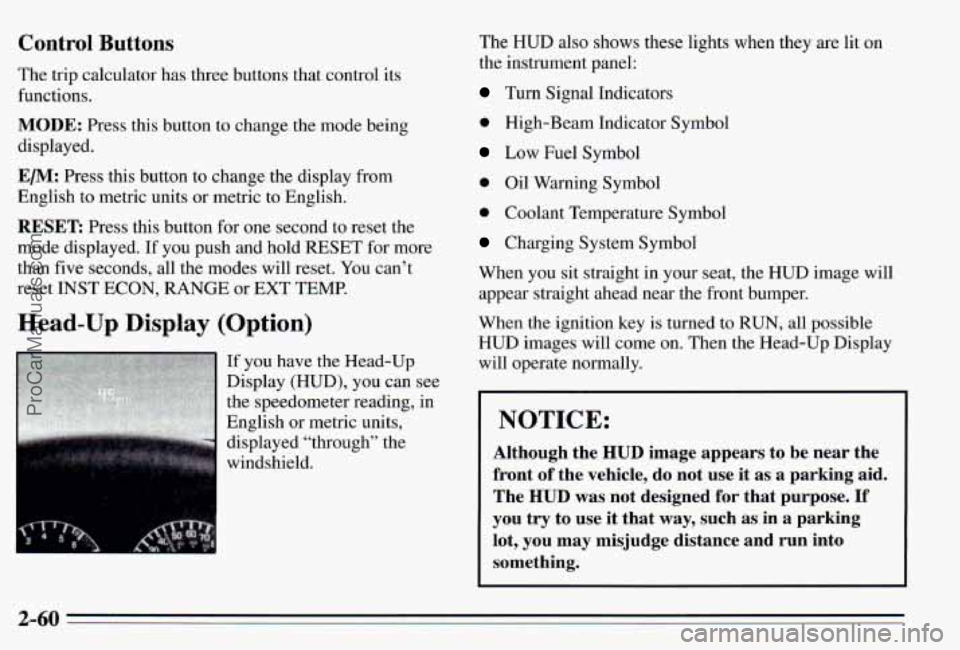
If you have the Head-Up
Display (HUD), you can see
the speedometer reading, in
English or metric units,
displayed “through” the
windshield. The
HUD also shows these lights when they are
lit on
the instrument panel:
Turn Signal Indicators
0 High-Beam Indicator Symbol
Low Fuel Symbol
0 Oil Warning Symbol
0 Coolant Temperature Symbol
Charging System Symbol
When you sit straight in your seat, the HUD image will appear straight ahead near the front bumper.
When the ignition key is turned
to RUN, all possible
HUD images will come on. Then the Head-Up Display
will operate normally.
NOTICE:
Although the HUD image appears to be near the
front
of the vehicle, do not use it as a parking aid.
The
HUD was not designed for that purpose. If
you try to use it that way, such as in a parking
lot, you may misjudge distance and run into
something.
2-60
ProCarManuals.com
Page 138 of 354
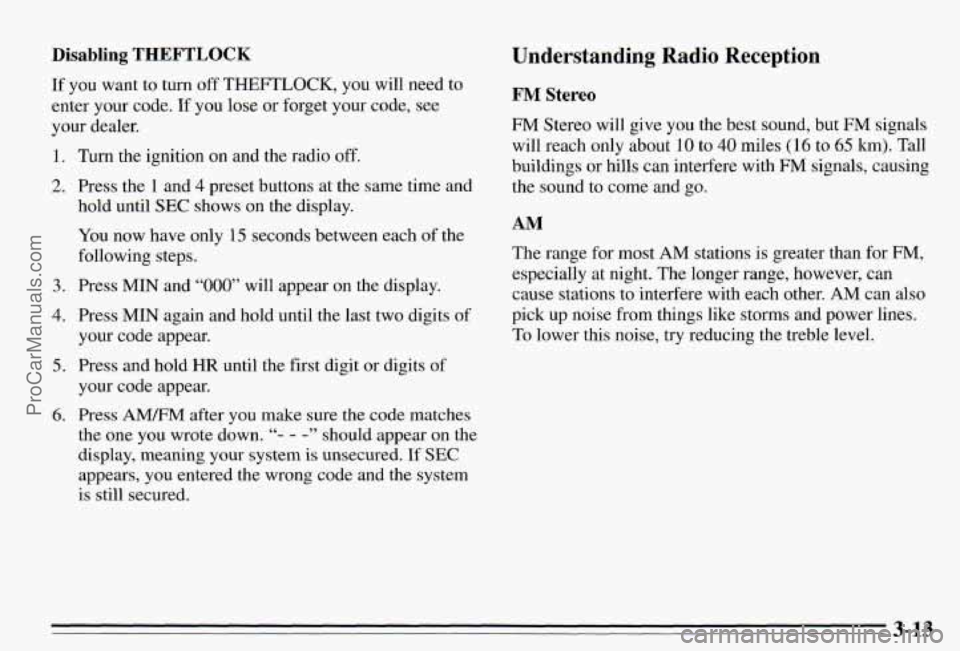
Disabling THEFTLOCK
If you want to turn off THEFTLOCK, you will neea to
enter
your code. If you lose or forget your code, see
your dealer.
1. Turn the ignition on and the radio off.
2. Press the 1 and 4 preset buttons at the same time and
hold until
SEC shows on the display.
You now have only
1.5 seconds between each of the
following steps.
3. Press MIN and “000” will appear on the display.
4. Press MIN again and hold until the last two digits of
your code appear.
5. Press and hold HR until the first digit or digits of
your code appear.
the one you wrote down.
“- - -” should appear on the
display, meaning your system
is unsecured. If SEC
appears, you entered the wrong code and the system
is still secured.
6. Press AMEM after you make sure the code matches
Understanding Radio Reception
FM Stereo
FM Stereo will give you the best sound, but mVr signals
will reach only about 10 to
40 miles (1 6 to 65 km). Tall
buildings or hills can interfere with
FM signals, causing
the sound to come and go.
I
AM
The range for most AM stations is greater than for FM,
especially at night. The longer range, however, can
cause stations to interfere with each other.
AM can also
pick up noise from things like storms and power lines.
To lower this noise,
try reducing the treble level.
3-13
ProCarManuals.com
Page 140 of 354
Care of Your Cassette Tape Player
A tape player that is not cleaned regularly is subject to
reduced sound quality, ruining the cassette,
or damaging
the mechanism. Tape cassettes that are not properly
stored in their plastic cases away from contaminants,
direct sunlight, and extreme heat may not operate
properly and could cause premature failure
of the tape
player.
Your tape player should be cleaned with every
50 hours
of use to provide optimum performance. Your radio may
display Cln to indicate that you have used your tape
player for
50 hours without resetting the tape clean
timer. If you notice a reduction in sound quality,
regardless of when the tape player was last cleaned, try
playing a different cassette to see if the tape or the tape
player is at fault. If the second cassette results in no
improvement in sound quality, try cleaning the tape
player.
Proper tape player cleaning should be done with a
scrubbing action, nonabrasive cleaner cassette. This is a
wet-type cleaning system that uses a cleaning cassette
with pads which scrub the tape head as the hubs of the
cleaner cassette turn.
To properly clean your tape player,
follow the instructions with the cleaning cassette. If you
use this type
of cleaner, the radio may display an error
and eject the cartridge. This
is normal and is the result
of an added feature in the tape player that detects broken
tapes.
If an error occurs, you will need to insert the
cleaning cassette at least three times to thoroughly clean the tape player.
You may prefer to use a non-scrubbing action, wet-type
cleaner.
This type of cleaner uses a fabric belt to clean
the tape head.
This type of cleaner cassette will not
cause an error, but it may not clean the tape player as
thoroughly as the scrubbing type cleaner.
A scrubbing action cleaner is available through your
dealer
(GM Part No. 12344600).
Cassettes are subject to wear and the sound quality may
degrade over time. Always verify that the cassette tape is in good condition and the tape player is clean before
obtaining service
on your tape player.
Care of Your Compact Discs
Handle discs carefully. Store them in their original cases
or other protective cases and away from direct sunlight
and dust. If the surface of a disc is soiled, dampen a
clean, soft cloth in a mild, neutral detergent solution and
clean it, wiping from the center to the edge.
Be sure never to touch the signal surface when handling
discs. Pick up discs by grasping the outer edges or the
edge of the hole and the outer edge.
3-15
ProCarManuals.com
Page 156 of 354
0 Check your mirrors, glance over your shoulder, and
start your left lane change signal before moving out
of the right lane to pass. When you are far enough
ahead of the passed vehicle to see its front in your
inside mirror, activate your right lane change signal
and move back into the right lane. (Remember that
your right outside mirror is convex. The vehicle you
just passed may seem to be farther away from you
than it really
is.)
Try not to pass more than one vehicle at a time on
two-lane roads. Reconsider before passing the next
vehicle.
Don’t overtake a slowly moving vehicle too rapidly.
Even though the brake lights are not flashing,
it may
be slowing down or starting to turn.
If you’re being passed, make it easy for the
following driver to get ahead of you. Perhaps you
can ease a little to the right.
Loss of Control
Let’s review what driving experts say about what
happens when the three control systems (brakes, steering
and acceleration) don’t have enough friction where the
tires meet the road to do what the driver has asked.
In any emergency, don’t give up. Keep trying to steer
and constantly seek an escape route or area of less
danger.
Skidding
In a skid, a driver can lose control of the vehicle.
Defensive drivers avoid most skids by taking reasonable
care suited to existing conditions, and by not
“overdriving” those conditions. But skids are always
possible.
The three types of skids correspond to your Pontiac’s
three control systems. In the braking skid your wheels
aren’t rolling.
In the steering or cornering skid, too
much speed or steering in a curve causes tires to slip and
lose cornering force. And in the acceleration skid too
much throttle causes the driving wheels to spin.
A cornering skid and an acceleration skid are best
handled by easing your foot off the accelerator pedal.
4-13
ProCarManuals.com
Page 159 of 354
Driving in the Rain
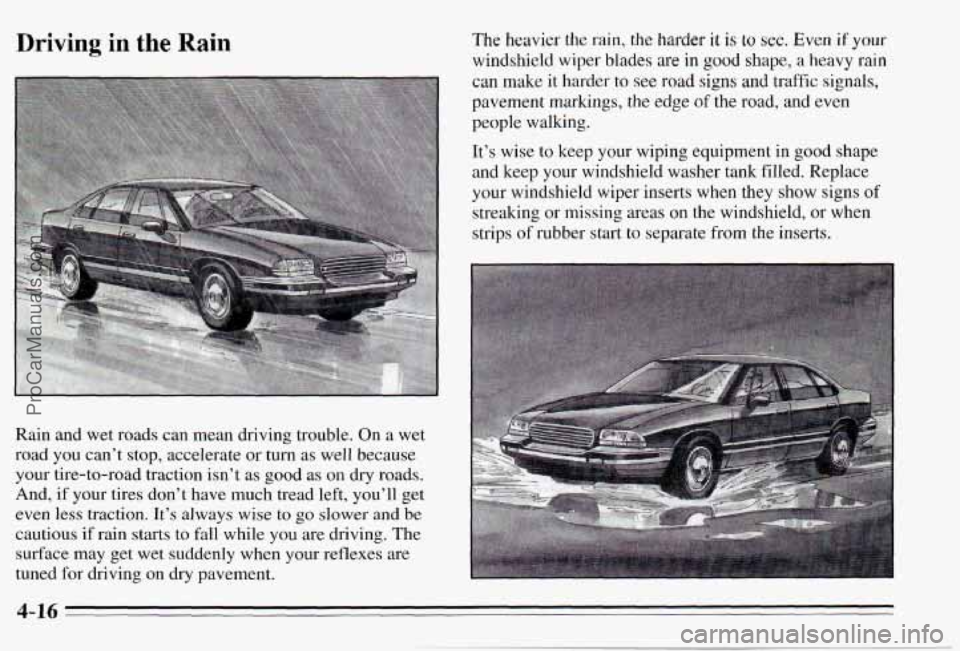
Rain and wet roads can mean driving trouble. On a wet
road you can’t stop, accelerate or turn as well because
your tire-to-road traction isn’t as good as
on dry roads.
And,
if your tires don’t have much tread left, you’ll get
even less traction. It’s always wise to go slower
and be
cautious
if rain starts to fall while you are driving. The
surface may get wet suddenly when your reflexes are
tuned for driving on dry pavement.
The heavier the rain, the harder it is to see. Even if your
windshield wiper blades
are in good shape, a heavy rain
can make it harder to see road signs and traffic signals,
pavement markings, the edge
of the road, and even
people walking.
It’s wise to keep your wiping equipment in good shape
and keep your windshield washer tank filled. Replace
your windshield wiper inserts when they show signs of streaking or missing areas on the windshield, or when
strips
of rubber start to separate from the inserts.
4-16
ProCarManuals.com