1995 PONTIAC BONNEVILLE manual radio set
[x] Cancel search: manual radio setPage 54 of 338
Leaving Your Vehicle
If you are leaving the vehicle, take your keys, open your
door and set the locks from inside. Then get out and
close the door.
If your vehicle has the theft deterrent option, see
“Theft-Deterrent System” later in this section.
Remote Keyless Entry (Option)
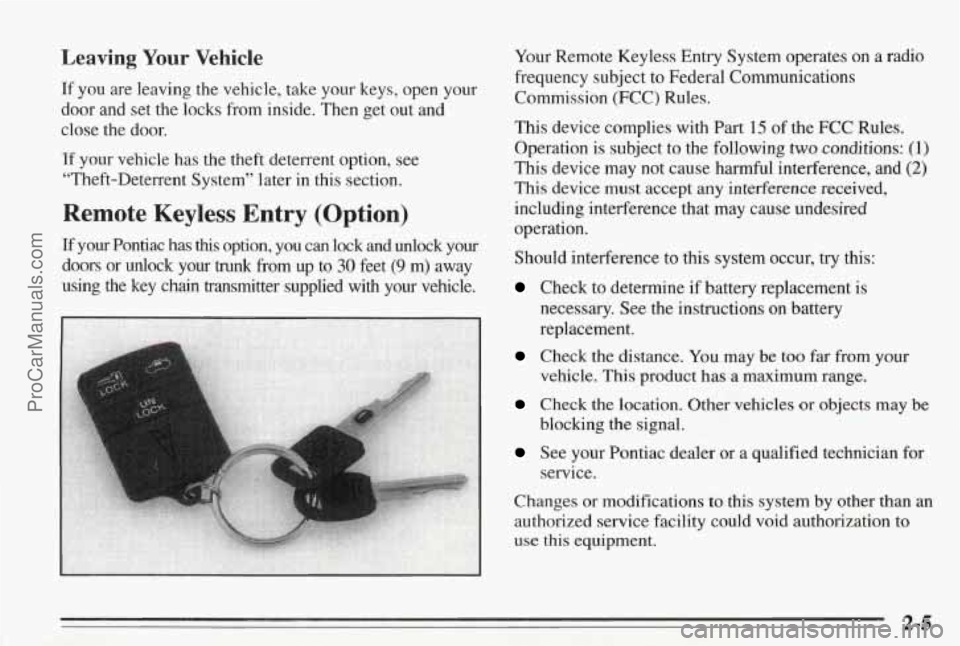
If your Pontiac has this option, you can lock and unlock your
doors or unlock your
trunk from up to 30 feet (9 m) away
using the key chain transmitter supplied with your vehicle. Your
Remote Keyless Entry System operates on a radio
frequency subject to Federal Communications
Commission (FCC) Rules.
This device complies with Part
15 of the FCC Rules.
Operation is subject
to the following two conditions: (I)
This device may not cause harmful interference, and (2)
This device must accept any interference received,
including interference that may cause undesired
operation.
Should interference to this system occur, try this:
Check to determine if battery replacement is
necessary. See the instructions
on battery
replacement.
Check the distance. You may be too far from your
vehicle. This product has a maximum range.
Check the location. Other vehicles or objects may be
blocking the signal.
See your Pontiac dealer or a qualified technician for
service.
Changes or modifications
to this system by other than an
authorized service facility could void authorization to
use this equipment.
2-5
ProCarManuals.com
Page 125 of 338
Electronic Climate Control (Option)
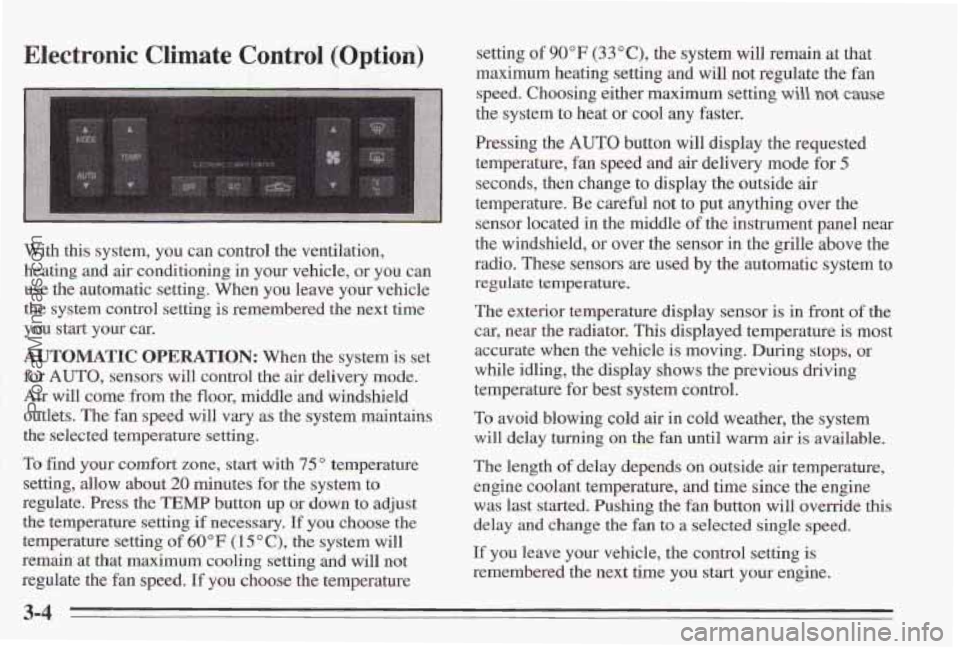
With this system, you can control the ventilation,
heating and
air conditioning in your vehicle, or you can
use the automatic setting. When
you leave your vehicle
the system control setting
is remembered the next time
you start your
car.
AUTOMATIC OPERATION: When the system is set
for
AUTO, sensors will control the air delivery mode.
Air will come from the floor, middle and windshield
outlets. The fan speed will
vary as the system maintains
the selected temperature setting.
To find your comfort
zone, start with 75" temperature
setting, allow about
20 minutes for the system to
regulate. Press the
TEMP button up or down to adjust
the temperature setting
if necessary, If you choose the
temperature
setting of 60°F (1 5 O C), the system will
remain at that maximum cooling setting and will not
regulate the fan speed.
If you choose the temperature setting
of 90°F (33"C), the system
will remain at that
maximum heating setting and will
not regulate the fan
speed. Choosing either maximum setting
will not cause
the system to heat or cool any faster.
Pressing the
AUTO button will display the requested
temperature, fan speed and air delivery mode for
5
seconds, then change to display the outside air
temperature. Be careful not to put anything over the
sensor located in the middle
of the instrument panel near
the windshield, or over the sensor in the
grille above the
radio. These sensors are used by the automatic system to
regulate temperature.
The exterior temperature display sensor is in front of the
car, near the radiator,
This displayed temperature is most
accurate when the vehicle is moving. During stops,
or
while idling, the display shows the previous driving
temperature for best system control.
To avoid blowing cold air in cold weather, the system
will delay turning on the
fan until warm air is available.
The length
of delay depeds on outside air temperature,
engine coolant temperature, and time since the engine
was last started. Pushing the
fan button will override this
delay and change the fan
to a selected single speed.
If you leave your vehicle, the control setting is
remembered the next time you start your engine.
3-4
ProCarManuals.com
Page 128 of 338
Audio Systems
The following pages describe the audio systems
available for your Pontiac, and how to get the best
performance from them. Please read about the system in
your vehicle.
Setting the Clock for Stereo Radio
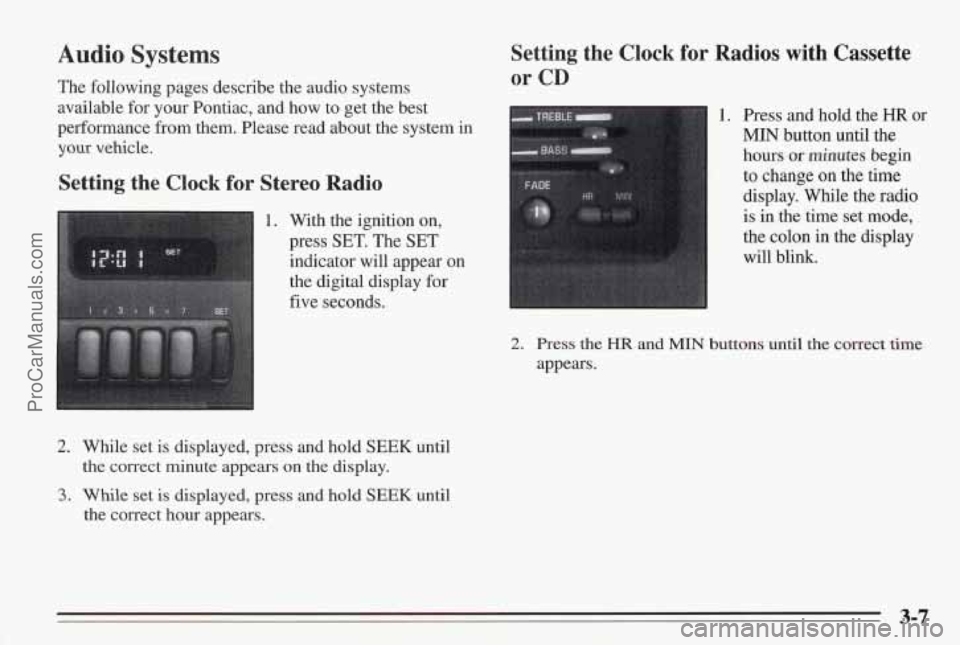
1. With the ignition on,
press
SET. The SET
indicator will appear on
the digital display
for
five seconds.
2. While set is displayed, press and hold SEEK until
the correct minute appears
on the display.
3. While set is displayed, press and hold SEEK until
the correct hour appears.
Setting the Clock for Radios with Cassette
or CD
1. Press and hold the HR or
MIN button until the
hours or minutes begin
to change on the time
display. While the radio
is in the time set mode,
the colon in
the display
will blink.
2. Press the HR and MIN buttons until the correct time
appears.
ProCarManuals.com
Page 129 of 338
ANIJFM Stereo Radio
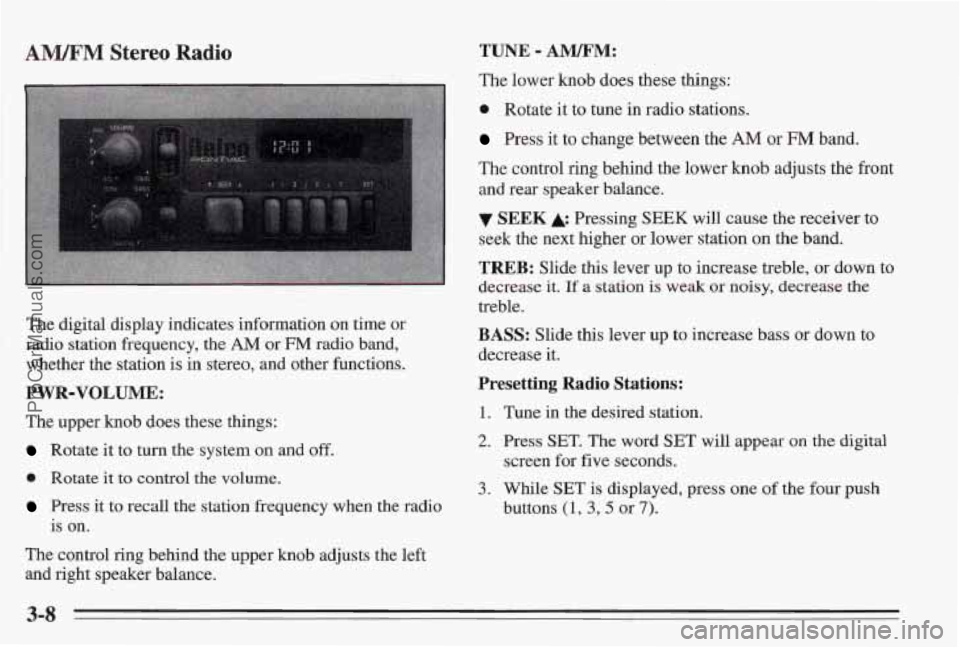
The digital display indicates information on time or
radio station frequency, the AM or FM radio band,
whether the station is in stereo, and other
hctions.
PWR-VOLUME:
The upper knob does these things:
Rotate it to turn the system on and off.
0 Rotate it to control the volume.
Press it to recall the station frequency when the radio
is on.
The control ring behind the upper knob adjusts the left
and right speaker balance.
TUNE - Al":
The lower knob does these things:
0 Rotate it to tune in radio stations.
Press it to change between the AM or FM band.
The control ring behind the lower knob adjusts the front
and rear speaker balance.
SEEK Pressing SEEK will cause the receiver to
seek the next higher or lower
station on the band.
TREB: Slide this lever up to increase treble, or down to
decrease
it. If a statim is weak or noisy, decrease the
treble.
BASS: Slide this lever up to increase bass or down to
decrease it.
Presetting Radio Stations:
1.
2.
3.
Tune in the desired station.
Press
SET. The word SET will appear on the digital
screen for five seconds.
While SET is displayed, press one of the four push
buttons
(1 , 3,5 or 7).
3-8
ProCarManuals.com
Page 130 of 338
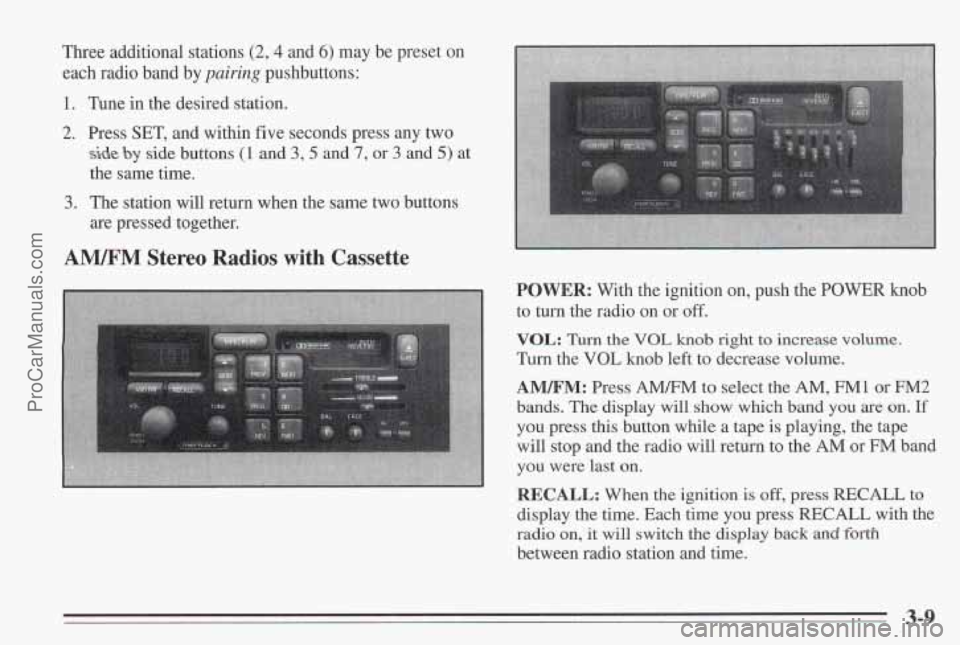
Three additional stations (2,4 and 6) may be preset on
each radio band by
pairing pushbuttons:
1. Tune in the desired station.
2. Press SET, and within five seconds press any two
side by side buttons (1 and 3,5 and 7, or 3 and 5) at
the same time.
3. The station will return when the same two buttons
are pressed together.
AMIFM Stereo Radios with Cassette
POWER: With the ignition on, push the POWER knob
to turn the radio on or off.
VQL: Turn the VOL knob right to increase volume.
Turn the VOL knob left to decrease volume.
AM/FM: Press A" to select the AM, FM1 or FM2
bands. The display will show which band you are on. If
you press this button while a tape is playing, the tape
will stop and the radio will return to
the AM or FM band
you were last on.
RECALL: When the ignition is off, press RECALL to
display the the. Each time you press RECALL with the
radio
on, it will switch the display back and forth
between radio. station and time.
3-9
ProCarManuals.com
Page 131 of 338
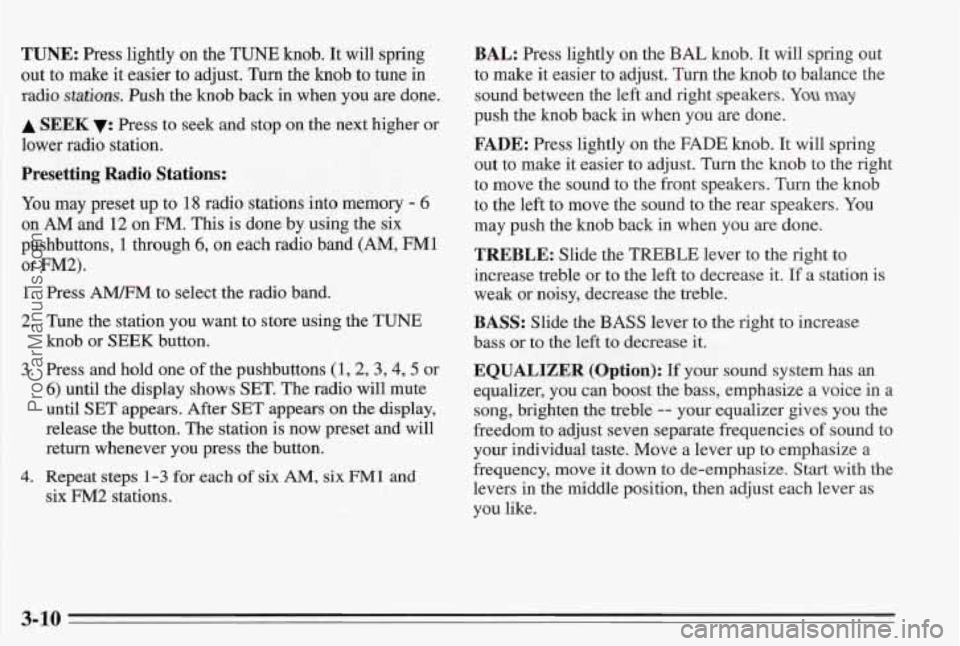
TUNE: Press lightly on the TUNE knob. It will spring
out to make it easier to adjust. Turn the
knob to tune in
radio
stations. Push the knob back in when you are done.
A SEEK v: Press to seek and stop on the next higher or
lower radio station.
Presetting Radio Stations:
You may preset up to 18 radio stations into memory - 6
on AM and 12 on FM. This is done by using the six
pushbuttons,
1 through 6, on each radio band (AM, FM1
or FM2).
1.
2.
3.
4.
Press AMEM to select the radio band.
Tune the station you want to store using the TUNE
knob or
SEEK button.
Press and hold one of the pushbuttons (1,2,3,4,5 or
6) until the display shows SET. The radio will mute
until
SET appears. After SET appears on the display,
release the button. The station is now preset and will
return whenever you press the button.
Repeat steps
1-3 for each of six AM, six FM1 and
six FM2 stations.
BAL: Press lightly on the BAL knob. It will spring out
to make it easier to adjust. Turn the
knob to balance the
sound between the left and right speakers.
You may
push the knob back in when you are done.
FADE: Press lightly on the FADE knob. It will spring
out to make it easier to adjust. Turn the knob to the right
to move the sound to the front speakers. Turn the
knob
to the left to move the sound to the rear speakers. You
may push the knob back in when you are done.
TREBLE: Slide the TREBLE lever to the right to
increase treble or to the left to decrease
it. If a station is
weak or noisy, decrease the treble.
BASS: Slide the BASS lever to the right to increase
bass or to the left
to decrease it.
EQUALIZER (Option): If your sound system has an
equalizer, you can boost the bass, emphasize
a voice in a
song, brighten the treble -- your equalizer gives you the
freedom to adjust seven separate frequencies of sound to
your individual taste. Move a lever up
to emphasize a
frequency, move it down to de-emphasize. Start with the
levers in the middle position, then adjust each lever as
you like.
3-10
ProCarManuals.com
Page 132 of 338
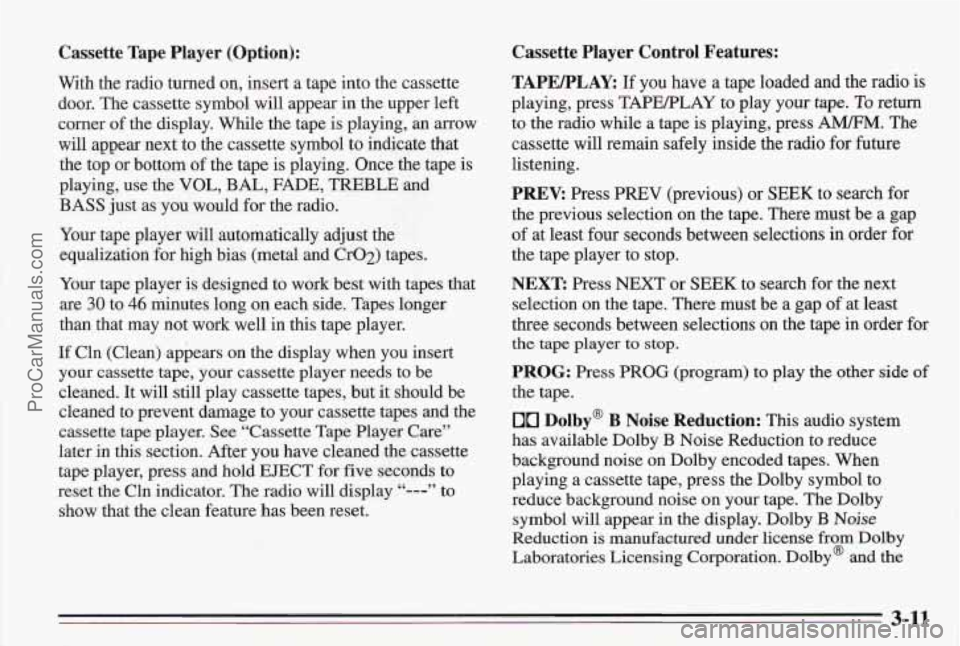
Cassette Tape Player (Option):
With the radio turned on, insert a tape into the cassette
door. The cassette symbol will appear in the upper left
corner of the display. While the tape is playing, an arrow
will appear next to the cassette symbol to indicate that
the top or bottom of the tape is playing. Once the tape is
playing, use the VOL, BAL, FADE, TREBLE and
BASS just as you would for the radio.
Your tape player will automatically adjust the
equalization for high bias (metal and Cr02) tapes.
Your tape player is designed to work best with tapes that
are
30 to 46 minutes long on each side. Tapes longer
than that may not work well in this tape player.
If Cln (Clean) appears on the display when you insert
your cassette tape, your cassette player needs to be
cleaned. It will still play cassette tapes, but it should be
cleaned to prevent damage
to your cassette tapes and the
cassette tape player. See “Cassette Tape Player Care”
later in this section. After you have cleaned the cassette
tape player, press and hold EJECT for five seconds
to
reset the Cln indicator. The radio will display “---” to
show that the clean feature has been reset.
Cassette Player Control Features:
TAPEPLAY:
If you have a tape loaded and the radio is
playing, press TAPEELAY to play your tape.
To return
to the radio while a tape is playing, press A”. The
cassette will remain safely inside the radio for future
listening.
PREV: Press PREV (previous) or SEEK to search for
the previous selection on the tape. There must be a gap
of at least four seconds between selections in order for
the tape player to stop.
NEXT Press NEXT or SEEK to search for the next
selection on the tape. There must be a gap of at least
three seconds between selections on the tape in order for
the tape player to stop.
PROG: Press PROG (program) to play the other side of
the tape.
00 Dolby@ B Noise Reduction: This audio system
has available Dolby
B Noise Reduction to reduce
background noise on Dolby encoded tapes. When
playing a cassette tape, press the Dolby symbol to
reduce background noise
on your tape. The Dolby
symbol will appear in the display. Dolby
B Noise
Reduction is manufactured under license from Dolby
Laboratories Licensing Corporation. Dolby@ and the
3-11
ProCarManuals.com
Page 133 of 338
00 symbol are trademarks of Dolby Laboratories
Licensing Corporation.
REV: Press REV (reverse) to rapidly reverse a tape.
Press
REV again to play the tape. The radio will play
while the tape is reversing. Use
SEEK or the TUNE
knob to change the radio station during reverse.
FWD: Press FWD (forward)to rapidly advance the tape.
Press FWD again to play the tape. The radio will play
while
the tape is advancing. Use SEEK or the TUNE
knob to change the radio station during forward.
EJECT: Press EJECT to remove the cassette tape.
EJECT will operate with the ignition off.
If E and a number appears on the display at any time, an
error has occurred. See “Cassette Tape and
CD Errors”
later
in this section.
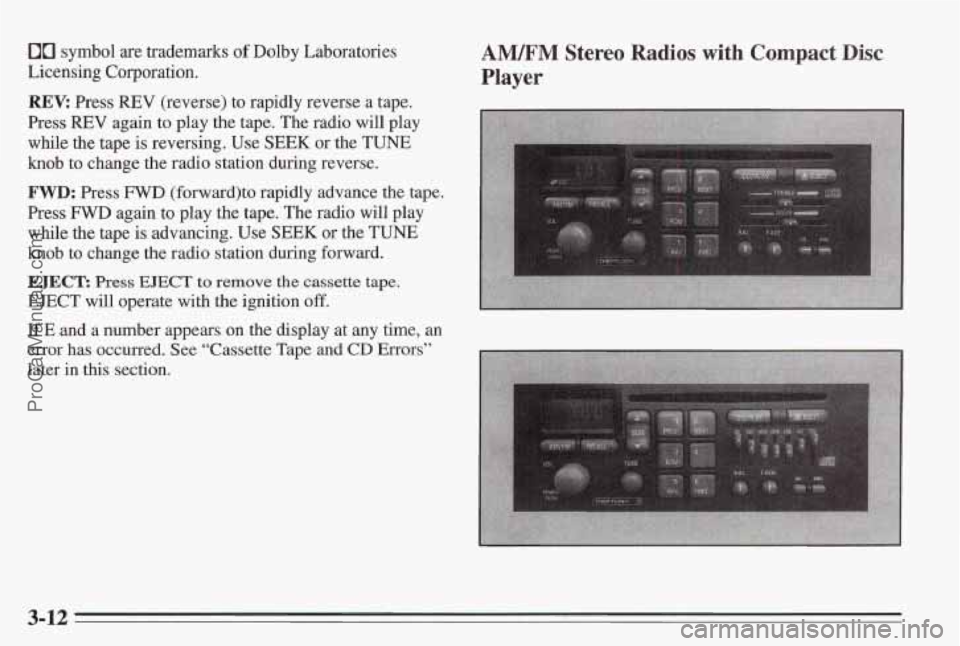
AM.(FM Stereo Radios with Compact Disc
Player
3-12
ProCarManuals.com