1995 OLDSMOBILE SILHOUETTE CD player
[x] Cancel search: CD playerPage 169 of 390
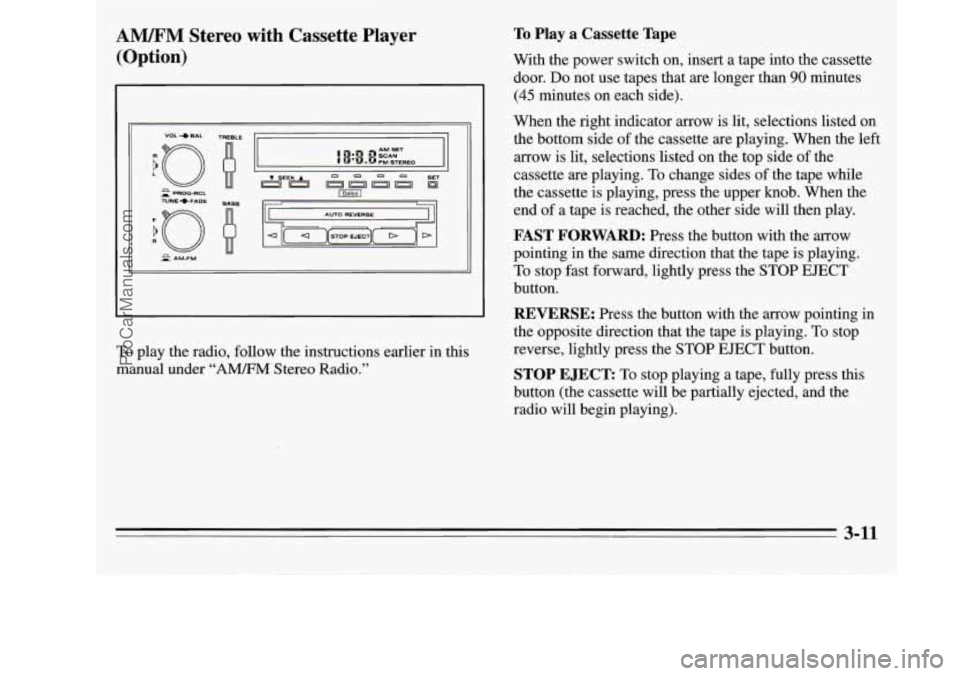
AM/FM Stereo with Cassette Player
(Option)
To play the radio, follow the instructions earlier in this
manual under
“A”M Stereo Radio.”
To Play a Cassette Tape
With the power switch on, insert a tape into the cassette
door.
Do not use tapes that are longer than 90 minutes
(45 minutes on each side).
When the right indicator arrow is lit, selections listed
on
the bottom side of the cassette are playing. When the left
arrow is lit, selections listed on the top side of the
cassette are playing. To change sides of the tape while
the cassette is playing, press the upper knob. When the
end of a tape is reached, the other side will then play.
FAST FORWARD: Press the button with the arrow
pointing in the same direction that the tape is playing.
To stop fast forward, lightly press the STOP EJECT
button.
REVERSE: Press the button with the arrow pointing in
the opposite direction that the tape is playing.
To stop
reverse, lightly press the STOP EJECT button.
STOP EJECT To stop playing a tape, fully press this
button (the cassette will be partially ejected, and the
radio will begin playing).
3-11
ProCarManuals.com
Page 170 of 390
![OLDSMOBILE SILHOUETTE 1995 Owners Manual AMEM Stereo with Cassette Player with
Dolby@ (Option)
9
n AM 1 u - FM TUNE
r 1
(IJ (2) [T) [TI [y) [L] [=]
PROG Cr02 REV FWD PREV NEXT
L /
Playing the Radio
Push the PWR button to turn OLDSMOBILE SILHOUETTE 1995 Owners Manual AMEM Stereo with Cassette Player with
Dolby@ (Option)
9
n AM 1 u - FM TUNE
r 1
(IJ (2) [T) [TI [y) [L] [=]
PROG Cr02 REV FWD PREV NEXT
L /
Playing the Radio
Push the PWR button to turn](/manual-img/31/58210/w960_58210-169.png)
AMEM Stereo with Cassette Player with
Dolby@ (Option)
9
n AM 1 u - FM TUNE
r 1
(IJ (2) [T) [TI [y) [L] [=]
PROG Cr02 REV FWD PREV NEXT
L /
Playing the Radio
Push the PWR button to turn the system on or off.
VOL: Turn the upper knob clockwise to increase
volume. Turn it counterclockwise to decrease volume.
MUTE: Press the upper knob to mute the radio or tape
player. Press it again to listen.
RCL: When the ignition is off, press this button to
display the clock. When the radio is on, press it to
change between the clock and radio station frequency
shown on the digital display.
Finding a Station
AM-FM:
Press the lower knob to change between the
AM and
FM bands. The band you select will appear
momentarily on the digital display.
TUNE: Turn the lower knob slightly to the left or right
to tune in radio stations. If you hold it to the left or right,
it will tune rapidly. You can also turn it one stop at a
time to fine-tune a specific frequency.
4 SEEK b: Press to seek and stop on the next station
higher or lower on the radio band.
SCAN: When you press SCAN, the radio will go to the
next station and pause there for a few seconds. SCAN
will be shown on the digital display. Press SCAN again
to stop on a station.
3-12
5
ProCarManuals.com
Page 172 of 390
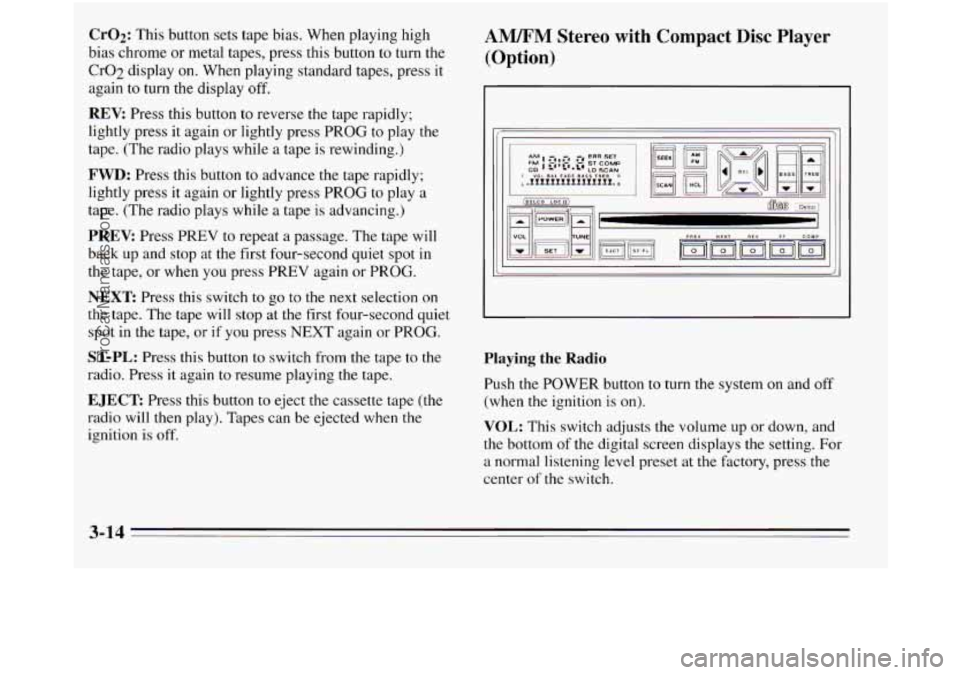
Cr02: This button sets tape bias. When playing high
bias chrome or metal tapes, press this button to turn the
Cr02 display
on. When playing standard tapes, press it
again to turn the display
off.
REV: Press this button to reverse the tape rapidly;
lightly press it again or lightly press PROG to play the
tape. (The radio plays while
a tape is rewinding.)
FWD: Press this button to advance the tape rapidly;
lightly press it again or lightly press PROG to play a
tape. (The radio plays while a tape is advancing.)
PREV: Press PREV to repeat a passage. The tape will
back
up and stop at the first four-second quiet spot in
the tape,
or when you press PREV again or PROG.
NEXT Press this switch to go to the next selection on
the tape. The tape will stop at the first four-second quiet
spot in the tape,
or if you press NEXT again or PROG.
ST-PL: Press this button to switch from the tape to the
radio. Press it again to resume playing the tape.
EJECT Press this button to eject the cassette tape (the
radio will then play). Tapes can be ejected
when the
ignition is off.
AM/FM Stereo with Compact Disc Player
(Option)
Playing the Radio
Push the POWER button to turn the system on and off
(when the ignition is on).
VOL: This switch adjusts the volume up or down, and
the bottom of the digital screen displays the setting. For
a normal listening level preset at the factory, press the
center
of the switch.
3-14
ProCarManuals.com
Page 174 of 390
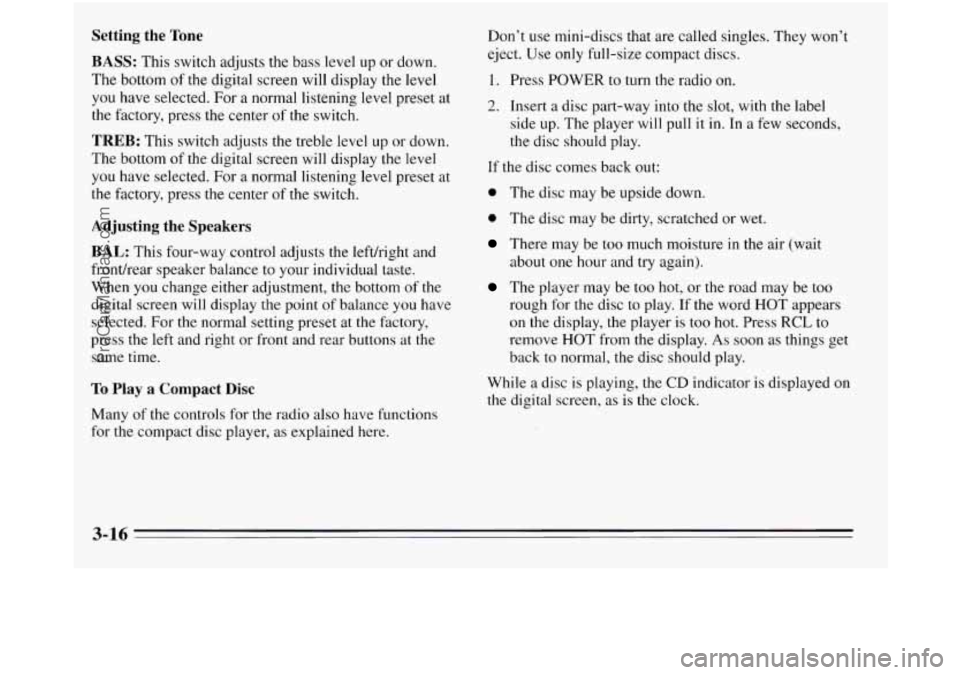
Setting the Tone
BASS: This switch adjusts the bass level up or down.
The bottom of the digital screen will display the level
you have selected. For a normal listening level preset at
the factory, press the center of the switch.
TREB: This switch adjusts the treble level up or down.
The bottom
of the digital screen will display the level
you have selected. For a normal listening level preset at
the factory, press
the center of the switch.
Adjusting the Speakers
BAL:
This four-way control adjusts the lefthight and
fronthear speaker balance to your individual taste.
When you change either adjustment, the bottom of the
digital screen will display the point of balance you have
selected. For the normal setting preset at the factory,
press the
left and right or front and rear buttons at the
same time.
To Play a Compact Disc
Don’t use mini-discs that are called singles. They won’t
eject. Use only full-size compact discs.
1. Press POWER to turn the radio on.
2. Insert a disc part-way into the slot, with the label
side
up. The player will pull it in. In a few seconds,
the disc should play.
If the disc comes back out:
0 The disc may be upside down.
0 The disc may be dirty, scratched or wet.
There may be too much moisture in the air (wait
The player may be too hot, or the road may be too
rough for the disc to play. If the word HOT appears
on the display, the player is too hot. Press
RCL to
remove HOT from the display. As soon as things get
back to normal, the disc should play.
about one
hour and try again).
While a disc
is playing, the CD indicator is displayed on
the digital screen, as is the clock.
Many of the controls for the radio also have functions
for the compact disc player, as explained here.
3-16
ProCarManuals.com
Page 175 of 390
RCL: Press this button once to see which track is
playing. Press it again within five seconds to see how
long your selection has been playing. The track number
also will be displayed when the volume is changed or a
new track starts to play.
PREV: Press this button to play a track again. If you
hold or keep pressing the PREV button, the disc will
keep backing up to previous tracks.
NEXT Press this button when you want to hear the next
track before the track you are listening to has finished.
If
you hold or keep pressing the NEXT button, the disc
will keep advancing
to other tracks.
REV: Press and hold this button to rapidly back up to a
favorite passage. Release it to resume playing.
FF: Press and hold this button to rapidly advance the
disc. Release
it to resume playing.
COMP: Press this button to make soft and loud
passages more alike in volume. Press it again
to resume
normal play.
When Finished with the Compact Disc Player
If you press POWER or turn off the ignition, the disc
will stay
in the player and start again when you turn on
the ignition or power switch. The disc will begin playing
at the point where it had been stopped.
STEL: Press this button to stop the disc player (the
radio will then play). Press
it again to play the disc (the
player will start playing the disc where it was stopped
earlier).
EJCT Press this button to eject the disc (the radio will
then play).
CD Player Anti-Theft Feature
Delco LOC 11' is a security feature for the compact disc
player. It can be used or ignored. If ignored, the system
plays normally. If it is used, your player won't be usable
if it is ever stolen, because it will go to
LOC mode any
time battery power is removed. Until an unlock code is
entered, it will not turn
on.
The instructions that follow tell you how to enter a
secret code into the system. If your vehicle loses battery
power for any reason, you must unlock the system with
the secret code before the radio will turn on.
3-17
ProCarManuals.com
Page 179 of 390
adjusting the volume control on your radio to a safe
sound level before your hearing adapts to
it.
To help avoid hearing loss or damage:
1. Adjust the volume control
to the lowest setting.
2. Increase the volume slowly until you can hear
comfortably and clearly.
I NOTICE:
Before you add any sound equipment to your
vehicle
-- like a tape player, CB radio, mobile
telephone or two-way radio
-- be sure you can
add what you want.
If you can, it’s very
important to do it properly. Added sound equipment may interfere with the operation of
your vehicle’s engine, Delco@ radio
or other
systems, and even damage them. And, your
vehicle’s systems may interfere with the
operation
of sound equipment that has been
added improperly.
Before adding sound equipment, check with your retailer and be sure to check Federal rules
covering mobile radio and telephone units.
Understanding Radio Reception
FM Stereo
FM stereo will give you the best sound, but FM signals
will reach
only about 10 to 40 miles ( 16 to 65 km). Tall
buildings or hills can interfere with
FM signals, causing
the sound
to come and go.
AM The range for most AM stations is greater than for
FM,
especially at night. The longer range, however, can
cause stations to interfere with each other. AM can
also
pick up noise from things like storms and power lines.
To lower this noise, try reducing the treble level.
AM Stereo
Your Delco@ system may be able
to receive C-Quam@
stereo broadcasts. Many AM stations around the country
use C-Quam@
to produce stereo, though some do not.
C-Quam@ is a registered trademark of Motorola, Inc. If
your Delco@ system can get C-Quam@ signals, your
stereo indicator light will come on when
you are
receiving
it.
3-21
ProCarManuals.com
Page 180 of 390
Care of Your Cassette Tape Player
A tape player that is not cleaned regularly can cause
reduced sound quality, ruined cassettes,
or a damaged
mechanism. Cassette tapes should be stored in their
cases away from contaminants, direct sunlight, and
extreme heat. If they aren’t, they may not operate
properly or cause failure of the tape player.
Your tape player should be cleaned after every 50 hours
of use. If you notice a reduction in sound quality, try a
known, good cassette to see if the tape or the tape player
is at fault.
If this other cassette has no improvement in
sound quality, clean the tape player.
Cleaning may be done with a scrubbing action,
non-abrasive, cleaning cassette. This system uses a
cleaning cassette with pads which scrub the tape head as
the hubs of the cleaner cassette turn. It
is normal for the
cartridge to eject while cleaning. Insert the cassette at
least three times to ensure thorough cleaning. A
scrubbing action, cleaning cassette
is available through
your Oldsmobile retail facility. You
may also choose
a non-scrubbing action, wet-type
cleaner which uses a cassette with a fabric belt to clean
the tape head. This type of cleaning cassette will not
eject. It may not clean as thoroughly
as the scrubbing
type cleaner.
Cassettes are subject to wear and the sound quality may
degrade over time. Always make sure that
the cassette
tape is in good condition before you have your tape
player serviced.
Care of Your Compact Discs
Handle discs carefully. Store them in their original cases
or other protective cases and keep them away from
direct sunlight and dust. If the surface
of a disc is soiled,
dampen a clean, soft cloth in a mild, neutral detergent
solution and clean it (wiping from the center to the
edge).
Be sure never to touch the signal surface when handling
discs. Pick up discs by grasping the outer edges or the
edge
of the hole and the outer edge.
3-22
~
ProCarManuals.com
Page 377 of 390
Section 9 Index
Accessory Power Outlet ......................... 2-57
Adding Automatic Transaxle Fluid
..................... 6-2 1
BrakeFluid ................................. 6-28
Electrical Equipment
............... 2.25.3.21. 6.51
Engine Coolant
.............................. 6-23
Engineoil
.................................. 6-12
Power Steering Fluid
......................... 6-26
SoundEquipment
............................ 3-21
Windshield Washer Fluid
................. 2.43. 6-26
AirBag
....................................... 1-26
How Does
it Restrain ......................... 1-29
How
it Works ............................... 1-28
Location
................................... 1-28
Readiness Light
........................ 1.27. 2.76
What Makes it Inflate
......................... 1-29
What Will You See After it Inflates
.............. 1-30
When Should
it Inflate ........................ 1-29
AirClealler
.................................... 6-17
Airconditioner
................................. 3-2
AirInflator
.................................... 2-63
Alignment and Balance. Tires
..................... 6-40
Aluminum Wheels. Cleaning
...................... 6-48
Servicing
................................... 1-31 Antenna.
Integrated Roof
......................... 3-23
Anti-Lock
..................................... 4-6
Anti-Lock Brake (ABS) Junction Block Fuse ......... 6-56
Anti-Lock Brake System Warning Light
......... 2.78. 4.7
Anti-Lock Brakes
............................... 4-6
Anti-Theft Feature. CD Player
.................... 3-17
Antifreeze
..................................... 6-22
Adding
.................................... 6-23
Checking
................................... 6-23
Appearance Care
............................... 6-42
Appearance Care and Materials
.................... 6-50
Ashtrays
................................... 2.65. 66
Audio Systems
.................................. 3-8
Auto Down Window Feature
...................... 2-39
Automatic Door Locks
............................ 2-5
Automatic Overdrive Position
..................... 2-30
Automatic Transaxle
............................ 2-28
Automatic Overdrive Position
.................. 2-30
First Gear (1) Position
........................ 2-32
Neutral
(N) Position .......................... 2-30
Park (P) Position
............................. 2-29
Reverse (R) Position
.......................... 2-29
Second Gear
(2) Position ...................... 2-31
Audio
System. Steering Wheel Touch Controls
....... 3-20
9-1
ProCarManuals.com