1995 OLDSMOBILE SILHOUETTE audio
[x] Cancel search: audioPage 5 of 390
1995 Oldsrnobile Silhouette Owner’s Manual
Seats and Restraint Systems .......................................................... 1-1
This section tells you how to use your seats and safety belts\
properly. It also explains the “SRS” system.
This section explains how to start and operate your Oldsmobile.\
Features and Controls ............................................................... 2-1
Comfort Controls and Audio Systems ..............
This section tells you how to adjust the ventilation and audio system.
Your Driving and the Road .......................
Here you’ll find helpful information and tips about the
conditions.
Problems on the Road ...........................
.................................... 3-1
comfort controls and how to operate your-
.................................... 4-1
road and how to drive under different
.................................... 5-1
This section tells you what to do if you have a problem while driving, such as a flat tire or
overheated engine, etc.
Service and Appearance Care.. ....................................................... 6-1
Here the manual tells you how to keep your Oldsmobile running \
properly and looking good.
Maintenanceschedule ............................................................... 7-1
This section tells you when to perform vehicle maintenance and what fluids and lubricants to use.
Customer Assistance Information ..................................................... 8-1
This section tells you how
to contact Oldsmobile for assistancc and how to get service publications.
It also gives you information on “Reporting Safety Defects”\
on page
8-4.
Index ........................................................................\
..... 9-1
Here‘s an alphabetical listing of almost every subject in this manual. You can use it to quickly find
something you want
to read.
i
ProCarManuals.com
Page 141 of 390
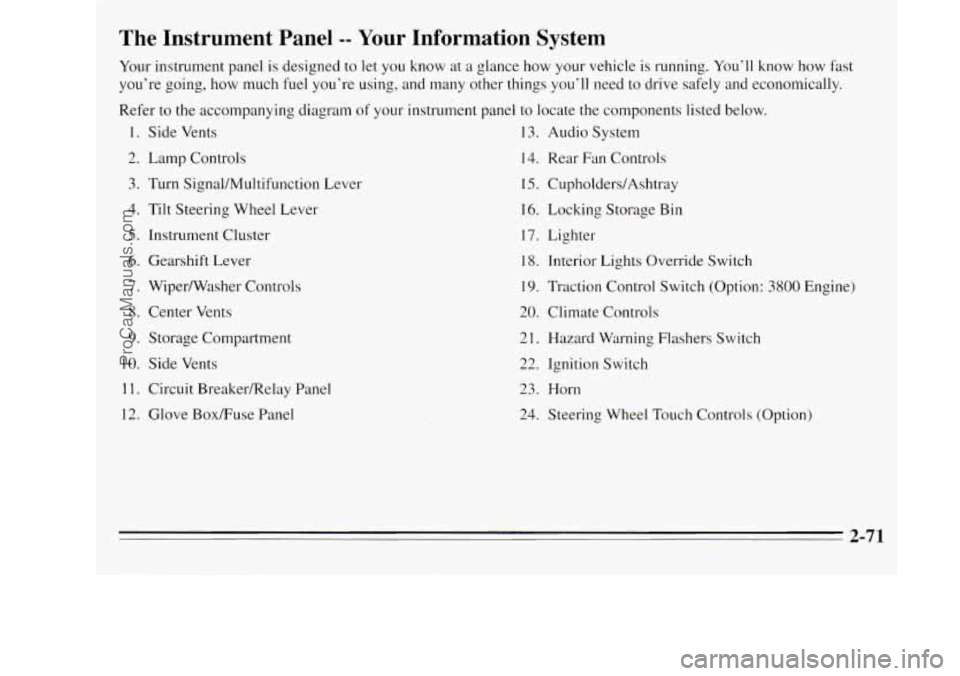
The Instrument Panel -- Your Information System
Your instrument panel is designed to let you know at a glance how your vehicle is running. You’ll know how fast
you’re going, how much fuel you’re using, and many other things you’ll need to drive safely and economically.
Refer to the accompanying diagram
of your instrument panel to locate the components listed below.
1. Side Vents 13. Audio System
2. Lamp Controls
14. Rear Fan Controls
3. Turn Signal/Multifunction Lever 15. CupholderdAshtray
4. Tilt Steering Wheel Lever 16. Locking
Storage Bin
5. Instrument Cluster 17. Lighter
6. Gearshift Lever
18. Interior Lights Override Switch
7. Wiper/Washer Controls 19. Traction Control Switch (Option: 3800 Engine)
8. Center Vents
20. Climate Controls
9. Storage Compartment 21. Hazard Warning Flashers Switch
10. Side Vents
22. Ignition Switch
1 1. Circuit BreakedRelay Panel 23. Horn
12. Glove BoxRuse Panel
24. Steering Wheel Touch Controls (Option)
-
2-71
ProCarManuals.com
Page 159 of 390
Section 3 Comfort Controls and Audio Systems
Q
~
In this section you’ll find out how to operate the comfort
control systems and audio systems offered with your
Oldsmobile. Be sure to read about the particular system
supplied with your vehicle.
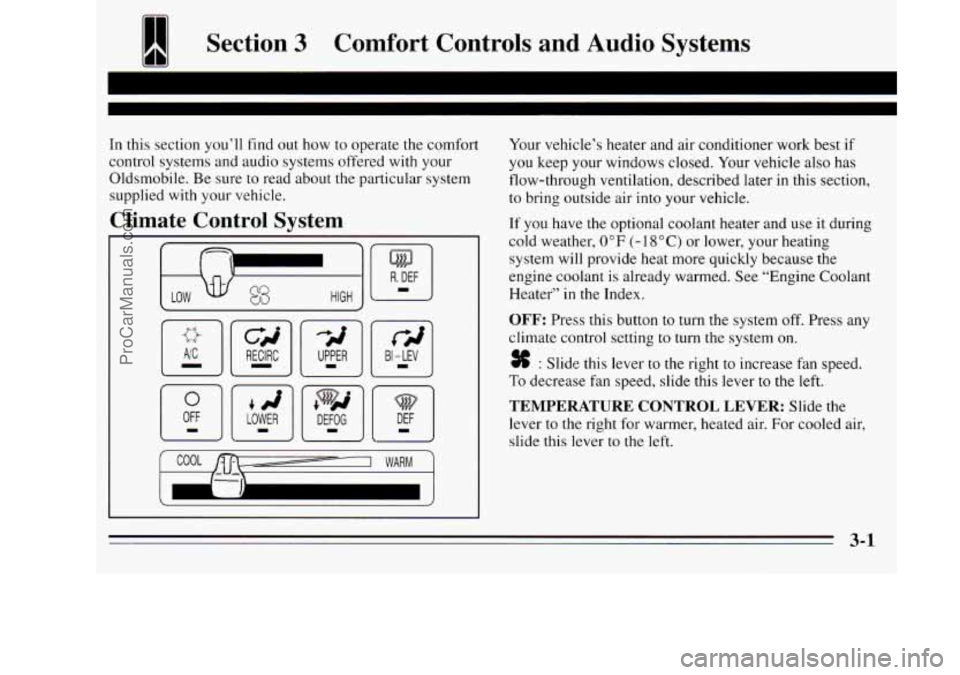
Zllimate Control System
COOL /st /--- I WARM --
Your vehicle’s heater and air conditioner work best if
you keep your windows closed. Your vehicle also has
flow-through ventilation, described later in this section,
to bring outside air into your vehicle.
If you have the optional coolant heater and use it during
cold weather,
0°F (- 1 8 “C) or lower, your heating
system will provide heat more quickly because the
engine coolant is already warmed. See “Engine Coolant
Heater”
in the Index.
OFF: Press this button to turn the system off. Press any
climate control setting to turn the system on.
* : Slide this lever to the right to increase fan speed.
To decrease fan speed, slide this lever to the left.
TEMPERATURE CONTROL LEVER: Slide the
lever to the right for warmer, heated air. For cooled air,
slide this lever
to the left.
ProCarManuals.com
Page 161 of 390

LOWER: This setting brings in most of the heated air through
the heater ducts, and some through the defroster vents.
DEFOG: This mode is particularly useful during cold or
inclement weather, because of your Silhouette’s larger
windshield area. Press this button to direct warmed
air to
the windshield and through the heater ducts.
DEF: Press this button to direct most of the warmed air
to the windshield and side window vents.
Rear Fan
OFF LO MED HI
Your vehicle will have a rear air outlet and a rear fan. To
maximize airflow to the rear of your vehicle, place the
left second row bucket seat in the forward position (see
“Adjusting Rear Seats” in the Index). This uncovers the
rear air outlet.
Please keep the area around the base of
the center
instrument panel console, and the area between and
under the front seats, free of objects. This could obstruct
airflow to the rear.
The control for the rear fan is located below the audio
system. Select LOWER, BI-LEV or DEFOG to direct
airflow
to the rear air outlet and to the rear side windows.
Use the temperature control lever to adjust the temperature
setting. Select the force
of air you want, from LO to HI, by
sliding the rear fan control to the desired setting.
To maintain a comfortable temperature in the rear area
without making the front passengers uncomfortable, adjust
the front fan speed first, then adjust the temperature setting.
To turn off the rear fan, slide the control to OFF.
3-3
ProCarManuals.com
Page 163 of 390
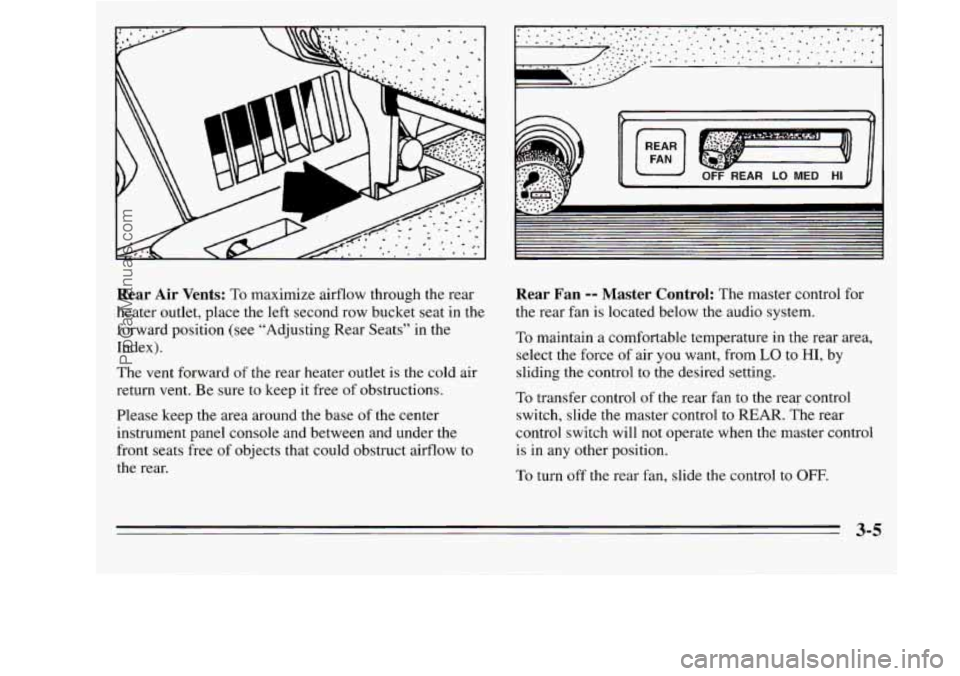
Rear Air Vents: To maximize airflow through the rear
heater outlet, place the left second row bucket seat in the
forward position (see “Adjusting Rear Seats” in the
Index).
The vent forward
of the rear heater outlet is the cold air
return vent. Be sure
to keep it free of obstructions.
Please keep the area around the base
of the center
instrument panel console and between and under the
front seats free
of objects that could obstruct airflow to
the rear.
I
OFF REAR LO MED HI
Rear Fan -- Master Control: The master control for
the rear fan is located below the audio system.
To maintain a comfortable temperature in the rear area,
select the force of air you want, from
LO to HI, by
sliding the control
to the desired setting.
To transfer control
of the rear fan to the rear control
switch, slide the master control
to REAR. The rear
control switch will not operate when the master control
is in any other position.
To turn off
the rear fan, slide the control to OFF.
3-5
ProCarManuals.com
Page 166 of 390
Audio Systems
The following pages describe the audio systems
available for your Oldsmobile, and how
to get the best
performance from them. Please read about the
system in
your vehicle.
Setting the Clock
For radios with SEEK A
1. With the radio on or off, press SET. The SET
indicator will appear on the digital display for
five
seconds. You must begin to set the clock to the
correct hour and minute during those
five seconds.
2. Press and hold the down SEEK arrow until the
correct hour appears on the display.
3. Press and hold the up SEEK arrow until the correct
minute appears
on the display. For radios
with SEEK and
SCAN buttons:
1. With the radio on or off, press SET. The SET
indicator will appear on the digital display for five
seconds.
You must begin to set the clock to the
correct hour and minute during those five seconds.
2. Press and hold SEEK until the correct hour appears
on the display.
3. Press and hold SCAN until the correct minute
appears on the display.
For radios
with 4 SEEK and SCAN:
1. With the radio on or off, press SET. The SET
indicator will appear on the digital display for five
seconds. You must begin to set the clock to
the
correct hour and minute during those five seconds.
2. Press and hold SCAN until the correct hour appears
on the display.
3. Press and hold the left or right SEEK arrow until the
correct minute appears on
the display.
3-8
ProCarManuals.com
Page 171 of 390
To Preset Radio Stations
The five pushbuttons under the cassette entry door can
be used
to preset up to 10 radio stations (five AM and
five
FM stations). The buttons have other uses when you
are playing a tape (see “To Play
a Cassette Tape” later in
this section).
1. Tune
in the digital display to the station you want.
2. Press SET. The SET indicator will appear on the
digital screen for five seconds.
3. While the SET indicator is displayed, press one of
4. Repeat steps 1-3 for each of five AM and five FM
the five pushbuttons.
stations.
Setting the Tone
BASS: This switch adjusts the bass level up or down.
The bottom of the digital screen will display the level
you have selected. For
a normal listening level preset at
the factory, press the center
of the switch.
TREB: This switch adjusts the treble level up or down.
The bottom of the digital screen will display
the level
you have selected. For a normal listening level preset at
the factory, press the center of the switch.
Adjusting the Speakers
BALANCE:
Turn the control ring behind the upper
knob slightly to the left or right to adjust the leftlright
speaker balance.
FADE: Turn the control ring behind the lower knob
slightly to the left or right
to adjust the fronthear
speaker balance.
To Play a Cassette Tape
Press PWR to turn the radio on. The radio will play until
a cassette is pushed into the cassette entry door (the tape
side goes in first). Do not use tapes that are longer than
90 minutes (45 minutes on each side).
This audio system has automatic
00 DOLBY B NR@ to
reduce background noise on Dolby encoded tapes.
Dolby@ Noise Reduction is manufactured under license
from Dolby Laboratories Licensing Corporation.
Dolby@ and the
00 symbol are trademarks of Dolby
Laboratories Licensing Corporation.
PROG: Press this button to change the side of the tape
being played. When the end of
a tape is reached, the
other side will
then play.
3-13
ProCarManuals.com
Page 178 of 390
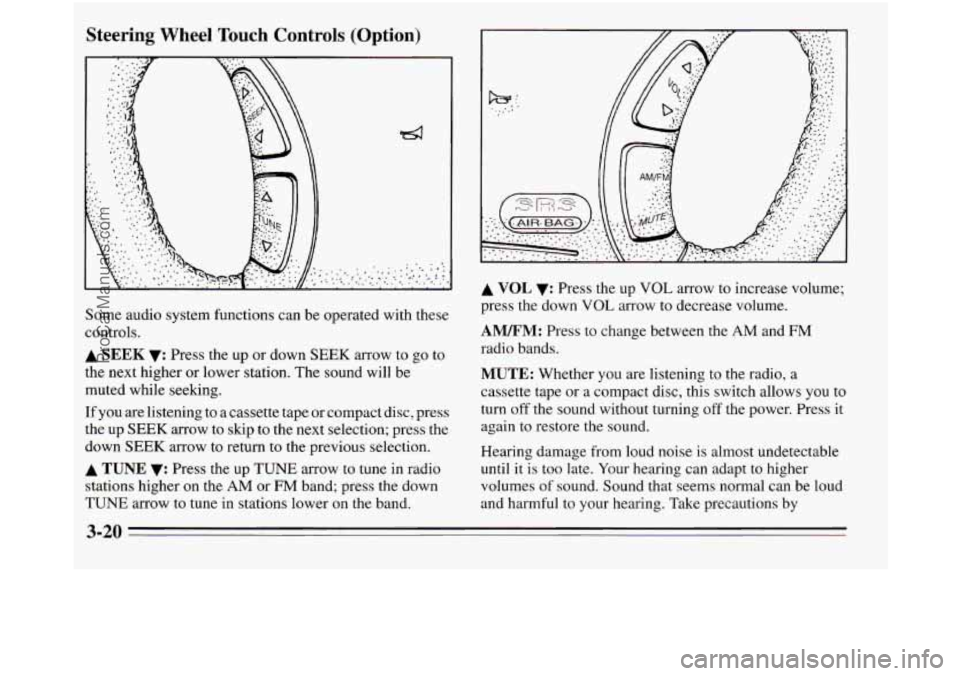
Steering Wheel Touch Controls (Option)
Some audio system functions can be operated with these
controls.
A SEEK v: Press the up or down SEEK arrow to go to
the next higher or lower station. The sound will be
muted while seeking.
If you are listening to a cassette tape or compact disc, press
the up
SEEK arrow to skip to the next selection; press the
down
SEEK arrow to return to the previous selection.
A TUNE v: Press the up TUNE arrow to tune in radio
stations higher on the
AM or FM band; press the down
TUNE arrow to tune in stations lower on the band.
A VOL v: Press the up VOL arrow to increase volume;
press the down
VOL arrow to decrease volume.
AM/FM: Press to change between the AM and FM
radio bands.
MUTE: Whether you are listening to the radio, a
cassette tape
or a compact disc, this switch allows you to
turn
off the sound without turning off the power. Press it
again to restore the sound.
Hearing damage from loud noise is almost undetectable
until it is too late. Your hearing can adapt to higher
volumes
of sound. Sound that seems normal can be loud
and harmful to your hearing. Take precautions
by
3-20
ProCarManuals.com