1995 OLDSMOBILE SILHOUETTE low oil pressure
[x] Cancel search: low oil pressurePage 143 of 390
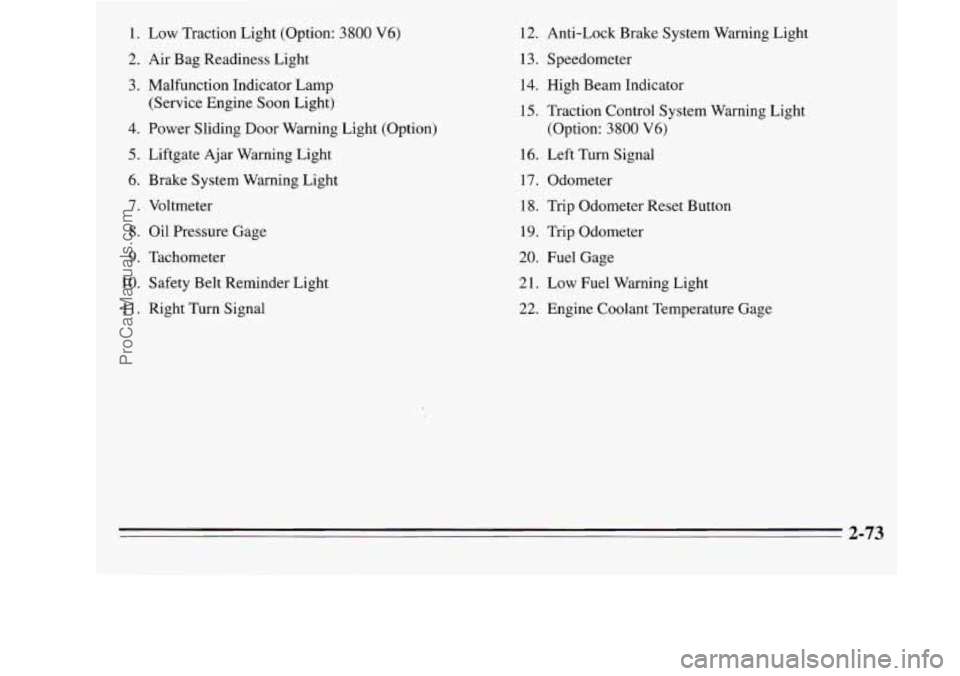
1. Low Traction Light (Option: 3800 V6)
2. Air Bag Readiness Light
3. Malfunction Indicator Lamp
(Service Engine Soon Light)
4. Power Sliding Door Warning Light (Option)
5. Liftgate Ajar Warning Light
6. Brake System Warning Light
7. Voltmeter
8. Oil Pressure Gage
9. Tachometer
10. Safety Belt Reminder Light
11. Right Turn Signal 12.
Anti-Lock Brake System Warning Light
1 3. Speedometer 14. High Beam Indicator
15. Traction Control System Warning Light
(Option: 3800
V6)
16. Left Turn Signal
17. Odometer
18. Trip Odometer Reset Button
19. Trip Odometer
20. Fuel Gage
21. Low Fuel Warning Light
22. Engine Coolant Temperature Gage
2-73
ProCarManuals.com
Page 152 of 390
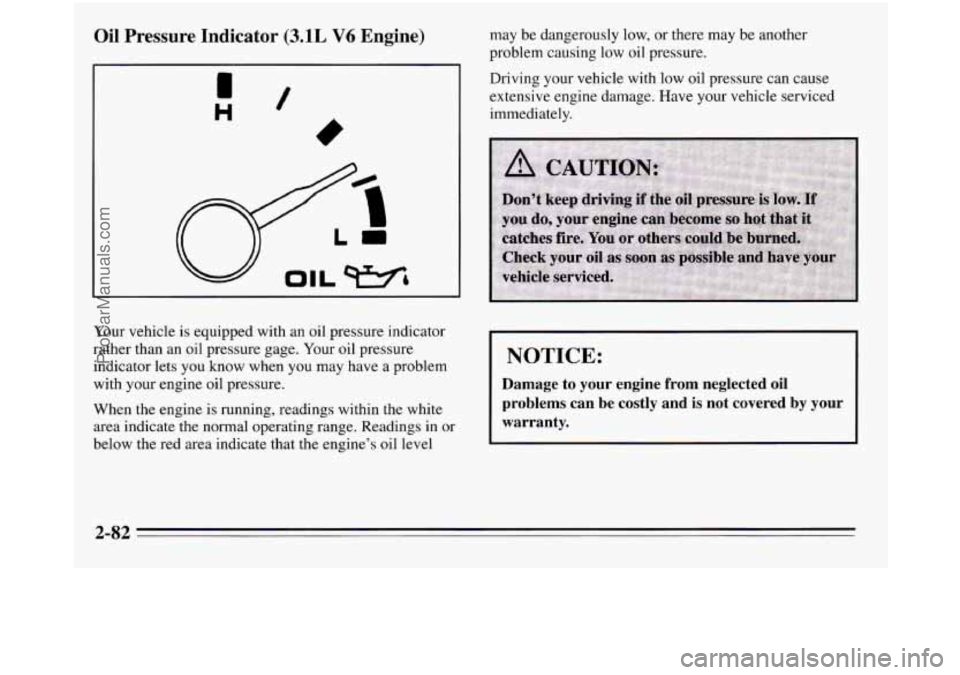
Oil Pressure Indicator (3.1L V6 Engine)
H /
Your vehicle is equipped with an oil pressure indicator
rather than an oil pressure gage. Your oil pressure
indicator lets you know when
you may have a problem
with your engine oil pressure.
When the engine is running, readings within the white
area indicate the normal operating range. Readings
in or
below the red area indicate that the engine’s oil level may
be dangerously low, or there may be another
problem causing low oil pressure.
Driving your vehicle with low oil pressure can cause
extensive engine damage. Have your vehicle serviced
immediately.
I NOTICE:
Damage to your engine from neglected oil
problems can be costly and is not covered by your
warranty.
2-82
ProCarManuals.com
Page 153 of 390
Oil Pressure Gage (3800 V6 Engine)
120 '/
40-
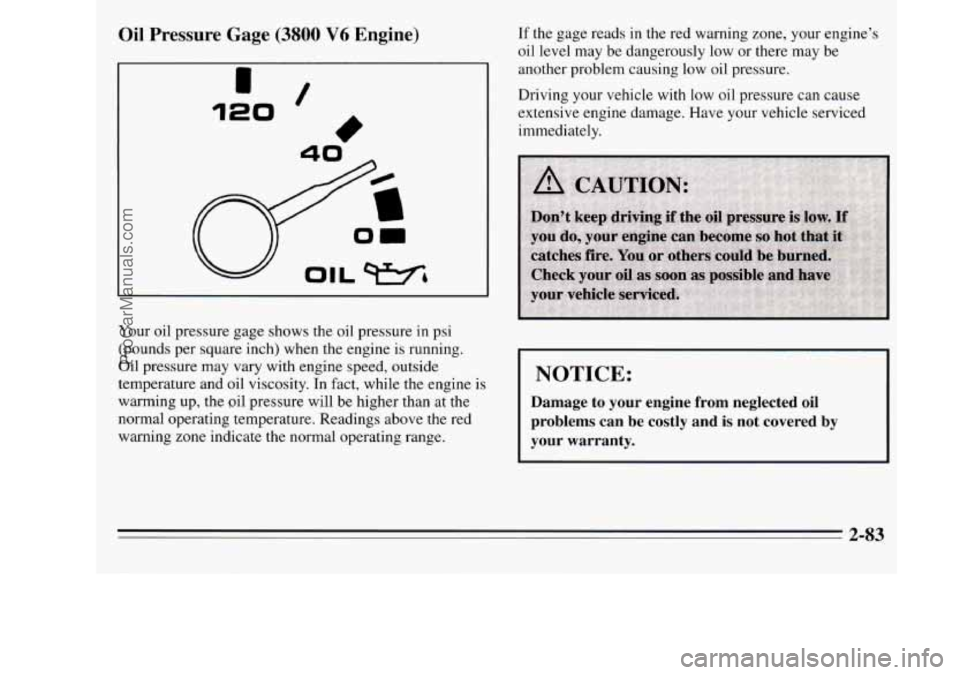
If the gage reads in the red warning zone, your engine's
oil level may be dangerously low or there may be
another problem causing low oil pressure.
Driving your vehicle with low
oil pressure can cause
extensive engine damage. Have your vehicle serviced
immediately.
Your oil pressure gage shows the oil pressure in psi
(pounds per square inch) when the engine is running.
Oil pressure may vary with engine speed, outside
temperature and oil viscosity. In fact, while the engine is
warming up, the oil pressure will be higher than at the
normal operating temperature. Readings above the red
warning zone indicate the normal operating range.
I
I NOTICE:
Damage to your engine from neglected oil
problems can be costly and is not covered by
your warranty.
2-83
ProCarManuals.com
Page 303 of 390
Using Foam-Type Cleaner on Fabric
0
0
0 0
0
0
Vacuum and brush the area to remove any loose dirt.
Always clean
a whole trim panel or section. Mask
surrounding trim along stitch or welt lines.
Mix Multi-Purpose Powdered Cleaner following the
directions
on the container label.
Use suds only and apply with a clean sponge.
Don’t saturate the material.
Don’t rub it roughly.
As soon as you’ve cleaned the section, use a sponge
to remove the suds.
Rinse the section with a clean, wet sponge.
Wipe off what’s left with a slightly damp paper towel
or cloth.
Dry it immediately with a blow dryer or a heat lamp.
NOTICE:
Be careful. A blow dryer or a heat lamp may
scorch the fabric.
i
Wipe with a clean cloth.
Using Solvent-Type Cleaner on Fabric
First, see if you have to use solvent-type cleaner at all.
Some spots and stains will clean off better with just
water and mild soap.
If you need to use a solvent:
0
0
Gently scrape excess soil from the trim material with
a clean, dull knife or scraper. Use very little cleaner,
light pressure and clean cloths (preferably
cheesecloth). Cleaning should start at the outside of
the stain, “feathering” toward the center. Keep
changing
to a clean section of the cloth.
When you clean a stain from fabric, immediately dry
the area with a blow dryer to help prevent a cleaning
ring. (See the previous NOTICE.)
6-43
ProCarManuals.com
Page 307 of 390
Cleaning the Outside of Your
Oldsmobile
The paint finish on your vehicle provides beauty, depth
of color, gloss retention and durability.
Washing Your Vehicle
The best way to preserve your vehicle’s finish is to keep
it clean by washing it often with lukewarm or cold water.
Don’t wash your vehicle
in the direct rays of the sun.
Don’t use strong soaps or chemical detergents. Use
liquid hand, dish or car washing (mild detergent) soaps.
Don’t use cleaning agents that are petroleum based, or
that contain acid or abrasives.
All cleaning agents
should be flushed promptly and not allowed to dry on
the surface, or they could stain. Dry the finish with a
soft, clean chamois or a
100% cotton towel to avoid
surface scratches and water spotting.
Before entering an automatic car wash, if your vehicle is
equipped with the optional power sliding
door, be sure
to have the enable switch
in the OFF position.
High pressure car washes may cause water to enter your
vehicle.
Finish Care
Occasional waxing or mild polishing of your
Oldsmobile by hand may be necessary to remove
residue from the paint finish.
You can get GM approved
cleaning products from your retailer. (See “Appearance
Care and Materials”
in the Index.)
Your Oldsmobile has a “basecoatklearcoat” paint finish. The
clearcoat gives more depth and gloss to the colored basecoat.
Always use waxes and polishes that are non-abrasive and
made for a basecoatklearcoat paint finish.
NOTICE:
Machine compounding or aggressive polishing on
a basecoatklearcoat paint finish may dull the
finish or leave swirl marks.
Foreign materials such as calcium chloride and other
salts, ice melting agents, road oil and tar, tree
sap, bird
droppings, chemicals from industrial chimneys, etc. can
damage your vehicle’s finish
if they remain on painted
surfaces. Wdsh the
vehicle as soon as possible. If
necessary, use non-abrasive cleaners that are marked
safe for painted surfaces to remove foreign matter.
6-47
ProCarManuals.com
Page 313 of 390

e
E5
c3
€3
ELC
HORN
E3 RDOllAUX
TAIL
El
c3
n
c3
ECM
TURN B/U
GAUGES LPS
ABS
E3 R WIPER
€5 HTRA/C
F WIPER
p-4 R BLW
Fuse Panel (3.1L V6 Engine)
Position Circuitry
CTSY Dome Lamps, Courtesy Lamps, Power Door
Lock Switches, Glove Box Lamp, Power
Mirrors, Power Sliding Delay Lock Module
ELC
HORN
STOP
HAZ Auto
Level Control, Underhood Lamp
Horns, Horn Relay, Safety Belt Buzzer
Front/Rear Turn Lamps, Front Sidemarker
Lamps, Rear Stop Lamps, Instrument Cluster
Turn Indicator Lamps, Cruise Brake Switch
F PUMP Fuel Pump,
Oil Pressure SenderIFuel Pump Switch
Position
RDO 1/
AUX
TAIL
ECM
TURN
B/U
GAUGES
LPS
ABS
RD02
R WIPER
F WIPER
IGN
HTR-A/C
R BLW
Circuitry
Radio, Front Cigar Lighter, Accessory Power
Outlet
Front Park Lamps, Rear Taillamps, Front
Sidemarker Lamps, License Plate Lamp, Radio,
HeatNentlAC Control Head, Power Sliding Door
Throttle Body Fuel Injection, Fuel Pump Relay,
Elec. Vac. Reg. Valve, Elec. Control Module,
Elec. Spark Control Module
Front/Rear Turn Lamps, Front Sidemarker Lamps, Cluster Turn Telltale, Back-up Lamps,
Fog Lamps
Cluster, Anti-Lock Brake System Lamp
Module, Elec. Level Control Sensor
Cluster, Radio, Wiper Switch, Headlamp
Switch, Rear Blower Switch, Heat/Vent/AC
Control Head, Door Switch Illumination,
FrontIRear Ashtray Illumination Bulbs
Anti-Lock Brake System
Radio
Rear Wiperwasher Motors; Overhead Console
Compass
Front Wipermasher Motor
A/C Compressor, A/C Solenoid Box, Compressor
Relay, Temp. Door Motor,
Low Blower Relay;
HeatNentlAC Control Head; Cruise Module; Cooling Fan Relay; Rear Defogger Relay;
Key
Chime; Vehicle Speed Sensor Buffer and Generator
Charge Discrete, Transaxle Converter Clutch Switch
FrondRear Blower Motors, High Blower Relay
Rear Blower, Rear Heat/Vent/AC
6-53
ProCarManuals.com
Page 358 of 390
Part B: Owner Checks and Services
Listed below are owner checks and services which
should be performed at the intervals specified to help
ensure the safety, dependability and emission control
performance of your vehicle.
Be sure any necessary repairs are completed at once.
Whenever any fluids or lubricants are added
to your
vehicle, make sure they are the proper ones, as shown in
Part
D.
At Each Fuel Fill
It is important for you or a service stution attendant to
pe$orm these underhood checks at each fueljill.
Engine Oil Level
Check the engine oil level and add the proper oil if
necessary. See “Engine Oil”
in the Index for further
details.
Windshield Washer Fluid Level
Check the windshield washer fluid level in the
windshield washer tank and add the proper fluid if
necessary. See “Windshield Washer Fluid” in the Index
for further details.
At Least Once a Month
Tire Inflation
Check tire inflation. Make sure tires are inflated to the
pressures specified on the CertificatiodTire label
located on the rear edge
of the driver’s door. See “Tires”
in the Index for further details.
Cassette Deck
Clean the cassette deck. Cleaning should be done every
50 hours of tape play. See “Audio Systems” in the Index
for further details.
Engine Coolant Level
Check the engine coolant level and add the proper
coolant mix
if necessary. See “Coolant” in the Index for
further details.
7-36
ProCarManuals.com
Page 383 of 390
Lighter ....................................... 2-65
Locks Loading Your Vehicle
........................... 4-29
Automatic Door
.............................. 2-5
Door ....................................... 2-3
Liftgate
.................................... 2-19
PowerDoor
.................................. 2-4
Locking Storage Bin
............................ 2-67
Loss
of Control ................................ 4-14
Low Fuel Warning Light
......................... 2-85
Low Traction Light
......................... 2.80. 4.9
Lubrication. Body
.............................. 7-37
Luggagecarrier
................................ 2-60
Maintenance Record
........................... 7-42
Maintenance Schedule
............................ 7- 1
Owner Checks and Services
.................... 7-36
Periodic Maintenance Inspections
............... 7-39
Recommended Fluids and Lubricants
............ 7-40
Schedule1
................................... 7-6
Schedule
I Definition .......................... 7-4
Schedule11
................................. 7-26
Schedule
I1 Definition .......................... 7-5
Scheduled Maintenance Services
................. 7-3
Maintenance. Underbody
......................... 6-48
Maintenance. When Trailer Towing
................. 4-38
Malfunction Indicator Lamp (Service Engine Soon Light)
..................... 2-81
Manual Front Passenger Seat
....................... 1-2
Manual Windows
............................... 2-38
Methanol
(In Fuel) ............................... 6-3 Mirrors
....................................... 2-58
Convex Outside
............................. 2-58
Inside Daymight Rearview
.................... 2-58
Power Remote Control ........................ 2-59
Visorvanity
................................ 2-65
MTBE
(In Fuel) ................................. 6-3
Net. Convenience .............................. 2-59
Neutral
(N) Position ............................. 2-30
New Vehicle “Break-In”
......................... 2-22
Night Vision
................................... 4-16
odometer
.................................... 2-74
Odometer. Tamper Resistant
...................... 2-74
Off-Road Recovery
............................. 4-12
Oil Engine
..................................... 6-11
Pressure Gage (3800
V6 Engine) ................ 2-83
Pressure Indicator
(3.1L V6 Engine) ............. 2-82
Owner Publications
............................ 8-7
Service Bulletins
.............................. 8-7
Service Manuals
.............................. 8-7
Overdrive Position
.............................. 2-30
Overhead Console
.............................. 2-51
Garage Door Opener compartment .............. 2-51
Ordering
Reading Lamps
.............................. 2-51
Storage Compartment
......................... 2-54
Sunglasses Storage Compartment
................ 2-54
Temperature and Compass Display
.............. 2-53
9-7
ProCarManuals.com