1995 Oldsmobile Cutlass Supreme stop start
[x] Cancel search: stop startPage 69 of 340
New Vehicle “Break-In” Ignition Switch
NOTICE:
Your *modern Oldsmobile doesn’t need an
elaborate “break-in.” But it
will perform better
in the long run
if you follow these guidelines:
0 Don’t drive at any one speed -- fast or
slow 0- for the first 500 miles (804 km).
Don’t make full-throttle starts.
0 Avoid making hard stops for the fist
200 miles (322 km) or so. During this time
’ your new brake linings aren’t yet broken
in. Hard stops with new linings can mean
premature wear and earlier replacement.
Follow this “breaking-in” guideline every
time you get new brake linings.
0 Don’t tow a trailer during “break-in.” See
“Towing
a Trailer” in the Index for more
information.
..
C
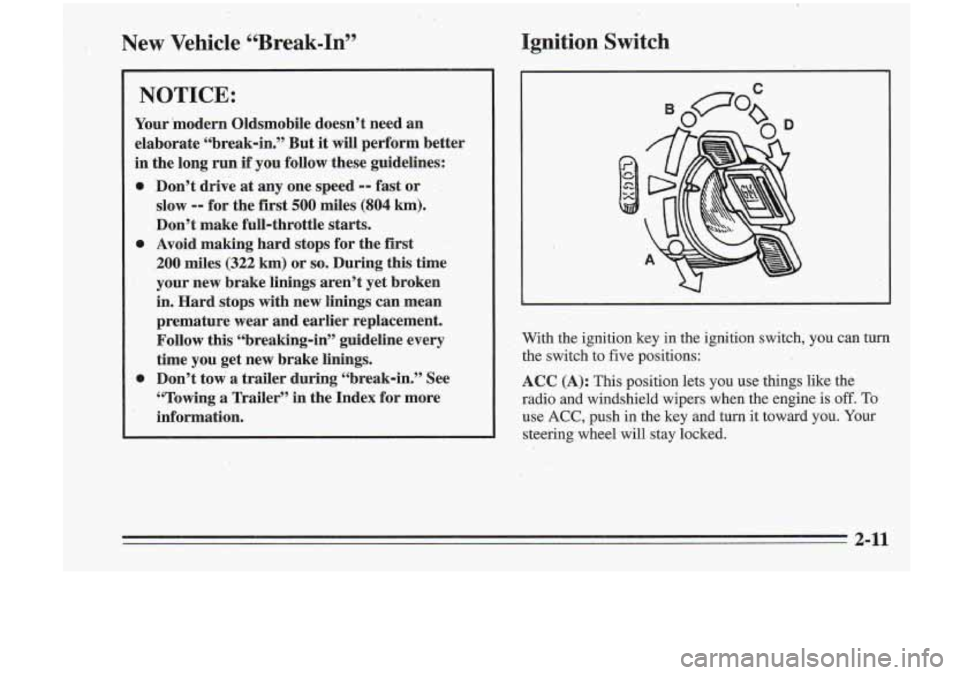
With the ignition key in the ignition switch, you can turn the switch to five positions:
ACC (A): This position lets you use things like the
radio and windshield wipers when the engine is off. To
use
ACC, push in the key and turn it toward you. Your
steering wheel will stay locked.
3-1 I
Page 71 of 340
To start your engine:
1. Without pushing the accelerator pedal, turn your
ignition key to
START. When the engine starts, let
go of the key The idle speed will go down as your
engine gets warm.
NOTICE:
Holding your key in START for longer than -- 15 seconds at a time will cause your battery to be
drained much sooner. And the excessive heat can
.damage your starter motor.
2. If-your engine won’t staq (or starts but then stops),
it could be flooded with
too much gasoline. Try
pushing your accelerator pedal all the way to the
floor and holding it there as you hold the key in
START
for about three sec,onds. If the vehicle starts
briefly but then stops again, do the same thing, but
this time keep the pedal down
for five or six seconds.
This clears the extra gasoline from the engine.
I
NOTICE:
Your engine is designed to work with the .
electronics in your vehicle. If you add electrical
parts or accessories, you could,change the
way
the fuel injection system operates. Before adding
electrical equipment, check with your retailer.
If
you don’t, your engine might not perform
properly.
If you ever have to have your vehicle towed, see
the part of this manual that tells how to do
it
without damaging your vehicle. See “Towing
Your Vehicle” in the Index.
\. 2-13
.
Page 74 of 340
~
~ ~~ ~~~ ~. - ~__~
I!” sure the shift lever
is fully into PARK (P) range
before starting the engine. Your Oldsmobile has a
!brake-transaxle shift interlock. You must fully apply
your regular brakes before you can shift from PARK (P)
Bwhen the ignition is in
RUN. If you cannot shift out of
PARK.(P), ease pressure on the shift lever by pushing
it all the way into PARK (P) while keeping the brake
pedal pushed down. Release the shift lever button
if you
have a console shift. Then move the shift lever out
of
PARK (P), being sure to press the shift lever button if
you have a console shift. See “Shifting Out of
PARK (P)” in the Index.
REVERSE (R): Use this gear to back up.
NOTICE:
Shifting’ to REVERSE (R) while your vehicle is :
moving forward could damage your transaxle.
Shift to REVERSE (R) only after your vehicle
is
stopped.
To rock your vehicle back and forth to get out of snow,
ice or sand without damaging your transaxle, see
“Stuck: In Sand, Mud, Ice or Snow” in the Index.
~ ~~~~
~~~ .
NEUTRAL (N): In this position, your engine doesn’t
connect with the wheels.
To restart when you’re
already moving, use NEUTRAL
(N) only. Also, use
NEUTRAL
(N) when your vehicle is being towed.
I NOTICE:
Damage to your transaxle caused by shifting out
of
PARK (P) or NEUTRAL (N) with the engine
racing isn’t covered by your warranty.
Page 95 of 340
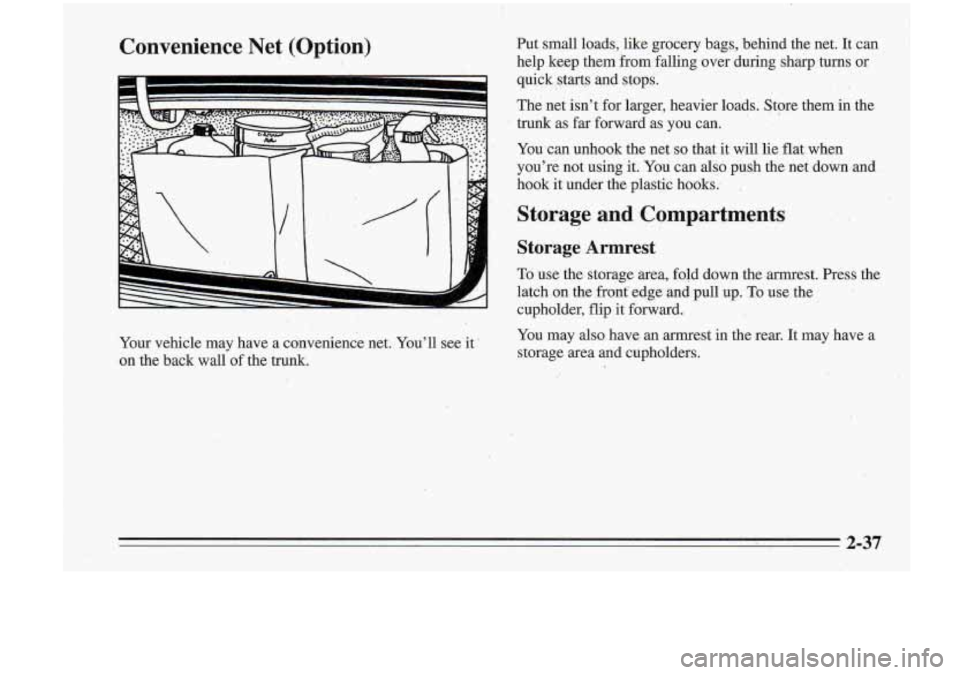
Convenience Net (Optibn) Put small loads, like grocery bags, behind the net. It can
help keep them from falling over during sharp turns or
quick starts and stops.
The net isn’t for larger, heavier loads. Store them in the
trunk as far forward as you can.
You
can unhook the net so that it will lie flat when
you’re not using it. You can
also push the net dowmand
hook it under the plastic hooks..
,.
Storage and Compartments
Storage Armrest
To use the storage area, fold down the armrest. Press the
latch- on the front’ edge and pull up.
To use the
cupholder, flip it forward.
. _.
.. ,I
Your vehicle may have a convenience net. You’ll see it-
on the back wall of the
trunk.
You may also have an armrest in the rear. It may have a
storage area and cupholders.
Page 106 of 340
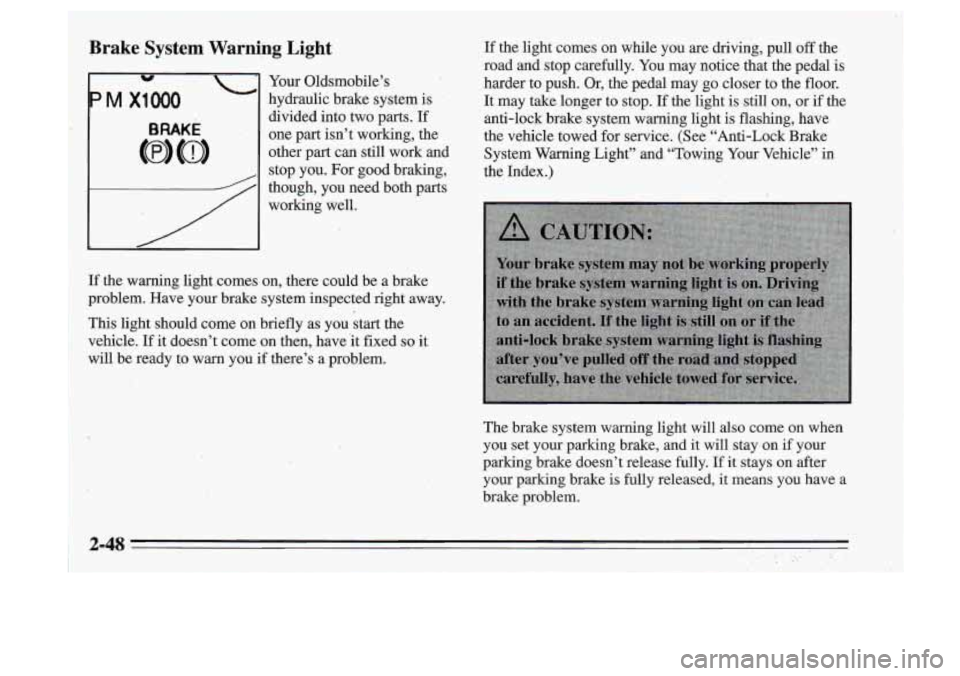
Brake System Warning Light
Your Oldsmobile’s
hydraulic brake system is
divided into two parts. If
one part isn’t working, the
other
part can still work and
stop you. For good braking,
though, you need both parts
working well. If
the light comes on while you
are driving, pull off the
road and stop carefully. You may notice that the pedal is
harder to push. Or,
the pedal may go closer to the floor.
It may take longer to stop.
If the light is still on, or if the
anti-lock brake system warning light
is flashing, have
the vehicle towed for service. (See “Anti-Lock Brake
System Warning Light” and “Towing Your Vehicle” in
the Index.)
If the warning light comes on, there could be a brake
problem. Have your brake system inspected right away.
:This light should come on briefly as you start the
vehicle. If it doesn’t come on then, have it fixed
so it
mill be ready to warn you
if there’s a problem.
The brake.system warning light will also come on when
you set your parking brake,
and it will stayion if your
parking brake doesn’t release fully. If it stays on after
your parking brake is fuily released, it means you have a
brakerproblem.
2-48
Page 108 of 340
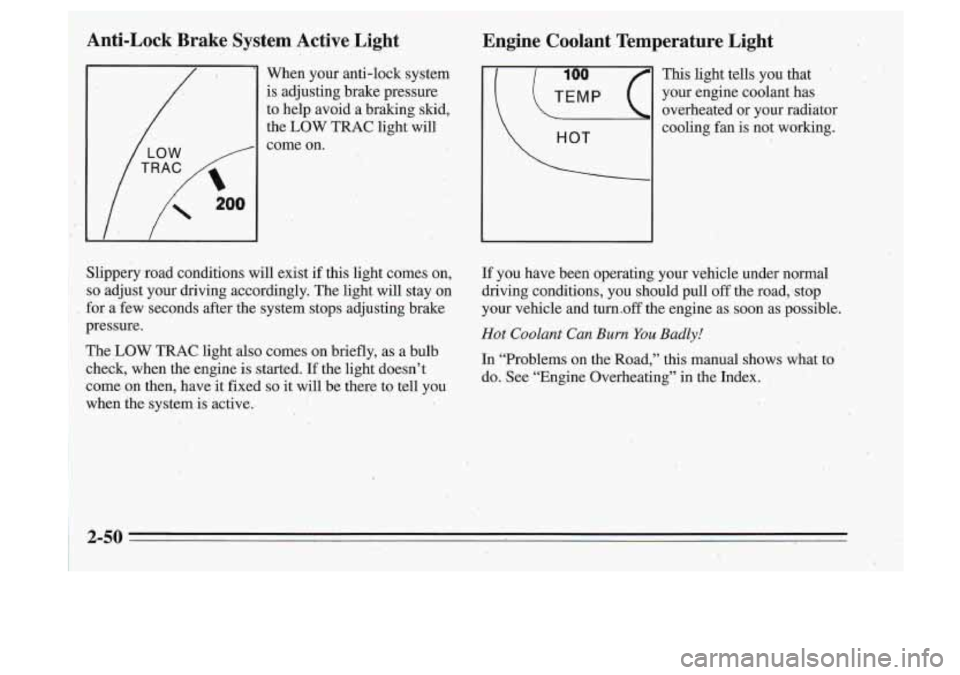
Anti-Lock Brake System Active Light
When your anti-lock system
is adjusting brake pressure
to help avoid a braking skid,
the LOW TRAC light will
come on.
Slippery road conditions will exist if this light comes on,
so adjust your driving accordingly. The light will stay on
for a few seconds after the system stops adjusting brake
pressure.
The LOW TRAC light also comes on briefly, as a bulb
check, when the engine is started. If the light doesn’t
come on then, have it fixed
so it will be there to tell you
when the system is active.
‘ This light tells.you that
your engine coolant has
, overheated or your radiator
cooling fan is not working.
If you have been operating your vehicle under normal
driving conditions, you should pull
off the road;stop’
your vehicle and turn.off the engine as soon as possible.
Hot Coolant Can Burn You Badly!
In “Problems on the~Road,” this manual shows what to
do. See “Engine Overheating”
in the Index.
2-50
Page 112 of 340
.(I
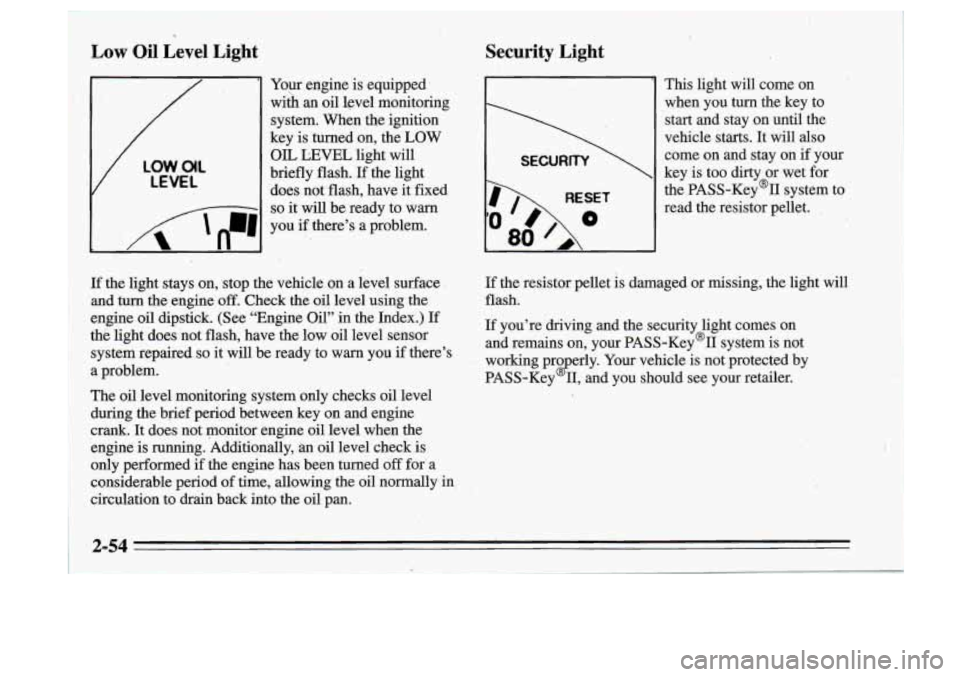
Low Oil Level Light
Your engine is equipped’
wiih
an oil level monitoring
system. When the ignition
key is turned on, the
LOW
V
LOW.O(L
LEVEL
OIL LEVEL light will
briefly flash.
If the light
‘does not flash, have it fixed
I 8 - -1 so it will be ready to warn
I n
I ‘A ‘n-1 , .
you if there’s a problem.
- ..
Security Light
I
RESET
80
This light will come on
when you
turn the key to
start and stay on until the
vehicle starts.
It will also
come on and stay on if your
key is too dirty or wet for
the PASS-Key% system to
read the resistor pellet.
,
If the light stays on,, stop the vehicle on a level surface
and turn the engine
off. Check the oil level using the
engine oil dipstick. (See “Engine Oil” in the Index.) If
thti light does not flash, have
the low oil level sensor
system repaired
so it will be ready to warn you if there’s
a problem.
The
oil level monitoring system only checks oil level
during the brief period between key on and engine
crank. It does not monitor engine oil level when the
engine is running. Additionally,
an oil level check.is
only performed if the engine has been turned
off for- a
considerable period
of time, allowing the oil normally in
circulation to drkn back into the oil pan.
If the resistor pellet is damaged or missing, the light will
flash.
If you’re driving and the security light comes on
and remains on, your PASS-Key’II system is not
working pro erly. Your vehicle is not protected by
PASS-Key
2 11, and you should see your retailer.
2-54
t
Page 114 of 340
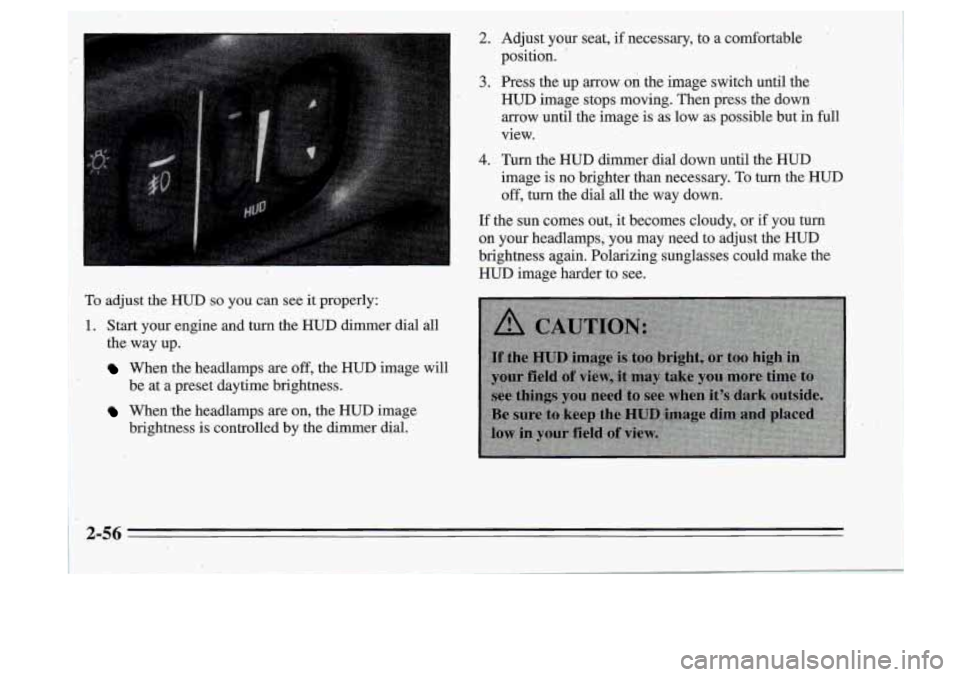
To adjust the HUD so you can see it properly:
1~. Start your engine and turn the HUD dimer dial all
I the, way up.
When the headlamps are off, the HUD image will
When the headlamps are on, the HUD image
be at
a preset daytime brightness.
brightness
is controlled by the dimmer dial.
2. Adjust your seat, if necessary, to a comfortable
position.
'
3. Press the up arrow on the image switch until the
HUD image stops moving. Then press the down
arrow until the image is as low as possible but in full
view.
4. Turn the HUD dimmer dial down until the HUD
image is no brighter than necessary. To turn the HUD
off, turn the dial all the way down.
If the sun comes out, it becomes cloudy, or if you turn
on your headlamps, you may need to adjust the HUD
brightness again. Polarizing sunglasses could make the
HUD image harder to see.
2-56