1995 Oldsmobile Cutlass Supreme battery
[x] Cancel search: batteryPage 7 of 340

Vehicle Symbols
These are some of the symbols you may find on your vehicle.
3.
For example,
these sym%ols
are used on an
original battery:
POSSIBLE A
CAUTION
INJURY
PROTECT EYES BY
SHIELDING
CAUSTIC
BURNS
SPARKS
OR
FLAMES
SPARK
OR
FLAME ,I#$,
COULD
EXPLODE
BATTERY
These symbols are important
for you and
your passengers
whenever your vehicle is
driven:
POWER
WINDOW n-
These symbols
have to do with your lights:
SIGNALS e
TURN
pA;:z
pf
WARNING A
HAZARD
FLASHER
HIGH
LAMPSoR BEAM = =o
FOG LAMPS 3 0 '
These symbols
are on some
of
your controls:
WINDSHIELD
WIPER
'r' -4
WINDSHIELD 6$
WASHER I
WINDSHIELD
DEFROSTER
REAR
WINDOW
DEFOGGER
VENTILATING
b
. FAN
These symbols are used
on
warning and
indicator lights:
CHARGING ,I-1
BAllERY
SYSTEM
BRAKE
(a)
RADIATOR COOLANT
a
ENGINE OIL
PRESSURE Wh
. TEMP OIL
ANTI-LOCK
(@)
BRAKE
Here are some
other symbols
you may see:
FUSE
RADIO
k
VOLUME a
CONDITIONING AIR 43
LIGHTER k
SPEAKER
b
V
Page 63 of 340
Remote Lock Control (Option)
If your Oldsmobile has this option, you can lock and
unlock your doors or unlock your
truqk from up to
30 feet (9 m) away using the key chain transmitter
supplied with
your vehicle.
Your Remote Lock Control operates on a radio
frequency subject to Federal Cornmanications
Commission (FCC) Rules.
This device complies with
Part 15 of the FCC Rules.
Operation is subject to
the following two conditions:
(1) This device may not cause harmful interference, and
(2) This device must accept any interferenc'e received,,
including interference that, may cause undesired
operation. Should
interference to this system occur, try this:
Check to -determine
if battery replacement is
necessary. 'See the instructions on battery
replacement.
Check the distance.
You may be too -far from your
vehicle.
This product has a maximummnge.
Check the location. Other vehicles or objects mav be
blocking the signal.
See your Oldsmobile retailer or
a qualified
technician for service.
Changes or modifications
to this system by other than an
authorized service facility could void authorization to
use this equipment.
2-5
Page 65 of 340
Battery Replacement
Under no&al use, the batteries in your key chain
transmitter should last about two years.
You can tell the batteries are weak if the transmitter
won't work at the normal range
i'n any location. If you
have to get close to your vehicle before the transmitter
works, it's probably time to change the batteries.
To replace your batteries:
1.
2.
3:
4.
5.
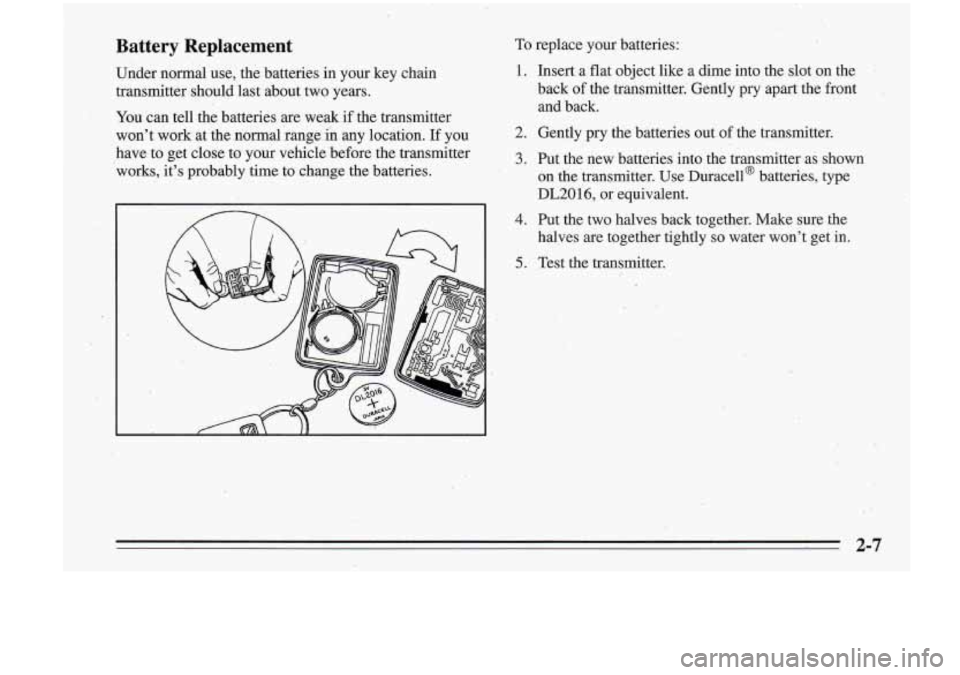
Insert a flat object like a dime into the slot on the
back of the transmitter.' Gently pry apart the front
and back.
Gently
pry the batteries out of the transmitter.
Put the new batteries into the transmitter as shown
on the transmitter. Use Duracella batteries,, type
DL201
6, or equivalent.
Put the two halves back together. Make sure the
halves are together tightly
so water won't get in.
Test the transmitter.
2-7
Page 71 of 340
To start your engine:
1. Without pushing the accelerator pedal, turn your
ignition key to
START. When the engine starts, let
go of the key The idle speed will go down as your
engine gets warm.
NOTICE:
Holding your key in START for longer than -- 15 seconds at a time will cause your battery to be
drained much sooner. And the excessive heat can
.damage your starter motor.
2. If-your engine won’t staq (or starts but then stops),
it could be flooded with
too much gasoline. Try
pushing your accelerator pedal all the way to the
floor and holding it there as you hold the key in
START
for about three sec,onds. If the vehicle starts
briefly but then stops again, do the same thing, but
this time keep the pedal down
for five or six seconds.
This clears the extra gasoline from the engine.
I
NOTICE:
Your engine is designed to work with the .
electronics in your vehicle. If you add electrical
parts or accessories, you could,change the
way
the fuel injection system operates. Before adding
electrical equipment, check with your retailer.
If
you don’t, your engine might not perform
properly.
If you ever have to have your vehicle towed, see
the part of this manual that tells how to do
it
without damaging your vehicle. See “Towing
Your Vehicle” in the Index.
\. 2-13
.
Page 91 of 340
Interior Lamps
When any door is opened, several lamps come on. These
lamps are courtesy lamps. They make it easy fo_r you to
enter and leave your vehicle. You can also turn these
lamps on by moving the dial near the headlamp knob all
the way up to INT.
Some of the lamps have switches
so you can turn them
on, even when the doors are closed. These lamps are
reading lamps: To avoid draining your battery, be sure to
turn
off all reading lamps when leaving your vehicle.
Battery Saver
Your vehicle has a feature to help prevent you from
draining the battery, in case you accidentally leave the
courtesy lamps on.
If you leave the dial turned all the
way up to
INT, or if you leave a door open, the lamps
will automatically turn
off after 10 minutes if the
ignition is
off.
This feature will not turn off the reading lamps, only .the
lamps controlled by the dial. Be sure to
turn off ‘my reading
lamps using
the switch before you leave the vehicle.
Illuminated Entry
Your courtesy lamps will come on and stay on for a set
time whenever you:
Pull a front door handle.
Press UNLOCK on the Remote Lock Control
0 Press DOOR on the Remote Lock Control
(if equipped).
’
(if equipped).
If you open a door, the
lamps will stay on while it’s open
I and then turn off automatically about 18 seconds after 1
you close it. If you don’t open a door, the lamps will ’
turn off after about 18 seconds, unless you pressed
UNLOCK on the Remote Lock Control.
If you pressed
UNLOCK and don’t open a door, the lamps will turn off
after about
55 seconds.
Illuminated entry includes a feature called theater
dimming. With theater dimming, the lamps don’t just
turn off at the end of the delay time. Instead, they slowly
dim during the delay time until they go out. The delay
time is cancelled
if you turn the ignition key to RUN or
START,
so the lamps will go out right away.
When the ignition is on, Illuminated Entry is inactive,
which means the courtesy
lamps won’t come on.
r
Page 131 of 340
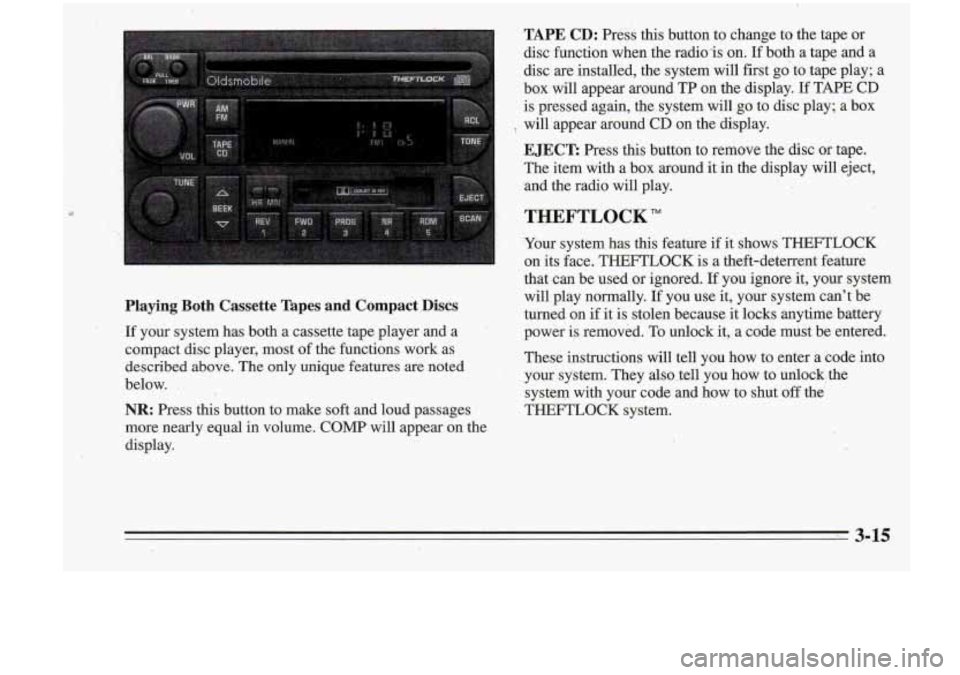
TAPE CD: Press this button to change to the taDe or
Playing Both Cassette Tapes and Compact .Discs
If your system has both a cassette tape player and a
compact disc player, most of the functions work as
described above. The only unique fezares are noted
below.
.
NR: Press this button to make soft and loud pi ages
more nearly equal
in volume. COMP will appear on the
display. disc function when the radio-is on.
Ifboth a
tap; and a
disc are installed, the system will first go to tape play; a
box will appear around TP on the display.
If TAPE CD
is pressed again, the system will go to disc play; a box
EJECT: Press this button to remove the disc or tape.
The item with a box around it in the display will eject,
'8 will appear around CD on the'display.
,, and the radio wi€l play.
THEFTLOCK"
Your system has this feature if it shows THEFTLOCK
on its face. THEFTLOCK is a theft-deterrent feature
that can be used or ignored.
If you ignore it, your system
will play normally.
I€ you use it, your system can't be
turned on if it is stolen because it locks anytime battery
power is removed. To unlock it, a code must be entered.
These instructions will tell you how to enter a code into
,your system. They also .tell you how to unlock, the
system with your code and how to shut off the
THEFTLOCK system.
Page 175 of 340
2. Get the vehicles close enougn so the jumper cables
can reach, but be sure the vehicles aren’t touching
each other. If they are, it could cause a ground
connection you don’t want. You wouldn’t be able to
start your Oldsmobile, and the bad grounding could
damage the electrical systems.
You could be injured if the vehicles roll. Set the
parking brake firmly on each vehicle. Put
an
automatic transaxle in PARK (P) or a manual
transaxle in
NEUTRAL (N).
3. Turn off the ignition on both vehicles. Turn off all
lamps that aren’t needed, and radios.
This will avoid
sparks and help Save both batteries. And it could
save your radio!
“NOTICE:
If you leave your radio on, it could be badly
damaged. The repairs wouldn’t be covered by
your warranty.
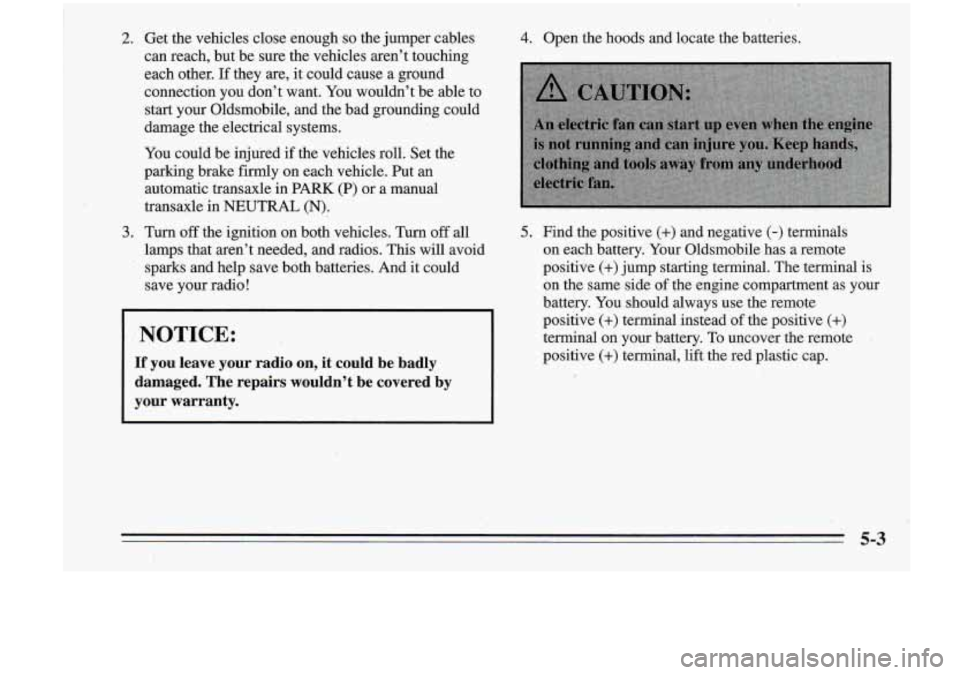
4. Open the hoods and locate the batteries.
5. Find the positive (+) and negative (-) terminals
on each battery. Your Oldsmobile has a remote
positive
(+) jump starting terminal. The terminal is
on the same side
of the engine compartment as your
battery. You should always use the remote
positive
(+) terminal instead of the positive (+)
terminal on your battery. To uncover the remote .
positive (+) termihal, lift the red plastic cap.
1
5-3
..
Page 176 of 340
6. Check that the jumper cables don’t have loose or
missing insulation. If they do, you could get
a shock.
The vehicles could be damaged, too.
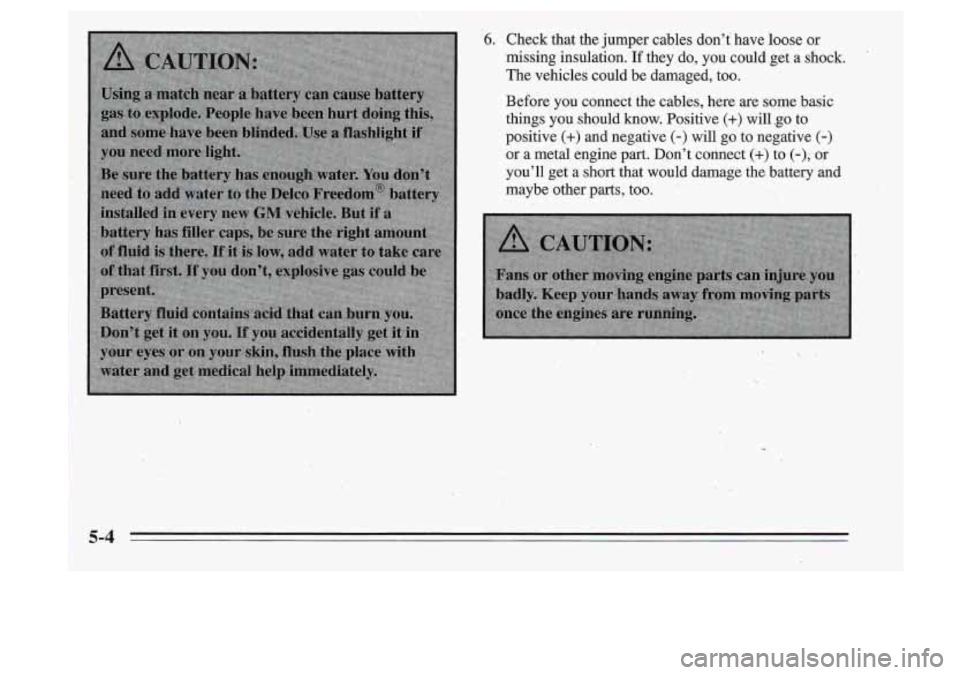
Before you connect the cables, here
are some basic
things you should know. Positive
(+) will .go to
positive
(+) and negative (-) will go to negative (-)
or a metal engine part. Don’t connect (+) to (-), or
you’ll get a short that would damage the battery and
maybe other
parts, too.