1995 Oldsmobile Cutlass Supreme set clock
[x] Cancel search: set clockPage 120 of 340

Air Conditioning with Automatic and
Auxiliary Temperature Control
With this system you set a temperature. You can then
either let the system adjust air flow and force to
maintain the temperature, or you can manually adjust
1 the flow and force, The system works best if you keep
1 your windows closed while usingit.
System Controls
Fan Knob
The left knob selects the force of air you want when the
system is not in AUTO. The display will show the
speed. To turn the system
off, push the knob.
Driver Temperature Knob
The right knob sets the temperature for the entire system
when the light on the
PASS button isn’t lit. If the light is
lit, the knob sets the temperature for the driver. Turn the
knob toward red (clockwise) to r&ise the temperature.
Turn it toward blue (counterclockwise) to lower the
temperature. The display
will show your selection for a
few seconds, then the outside temperature will show. If
you push the knob, the system will control the fan speed
and air flow. AUTO will show
on the display.
Page 121 of 340

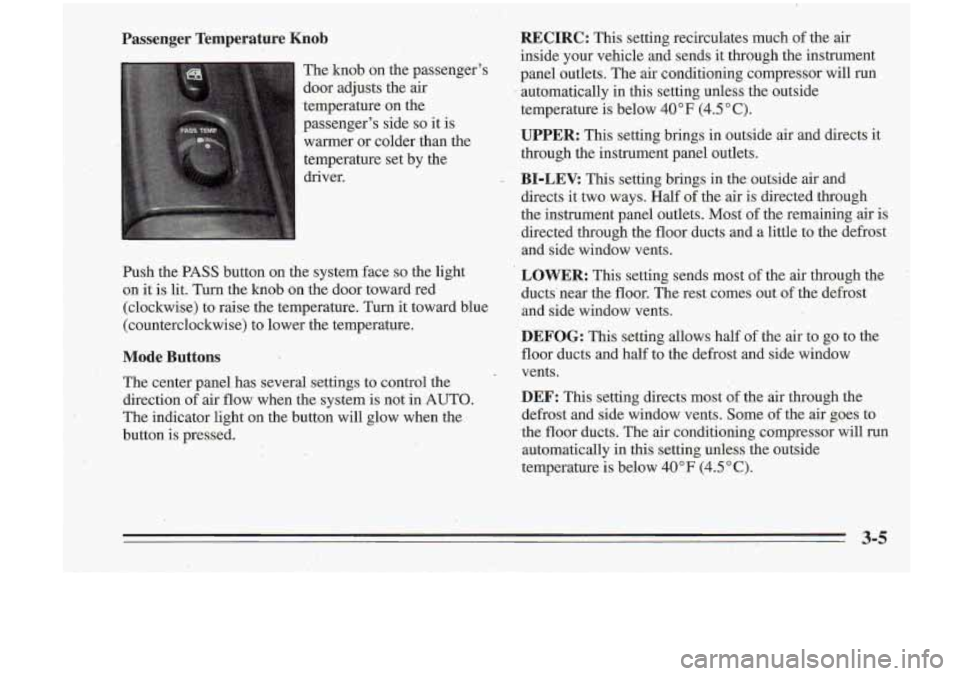
Passenger Temperature Knob
The knob on the passenger's
door adjusts the air
.temperature on the
passenger's side
so it is
warmer or colder- than -the
temperature set by the
driver.
Push the PASS button on the system face
so the light
on
it is lit. Turn the knob on the door toward red
(clockwise) to raise the temperature. Turn it toward blue
(counterclockwise) to lower the temperature.
Mode Buttons
The center panel has' several settings to control the
direction of air flow when the system is not in 'AUTO.
The indicator light on the button will glow when the
button is pressed.
RECIRC: This setting recirculates much of the air
inside your vehicle and sends it through the instrument
panel outlets. The air conditioning compressor will run
automatically
in this setting unless the outside
temperature
is below 40°F (4.5"C).
UPPER: This setting brings in outside air and directs it
through the instrument panel outlets.
BI-LEV. This setting brings in the outside air and
directs it two-ways. Half of the air is directed through
the instrument panel outlets.
Most of the remaining air is
directed through the floor ducts and a little to the defrost
and side window vents.
LOWER: This setting sends most of the air through the
ducts' near the floor. The rest comes out of the defrost
and side window vents.
DEFOG: This setting allows half of the air to go to the
floor ducts and half to the defrost and side window
vents.
DEF: This setting directs most of the air through the
defrost and side window vents. Some of the air goes
to
the floor ducts. The air conditioning compressor will run
automatically in this setting unless the outside
temperature is below
40°F (4.5"C).
Page 124 of 340

Flow-Through Ventilation System
Your vehicle's flow-through ventilation system supplies
outside air info the vehicle when it is moving. Outside
air will also enter the vehicle when the air conditioning
fan
is running.
Ventilation Tips
Keep the hood and fkont air inlet free of ice, snow or
any other obstruction, such- as leaves. The heater and
defroster will work far better, reducing the chance
of
fogging the inside of your windows.
, When you enter a vehicle in cold weather, set the
mode to
FLQOR or LOWER and the fan to .the
highest speed for a few moments before driving off.
This helps clear the intake ,ducts of snow and
moisture and reduces the chance of fogging the
inside of your windows.
'0 Keep the air path under the front seats'clear of
objects. This helps air to circulate throughout your
vehicle.
Audio Systems
Your Delco@ aubo system has been designed to operate
easily and give years of listening pleasure.
You will get
the most enjoyment out of 'it if you acquaint yourself with
it first. Find out what your Delco@system cpn do and how
.
,to operdte all its controls, to be sure you're getting the most
out of the advanced engineering that went into it.
Setting the Clock
You can set the-clock with the ignition on or off.
I
1. Press and hold HR until the correct hour appears.
The letter
A or'-P may appear in'the display for, AM
or PM.
2. Press and hold MN until the correct minute appears.
Page 125 of 340

I
AM/I?M Stereo Radio
Playing the Radio
Push PWR to turn the system on or off.
until the display flashes. If you press the button when
the ignition
is off, the clock will show for a' few seconds.
Finding a Station
AM/FM: Press this button to get AM, FM1 or M.2.
The display shows your selection.
TUNE:'Press this knob lightly
so it extends. Turn it to
choose radio stations. Push the knob back in when
you're not using it.
VOL: Turn this knob clockwise to increase volume.
Turn it counterclockwise to decrease volume
RCL: Press this button briefly to recall the station being
SEEK: Press the up or dawn arrow to go to the next
higher or lower station. The sound will be muted while
seeking.
Presets: The five pushbuttons let you return to your
favorite stations- You can set up to
-15 stations (5 AM,
5 FM1 and 5 FM2).
1. Press AMm' to select the band.
2. Find the station you want. ..
3. Press .and hold one of the five numbered buttons.
4. The sound will mute. When it returns, release the
button.
Played
Or the 'lock To change what is nomallY Whenever you press that numbered button, the station
shown on the display (station
or time), press the button you set will return.
until you see the display you want, then hold the button
3-9
Page 128 of 340

If E and a number appear in the display, the tape won’t
play because of an error.
E10: The tape is tight, and the player can’t turn the
tape hubs. Remove the tape. Hold the tape with the
counterclockwise with’a pencil. Turn the tape over
-:;I. and try to turn the right hub. If the hubs do not turn
.I .,X easily, your tape may be damaged and should not be
, . 1 -.).:,? . .. used in the player. Try a new tape to make sure your
1 . -- a :.. player is working properly.
p --
’ . .: open end down and try to turn the right hub
.,
.. . ~
i( - :@. ’i
SEEK: Press the up or down arrow to search for the
next or previous selection on the tape. Your tape must
have at least four seconds of silence between each
selection for
SEEK to work.
SCAN: Press this button to listen to each selection for a
few seconds. The tape will go to the next selection, stop
for a few seconds, then go on
to the next selection. Press
the button again to stop scanning. The sound will be
muted while scanning, and SCAN will appear
on the
display.
Ell: The tape is broken.
E12 Communication problem.
While the tape is playing, use the VOL, FADE, BAL,
FWD: Press this button to advance quickly to another
TREB and BASS controls just as you do for the radio. part of the tape. Press the button again to play the tape.
Other controls may have different functions when a tape
PROG: Press this button to change the side of the tape
is inserted. The display will show TP and an arrow to that is playing.
show which side of the tape is playing.
/ ’-. .:, . , *: ,.;) ,’..’!’. . REV: Press this button to reverse the tape rapidly. Press ’ .,K . ’ I. it again to play the tape.
NR: Press this button to reduce background noise.
Your tape bias is set automatically. When
a metal or
chrome tape is inserted, HI-BIAS appears on the
display.
If you want to insert a tape when the ignition is
off, first press EJECT or RCL. Dolby@
B Noise Reduction manufactured under license
from Dolby Laboratories Licensing Corporation. “Dolby” and the
On@ symbol are trademarks of Dolby
Laboratories Licensing Corporation.
3-12
Page 329 of 340

Power Steering Fluid ......................... 6-22
Restraint Systems
............................ 1-50
Things Under the Hood
......................... 6-7
Chemical Paint Spotting
.......................... 6-55
Child Restraints
................................ 1-38
(2-Door Models) ........................... 1-39
(4-Door Models) ........................... 1-41
Securing in a Rear Outside Seat Position
Securing in a Rear Outside Seat Position
Securing in the Center Rear Seat Positioh
.......... 1-43
Securing in the Right Front Seat Position
........... 1-44
TopStrap
................................... 1-39
Where to Put
................................. 1-38
Cigarette Lighter ............................... 2-41
Circuit Bfeaker, Power Windows and
. Other
Power Options
................................ 6-63
City Driving
................................... 4-17
Cleaner,
Air ................................... 6-15
Cleaning Aluminum Wheels
........................... 6-54
Fabric
..................................... 6-49
Glass
...................................... 6-52
Inside
of Your Oldsmobile ..................... 6-48
Leather
.................................... 6-51
Outside of Your Oldsrnobile
.................... 6-53
Special Problems
.............................. 6-50
Stains
...................................... 6-50
.Tires
...................................... 6-54
Top of the Instrument Panel
..................... 6-51
Vinyl
...................................... 6-50
Clock, Setting-the
................................. 3-8
Outside
of the Windshield and Wiper Blades
....... 6-52 Comfort Controls
................................ 3-1
Comfort Guides. Rear Safety Belt
.................. '1-34
Compact Disc Care
............................. 3-19
Compact Disc Player
............................ 3-13
Compact Spare Tire
.............................. 5-31
Console Shift Lever
............................. 2-20
Console. Center
................................ 2-38
Control of a Vehicle
.............................. 4-5
Control. Loss Of
................................ 4-12
ConVenience.Net
........ ....................... 2-37
Convex Outside Mirror
........................... 2-36
Coolant
........................................ 6-19
Bleed Valves
................................. 5-19
Heater, Engine
......................... 2-14, 6-14
How to Add to the Radiator
.................... 5-18
Temperature Gage
........... ; ... ............ 2-51
Temperature Light
........................... 2-50
Cruise Control
................................. 2-28
Erasing Speed Memory
........................ 2-31
Getting Out Of
.............................. 2-30
ToIncreaseSpeed
............................ 2-29
ToReduceSpeed
............................ 2-30
To Resume a Set Speed ......................... 2-29
ToSet
..................................... 2-29
UseonHills
................................ 2-30
Cupholders
.................................... 2-37
Customer Assistance for the Hearing or SpeechImpaired
............................... 8-2
Customer Assistance Information ................... 8-1
Customer Satisfaction Procedure .................... 8-1
How to Add to the Coolant Recovery Tank ........ 5-16
Passing Another Vehicle While Using
............ 2-30