1995 Oldsmobile Cutlass Supreme reset
[x] Cancel search: resetPage 85 of 340
Windshield Wipers
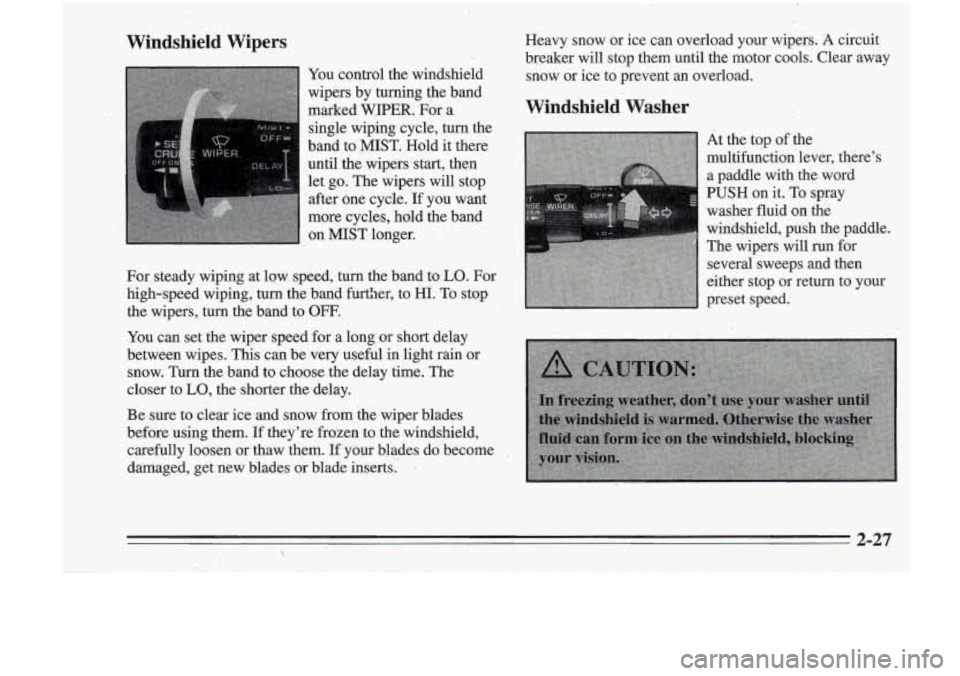
You control the windshield
wipers by turning the band
marked
WIPER. For a
singl’e wipi.ng cycle, turn the
band
to MIST. Hold it there
until the wipers,&ut, then
let go. The wipers will stop
after one cycle.
If you want
more cycles, hold the band
on MIST longer.
~
For steady wiping at low speed, turn the band to LO. For
high-speed wiping,
turn the band furtber, to HI. To stop
the wipers,
turn the band to OFF.
You can set the wiper speed for a long or short delay
between wipes. This can be very useful in light rain or
snow. Turn the band to choose the delay time. The
closer to.
LO, the shorter the delay.
Be sure to clear ice and snow from the wiper blades
before using them.
If they’re frozen to.the.windshield,
carefully loosen or thaw them.
If your blades do become
damaged, get new blades or blade inserts.
~
Heavy snow or ice can overload your wipers. A circuit
breaker will stop them until the motor cools. Clear away
I
snow or ice to prevent an overload.
Windshield Washer
At the top of the
multifunction lever, there’s
a paddle with the word
PUSH on it. To spray
washer fluid on the
windshield, push the paddle.
The wipers will run for
several sweeps and then
either stop or return
to your
preset speed.
2-27
Page 87 of 340
To Set Cruise Control To Resume a Set Speed
1. Move the cruise control switch to ON. Suppose you set your cruise control at a desired speed
and then you apply the brake. This,
of course, shuts off
the cruise control. But you don’t need to reset it.
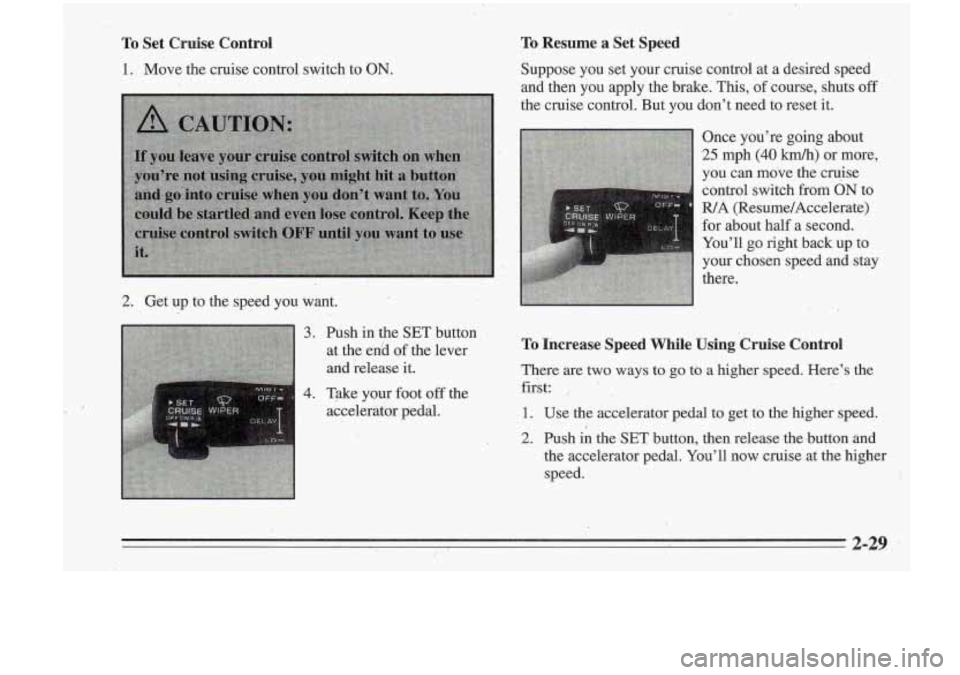
Once you’re going about
25 mph (40 km/h) or more,
you can move the cruise control switch from
ON to
R/A (Resume/Accelerate)
for about half a second.
You’ll go right back up to
your chosen speed and stay
there.
2. Get up to the speed you want.
3.
4.
Push in the SET,button
at the
enid of the lever
and release it.
Take your foot off the
accelerator pedal. To Increase Speed While Using Cruise Control
There are two ways to go to a higher speed. Here’s the
first:
,.
1. Use the accelerator pedal to get to the higher speed.
2. Push in the SET button, then release the.button and
.the accelerator pedal. You’ll now cruise at the higher
speed.
2-29
Page 112 of 340
.(I
Low Oil Level Light
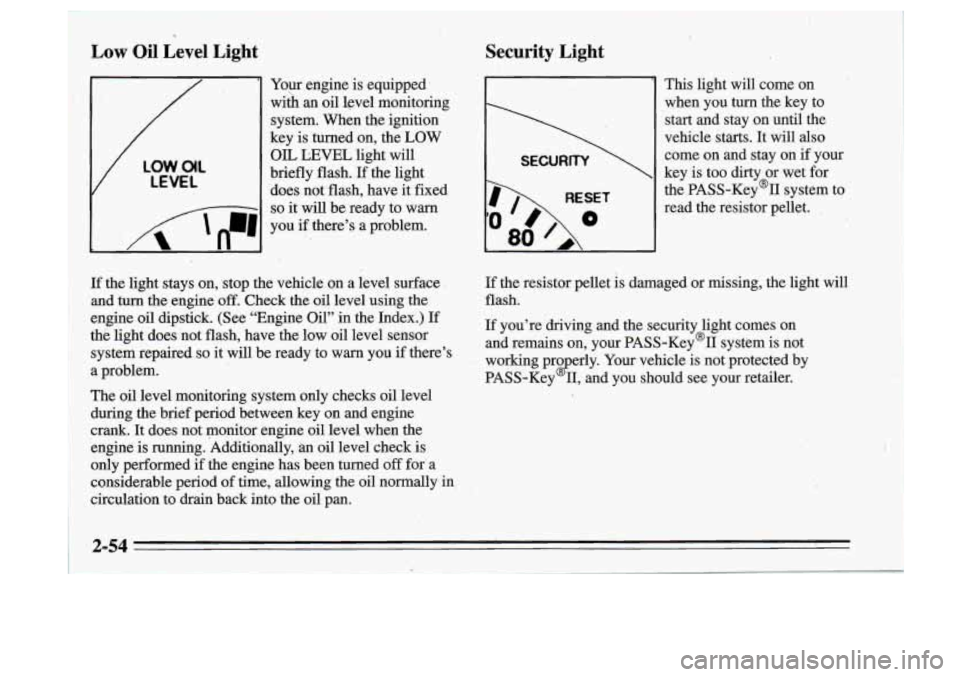
Your engine is equipped’
wiih
an oil level monitoring
system. When the ignition
key is turned on, the
LOW
V
LOW.O(L
LEVEL
OIL LEVEL light will
briefly flash.
If the light
‘does not flash, have it fixed
I 8 - -1 so it will be ready to warn
I n
I ‘A ‘n-1 , .
you if there’s a problem.
- ..
Security Light
I
RESET
80
This light will come on
when you
turn the key to
start and stay on until the
vehicle starts.
It will also
come on and stay on if your
key is too dirty or wet for
the PASS-Key% system to
read the resistor pellet.
,
If the light stays on,, stop the vehicle on a level surface
and turn the engine
off. Check the oil level using the
engine oil dipstick. (See “Engine Oil” in the Index.) If
thti light does not flash, have
the low oil level sensor
system repaired
so it will be ready to warn you if there’s
a problem.
The
oil level monitoring system only checks oil level
during the brief period between key on and engine
crank. It does not monitor engine oil level when the
engine is running. Additionally,
an oil level check.is
only performed if the engine has been turned
off for- a
considerable period
of time, allowing the oil normally in
circulation to drkn back into the oil pan.
If the resistor pellet is damaged or missing, the light will
flash.
If you’re driving and the security light comes on
and remains on, your PASS-Key’II system is not
working pro erly. Your vehicle is not protected by
PASS-Key
2 11, and you should see your retailer.
2-54
t
Page 114 of 340
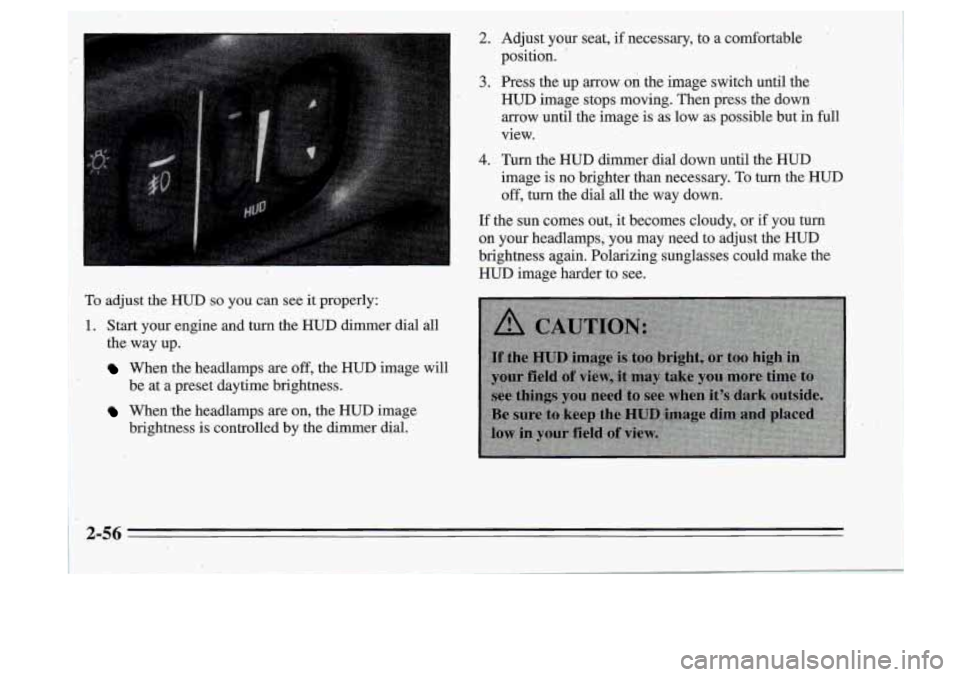
To adjust the HUD so you can see it properly:
1~. Start your engine and turn the HUD dimer dial all
I the, way up.
When the headlamps are off, the HUD image will
When the headlamps are on, the HUD image
be at
a preset daytime brightness.
brightness
is controlled by the dimmer dial.
2. Adjust your seat, if necessary, to a comfortable
position.
'
3. Press the up arrow on the image switch until the
HUD image stops moving. Then press the down
arrow until the image is as low as possible but in full
view.
4. Turn the HUD dimmer dial down until the HUD
image is no brighter than necessary. To turn the HUD
off, turn the dial all the way down.
If the sun comes out, it becomes cloudy, or if you turn
on your headlamps, you may need to adjust the HUD
brightness again. Polarizing sunglasses could make the
HUD image harder to see.
2-56
Page 125 of 340

I
AM/I?M Stereo Radio
Playing the Radio
Push PWR to turn the system on or off.
until the display flashes. If you press the button when
the ignition
is off, the clock will show for a' few seconds.
Finding a Station
AM/FM: Press this button to get AM, FM1 or M.2.
The display shows your selection.
TUNE:'Press this knob lightly
so it extends. Turn it to
choose radio stations. Push the knob back in when
you're not using it.
VOL: Turn this knob clockwise to increase volume.
Turn it counterclockwise to decrease volume
RCL: Press this button briefly to recall the station being
SEEK: Press the up or dawn arrow to go to the next
higher or lower station. The sound will be muted while
seeking.
Presets: The five pushbuttons let you return to your
favorite stations- You can set up to
-15 stations (5 AM,
5 FM1 and 5 FM2).
1. Press AMm' to select the band.
2. Find the station you want. ..
3. Press .and hold one of the five numbered buttons.
4. The sound will mute. When it returns, release the
button.
Played
Or the 'lock To change what is nomallY Whenever you press that numbered button, the station
shown on the display (station
or time), press the button you set will return.
until you see the display you want, then hold the button
3-9
Page 126 of 340
SCAN: Press this button and release to listen to stations
a few seconds. The radio will go to a station, stop for a
few seconds, then go on to the next station. Press the
button again to stop scanning. The sound will be muted
while scanning, and SCAN will appear on the display.
If
you-
the display.
PSCAN: Press SCAN for more than two s,econds, and
PSCAN will appear on the display. The radio will go to
the first preset station, stop for-a few seconds, then go
on to the next preset station. Press SCAN again to stop
scanning.
Setting the Tone
BASS:
Press this knob lightly so it extends. Turn the
knob to increase or decrease bass. The middle position
is
a detent.
TREB: Press this knob lightly so it extends..Then pull
the knob all the way out. Turn it to increase or decrease
treble. The middle position is a detent.
Push the knob back in when you’re not using it.
Adjusting the Speakers
BAL:
Press this knob lightly so it extends. Turn the
knob to move,the sound to the left or right speakers. The
middle position is a detent and balances the speakers.
FADE: Press the knob lightly .so it extends. Then pull
the knob
all the way out. Turn it to move the sound to
the front or rear speakers.. The middle position is a
detent and balances the speakers.
Push the knob back in when you’re not using it.
3-10
Page 127 of 340
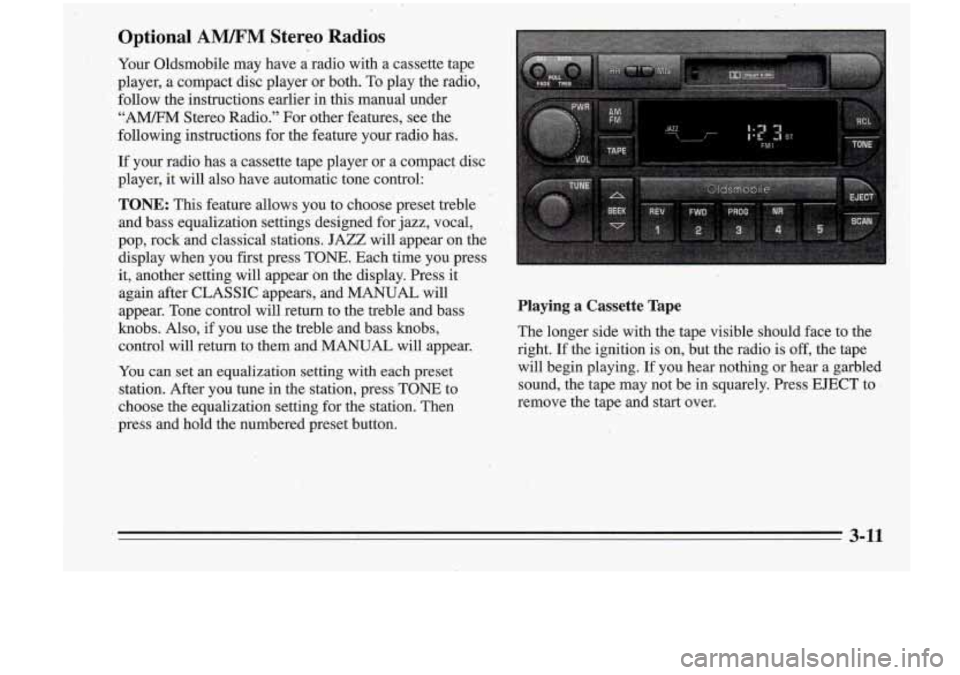
Optional AWM Stereo ‘Radios
Your Oldsmobile may have a radio with a cassette tape
player, a compact disc player or both. To play the radio,
follow the instructions earlier in this manual under
“AM/FM Stereo Radio.” For other features, see the
following instructions for the feature your radio has.
If your radio has a cassette tape player or a compact disc
player,
it will also have automatic tone control:
TONE: This feature allows you to choose preset treble
and bass equalization settings designed for jazz, vocal,
pop, rock and classical stations. JAZZ will appear on the
display when you first pre.ss TONE. Each‘time.
you press
it, another setting will appearon the display. Press it
again after CLASSIC appears, and MANUAL will
appear. Tone control will return to the treble and bass
knobs. Also, if you use the treble and bass knobs,
control will return to them and MANUAL will appear.
You can set an equalization setting with each preset
station. After you tune in the station, press TONE
to
choose the equalization setting for the station.’ Then
press and bold the numbered preset button.
Playing a Cassette Tape
The longer side with the tape visible should face to the
right.
If the ignition is on, but the radio is off, the tape
will begin playing.
If you hear oothing or heai a garbled
sound, the tape may not be in squarely. Press EJECT to
I
remove the tape and start over.
3-11
Page 129 of 340
t.
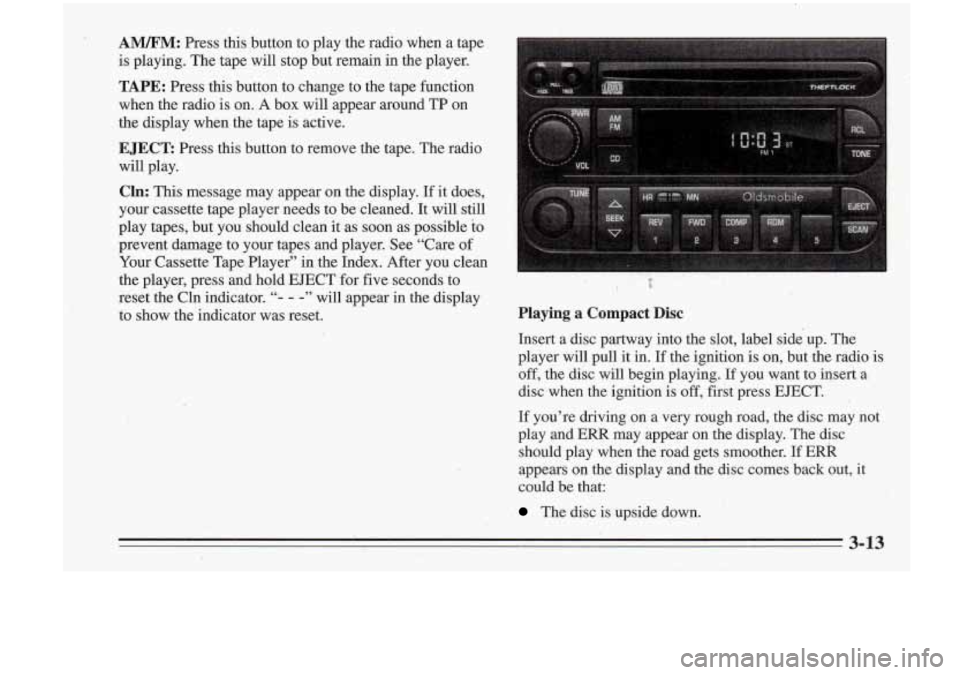
A”: Press this button to play the radio when a tape
is playing. The tape will stop but remain in the player.
TAPE: Press this button to change to the tape function
when the radio is on.
A box will appear around TP on
the display when the tape
is active.
EJECT: Press this button to remove the tape. The radio
will play.
Cln: This message may appear on the display. If it does,
your cassette tape player needs to be cleaned. It will still
play tapes, but you should clean it.as soon as possible
to
prevent damage to your tapes and player. See “Care of
Your Cassette Tap,e Player” in the Index. After you clean
the player, press and hold EJECT for five seconds to
reset the Cln indicator.
“- - -” will appear in the display
to show the indicator was reset.
k? I ‘b
Playing a Compact Disc
Insert a disc partway into the slot, label side up. The
player will pull it in.
If the ignition is on, but .the radio is
off, the disc will begin playing. If YOU want to insert a
disc,,when ,the ignition is
off, first press EJECT.
If you’re driving on a very rough road, the disc may not
play and
ERR may appear on the display. The disc
should play when the road gets smoother.
If ERR
appears on the display and the disc comes ‘back out, it
could be that:
The disc is upside down.
3-13