Page 141 of 488
Turn Signal and Lane Change lndicator Lights
Gasoline Engine Diesel Engine
The fuel gage, when the ignition is on. tells you about how much fuel you
have left
in your tank. The gage will first indicate empty before you are out
of fuel. and you should get nmre fuel as soon as possible.
2-79
ProCarManuals.com
Page 142 of 488
Listed are four situations you may experience with your f~~el gage:
At the gas station. the fuel pump shuts off before the gage reads full.
It lakes a little more or less fuel to fill up than the fuel gage indicated.
For example, the gage may have indicated the tank was half
full, but it
actually took a little more or less than half the tank's capacity to fill the
, tank.
The gage moves a little when you turn a corner or speed up.
The gage doesn't go back to empty when you turn off the ignition.
None of these indicate
a problem with the fuel gage.
For information on how to fill your fuel tank, see "Fuel - Filling Your
Tank"
in the Index.
For your fuel tank capacity, see "Fuel -Tank Capacity" in the Index.
Engine Coolant Temperature Gage
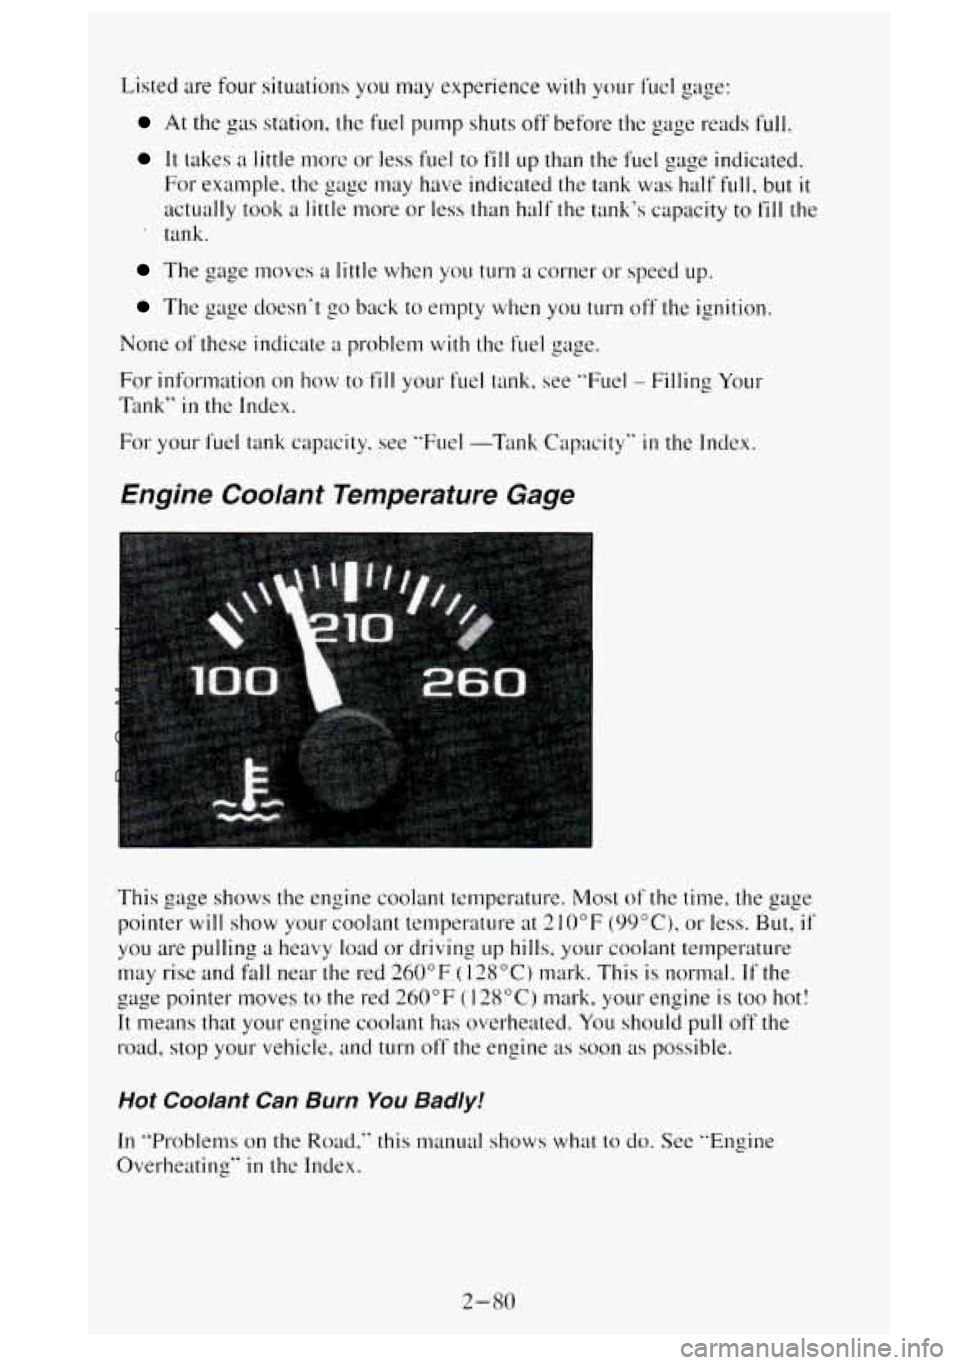
This gage shows the engine coolant temperature. Most of the time. the gage
pointer
will show your coolant temperature at 2 10°F (99"C), or less. But, if
you are pulling a heavy load or driving LIP hills, your coolant temperature
may rise and
fall near the red 260°F ( 128°C) mark. This is normal. If the
gage pointer moves to the red 260°F
(128°C) mark, your engine is too hot!
It means that your engine coolant has overheated. You should pull off the
road,
stop your vehicle. and turn off the engine as soon as possible.
Hot Coolant Can Burn You Badly!
In "Problems on the Road," this manual shows what to do. See "Engine
Overheating"
in thc Index.
2-80
ProCarManuals.com
Page 144 of 488
Voltmeter
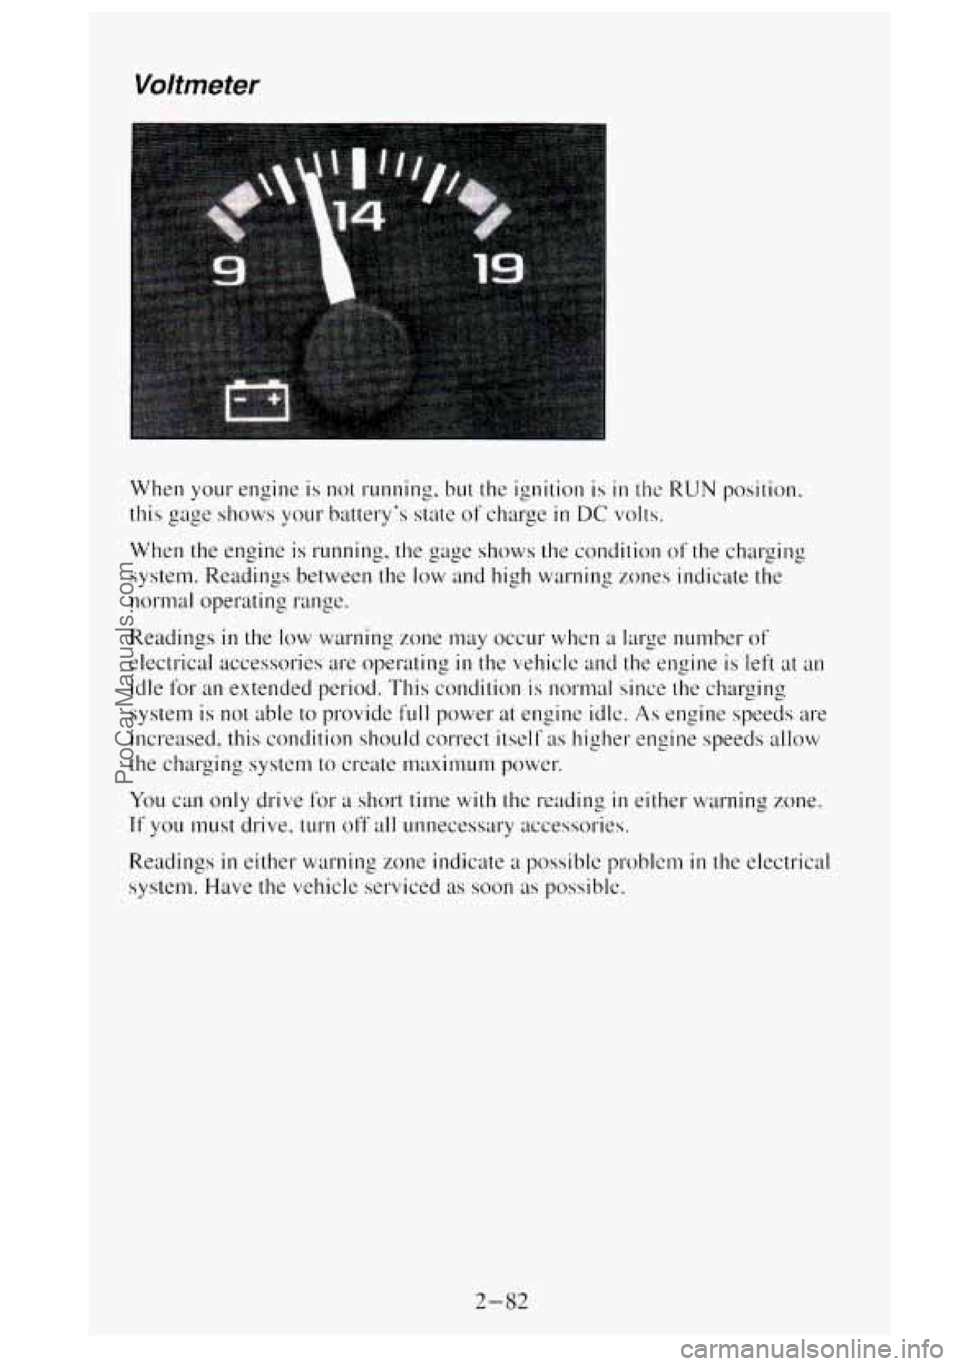
When your engine is not running. but the ignition is in the RUN position.
this
gage shows your battery’s state of charge in DC volts.
When the engine is running, the gage shows the condition
of the charging
system. Readings between the low and high wat-ning
zones indicate the
normal operating range.
Readings
in the low warning zone may occur when a large number of
electrical accessories are operating in the vehicle and the engine is left at an
idle for an extended period. This condilion is normal since the charging
system is
not able to provide full power at engine idlc. As engine speeds are
increased, this condition should correct itself
;IS higher engine speeds allow
the charging system
to create nwximum power.
You can only drive For a short time with the reading in either warning zone.
If you must drive, turn off all unnecessary accessories.
Readings
in either warning zone indicate a possible problcm in the electrical
system. Have the vehicle serviced
as soon as possible.
2-82
ProCarManuals.com
Page 151 of 488
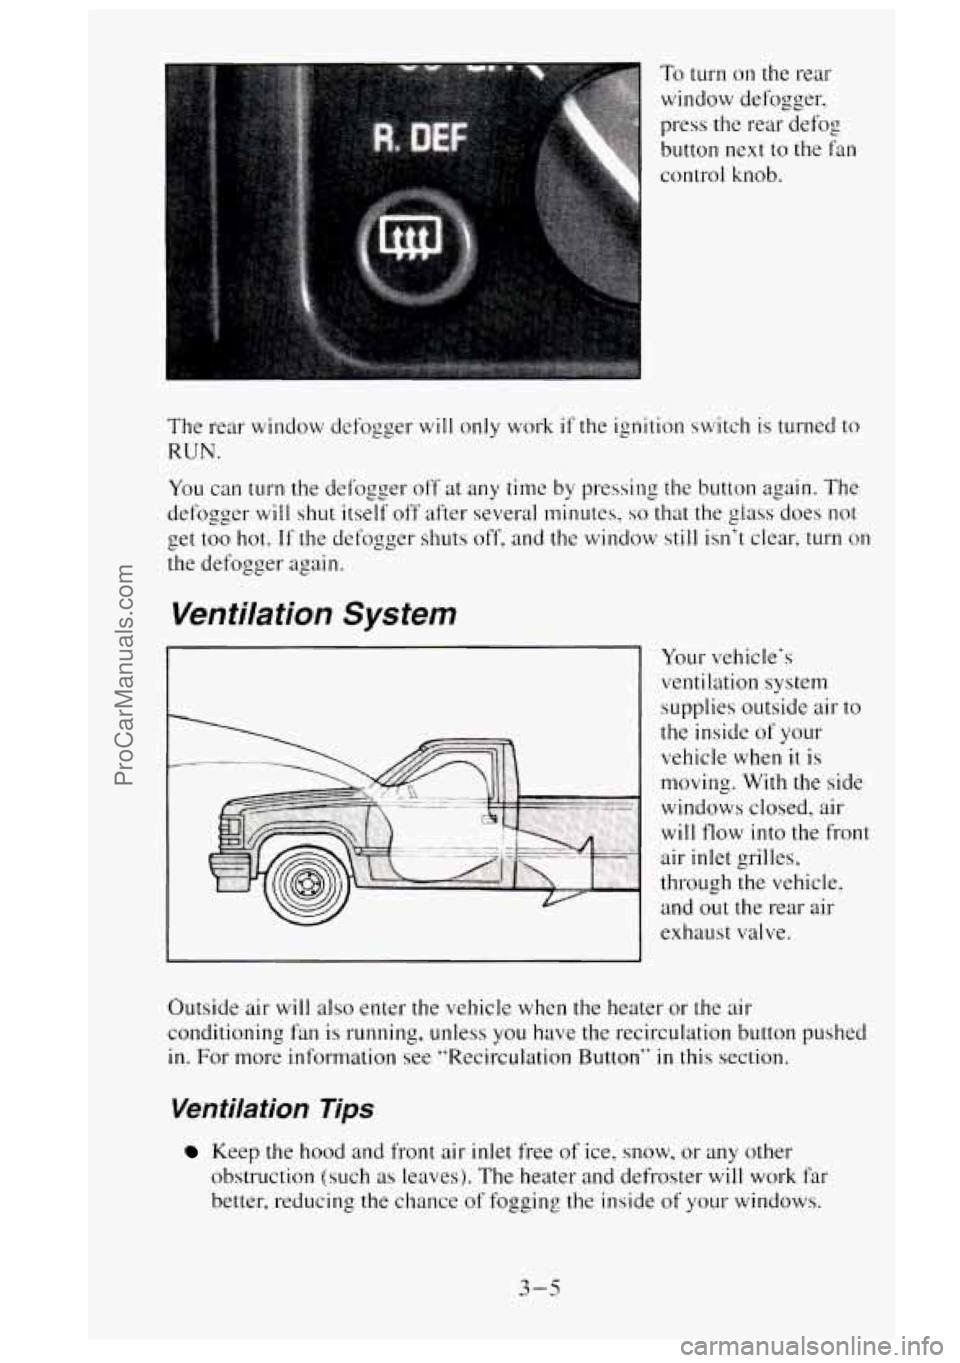
To turn on the rear
window defogger,
press the rear defog
button
next to the fan
control knob.
‘he rear window defogger
will only work if the ignition switch is turned to
:UN.
‘ou can turn the defogger off at any time by pressing the button again. The
efogger
will shut itself off after several minutes, so that the glass does not
et too hot.
If the defogger shuts off, and the window still isn’t clear, turn on
le defogger again.
Ventilation System
Your vehicle‘s
ventilation system
supplies outside air
to
the inside of your
vehicle when
it is
moving. With the side
windows closed, air
will flow into the front
air inlet grilles,
through the vehicle, and out the rear air
exhaust valve.
Outside air
will also enter the vehicle when the heater or the air
conditioning fan is running, unless you have the recirculation button pushed
in.
For more information see “Recirculation Button’‘ in this section.
Ventilation Tips
Keep the hood and front air inlet free of ice, snow, or any other
obstruction (such
as leaves). The heater and defroster will work far
better, reducing the chance
of fogging the inside of your windows.
3-5
ProCarManuals.com
Page 152 of 488
When you enter a vehicle in cold weather, turn the blower fan to HI for
a few moments before driving off. This helps clear the intake ducts of
snow and moisture. and reduces the chance of fogging the inside. of
your windows.
Keep the air path under the front seats clear of objects. This helps air to
circulate throughout your vehicle.
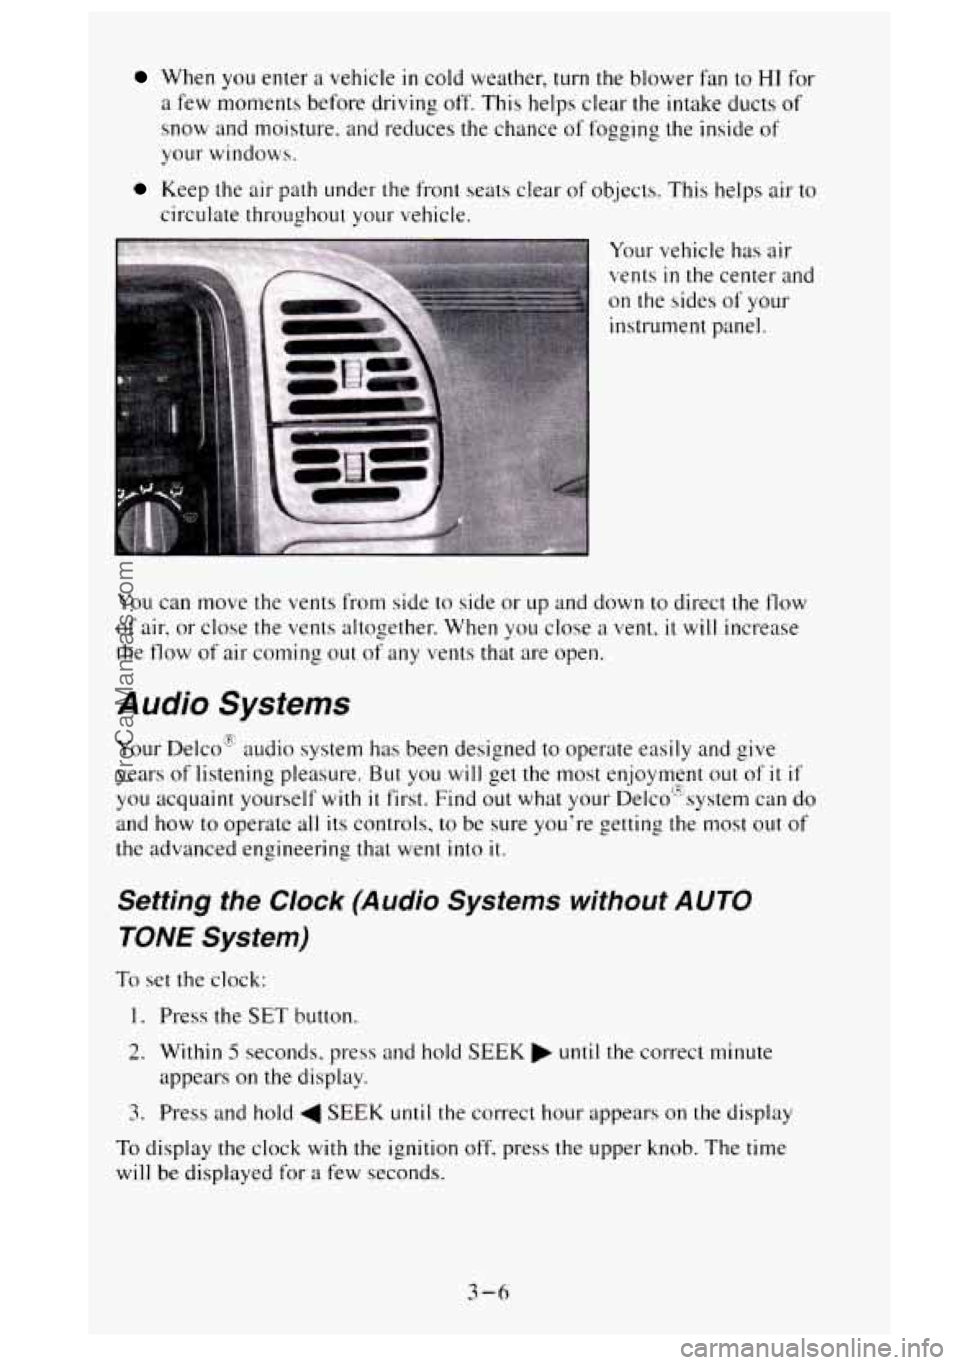
Your vehicle has air
vents
in the center a1
on the sides of your
instrument panel. nd
You can move the vents from side to side or
up and down to direct the flow
of air. or close the vents altogether. When you close a vent, it will increase
the
flow of' air corning out of any vents that are open.
Audio Systems
Your Delco'E audio system has been designed to operate easily and give
years of listening pleasure.
But you will get the most enjoyment out of it if
you acquaint yourself with it first. Find out what your De1co"system can do
and how to operate all its controls, to be sure you're getting the most
out of
the advanced engineering that went into it.
Setting the Clock (Audio Systems without AUTO
TONE System)
To set the clock:
1. Press the SET button.
2. Within 5 seconds, press and hold SEEK until the correct minute
appears
on the display.
3. Press and hold 4 SEEK until the correct hour appears on the display
To display the clock with the ignition off, press the upper knob. The time
will
be displayed for a few seconds.
3-6
ProCarManuals.com
Page 153 of 488
The buttons used to set the clock are located below the AUTO TONE button
in the bottom right corner of your audio system.
To set the clock:
1. Press and hold HR until the correct hour appears on the display.
2. Press and hold MIN until the correct minute appears on the display.
To display the clock with the ignition off, press the recall button. The time
will be displayed for
a few seconds.
There is
an initial two-second delay before the clock goes into the time-set
mode.
This part tells you how your ETR@AM-FM stereo audio system works.
Upper Knob (VOL-RECALL)
- The upper knob has these four functions:
Turn it to switch the system on and off.
Turn it to control the volume.
0 Press it to display the time when the ignition is off.
0 Press it to change between the clock and the radio station frequency
displayed when the radio
is on.
BAL (Balance)
- The control ring behind the upper knob adjusts the
lefvright speaker balance.
3-7
ProCarManuals.com
Page 155 of 488
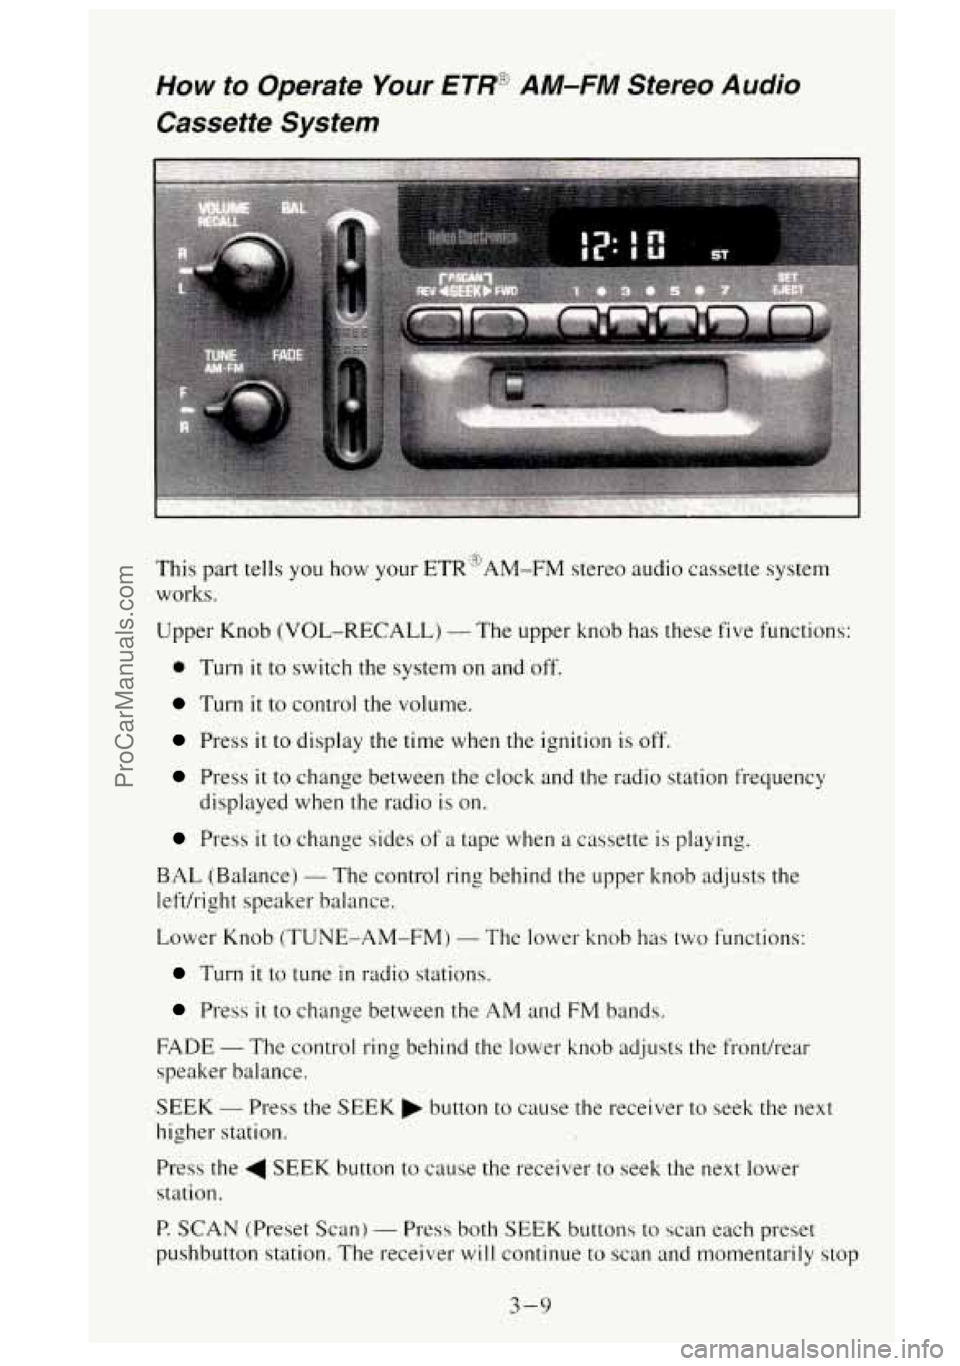
How to Operate Your ETR@ AM-FM Stereo Audio
Cassette System
This part tells you how your ETR'3AM-FM stereo audio cassette system
works.
Upper Knob (VOL-RECALL)
- The upper knob has these five functions:
0 Turn it to switch the system on and off.
Turn it to control the volume.
Press it to display the time when the ignition is off.
Press it to change between the clock and the radio station frequency
displayed when the radio
is on.
Press it to change sides of a tape when a cassette is playing.
BAL (Balance) - The control ring behind the upper knob adjusts the
lefthight speaker balance.
Lower Knob (TUNE-AM-FM)
- The lower knob has two functions:
Turn it to tune in radio stations.
Press it to change between the AM and FM bands.
FADE
- The control ring behind the lower knob adjusts the front/rear
speaker balance.
SEEK - Press the SEEK button to cause the receiver to seek the next
higher station.
Press the
4 SEEK button to cause the receiver to seek the next lower
station.
P. SCAN (Preset Scan) - Press both SEEK buttons to scan each preset
pushbutton station. The receiver will continue to scan and momentarily stop
3-9
ProCarManuals.com
Page 157 of 488
EJECT - To remove the tape or stop the tape and switch to radio, press the
EJECT button.
If a tape is inserted with side “1” (or ”A”) up, then the right arrow means
that that side is being played. Likewise,
a left arrow would indicate that side
“2” (or “B”) had been selected. The player will automatically switch to the
other side of the tape when the first side ends.
How to Operate Your €TIT3’ AM-FM Stereo Audio
Cassette ATC System
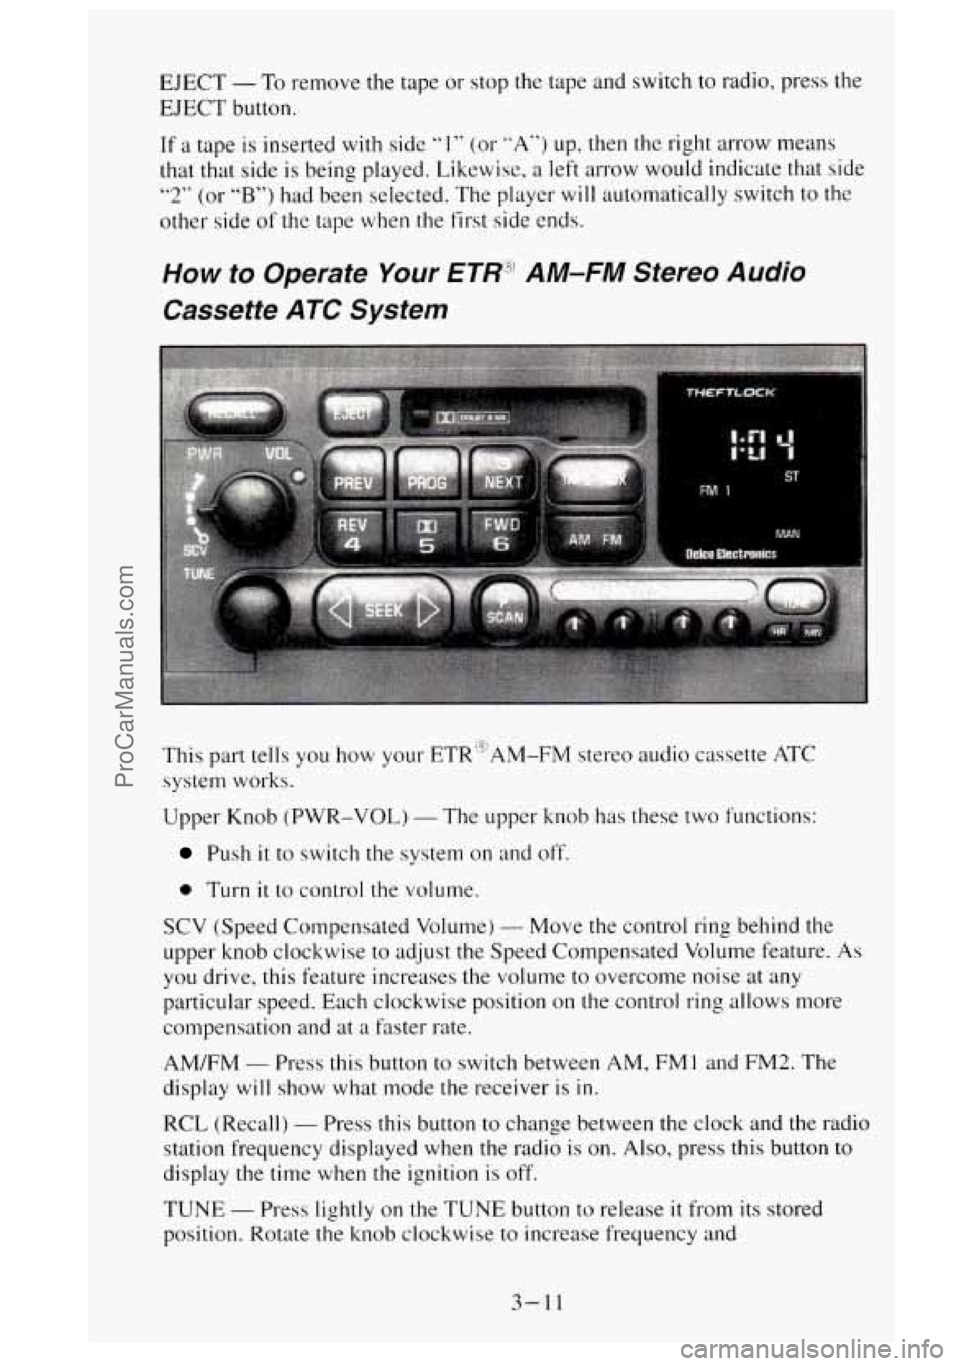
This part tells you how your ETRi3AM-FM stereo audio cassette ATC
system works.
Upper Knob (PWR-VOL)
- The upper knob has these two functions:
Push it to switch the system on and off.
0 Turn it to control the volume.
SCV (Speed Compensated Volume) - Move the control ring behind the
upper knob clockwise
to adjust the Speed Compensated Volume feature. As
you drive, this feature increases the volume to overcome noise at any
particular speed. Each clockwise position on the control ring allows more
compensation and at a faster rate.
AM/FM
- Press this button to switch between AM, FMl and FM2. The
display will show what mode the receiver is in.
RCL (Recall)
- Press this button to change between the clock and the radio
station frequency displayed when the radio is on.
Also, press this button to
display the time when the ignition is
off.
TUNE - Press lightly on the TUNE button to release it from its stored
position. Rotate the knob clockwise to increase frequency and
3-11
ProCarManuals.com