Page 140 of 488
If your vehicle was first sold, when new, in Canada, you will have this green
light
on the instrument panel. It will light whenever the Daytime Running
Lamps are on. For more details about DRL, see “Headlamps and Vehicle
Lighting”
in this section.
Shift Indicator Light
e
This orange light, with the word SHIFT and the upshift arrow, is used on
some models with manual transmissions. Depending on your particular
model, your vehicle may not have this light. The SHIFT indicator light will
help you get
the best fuel economy. See “Shift Light” or “Manual
Transmission Shift Speeds”
in this section for more information.
Headlamp High Beam Indicator Light
The blue high beam indicator is on whenever you use your high beam
headlamps. For more details about high beams, see “Headlamp High-Low
Beam” earlier
in this section.
2-78
ProCarManuals.com
Page 197 of 488

After Off-Road Driving
Remove any brush or debris that has collected on the underbody, chassis or
under the hood. These accumulations can be
a fire hazard.
After operation
in mud or sand, have the brake linings cleaned and checked.
These substances can cause glazing and uneven braking. Check the body
structure, steering, suspension. wheels, tires, and exhaust system for
damage.
Also, check the fuel lines and cooling system for any leakage.
Your vehicle
will require more frequent service due to off-road use. Refer
to the Maintenance Schedule for additional information.
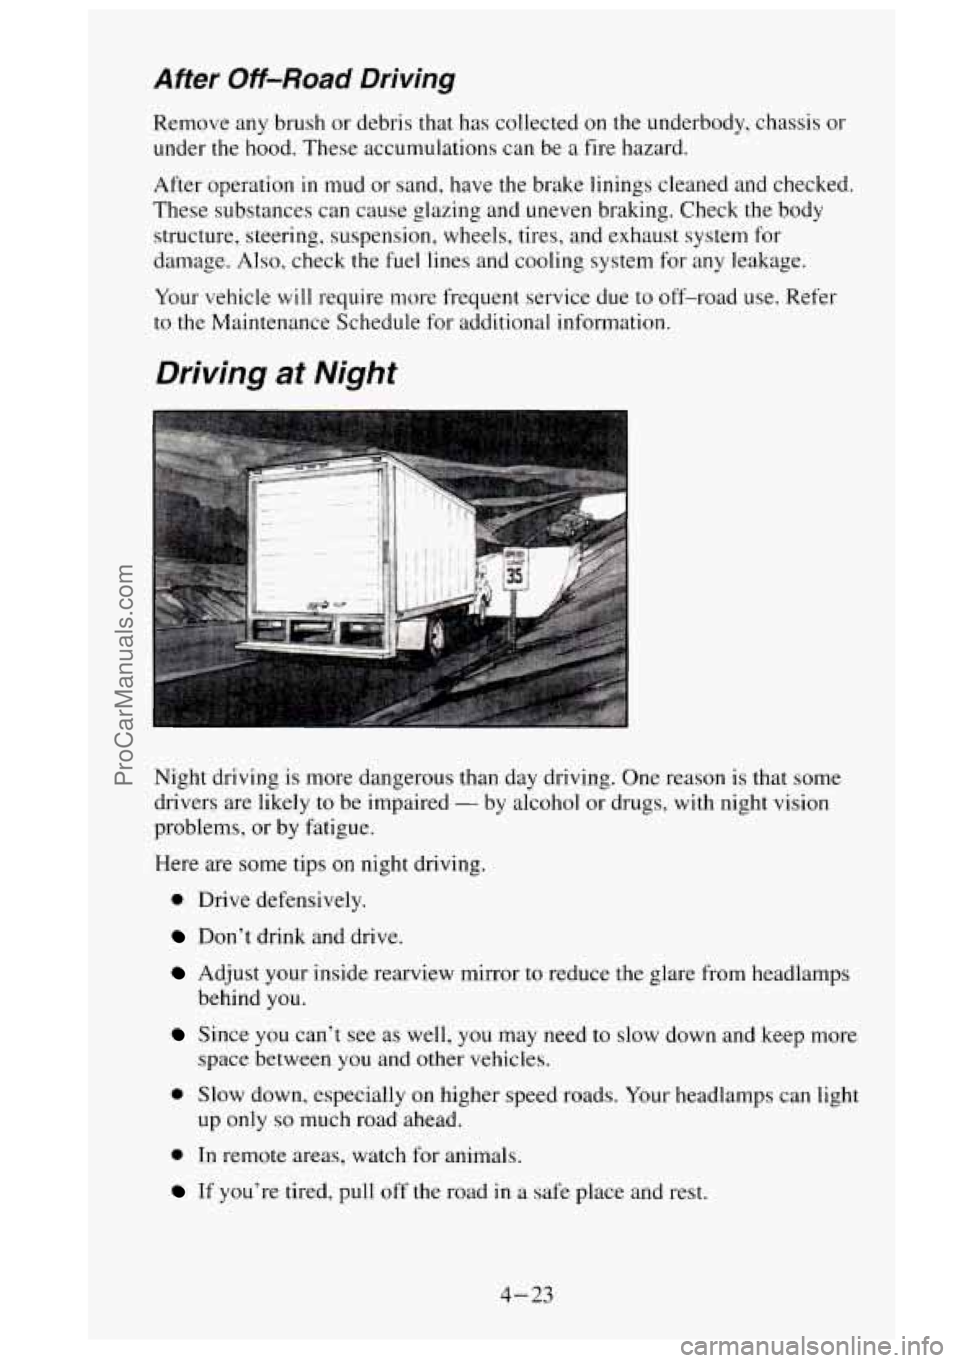
Driving at Night
Night driving is more dangerous than day driving. One reason is that some
drivers are likely
to be impaired - by alcohol or drugs, with night vision
problems,
or by fatigue.
Here are some tips on night driving.
0 Drive defensively.
Don’t drink and drive.
Adjust your inside rearview mirror to reduce the glare from headlamps
Since you can’t see as well, you may need to slow down and keep more
behind
you.
space
between you and other vehicles.
a Slow down, especially on higher speed roads. Your headlamps can light
up only
so much road ahead.
0 In remote areas, watch for animals.
If you’re tired, pull off the road in a safe place and rest.
4-23
ProCarManuals.com
Page 198 of 488

Night Vision
No one can see as well at night as in the daytime. But as we get older these
differences increase.
A SO-year-old driver may require at least twice as
much
light to see the same thing at night as a 20-year-old.
What
you do in the daytime can also affect your night vision. For example,
if you spend the day in bright sunshine you are wise to wear sunglasses.
Your eyes will have less trouble adjusting to night. But if you’re driving,
don’t wear sunglasses at night. They may cut down on glare from
headlamps, but they also make a lot
of things invisible.
You can be temporarily blinded
by approaching lights. It can take a second
or two, or even several seconds, for your eyes
to readjust to the dark. When
you are faced with severe glare (as from a driver who doesn’t lower the high
beams, or
a vehicle with misaimed headlamps), slow down a little. Avoid
staring directly into the approaching lights.
Keep your windshield and all the glass on your vehicle clean
- inside and
out. Glare at night is made much worse by dirt on the glass. Even the inside
of the glass can build up
a film caused by dust. Dirty glass makes lights
dazzle and flash more than clean glass would, making the pupils of your
eyes contract repeatedly.
Remember that your headlamps light
up far less of a roadway when you are
in a turn or curve. Keep your eyes moving; that way, it’s easier to pick out
dimly lighted objects. Just as your headlamps should be checked regularly
for proper aim, so should your eyes be examined regularly. Some drivers
suffer from night blindness
- the inability to see in dim light - and aren’t
even aware
of it.
Driving in the Rain
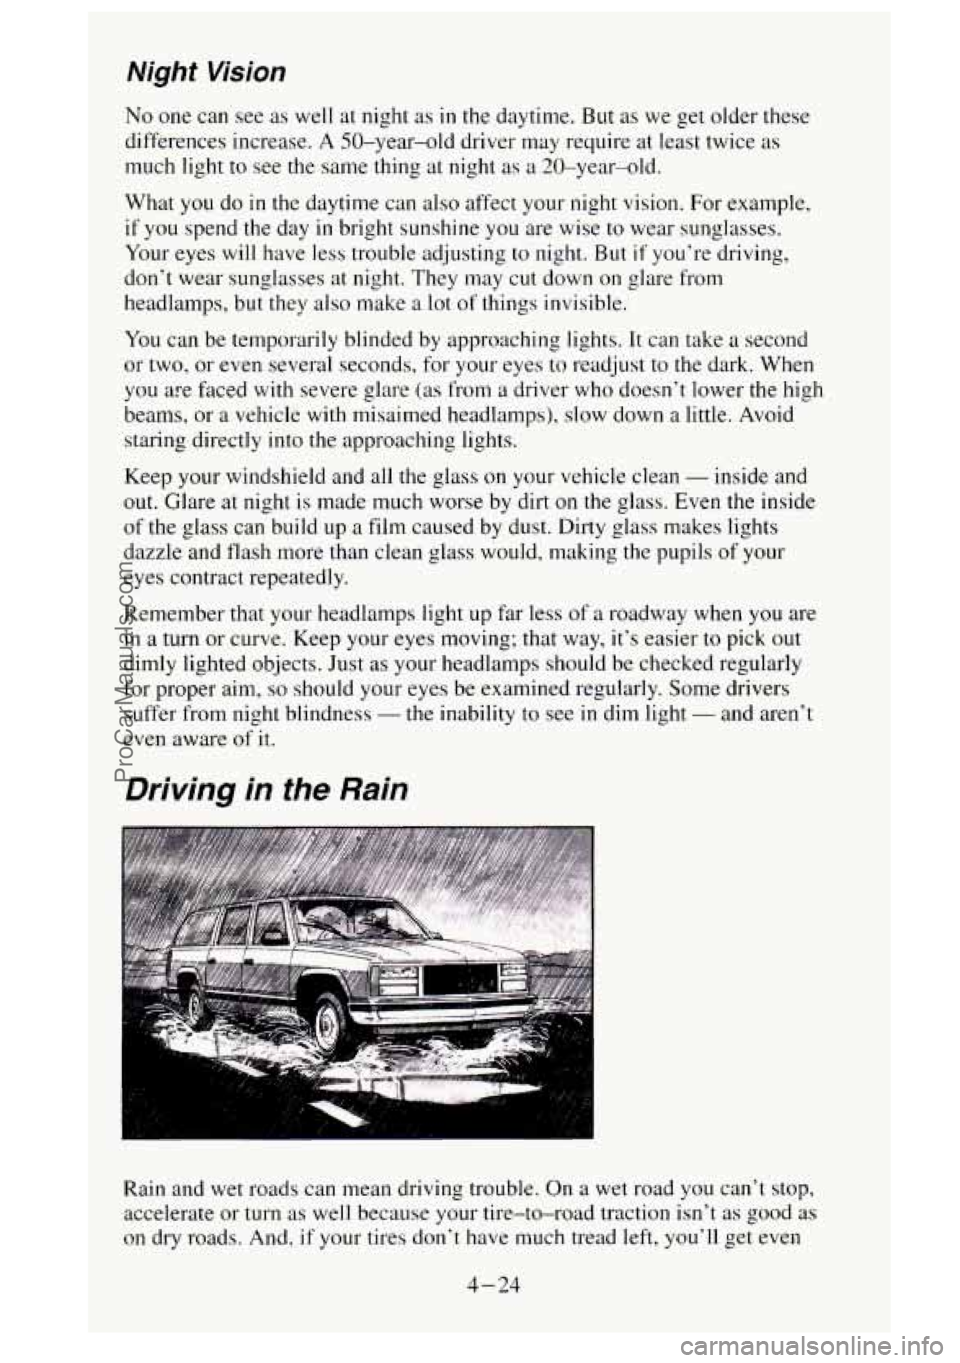
Rain and wet roads can mean driving trouble. On a wet road you can’t stop,
accelerate or
turn as well because your tire-to-road traction isn’t as good as
on dry roads. And, if your tires don’t have much tread left, you‘ll get even
4-24
ProCarManuals.com
Page 313 of 488

Battery
Every new GM vehicle has a Delco Freedom@ battery. You never have to
add water to one of these. When it’s time for a new battery, we recommend
a Delco Freedom@ battery. Get one that has the replacement number shown
on the original battery’s label.
Vehicle Storage
If you’re not going to drive your vehicle for 25 days or more. take off the
black, negative (-) cable from the battery. This will help keep your battery
from running down.
A CAUTION:
Batteries have acid that can burn you and gas that can explod\
e.
You can be badly hurt if you aren’t careful. See “Jump Start\
ing’’
in the Index for tips on working around a battery without
getting hurt.
Contact your dealer to learn how to prepare your vehicle for longer storage
periods.
Bulb Replacement
Before you replace any bulbs. be sure that all the lamps are off and the
engine isn’t running.
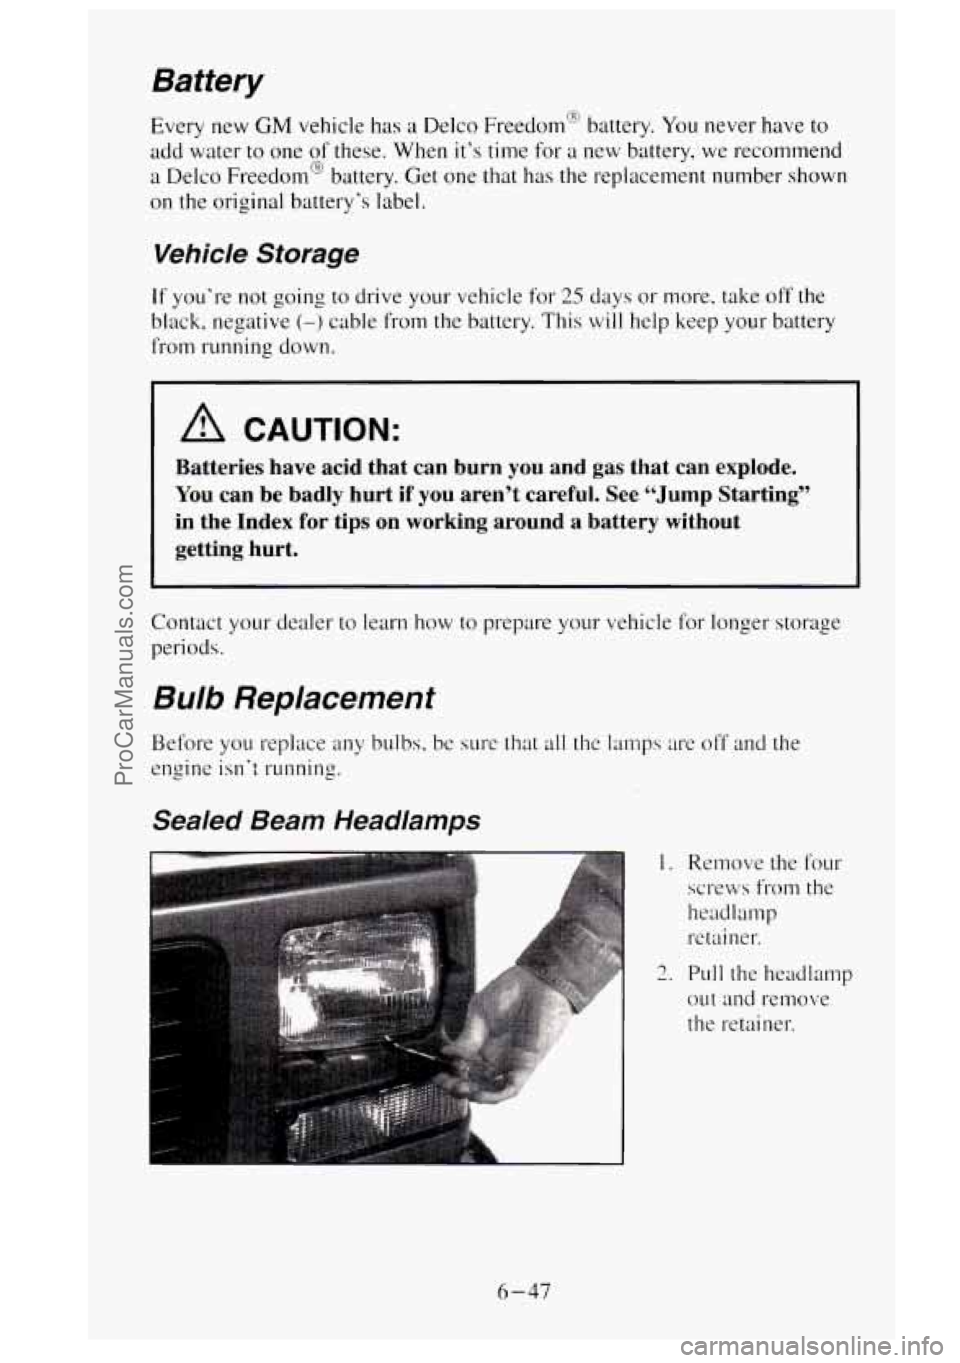
Sealed Beam Headlamps
I. Remove the four
screws from the
headlamp retainer.
2. Pull the headlamp
out and remove
the retainer.
6-47
ProCarManuals.com
Page 314 of 488
Halogen Bulbs
3. Unplug and remove
the
headlamp.
headlamp and put
it in place.
4. Plug in the new
5. Install the
retainer
to the
headlamp and
tighten the
screws.
A CAUTION:
Halogen bulbs have pressurized gas inside and can burst if you
drop or scratch the bulb. You or others could be injured. Take
special care when handling and disposing
of halogen bulbs.
NOTICE:
Avoid touching the bulb or letting it come in contact with
anything damp.
Oil from your skin or moisture on the bulb can
cause the bulb to explode when it
is turned on. If either comes in
contact with the bulb, clean it with alcohol or
a suitable
degreaser and wipe the bulb dry.
6-48
ProCarManuals.com
Page 315 of 488
Composite Headlamps
1. Remove the two screws
at the top
of the radiator
support.
2. Pull the headlamp
lens assembly
out.
1
3. Unplug the
electrical
connector.
4. TLH-II the bulb to
the left and
remove
it.
5. Put the new bulb in the lens assembly and turn it to the right until it is
tight.
6. Plug in the electrical connector.
7. Put the headlamp lens assembly back into the vehicle. Install and
tighten the two screws.
6-49
ProCarManuals.com
Page 317 of 488
Front Parkingflurn Signal Lamps with Composite
Headlamps
1. Remove the
screws and take
out the
parkinghum
signal lamp
assembly.
2. Squeeze the tab
on the side of the
lamp socket
while turning the
socket to the left.
3. Pull the socket
out: of the lamp
assembly.
4. Push in gently on
the bulb, turn
it to
the left and
remove
it from
the socket.
5. Put the new bulb in the socket, gently press in on the bulb and turn it to
the right until it is tight.
6. Put the socket back into the lamp assembly and turn it socket to the
right
until it locks.
7. Put the parkinghurn signal lamp assembly back into the vehicle and
tighten the screws.
6-51
ProCarManuals.com
Page 318 of 488
Side Marker Lamps with Sealed Beam and Composite Headlamps
1. Remove the
screws and pull
out the
parkinghum signal lamp
assembly.
2. Reach through
the opening and
turn the side
marker bulb
socket to the left
and remove
it.
3. Pull the bulb
straight out
of the
socket.
4. Put a new bulb
into the socket
and push it in
until it is tight.
5. Put the socket back into the side marker assembly and turn it to the
right to tighten it.
6. Replace the parking/turn signal lamp assembly and tighten the screws.
6-52
ProCarManuals.com