1995 GMC SIERRA clock setting
[x] Cancel search: clock settingPage 149 of 488
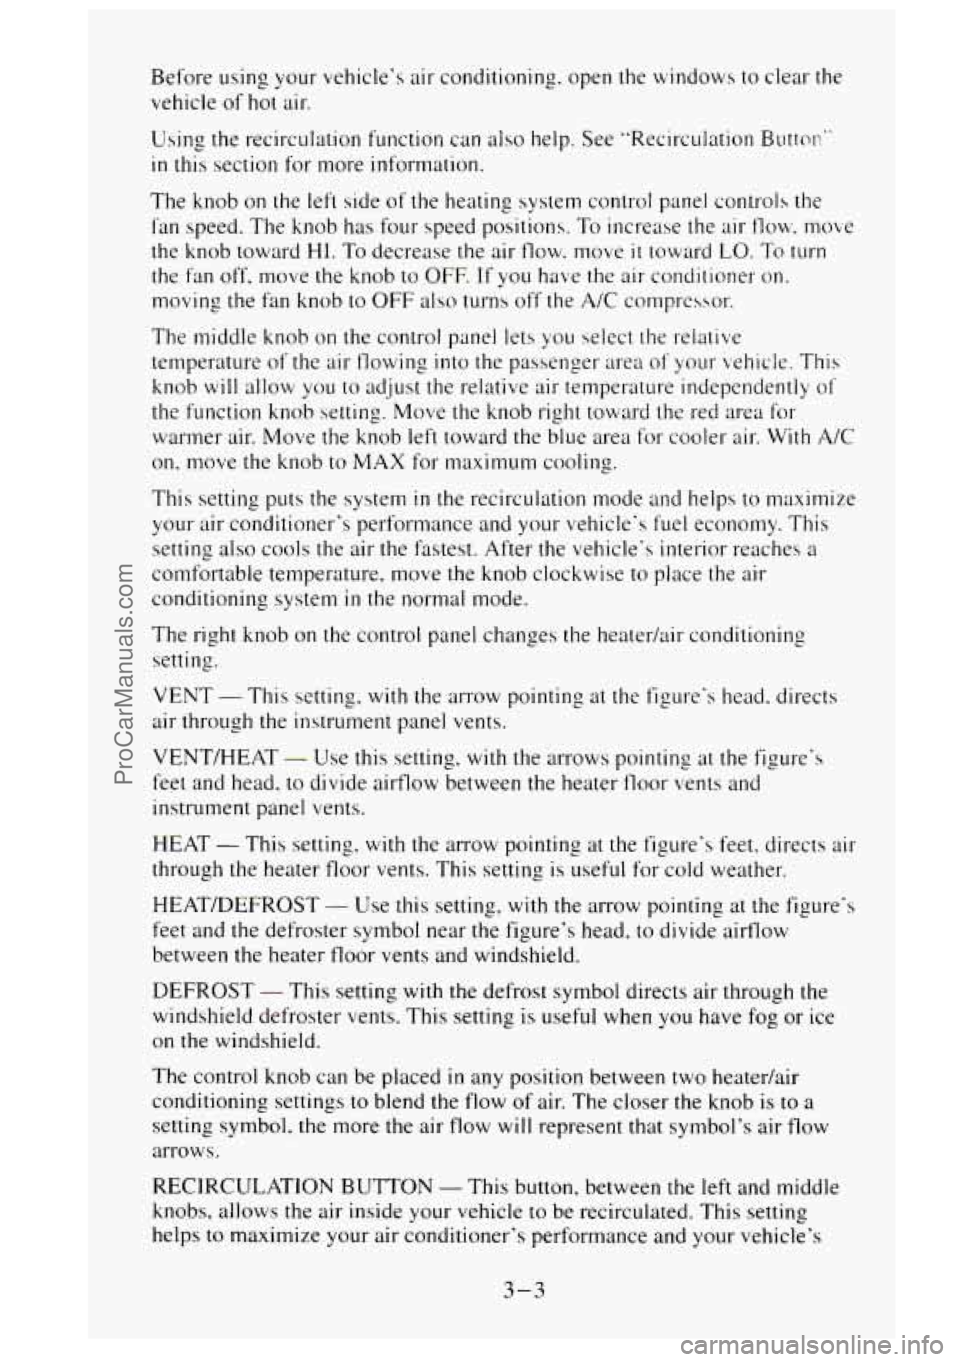
Before using your vehicle's air conditioning. open the windows to clear the.
vehicle of hot air.
Using the recirculation function can also help. See "Recirculation Buttor:"
in this section for more information.
The knob on the left side of the heating system control panel controls the
fan speed. The knob has four speed positions. To increase the air
flow. move
the knob toward
HI. To decrease the air flow. move it toward LO. To turn
the fan off. move the knob
to OFF. If you have the air conditioner on.
moving the fan knob
to OFF also turns off' the A/C compressor.
The middle knob on the control panel lets you select the relative
temperature of the air flowing into the passenger
area of your vehicle. This
knob
will allow you to adjust the relative air temperature independently of'
the function knob setting. Move the knob right toward the red area for
warmer air. Move the knob left toward the blue area for cooler air. With
A/C
on, move the knob to MAX for maximum cooling.
This setting puts the system
in the recirculation mode and helps to maximize
your air conditioner's performance and your vehicle's fuel economy. This
setting also cools the air the fastest. After the vehicle's interior reaches
a
comfortable temperature, move the knob clockwise to place the air
conditioning system
in the normal mode.
The right knob
on the control panel changes the heatedair conditioning
setting.
VENT - This setting, with the arrow pointing at the figure's head. directs
air through the instrument panel vents.
VENT/HEAT
- Use this setting, with the arrows pointing at the figure's
feet and head, to divide airflow between the heater floor vents and
instrument panel vents.
HEAT
- This setting. with the arrow pointing at the figure's feet. directs air
through the heater floor vents. This setting is useful for cold weather.
HEAT/DEFROST
- Use this setting, with the arrow pointing at the figure's
feet and the defroster symbol near the figure's head. to divide airflow
between the heater floor vents and windshield.
DEFROST
- This setting with the defrost symbol directs air through the
windshield defroster vents. This setting is useful when you have fog
or ice
on the windshield.
The control knob can be placed
in any position between two heatedair
conditioning settings to blend the flow
of air. The closer the knob is to a
setting symbol, the more the air flow will represent that symbol's air flow
arrows.
RECIRCULATION
BUTTON - This button, between the left and middle
knobs, allows the air inside your vehicle
to be recirculated. This setting
helps to maximize your air conditioner's performance and your vehicle's
3-3
ProCarManuals.com
Page 152 of 488
When you enter a vehicle in cold weather, turn the blower fan to HI for
a few moments before driving off. This helps clear the intake ducts of
snow and moisture. and reduces the chance of fogging the inside. of
your windows.
Keep the air path under the front seats clear of objects. This helps air to
circulate throughout your vehicle.
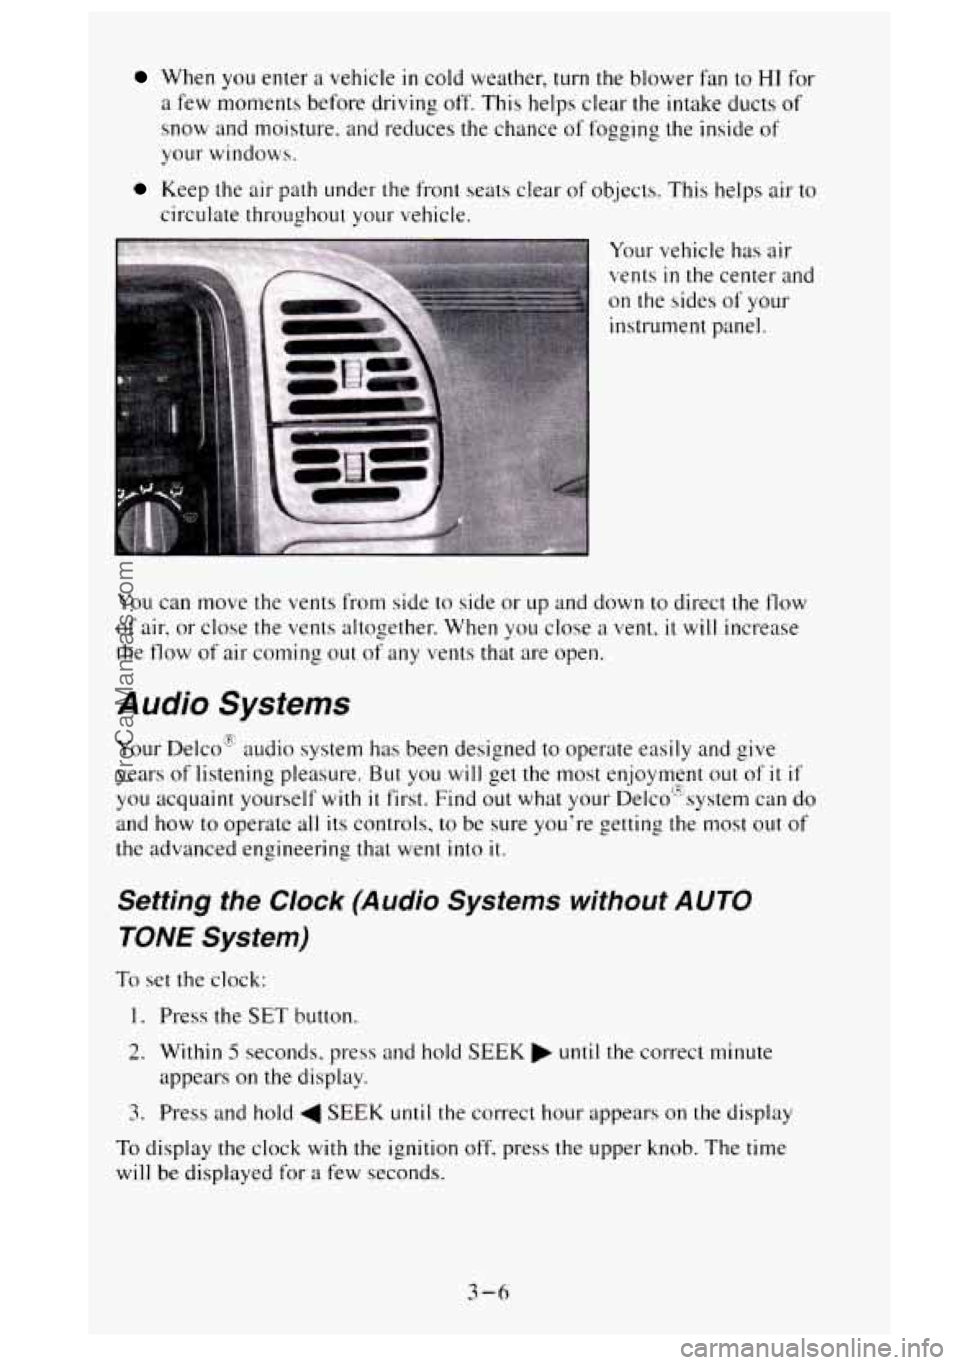
Your vehicle has air
vents
in the center a1
on the sides of your
instrument panel. nd
You can move the vents from side to side or
up and down to direct the flow
of air. or close the vents altogether. When you close a vent, it will increase
the
flow of' air corning out of any vents that are open.
Audio Systems
Your Delco'E audio system has been designed to operate easily and give
years of listening pleasure.
But you will get the most enjoyment out of it if
you acquaint yourself with it first. Find out what your De1co"system can do
and how to operate all its controls, to be sure you're getting the most
out of
the advanced engineering that went into it.
Setting the Clock (Audio Systems without AUTO
TONE System)
To set the clock:
1. Press the SET button.
2. Within 5 seconds, press and hold SEEK until the correct minute
appears
on the display.
3. Press and hold 4 SEEK until the correct hour appears on the display
To display the clock with the ignition off, press the upper knob. The time
will
be displayed for a few seconds.
3-6
ProCarManuals.com
Page 158 of 488
counterclockwise to decrease radio frequency. When done, press the knob
again
to return it to its stored position.
Pushbuttons
- The six pushbuttuns let you return to favorite stations. To
set the pushbuttons for up to I8 favorite stations (6 AM. 6 FM 1 and 6 FM2):
1. Tune in the desired station.
2. Press AUTO TONE to select the best setting for the type of station
chosen.
3. Press and hold one of the pushbuttons until sound returns
(approximately two seconds). Whenever you press
that button. the
preset station
will return.
Repeat these steps for each pushbutton.
SEEK - Press SEEK to cause the receiver to seek the next higher
station.
Press
4 SEEK to cause the receiver to seek the next lower station.
SCAN
- Press and hold the center of the SEEK button to ~nomentarily hear
each available station. Release
the button when SCAN appears in the
display. The receiver
will continue to scan and momentarily stop at each
station
until you press the center of the SEEK button again.
P. SCAN (Preset Scan)
- Press this button to scan each preset pushbutton
station. The receiver
will continue to scan and momentarily stop at each
station
until you press either P. SCAN again or one of the six pushbuttons.
The AUTO SCAN setting for that preset button will
also return. Thc
pushbutton number (P
I-P6) will appear momentarily just before frequency
is displayed.
AUTO TONE - Press this button to select between five preset eclualization
settings and tailor the sound
to the music or voice bcing heard. Each time you
press
the button, the selection will switch to one of the preset settings of
CLASSIC, NEWS. ROCK, POP. or JAZZ. The display will show which
mode the receiver
is in. To return to the manual mode. press and release
AUTO TONE
until MAN (manual) appears in the display. This will return
the tone adjustment to the TREB
and BASS controls. Also. any time a TREB
or BASS control is rotated. tone is auton~atically set back to MAN (manual 1.
ProCarManuals.com
Page 163 of 488
Upper Knob (PWR-VOL) - The upper knob has these two functions:
0 Push it to switch the system on and off.
0 Turn it to control the volume.
SCV (Speed Compensated Volume)
- Move the control ring behind the
upper knob clockwise
to adjust the Speed Compensated Volume feature. As
you drive, this feature increases the volume to overcome noise at any
particular speed. Each clockwise position on the control ring allows more
compensation and at a faster rate.
AM/FM
- Press this button to switch between AM, FM I and FM2. The
display will show what mode the receiver
is in.
RCL (Recall) - Press this button to change between the clock and the radio
station frequency displayed when the radio
is on. Also, press this button to
display the time when the ignition is off.
TUNE
- Press lightly on the TUNE button to release it from its stored
position. Rotate the knob clockwise to increase frequency and
counterclockwise to decrease radio frequency. When done, press
the knob
again to return
it to its stored position.
Pushbuttons
- The six pushbuttons let you return to favorite stations. To
set the pushbuttons for up to 18 fworite stations (6 AM, 6 FM 1 and 6 FM2):
1. Tune in the desired station.
2. Press AUTO TONE to select the best setting for the type of station
chosen.
3. Press and hold one of the pushbuttons until sound returns
(approximately two seconds). Whenever you press that button, the
preset station
will return.
Repeat these steps for each pushbutton.
SEEK
- Press SEEK to cause the receiver to seek the next higher
station.
rress
4 SEEK to cause the receiver to seek the next lower station.
3-17
ProCarManuals.com
Page 164 of 488
SCAN - Press and hold the center of the SEEK button to momentarily hear
each available station. Release the button when SCAN appears in the
display. The receiver will continue to scan and momentarily stop at each
station until you press
the center of the SEEK button again.
p. SCAN (Preset Scan) - Press this button to scan each preset pushbutton
station. The receiver
will continue to scan and momentarily stop at each
station until
you press either P. SCAN again or one of the six pushbuttons.
The AUTO SCAN setting for that preset button will also return. The
pushbutton number (Pl-P6) will appear momentarily just before frequency
is displayed.
AUTO TONE -Press this button to select between five preset equalization
settings and tailor the sound to the music or voice being heard. Each time
you press the button, the selection will switch to one
of the preset settings of
CLASSIC, NEWS, ROCK, POP, or JAZZ. The display will show which
mode the receiver is in.
To return to the manual mode, press and release
AUTO TONE
until MAN (manual) appears in the display. This will return
the
tone adjustment to the TREB and BASS controls. Also, any time a
TREB
or BASS control is rotated, tone is automatically set back to MAN
(manual).
FADE
- Press lightly on the FADE knob to release it from its stored
position and pull it
out to the fully extended position. Rotate the knob
clockwise to adjust sound
to the front speakers and counterclockwise to
adjust sound
to the rear speakers. Push the knob back in to the stored
position when done.
BAL
- Press lightly on the BAL knob to release it from its stored position
and pull
it out to the fully extended position. Rotate the knob clockwise to
adjust sound to the right speakers and counterclockwise to adjust sound
to
the left speakers. Push the knob back in to the stored position when done.
BASS
- Press lightly on the BASS knob to release it from its stored
position and pull
it out to the fully extended position. Rotate the knob
clockwise
to increase the bass response and counterclockwise to decrease
bass response. Any time the
BASS control is rotated, tone is automatically
set back to MAN (manual). Push
the knob back in to the stored position
when done.
TREBLE
- Press lightly on the TREB knob to release it from its stored
position and pull it out to the
fully extended position. Rotate the knob
clockwise to increase the treble response and counterclockwise to decrease
treble response. Any time the TREB control
is rotated, tone is automatically
set back
to MAN (manual). Push the knob back in to the stored position
when done.
3-18
ProCarManuals.com
Page 474 of 488
Break.In. New Vehicle ............................................ 2-9
Composite Headlamps ......................................... 6-49
Bulb Replacement Center
High Mounted Stop Lamp (CHMSL) ........................ 6-54
Fender Marker Lamps .......................................... 6-53
Front Park/Turn Signal Lamps with Composite Headlamps ............ 6-51
Front Park/Turn Signal Lamps with Sealed Beam Headlamps ........... 6-50
HalogenBulbs ................................................ 6-48
Rear Lamps (Chassis Cab Models) ................................ 6-56
Rear Lamps (Pickup Models) .................................... 6-55
Replacement Chart ............................................. 6-88
Roof Marker Lamps ........................................... 6-54
Sealed Beam Headlamps ........................................ 6-47
Side Marker Lamps ............................................ 6-52
Tailgate Marker Lamps ......................................... 6-53
C
Capacities and Specifications ....................................... 6-80
CarbonMonoxide ............................................... 2-32
Care of Your Cassette Tape Player (See “Audio Systems” )
Cassette Tape Player System (See “Audio Systems” )
Catalyticconverter .............................................. 6-57
Center High Mounted Stop Lamp (CHMSL) (See “Lamps” )
Certificatioflire Label ........................................... 4-37
Changing a Flat Tire .............................................. 5-26
Chemical Paint Spotting ........................................... 6-74
Cigarette LightedAshtrays ......................................... 2-58
Child Restraints (See “Safety Belts”)
Circuit Breakers (See “Fuses and Circuit Breakers”)
Cleaning DieselEngine
................................................ 6-14
Fabric Protection .............................................. 6-69
Finishcare .................................................. 6-72
Glass ....................................................... 6-71
InsideofVehicle .............................................. 6-68
Leather ..................................................... 6-70
Instrument Panel, Top .......................................... 6-70
Outside of Vehicle ............................................. 6-72
Outside of the Windshield and Wiper Blades ........................ 6-71
Special Problems .............................................. 6-69
Vinyl ....................................................... 6-70
Weatherstrips ................................................. 6-71
Audio System with AUTO TONE System ........................... 3-7
Audio System without AUTO TONE System ........................ 3-6
Underbody .................................................. 6-74
WheelsandTires .............................................. 6-73
Clock, Setting the
ComfortControls
................................................. 3-1
Compact Disc (CD) System (See “Audio Systems”)
Compass
....................................................... 2-54
Control of a Vehicle ............................................... 4-4
Coolant (See “Engine”)
Cooling System Capacity
.......................................... 6-82
Courtesy Transportation ............................................ 8-7
CrankcaseCapacity .............................................. 6-83
2
ProCarManuals.com