1995 CHEVROLET TAHOE spare wheel
[x] Cancel search: spare wheelPage 270 of 486
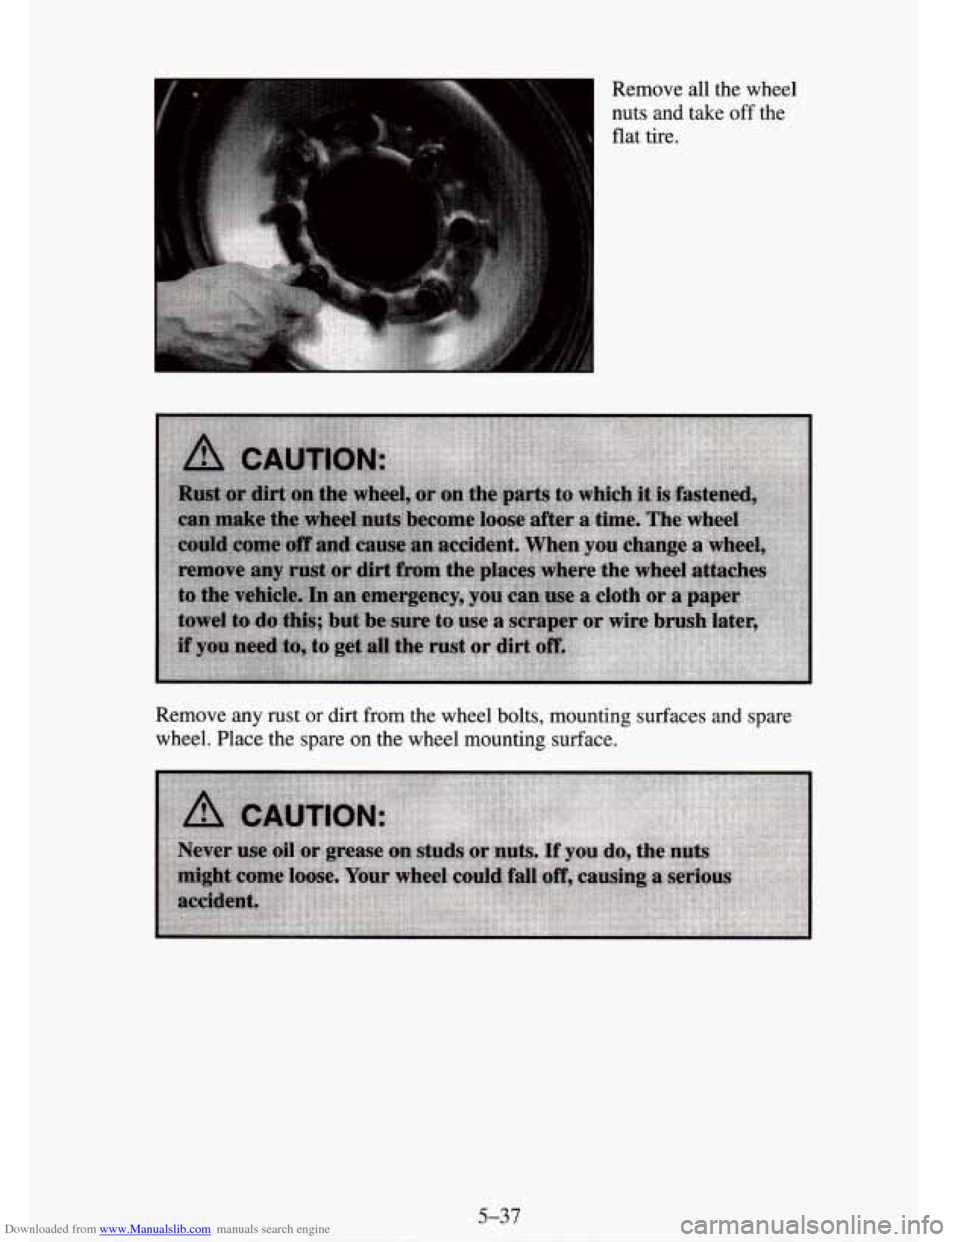
Downloaded from www.Manualslib.com manuals search engine Remove all the wheel
nuts and take
off the
flat tire.
Remove any rust or
dirt from the wheel bolts, mounting surfaces and spare
wheel. Place the spare on the wheel mounting surface.
5-37
Page 273 of 486
Downloaded from www.Manualslib.com manuals search engine Stowing the Tire - &Door Utility Model
For a under-body spare tire carrier, stow the flat tire under the rear of the
vehicle in
the spare tire carrier. To stow the flat tire:
1. Put the tire
on the ground at the rear of the vehicle with the valve stem
2. Pull the wheel retainer through the wheel opening.
pointed
down.
3. Attach the ratchet to the wheel wrench with the UP marking facing you.
4. Put the other end of the wheel wrench through the rear bumper access
hole, located at the passenger side edge of the license plate. Be sure the
wheel wrench connects into the hoist shaft.
5. Turn the ratchet clockwise to raise the tire. Keep turning the ratchet
until the tire
is all the way up. You will hear two “clicks” when the tire
is secure. Pull on the tire to make sure
it is tightly secured.
Stowing the Jack and Jacking Tools
Put the tools into the storage box and close it tightly. Fit the storage box on the
bracket with the bolt through the
box. Put the jack onto the box. Be sure the jack
points in
the right direction as shown in the illustrations earlier in this part. Secure the
emergency gloves, if your vehicle has them, to the jack using the provided strap.
Slide the retainer over the bolt onto the jack and put the wing
nut on. Turn
the nut clockwise until it is tight against the retainer.
Replace the jack storage cover, if your vehicle has one, by simply reversing
the removal procedure described earlier.
Stowing the Tire - 2-Door Utility Model and Suburban
Stow the flat tire in the cargo area of the vehicle secured in the tire carrier.
To stow the flat tire:
1. Put the cover back on the tire
if your vehicle has one.
2. Put the flat tire in the cargo area of the vehicle, over the retainer bolt.
3. Slide the adapter onto the bolt in the proper location for your model
4. Turn the wing nut clockwise until the adapter is tight and secure against
and
put
the wing nut on.
the wheel.
5. Close the tire cover, if you have one.
5-40
Page 333 of 486
Downloaded from www.Manualslib.com manuals search engine NOTICE:
Don’t let anyone tell you that underinflation or overinflation is
all right. It’s not.
If your tires don’t have enough air
(underinflation) you can get:
Too much flexing
0 Too much heat
Tire overloading
Bad wear
Bad handling
0 Bad fuel economy.
If your tires have too much air (overinflation), you can get:
Unusual wear
Bad handling
Rough ride
Needless damage from road hazards.
When to Check
Check your tires once a month or more. Also, check the tire pressure of the
spare tire.
How to Check
Use a good quality pocket-type gage to check tire pressure. Simply looking
at the tires will not tell you the pressure, especially if you have radial tires
- which may look properly inflated even if they’re underinflated.
If your tires have valve caps, be sure
to put them back on. They help prevent
leaks by keeping
out dirt and moisture.
Tire Inspection and Rotation
Tires should be inspected every 6,000 to 8,000 miles (10 000 to 13 000 km)
for any signs
of unusual wear. If unusual wear is present, rotate your tires as
soon as possible and check wheel alignment. Also check for damaged tires
or wheels. See “When it’s Time for New Tires’’ and “Wheel Replacement”
later
in this section for more information.
6-56
Page 482 of 486
Downloaded from www.Manualslib.com manuals search engine Seats ........................................................... 1-1
Controls ...................................................... 1-1
Easy Entry Seat (Suburban Second Seat)
............................ 1-7
Easy Entry Seat (2-Door Utility Model)
............................ 1-5
Folding Second Seat (Suburban) ................................. 1-13
Head Restraints
................................................ 1-6
ManualFrontSeats
............................................. 1-1
Power Lumbar Adjustment
....................................... 1-3
Powerseats ................................................... 1-2
Rear Folding Seat (2-Door Utility Model) ........................... 1-8
Rear Folding Seat (&Door Utility Model)
.......................... 1-10
Reclining Front Seatback
........................................ 1-3
Removable Rear (Third Seat (Suburban))
.......................... 1-15
SeatbackLatches
............................................... 1-4
Doing Your Own Service Work ................................... 6-1
Parts Identification Label
....................................... 6-74
Publications
................................................... 8-8
Replacement Parts and Filter Recommendations
...... 676,677, 6-78, 6-79
Service
Service Engine Soon Light
(See “Lights”)
Servicing Your Air Bag-Equipped Vehicle (See “supplemental Inflatable Restraint
System (SIR)”)
Shift Indicator Light (See “Lights”)
Shifting Into Park (P)
............................................. 2-27
Shifting Out of Park (P)
........................................... 2-28
Shock Absorbers
................................................ 6-44
Specifications Chart (See “Service - Replacement Parts and Filter
Recommendations”) SpareTire
................................................. 5-26, 5-30
Speedometer and Odometer (See “Gages”)
Starting Your Engine (See “Engine-Starting”)
Steering
........................................................ 4-7
Column Shift Lever
............................................ 2-26
In Emergencies
................................................ 4-8
Tips
......................................................... 4-7
Step-BumperPad
................................................ 2-86
Storage Compartments
............................................ 2-58
Sunvisors ..................................................... 2-55
Supplemental Inflatable Restraint System (SIR)
........................ 1-29
How the Air Bag System Works
.................................. 1-30
Servicing Your Facial Air Bag-Equipped Vehicle
.................... 1-32
Surge Tank Pressure Cap
........................... , ............ 6-38
Adding Equipment to
Your Facial Air Bag-Equipped Vehicle
.......... 1-33
T
Tachometer (See “Gages”)
Theft
.......................................................... 2-10
Thermostat
..................................................... 6-38
Tilt Wheel (Option)
.............................................. 2-39
Tires
........................................................... 6-54
Balancing (See “Wheel Alignment and Tire Balance”)
Chains
...................................................... 6-62
Flat (See “Changing a Flat Tire”)
Inspection and Rotation
.........................
Loading (See “Loading Your Vehicle”)
.......... 6-56
Page 483 of 486
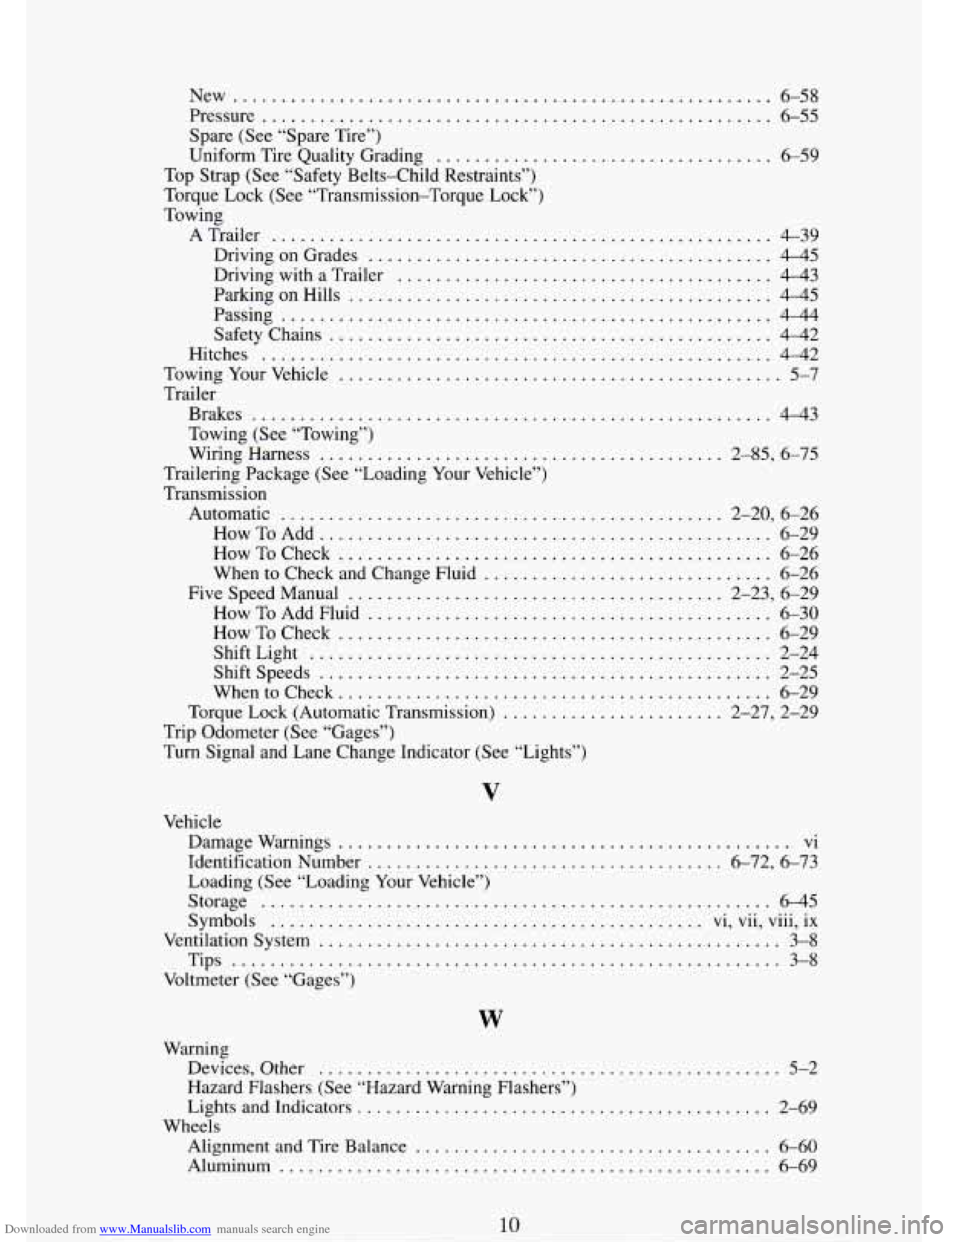
Downloaded from www.Manualslib.com manuals search engine New ........................................................ 6-58
Pressure
..................................................... 6-55
Spare (See “Spare Tire”)
Uniform Tire Quality Grading
................................... 6-59
Top Strap (See “Safety Belts-Child Restraints”)
Torque Lock (See “Transmission-Torque Lock”)
Towing
ATrailer
.................................................... 4-39
DrivingonGrades
.......................................... 4-45
Driving with a Trailer
....................................... 4-43
ParkingonHills
............................................ 445
Passing
................................................... 4-44
Safety Chains
.............................................. 4-42
Hitches
..................................................... 4-42
TowingYourVehicle
.............................................. 5-7
Trailer Brakes
...................................................... 4-43
Towing (See “Towing”)
Wiring Harness
.......................................... 2-85, 6-75
Trailering Package (See “Loading Your Vehicle”)
Transmission
Automatic
.............................................. 2-20, 6-26
HowToCheck ............................................. 6-26
When to Check and Change Fluid
.............................. 6-26
FiveSpeedManual
....................................... 2-23, 6-29
How To Add Fluid
.......................................... 6-30
HowToCheck
............................................. 6-29
ShiftLight
................................................ 2-24
Shiftspeeds
............................................... 2-25
Whentocheck
............................................. 6-29
Torque Lock (Automatic Transmission)
....................... 2-27, 2-29
HowToAdd
............................................... 6-29
Trip Odometer (See “Gages”)
Turn Signal and Lane Change Indicator (See “Lights”)
V
Vehicle
Damage Warnings
..................... ... ......... vi
Identification Number
..................................... 6.72. 6.73
Loading (See “Loading Your Vehicle”)
Storage
..................................................... 6-45
Symbols
............................................. vi, vu, vm, ix
Ventilation System
................................................ 3-8
Tips ......................................................... 3-8
Voltmeter (See “Gages”)
.....
W
Warning
Devices. Other
............................ .......... 5-2
Hazard Flashers (See “Hazard Warning Flashers”)
Lights and Indicators
........................................... 2-69
Alignment and Tire Balance
..................................... 6-60
Aluminum ................................................... 6-69
Wheels