1995 CHEVROLET TAHOE torque
[x] Cancel search: torquePage 89 of 486
Downloaded from www.Manualslib.com manuals search engine NOTICE:
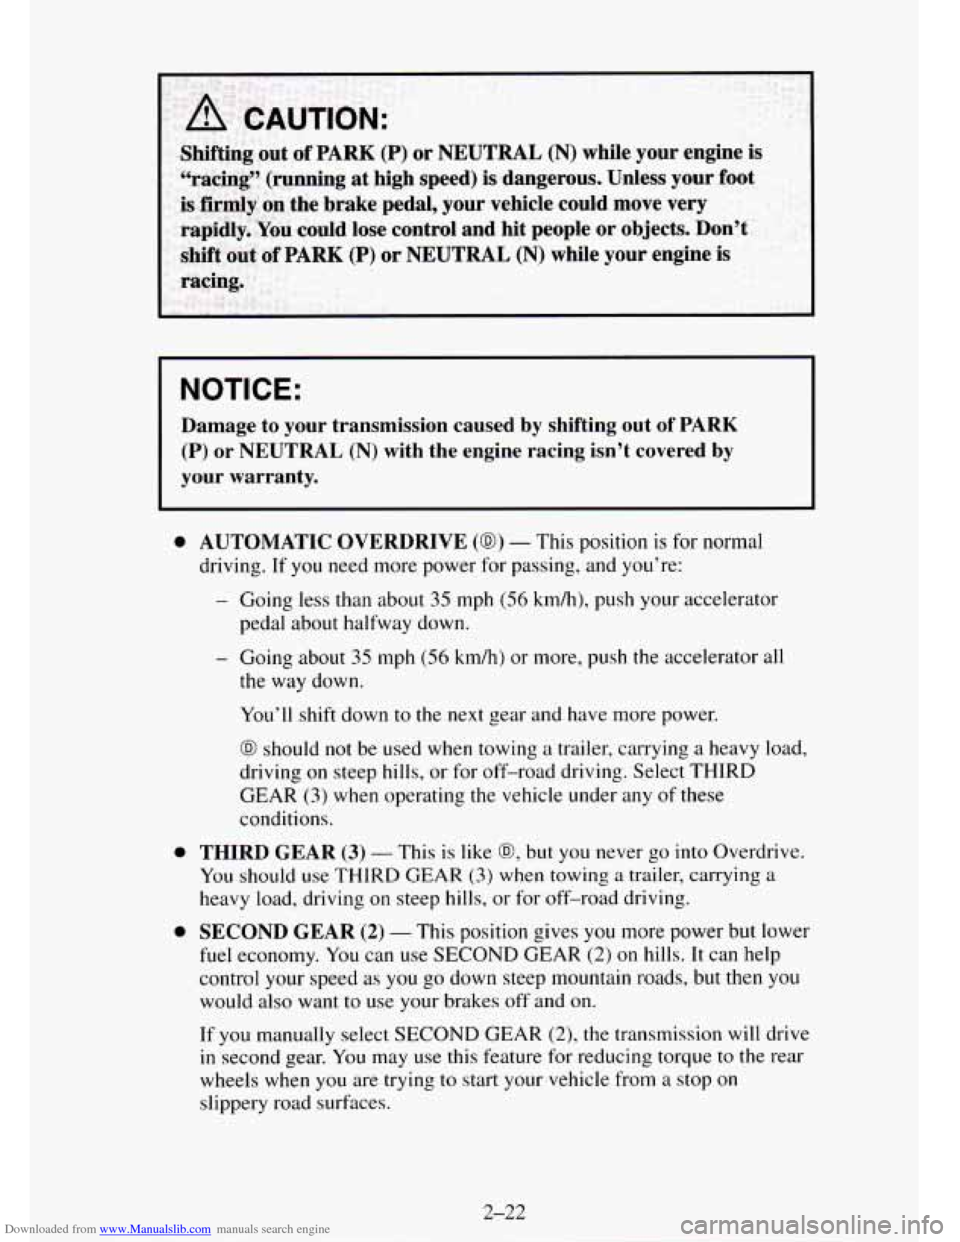
Damage to your transmission caused by shifting out of PARK
(P) or NEUTRAL (N) with the engine racing isn’t covered by
your warranty.
0 AUTOMATIC OVERDRIVE (@) - This position is for normal
driving. If you need more power for passing, and you’re:
- Going less than about 35 mph (56 km/h), push your accelerator
pedal about halfway down.
- Going about 35 mph (56 km/h) or more, push the accelerator all
the way down.
You’ll shift down
to the next gear and have more power.
@ should not be used when towing a trailer, carrying a heavy load,
driving on steep hills, or for off-road driving. Select THIRD
GEAR
(3) when operating the vehicle under any of these
conditions.
0 THIRD GEAR (3) - This is like @, but you never go into Overdrive.
You should use THIRD GEAR (3) when towing a trailer, carrying a
heavy load, driving on steep hills, or for off-road driving.
0 SECOND GEAR (2) - This position gives you more power but lower
fuel economy. You can use SECOND GEAR (2) on hills. It can help
control your speed
as you go down steep mountain roads, but then you
would also want to use your brakes off and on.
If you manually select
SECOND GEAR (2), the transmission will drive
in second gear. You may use this feature for reducing torque to the rear
wheels when
you are trying to start your vehicle from a stop on
slippery road surfaces.
2-22
Page 94 of 486
Downloaded from www.Manualslib.com manuals search engine Torque Lock
When parking, the weight of the vehicle may put too much force on the
parking pawl in the transmission. It may be difficult to pull the selector
lever out of
PARK (P). This is called “torque lock.” To find out how to
prevent torque lock,
see “Torque Lock” later in this section.
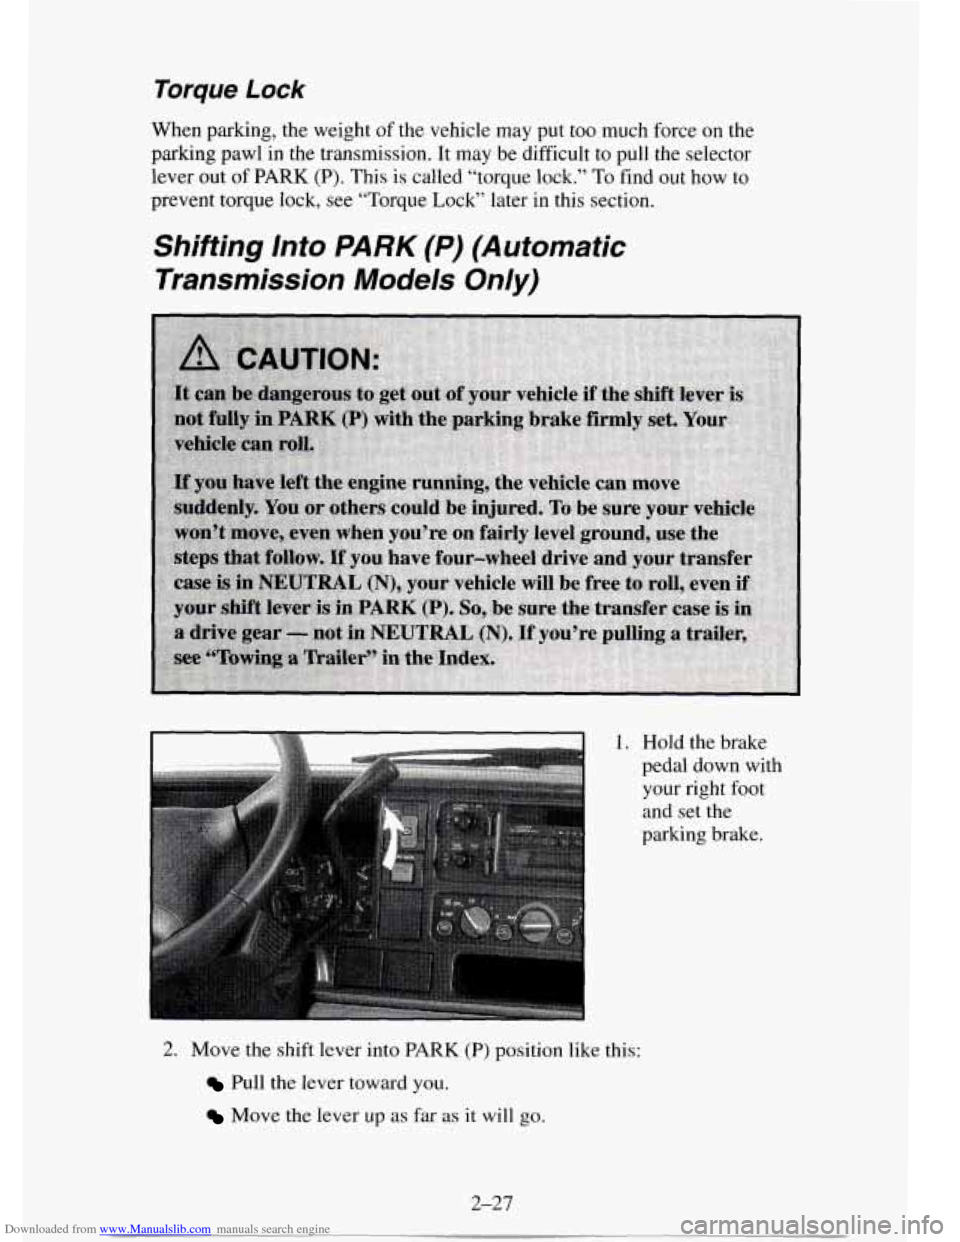
Shifting Into PARK (P) (Automatic
Transmission Models Only)
1. Hold the brake
pedal down with
your right foot
and set the
parking brake.
2. Move the shift lever into PARK (P) position like this:
Pull the lever toward you.
Move the lever up as far as it will go.
2-27
Page 96 of 486
Downloaded from www.Manualslib.com manuals search engine Torque Lock (Automatic Transmission)
If you are parking on a hill and you don’t shift your transmission into PARK
(P)
properly, the weight of the vehicle may put too much force on the
parking pawl in the transmission.
You may find it difficult to pull the shift
lever out of
PARK (P). This is called “torque lock.” To prevent torque lock,
set
the parking brake and then shift into PARK (P) properly before you
leave
the driver’s seat. To find out how, see “Shifting Into PARK (P)” in the
Index.
When you are ready
to drive, move the shift lever out of PARK (P) before
you release the parking brake.
If “torque lock” does occur,
you may need to have another vehicle push
yours a little uphill
to take some of the pressure from the transmission, so
you can pull the shift lever out of PARK (P).
2-29
Page 272 of 486
Downloaded from www.Manualslib.com manuals search engine Tighten Clockwise Tightening Sequence
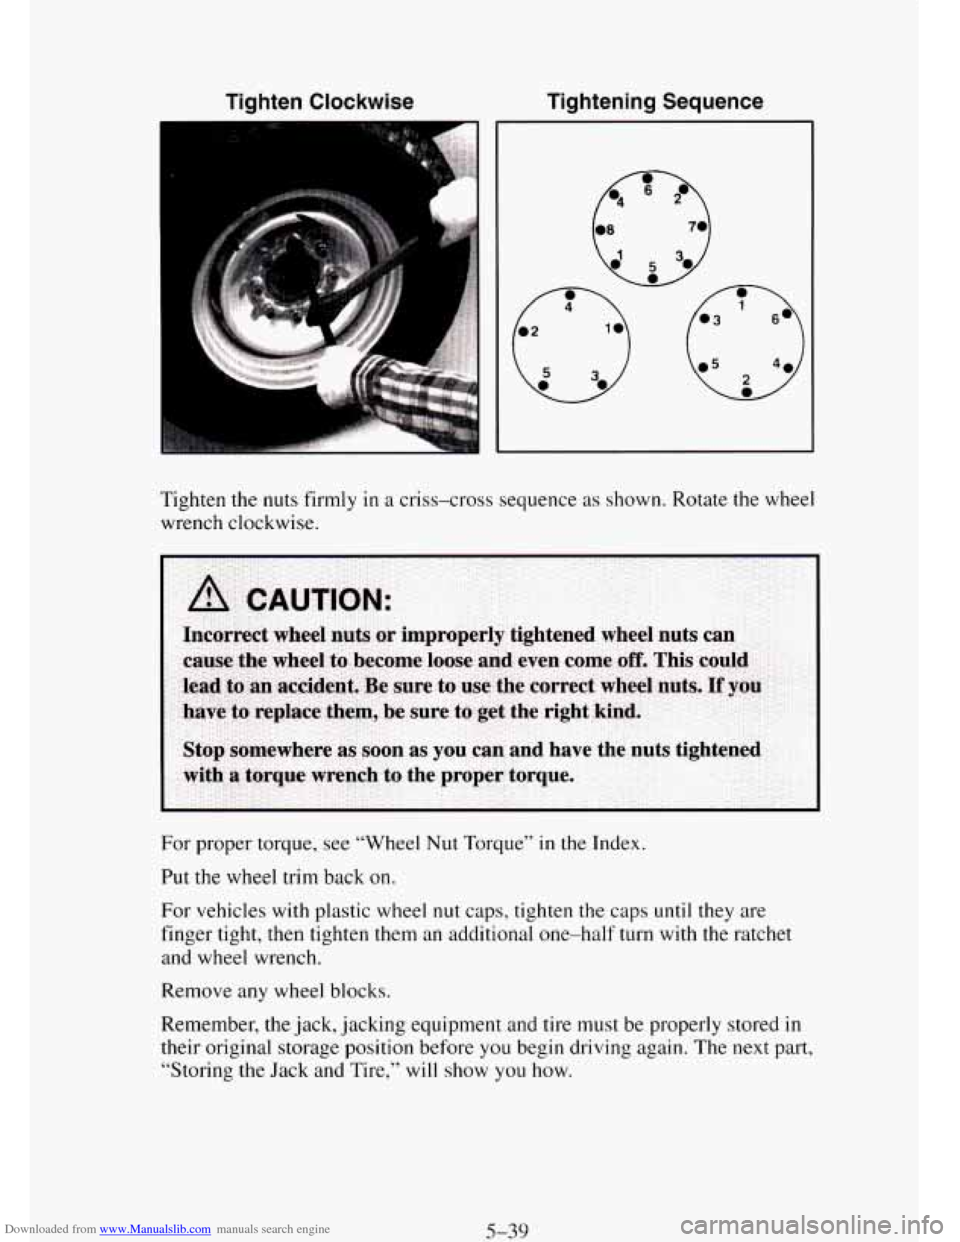
Tighten
the nuts firmly in a criss-cross sequence as shown. Rotate the wheel
wrench clockwise.
For proper torque, see “Wheel Nut Torque”
in the Index.
Put
the wheel trim back on.
For vehicles with plastic wheel
nut caps, tighten the caps until they are
finger tight, then tighten them an additional one-half turn with the ratchet
and wheel wrench.
Remove any wheel blocks.
Remember, the jack, jacking equipment and
tire must be properly stored in
their original storage position before you begin driving again. The next part,
“Storing the Jack and Tire,” will show you how.
5-39
Page 334 of 486
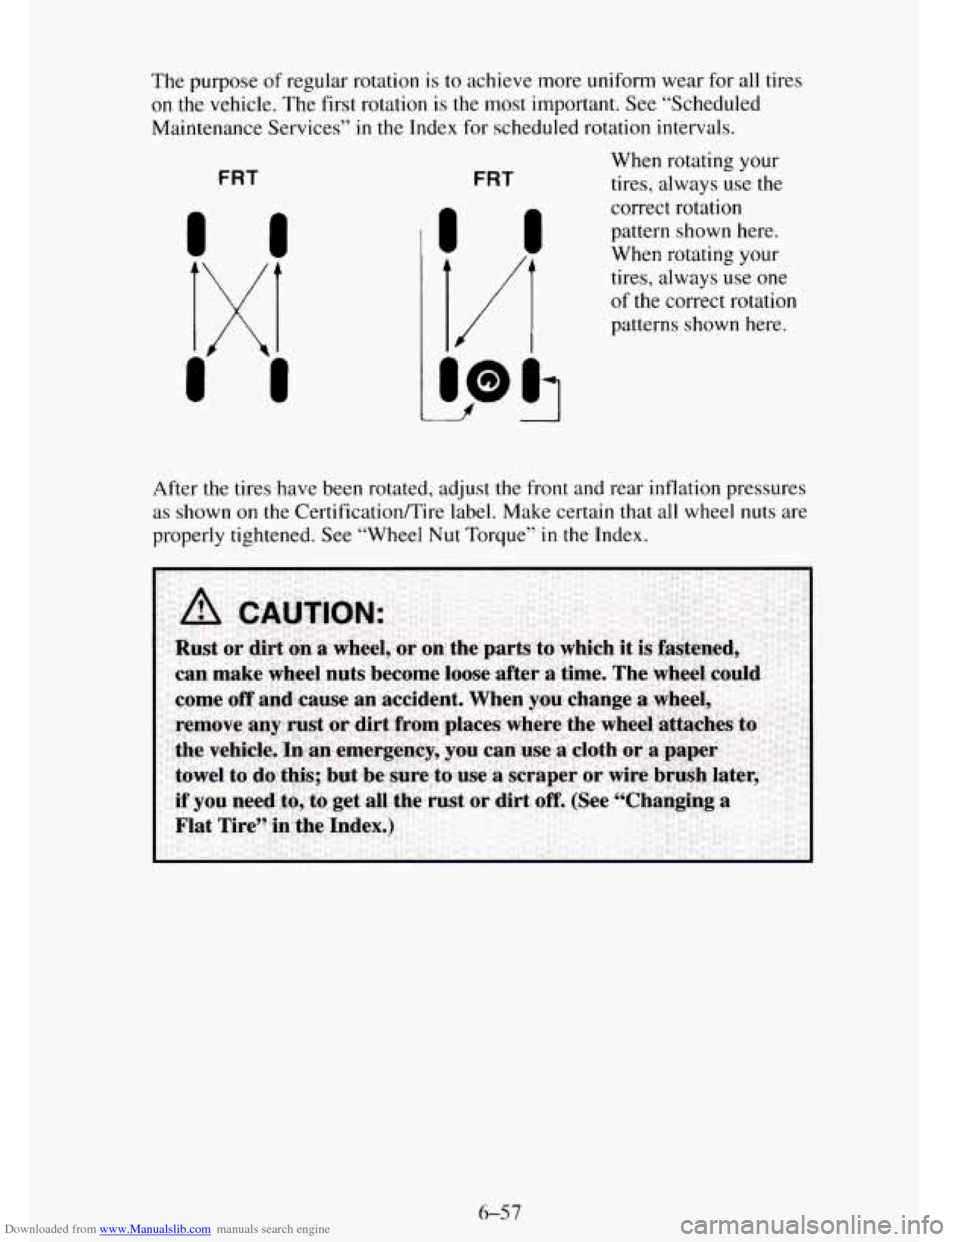
Downloaded from www.Manualslib.com manuals search engine The purpose of regular rotation is to achieve more uniform wear for all tires
on the vehicle. The first rotation
is the most important. See “Scheduled
Maintenance Services”
in the Index for scheduled rotation intervals.
FRT FRT
When rotating your
tires, always use the
correct rotation
pattern shown here.
When rotating your
tires,
always use one
of the correct rotation
patterns shown here.
After the tires have been rotated, adjust the front and rear inflation pressures
as shown
on the CertificatiodTire label. Make certain that all wheel nuts are
properly tightened.
See “Wheel Nut Torque” in the Index.
6-57
Page 354 of 486
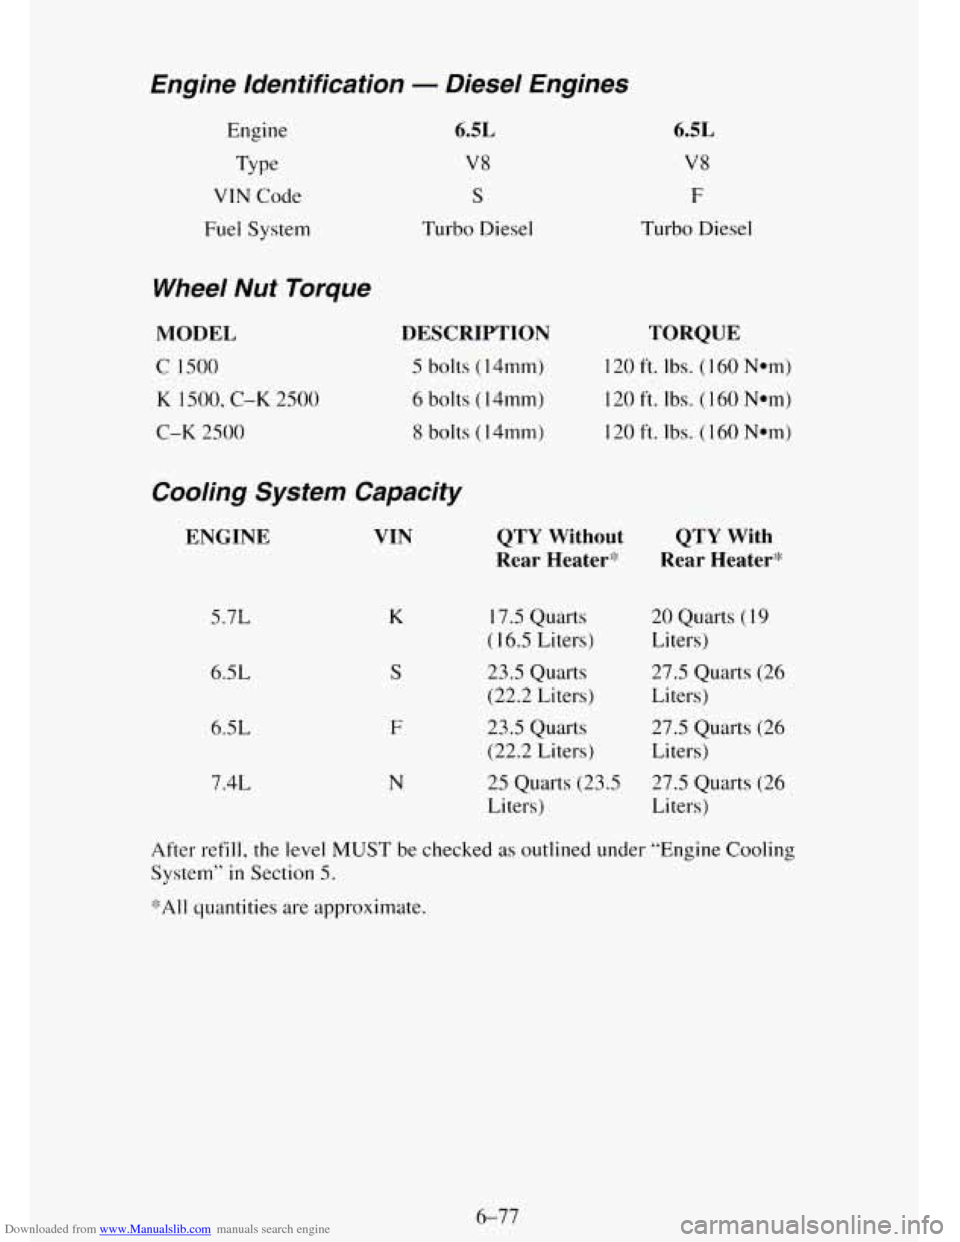
Downloaded from www.Manualslib.com manuals search engine Engine Identification - Diesel Engines
Engine Type
VTN Code
Fuel System
Wheel Nut Torque
MODEL
C 1500
K 1500, C-K 2500
C-K 2500
6.5L
V8
S
Turbo Diesel
DESCRIPTION
5 bolts (14mm)
6 bolts
(1 4mm)
8 bolts ( 14mm)
Cooling System Capacity
ENGINE
5.7L
6.5L
6.5L 7.4L
VIN
K
S
F
N
6.5L
V8
F
Turbo Diesel
TORQUE
120 ft. Ibs. ( 160 N*m)
120 ft. Ibs. (1 60 Nom)
I20
ft. lbs. ( 160 Nom)
QTY Without
Rear Heater*
1 7.5 Quarts
( 16.5 Liters)
23.5 Quarts (22.2 Liters)
23.5 Quarts
(22.2 Liters)
25 Quarts
(23.5
Liters)
QTY With
Rear Heater4’
20 Quarts (1 9
Liters)
27.5 Quarts (26
Liters)
27.5 Quarts (26
Liters)
27.5 Quarts (26
Li ters)
After refill. the level MUST be checked
as outlined under “Engine Cooling
System” in Section 5.
‘$All quantities are approximate.
6-77
Page 483 of 486
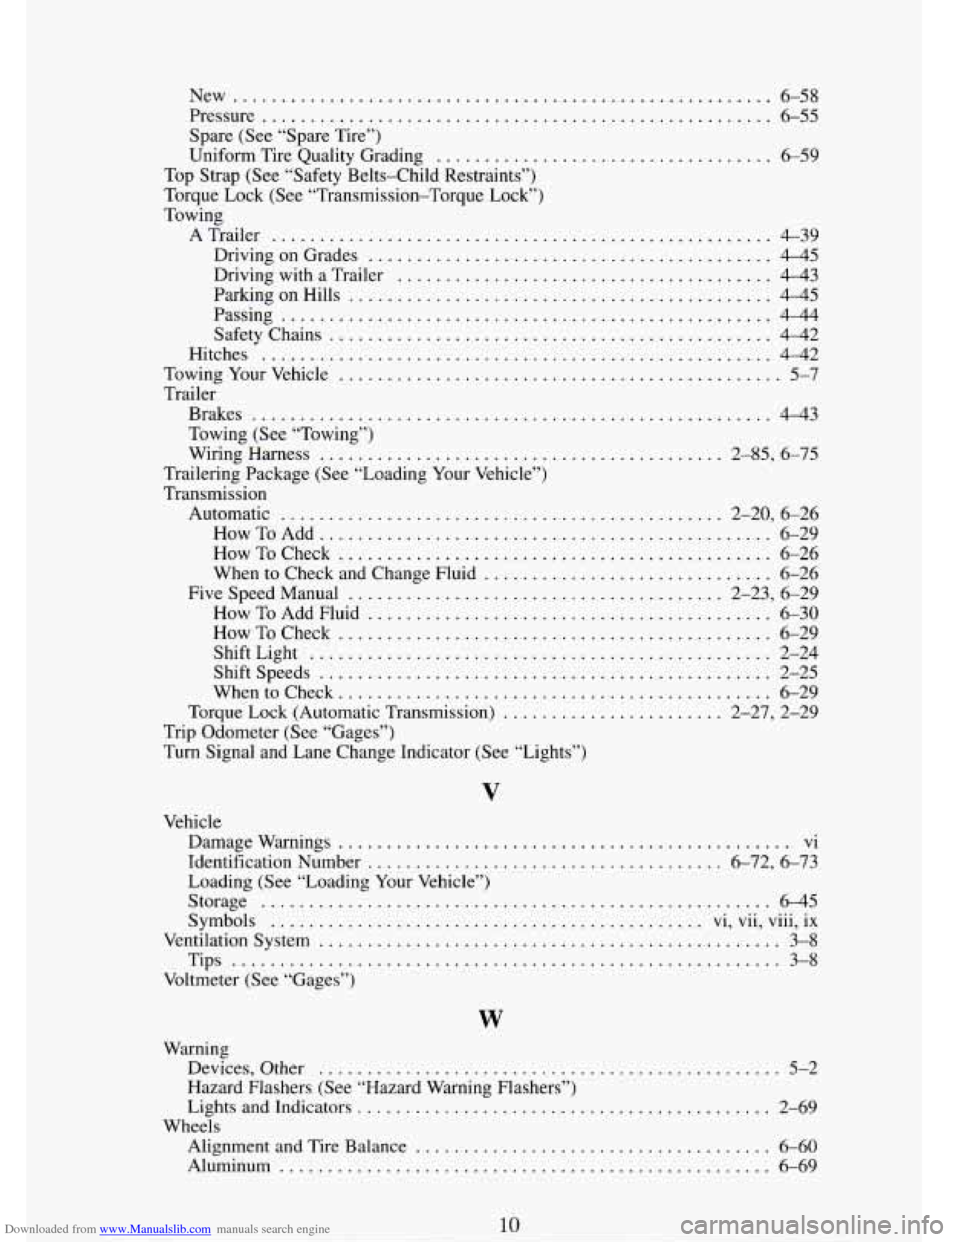
Downloaded from www.Manualslib.com manuals search engine New ........................................................ 6-58
Pressure
..................................................... 6-55
Spare (See “Spare Tire”)
Uniform Tire Quality Grading
................................... 6-59
Top Strap (See “Safety Belts-Child Restraints”)
Torque Lock (See “Transmission-Torque Lock”)
Towing
ATrailer
.................................................... 4-39
DrivingonGrades
.......................................... 4-45
Driving with a Trailer
....................................... 4-43
ParkingonHills
............................................ 445
Passing
................................................... 4-44
Safety Chains
.............................................. 4-42
Hitches
..................................................... 4-42
TowingYourVehicle
.............................................. 5-7
Trailer Brakes
...................................................... 4-43
Towing (See “Towing”)
Wiring Harness
.......................................... 2-85, 6-75
Trailering Package (See “Loading Your Vehicle”)
Transmission
Automatic
.............................................. 2-20, 6-26
HowToCheck ............................................. 6-26
When to Check and Change Fluid
.............................. 6-26
FiveSpeedManual
....................................... 2-23, 6-29
How To Add Fluid
.......................................... 6-30
HowToCheck
............................................. 6-29
ShiftLight
................................................ 2-24
Shiftspeeds
............................................... 2-25
Whentocheck
............................................. 6-29
Torque Lock (Automatic Transmission)
....................... 2-27, 2-29
HowToAdd
............................................... 6-29
Trip Odometer (See “Gages”)
Turn Signal and Lane Change Indicator (See “Lights”)
V
Vehicle
Damage Warnings
..................... ... ......... vi
Identification Number
..................................... 6.72. 6.73
Loading (See “Loading Your Vehicle”)
Storage
..................................................... 6-45
Symbols
............................................. vi, vu, vm, ix
Ventilation System
................................................ 3-8
Tips ......................................................... 3-8
Voltmeter (See “Gages”)
.....
W
Warning
Devices. Other
............................ .......... 5-2
Hazard Flashers (See “Hazard Warning Flashers”)
Lights and Indicators
........................................... 2-69
Alignment and Tire Balance
..................................... 6-60
Aluminum ................................................... 6-69
Wheels
Page 484 of 486
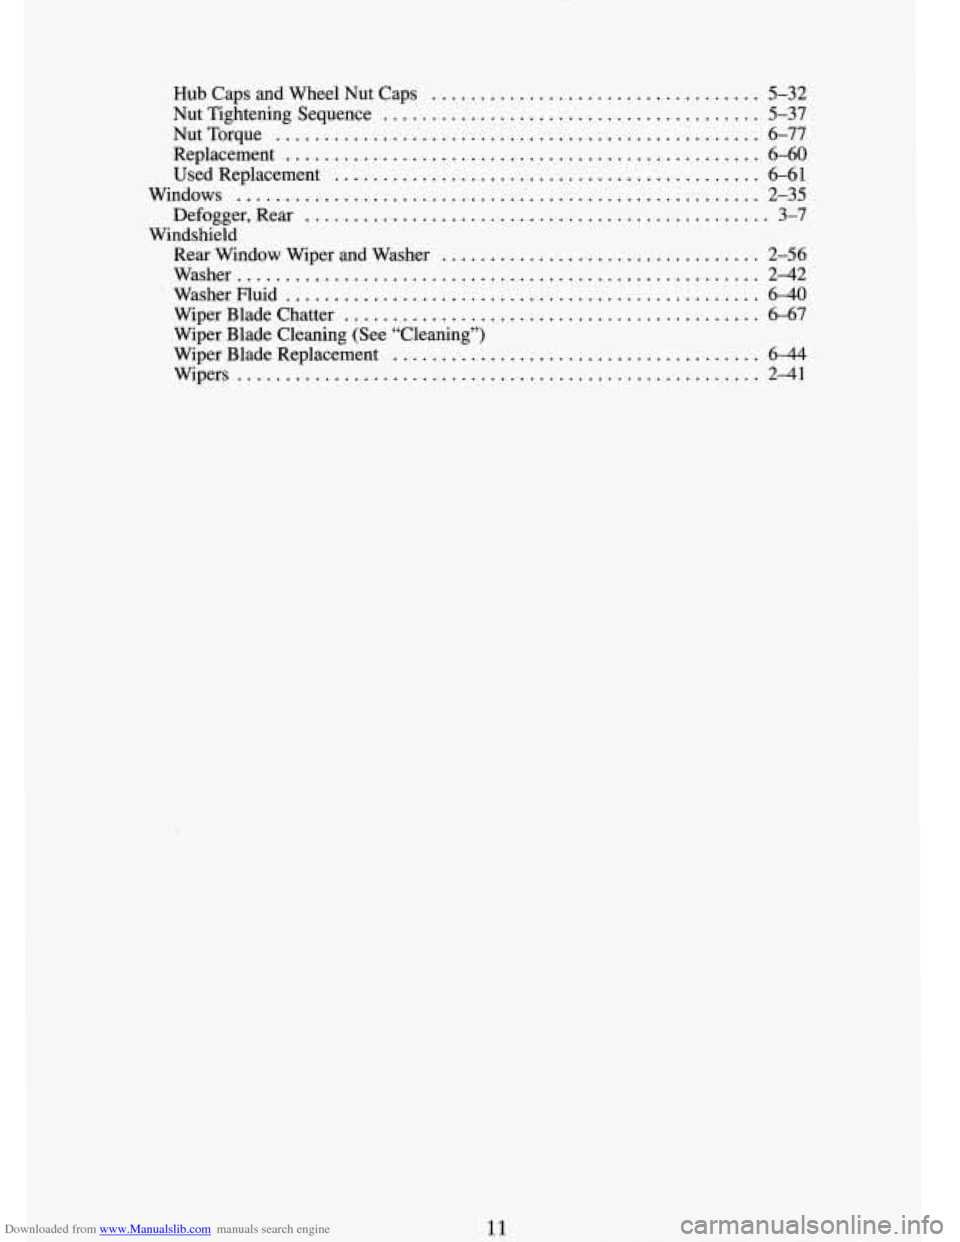
Downloaded from www.Manualslib.com manuals search engine Hub Caps and Wheel Nut Caps ..................................
NutTighteningSequence .......................................
NutTorque ..................................................
Replacement .................................................
Used Replacement ............................................
Windows ......................................................
5-32
5-37
6-77
6-60
6-61
2-35
Defogger. Rear
............................................ 3-7
Rear Window Wiper and Washer ................................. 2-56
Washer ...................................................... 2-42
WasherFluid
................................................. 6-40
Wiper Blade Chatter ........................................... 6-67
Wiper Blade Cleaning (See “Cleaning”)
Wiper Blade Replacement
...................................... 6-44
Wipers ...................................................... 2-41
Windshield
11