1995 CHEVROLET S10 parking brake
[x] Cancel search: parking brakePage 169 of 354
Downloaded from www.Manualslib.com manuals search engine 5. Release the parking brake only after the vehicle being towed is firmly
attached to the tow vehicle.
6. Insert the ignition key into the ignition switch and turn it one notch
forward of the
LOCK position. This places the key into the OFF
position, which unlocks the steering column while preventing battery
drain. Unlocking the steering column will allow for proper movement
of the front wheelshires during towing.
NOTICE:
You should exercise extra care whenever towing another vehicle.
Loading Your Vehicle
PAYLOAD =I-1
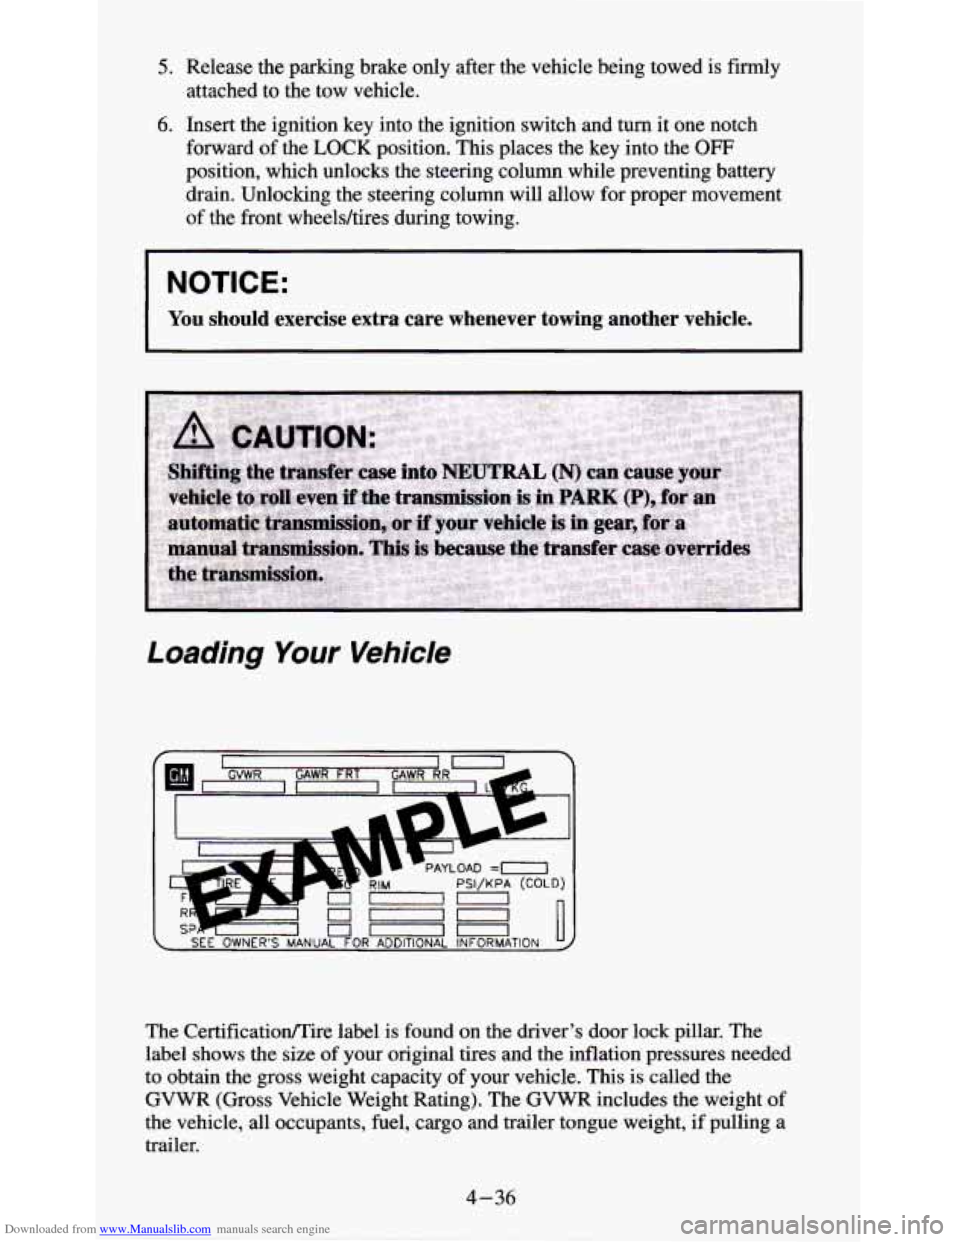
The Certificatioflire label is found on the driver’s door lock pillar. The
label shows the size of your original tires and the inflation pressures needed
to obtain the gross weight capacity of your vehicle. This is called the
GVWR (Gross Vehicle Weight Rating). The GVWR includes the weight of
the vehicle, all occupants, fuel, cargo and trailer tongue weight, if pulling a
trailer.
4-36
Page 181 of 354
Downloaded from www.Manualslib.com manuals search engine Driving On Grades
Reduce speed and shift to a lower gear before you start down a long or steep
downgrade. If you don’t shift down, you might have to use your brakes
so
much that they would get hot and no longer work well.
On a long uphill grade,
shift down and reduce your speed to around 45 mph
(70 km/h) to reduce the possibility of engine and transmission overheating.
When towing at high altitude on steep uphill grades, consider the following:
Engine coolant will boil at a lower temperature than at normal altitudes. If
you
turn your engine off immediately after towing at high altitude on steep
uphill grades, your vehicle may show signs similar to engine overheating.
To avoid this, let the engine run while parked (preferably on level ground)
with the automatic transmission in PARK
(P) (or the manual transmission
out of gear and the parking brake applied) for
a few minutes before turning
the engine
off. If you do get the overheat warning, see “Engine
Overheating” in the Index.
Parking on Hi//s
You really should not park your vehicle, with a trailer attached, on a hill. If
something goes wrong, your rig could start to move. People can be injured,
and both your vehicle and the trailer can be damaged.
But if you ever have to park your rig on a hill, here’s how to do it:
1. Apply your regular brakes, but don’t shift into PARK (P) yet, or into
gear for a manual transmission. When parking uphill,
turn your wheels
away from the curb. When parking downhill,
turn your wheels into the
curb.
2. Have someone place chocks under the trailer wheels.
3. When the wheel chocks are in place, release the regular brakes until the
chocks absorb the load.
4. Reapply the regular brakes. Then apply your parking brake, and then
shift into PARK
(P), or REVERSE (R) for a manual transmission.
5. If you have a four-wheeldrive vehicle with a manual transfer case
shift lever, be sure the transfer case is
in a drive gear - not in
NEUTRAL (N).
6. Release the parking brake.
4-48
Page 182 of 354
Downloaded from www.Manualslib.com manuals search engine When You Are Ready to Leave After Parking on a Hill
1. Apply your regular brakes and hold the pedal down while you:
Start your engine;
Shift into a gear; and
Release the parking brake.
2. Let up on the brake pedal.
3. Drive slowly until the trailer is clear of the chocks.
4. Stop and have someone pick up and store the chocks.
Maintenance When Trailer Towing
Your vehicle will need service more often when you’re pulling a trailer. See
the Maintenance Schedule for more on this. Things that are especially
important in trailer operation are automatic transmission fluid (don’t
overfill), engine oil, axle lubricant, belt, cooling system, and brake
adjustment. Each of these is covered in this manual, and the Index will help
you find them quickly. If you’re trailering, it’s a
good idea to review these
sections before you start your trip.
Check periodically to
see that all hitch nuts and bolts are tight.
Trailer Lighting Systems Wiring
See “Trailer Wiring Harness” in the Index.
4-49
Page 186 of 354
Downloaded from www.Manualslib.com manuals search engine NOTICE:
Ignoring these steps could result in costly damage to your
vehicle that wouldn’t be covered by your warranty.
Trying to start your vehicle by pushing or pulling
it could
damage your vehicle, even if you have a manual transmission.
And if you have an automatic transmission, it won’t
start that
way.
To Jump Start Your Vehicle;
1. Check the other vehicle. It must have a 12-volt battery with a negative
ground system.
NOTICE:
If the other system isn’t a 12-volt system with a negative
ground, both vehicles can be damaged.
2. Get the vehicles close enough so the jumper cables can reach, but be
sure the vehicles aren’t touching each other. If they are, it could cause
a
ground connection you don’t want. You wouldn’t be able to start your
vehicle, and the bad grounding could damage the electrical systems.
You could be injured if the vehicles roll. Set the parking brake firmly
on each vehicle. Put an automatic transmission in
PARK (P) or a
manual transmission in NEUTRAL (N). If you have
a
four-wheel-drive vehicle with a manual transfer case shift lever, be
sure the transfer case is not in NEUTRAL
(N).
3. Turn off the ignition on both vehicles. Turn off all lights that aren’t
needed, and radios. This will avoid sparks and help save both batteries.
And it could save your radio!
NOTICE:
If you leave your radio on, it could be badly damaged. The
repair wouldn’t be covered by your warranty.
4. Open the hoods and locate the batteries. Find the positive (+) and
negative
(-) terminals on each battery.
5-3
Page 190 of 354
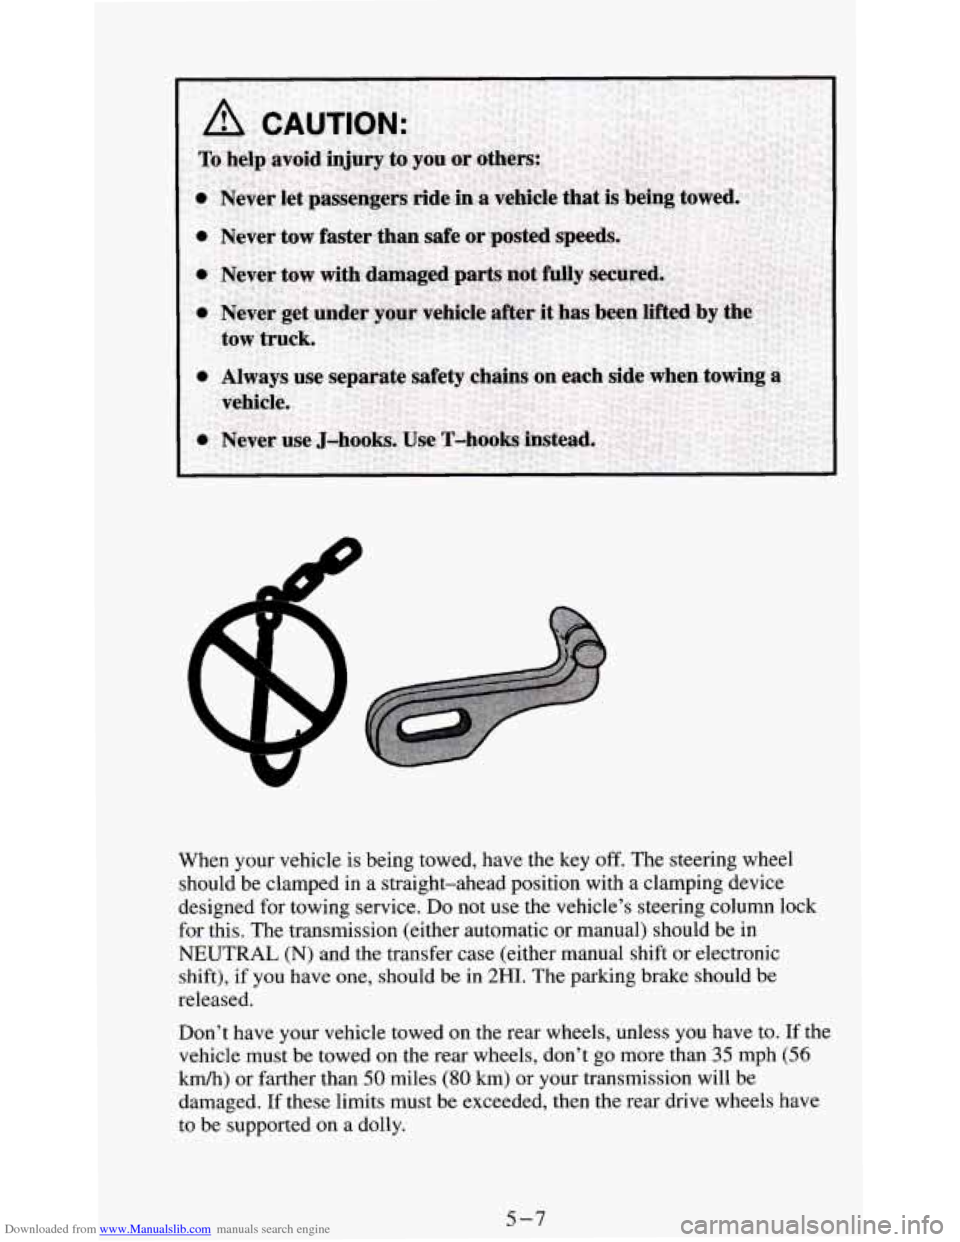
Downloaded from www.Manualslib.com manuals search engine When your vehicle is being towed, have the key off. The steering wheel
should be clamped in a straight-ahead position with
a clamping device
designed for towing service.
Do not use the vehicle’s steering column lock
for this. The transmission (either automatic or manual) should be
in
NEUTRAL (N) and the transfer case (either manual shift or electronic
shift), if you have one, should be in 2HI.
The parking brake should be
released.
Don’t have your vehicle towed
on the rear wheels, unless you have to. If the
vehicle must be towed on the rear wheels, don’t
go more than 35 mph (56
kmk) or farther than 50 miles (80 km) or your transmission will be
damaged.
If these limits must be exceeded, then the rear drive wheels have
to be supported on a dolly.
5-7
Page 232 of 354
Downloaded from www.Manualslib.com manuals search engine To check transmissionfluid cold: A cold check is made after the vehicle has
been sitting for eight hours or more with the engine off and is used only as a
reference. Let the engine run at idle
for five minutes if outside temperatures
are
50°F ( 10°C) or more. If it's colder than 50°F ( lO"C), you may have to
idle the engine longer. Should the fluid level be low during a cold check,
you must perform a hot check before adding fluid. This will give you a more
accurate reading of the fluid level.
To check the fluid hot or cold
Park your vehicle on a level place. Keep the engine running.
With the parking brake applied, place the shift lever in PARK (P).
0 With your foot on the brake pedal, move the shift lever through each
gear range, pausing for about three seconds in each range.
Then,
position the shift lever in PARK (P).
Let the engine run at idle for three minutes or more.
Then, without shutting
off the engine, follow these steps:
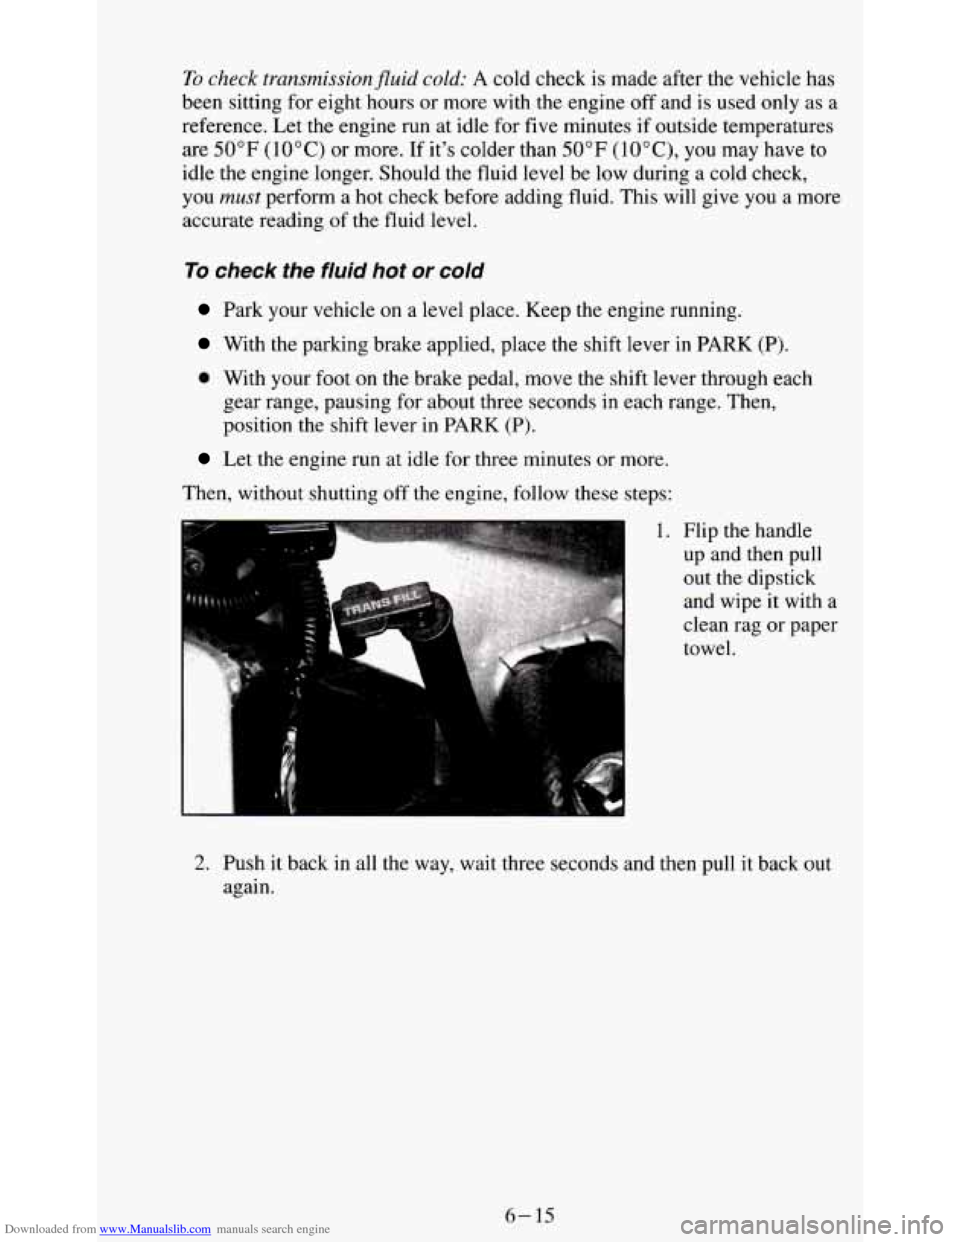
1. Flip the handle up and then pull
out the dipstick
and wipe it with a
clean rag or paper
towel.
2. Push it back in all the way, wait three seconds and then pull it back out
again.
6- 15
Page 295 of 354
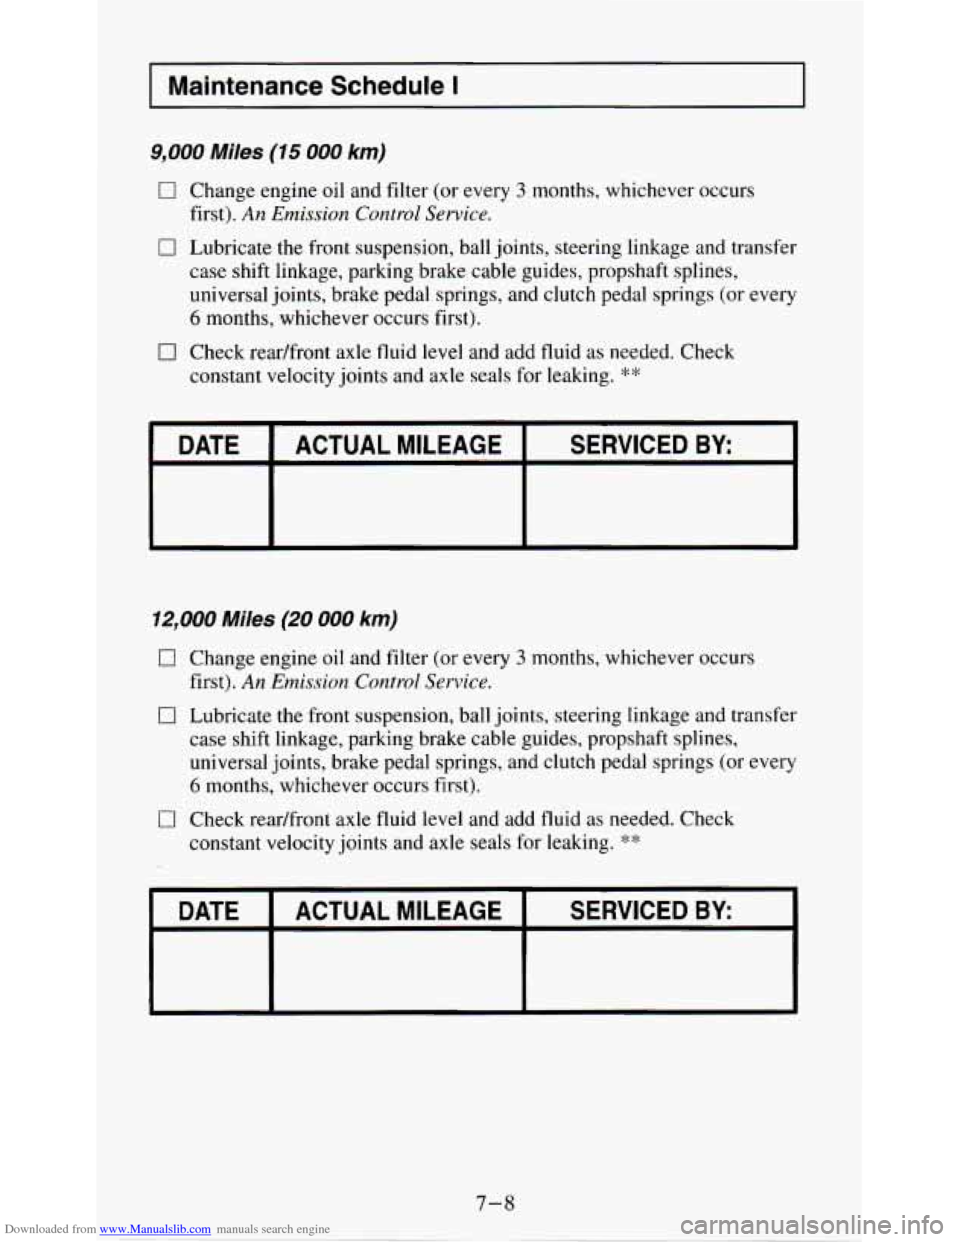
Downloaded from www.Manualslib.com manuals search engine Maintenance Schedule I
9,000 Miles (15 000 km)
0 Change engine oil and filter (or every 3 months, whichev&occurs
0 Lubricate the front suspension, ball joints, steering linkage and transfer
case shift linkage, parking brake cable guides, propshaft splines,
universal joints, brake pedal springs, and clutch pedal springs (or every
6 months, whichever occurs first).
first).
An Emission Control Service.
0 Check
readfront axle fluid level and add fluid as needed. Check
constant velocity joints and axle seals for leaking.
**
DATE ACTUAL MILEAGE SERVICED BY:
J
12,000 Miles (20 000 km)
0 Change engine
oil and filter (or every 3 months, whichever occucs
first). An Emission Control Service.
0 Lubricate the front suspension, ball joints, steering linkage and transfer
case shift linkage, parking brake cable guides, propshaft splines,
universal joints, brake pedal springs, and clutch pedal springs (or every
6 months, whichever occurs first).
0 Check readfront axle fluid level and add fluid as needed. Check
constant velocity joints and axle seals for leaking.
**
DATE ACTUAL MILEAGE SERVICED BY:
Page 296 of 354
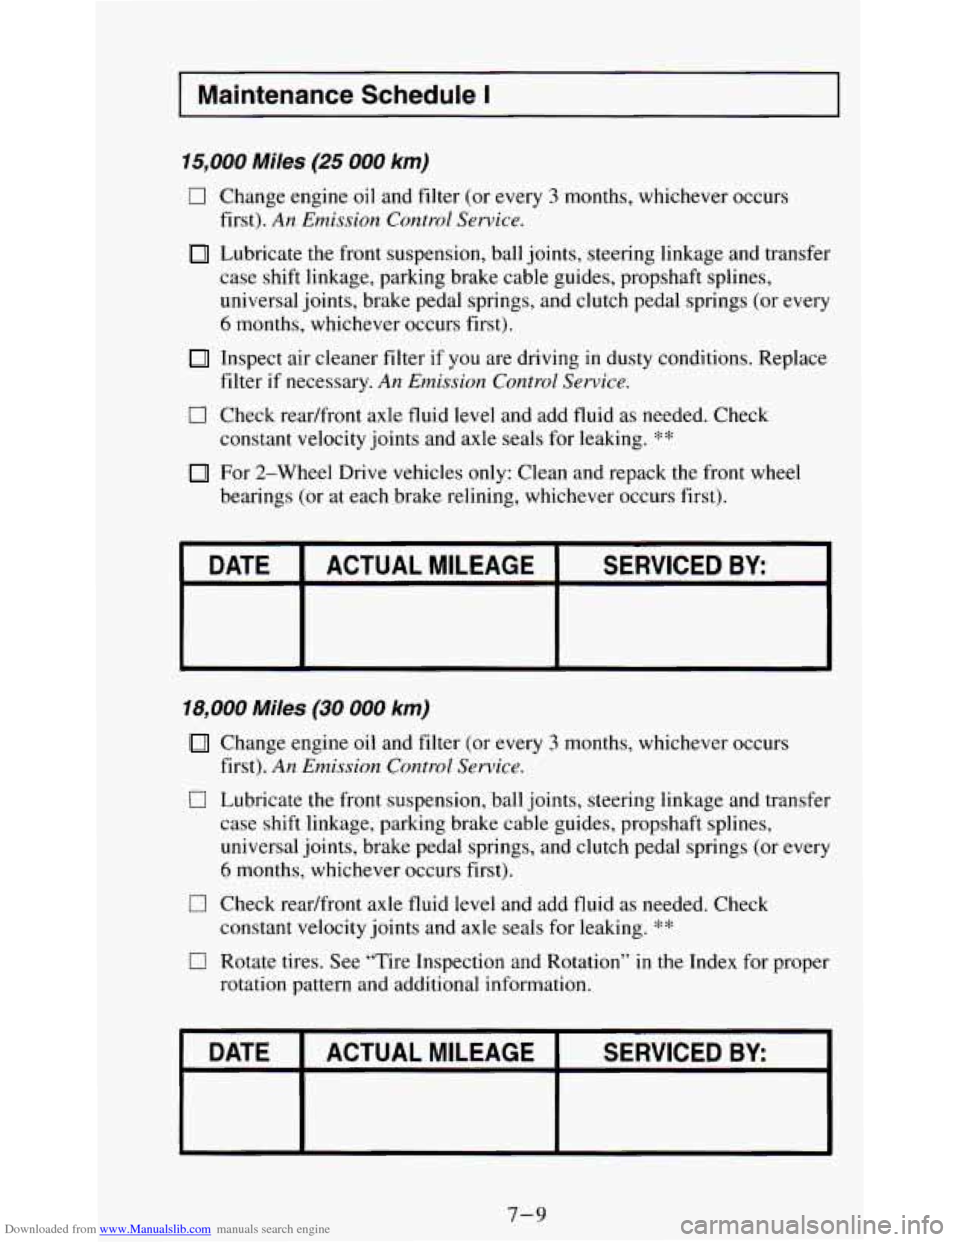
Downloaded from www.Manualslib.com manuals search engine I Maintenance Schedule I
15,000 Miles (25 000 km)
0
0
Change engine oil and filter (or every 3 months, whichever occurs
first).
An Emission Control Service.
Lubricate the front suspension, ball joints, steering linkage and transfer
case shift linkage, parking brake cable guides, propshaft splines,
universal joints, brake pedal springs, and clutch pedal springs (or every
6 months, whichever occurs first).
Inspect air cleaner filter
if you are driving in dusty conditions. Replace
filter
if necessary. An Emission Control Service.
Check readfront axle fluid level and add fluid as needed. Check
constant velocity joints and axle seals for leaking.
**
For 2-Wheel Drive vehicles only: Clean and repack the front wheel
bearings (or at each brake relining, whichever occurs first).
DATE
SERVICED BY ACTUAL MILEAGE
18,000 Miles (30 000 km)
Change engine oil and filter (or every 3 months, whichever occurs
0 Lubricate the front suspension, ball joints, steering linkage and transfer
case shift linkage, parking brake cable guides, propshaft splines,
universal joints, brake pedal springs, and clutch pedal springs (or every
6 months, whichever occurs first).
first).
An Emission Control Service.
0 Check
readfront axle fluid level and add fluid as needed. Check
constant velocity joints and axle seals for leaking.
**
rotation pattern and additional information.
0 Rotate tires. See “Tire Inspection and Rotation” in the Index for proper
DATE
SERVICED BY ACTUAL MILEAGE
7-9