1995 CHEVROLET S10 service
[x] Cancel search: servicePage 76 of 354
Downloaded from www.Manualslib.com manuals search engine If the 4LO switch is pressed when your vehicle is in gear and/or moving, the
amber
4LO indicator light will flash for 30 seconds and not complete the
shift unless your vehicle is below
3 mph (4.8 km/h) and the transmission is
in
NEUTRAL (N) or the clutch pedal depressed.
On automatic transmission equipped vehicles:
If your transfer case does not
shift into
4L0, your transmission indicator switch may require adjustment.
With your transmission in
NEUTRAL (N), press and release the 4LO
switch. While the amber 4LO indicator light is flashing, shift your
transmission into
PARK (P).
Wait until the 4LO indicator light goes solid amber before shifting your
transmission into gear. This will get you into
4L0, but you should take your
vehicle in for service
so normal operation can be restored.
To shift from 4LO to 4HI - Your vehicle must be stopped or moving less
than
3 mph (4.8 km/h) with the transmission in NEUTRAL (N) or the clutch
pedal depressed. The preferred method for shifting out of
4LO is to have
your vehicle slowly moving
1 to 2 mph ( 1.6 to 3.2 km/h). Press and release
the
4HI switch. You must wait for the 4HI indicator light to stop flashing
and go solid amber before shifting your transmission into gear or releasing
the clutch pedal.
If the
4HI switch is pressed when your vehicle is in gear and/or moving, the
4HI indicator light will flash for 30 seconds but not complete the shift
unless the vehicle is below
3 mph (4.8 kmh) and the transmission is in
NEUTRAL (N) or the clutch pedal depressed.
On automatic transmission equipped vehicles:
If your transfer case does not
shift into
4H1, your transmission indicator switch may require adjustment.
With your transmission
in NEUTRAL (N), press and release the 4HI switch.
While the
4HI indicator light is flashing, shift your transmission into PARK
(P). Wait until the 4HI indicator light goes solid amber before shifting your
transmission into gear. This will get you into
4H1, but you should take your
vehicle in for service
so normal operation can be restored.
2-31
Page 103 of 354

Downloaded from www.Manualslib.com manuals search engine You will see this light flash for a few seconds when you turn your ignition
to RUN or START. Then the light should go out. This means the system is
ready.
If the air bag readiness light doesn’t come
on when you start your vehicle,
or stays on, or comes
on when you are driving, your air bag system may not
work properly. Have your vehicle serviced right away.
Brake System Warning Light
-1
BRAKE
Your vehicle’s hydraulic brake system is divided into two parts. If one part
isn’t working, the other part can still work and stop you. For good braking,
though, you need both parts working well.
Your vehicle also has rear-wheel or four-wheel anti-lock brakes. See
“Anti-Lock Brakes” in the Index. If the warning light comes on, there could
be a brake problem with either your regular or rear-wheel anti-lock brakes,
or both. Have your brake system inspected right away.
This light should come
on briefly as you start the vehicle. If it doesn’t come
on then, have it fixed
so it will be ready to warn you if there’s a problem.
If the light comes on while you are driving, pull off the road and stop
carefully. You may notice that the pedal is harder
to push. Or, the pedal may
go closer to the floor. It may take longer to stop. If the light
is still on, have
the vehicle towed for service. (See “Towing Your Vehicle” in the Index.)
2-58
Page 104 of 354
Downloaded from www.Manualslib.com manuals search engine The brake system warning light will also come on when you set your
parking brake, and it will stay on if your parking brake doesn’t release fully.
If it stays on after your parking brake is fully released, it means you have a
brake problem.
Anti-Lock Brake System Warning Light (Option)
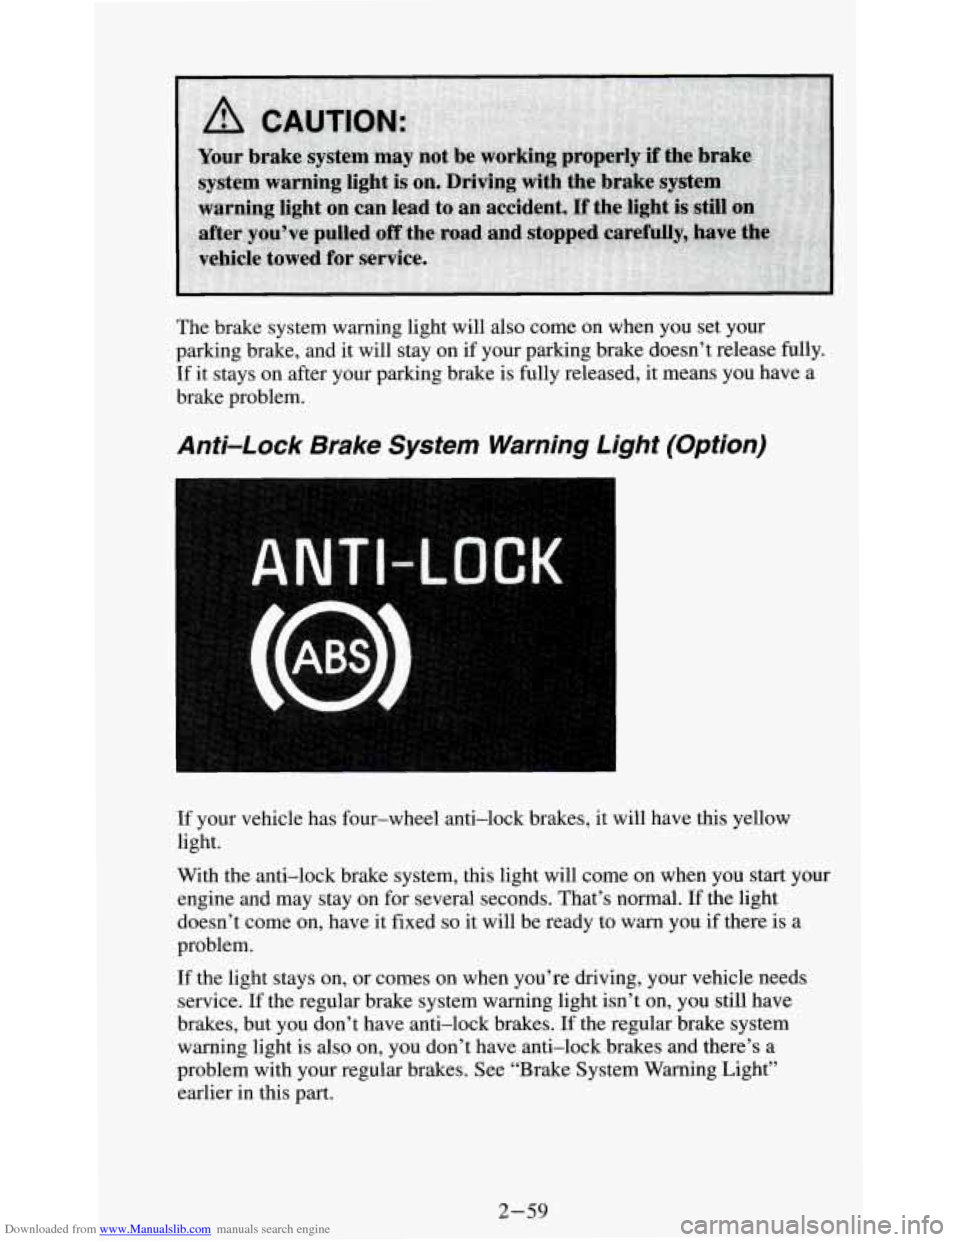
If your vehicle has four-wheel anti-lock brakes, it will have this yellow
light.
With the anti-lock brake system, this light will come on when you
start your
engine and may stay on for several seconds. That’s normal. If the light
doesn’t come
on, have it fixed so it will be ready to warn you if there is a
problem.
If the light stays on, or comes on when you’re driving, your vehicle needs
service. If the regular brake system warning light isn’t on, you still have
brakes, but you don’t have anti-lock brakes. If the regular brake system
warning light is also
on, you don’t have anti-lock brakes and there’s a
problem with your regular brakes. See “Brake System Warning Light”
earlier in this part.
2-59
Page 105 of 354
Downloaded from www.Manualslib.com manuals search engine Indicator Lights
Indicator lights go on when you use your turn signals, change from low
beam headlights
to high beams, or when you use your hazard flashers. The
next few pages will also tell you about the indicator lights on your vehicle
and help
you locate them.
Malfunction Indicator Lamp (SERVICE ENGINE SOON
Light)
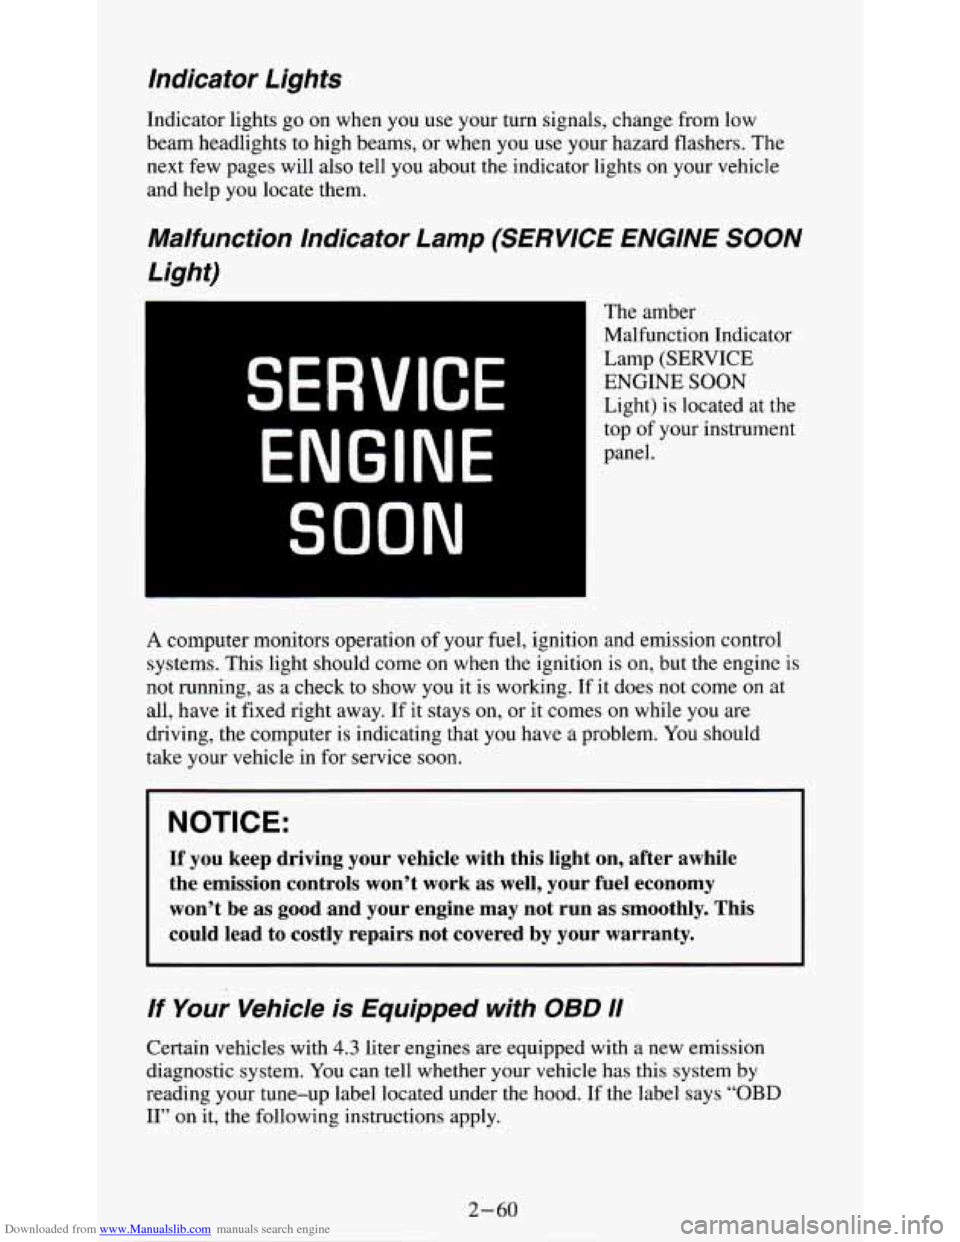
The amber
Malfunction Indicator
Lamp (SERVICE
ENGINE SOON
Light) is located at the
top of your instrument
panel.
SERVICE
ENGINE
SOON
A computer monitors operation of your fuel, ignition and emission control
systems. This light should come
on when the ignition is on, but the engine is
not running, as a check to show you it is working. If it does not come
on at
all, have it fixed right away.
If it stays on, or it comes on while you are
driving, the computer is indicating that
you have a problem. You should
take your vehicle in for service
soon.
NOTICE:
If you keep driving your vehicle with this light on, after awhile
the emission controls won’t work as well, your fuel economy
won’t be as good and your engine may not run as smoothly. This
could lead
to costly repairs not covered by your warranty.
If Your Vehicle is Equipped with OBD I1
Certain vehicles with 4.3 liter engines are equipped with a new emission
diagnostic system. You can tell whether your vehicle has this system
by
reading your tune-up label located under the hood. If the label says “OBD
11” on it, the following instructions apply.
Page 106 of 354
Downloaded from www.Manualslib.com manuals search engine Malfunction Indicator Lamp (SERVICE ENGINE SOON Light)
Your vehicle is equipped with an onboard computer which monitors
operation of the emission control system. This system is called OBD I1
(On-Board Diagnostics-Second Generation) and is intended to assure that
emissions are at acceptable levels for the life of the vehicle, helping to
produce a cleaner environment. The “SERVICE ENGINE
SOON’ light
comes on to indicate when service is required. Malfunctions often will be
indicated by
the system before any problem is apparent, which may prevent
more serious damage to your vehicle. This system is also designed to assist
your service technician in correctly diagnosing any malfunction.
The “SERVICE ENGINE
SOON, light should come on, as a check to show
you it is working, when the ignition is on and the engine is not running. This
light will also come during a malfunction in one
of two ways:
0
0
Light on steady - indicates a system malfunction has been detected.
Drive the vehicle to the dealer for service at your first opportunity.
Light flashing
- indicates a misfire has been detected which may
damage the emission control system. The damage may be reduced by
lowering the vehicle speed, reducing the amount of cargo being hauled
or trailered, avoiding hard acceleration, or by avoiding steep uphill
grades.
If these actions are effective, the light will stop flashing and
remain on steady. Drive the vehicle to a dealer for service. If the light
continues to flash, stop the vehicle. Wait for a steady light to come on,
then drive the vehicle to a dealer for service.
These following conditions also may cause the “SERVICE ENGINE
SOON” light to come on:
Low FueVOut of Fuel
- As the vehicle starts to run out of fuel the
“SERVICE ENGINE
SOON” light may come on as a result of an engine
misfire. Filling your gasoline tank should correct this condition. Make sure
to install the gas cap fully. It will require a few driving trips to turn the light
off.
Poor Quality Fuel
- Be sure to fuel your vehicle with quality fuel. Your
engine may not run efficiently on poor fuel. Poor fuel may cause stalling,
hesitation or misfire. These conditions may go away when the engine is
warned-up. However, poor quality fuel may cause the “SERVICE ENGINE
SOON, light to come on.
Have a dealer check the vehicle. If no problems are found, you may want to
change to another brand
of fuel.
Driving Through Standing Water
- Driving your vehicle through puddles
of deep standing water may result in a temporary misfire condition. This
condition will usually correct itself shortly after the electrical system dries
out. It will require a few driving trips to turn the light off.
2-61
Page 111 of 354
Downloaded from www.Manualslib.com manuals search engine A CAUTION:
Don’t keep driving if the oil pressure is low. If you do, your
engine can become
so hot that it catches fire. You or others could
be burned. Check your oil
as soon as possible and have your
vehicle serviced.
NOTICE:
Damage to your engine from neglected oil problems can be
costly and is not covered
by your warranty.
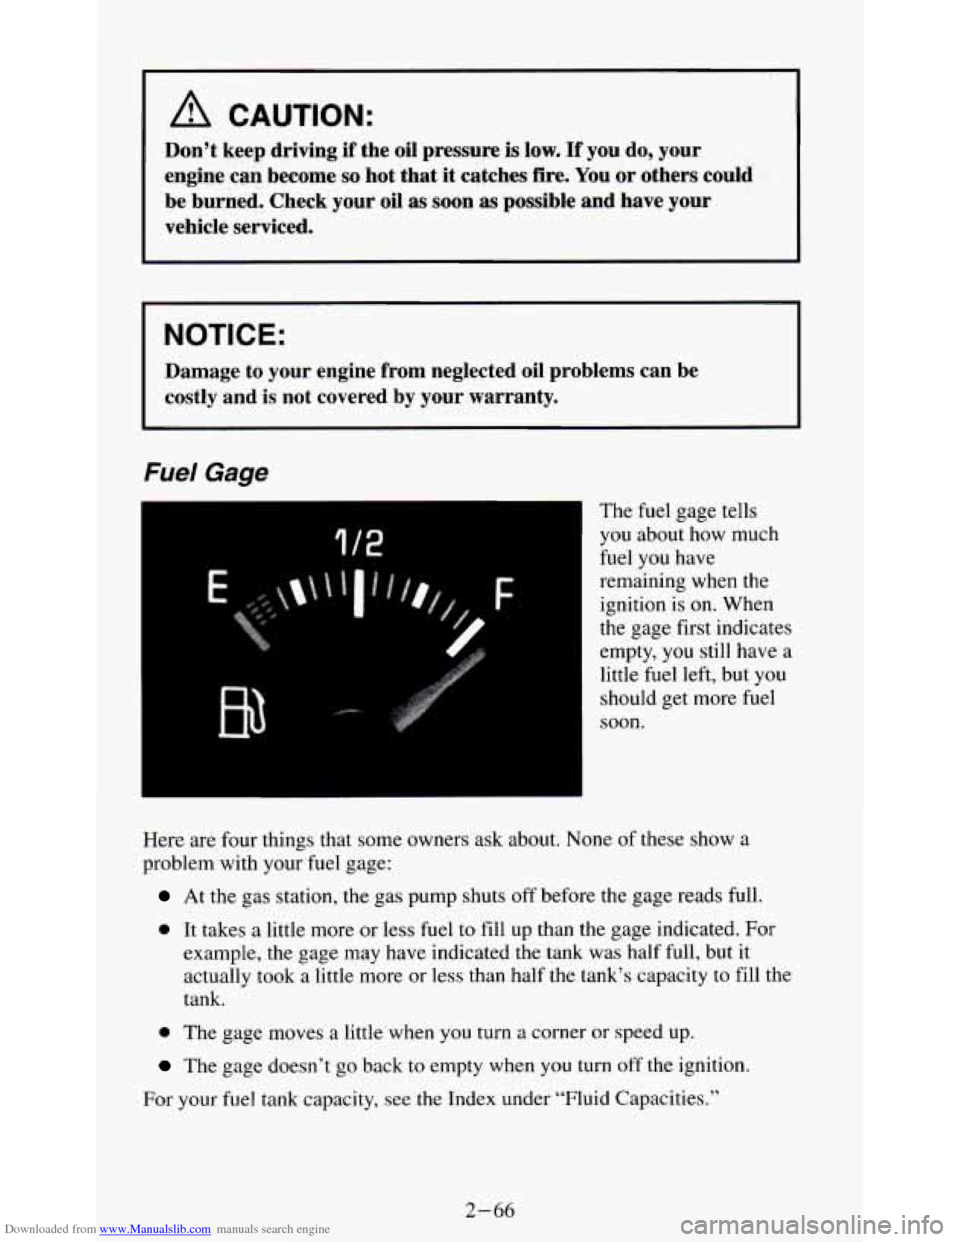
Fuel Gage
The fuel gage tells
you about how much
fuel you have
remaining when the
ignition
is on. When
the gage first indicates
empty, you still have a
little fuel left, but you
should get more fuel
soon.
Here are four things that some owners ask about. None of these show a
problem with your fuel gage:
At the gas station, the gas pump shuts off before the gage reads full.
0 It takes a little more or less fuel to fill up than the gage indicated. For
example, the gage may have indicated the tank was half full, but it
actually took a little more or less than half the tank’s capacity to fill the
tank.
0 The gage moves a little when you turn a corner or speed up.
The gage doesn’t go back to empty when you turn off the ignition.
For your fuel tank capacity, see the Index under “Fluid Capacities.”
2-66
Page 112 of 354
Downloaded from www.Manualslib.com manuals search engine Voltmeter Gage
14
9
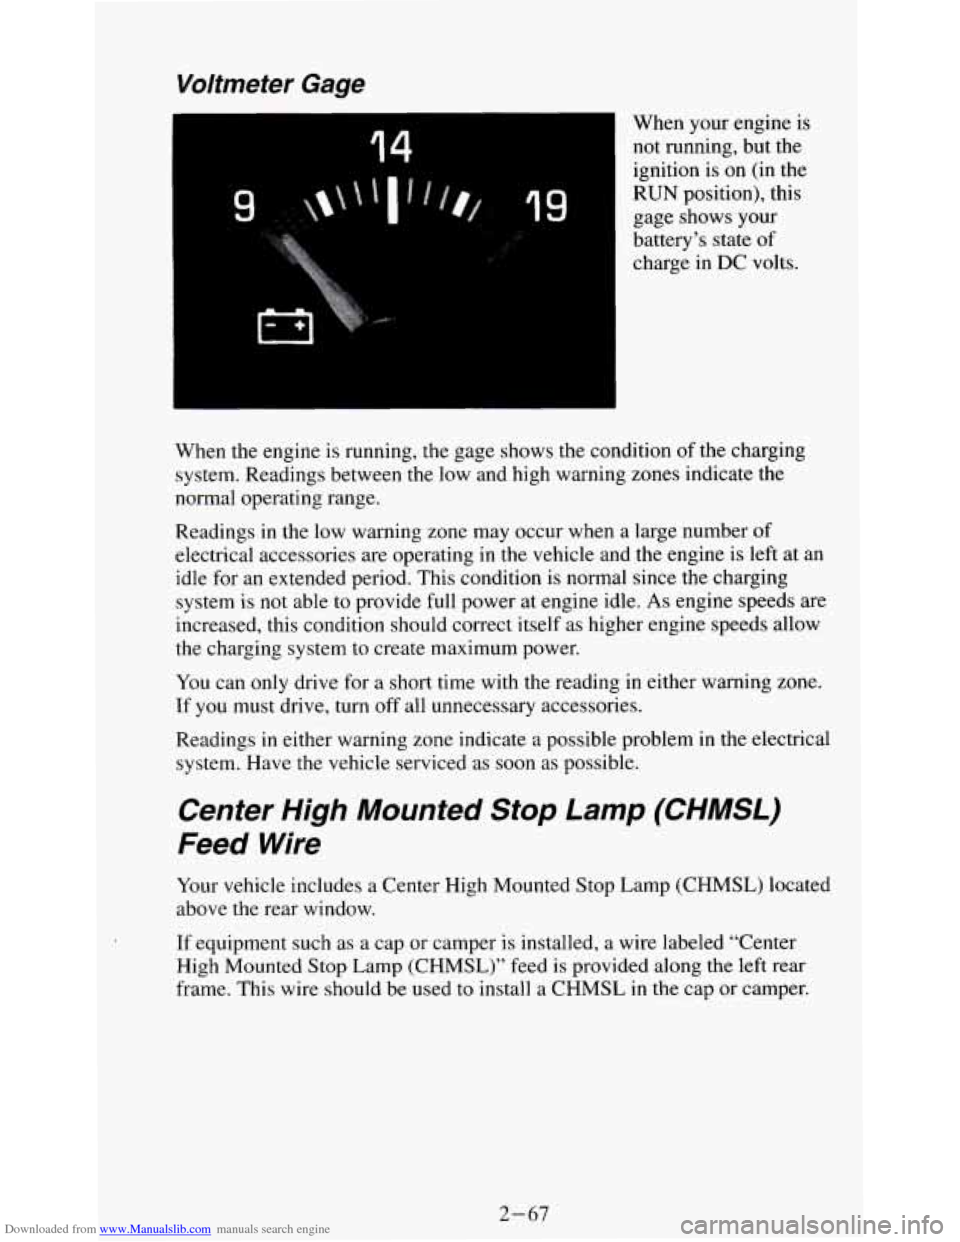
When your engine is
not running, but the
ignition is
on (in the
RUN position), this
gage shows your
battery’s state
of
charge in DC volts.
When the engine is running, the gage shows
the condition of the charging
system. Readings between the low and high warning zones indicate the
normal operating range.
Readings in the low warning zone may occur when a large number
of
electrical accessories are operating in the vehicle and the engine is left at an
idle
for an extended period. This condition is normal since the charging
system is not able
to provide full power at engine idle. As engine speeds are
increased, this condition should correct itself as higher engine speeds allow
the charging system to create maximum power.
You can only drive for a short time with the reading
in either warning zone.
If you must drive, turn off all unnecessary accessories.
Readings
in either warning zone indicate a possible problem in the electrical
system. Have the vehicle serviced as soon
as possible.
Center High Mounted Stop Lamp (CHMSL)
Feed Wire
Your vehicle includes a Center High Mounted Stop Lamp (CHMSL) located
above the rear window.
If equipment such as a cap or camper is installed, a wire labeled “Center
High Mounted
Stop Lamp (CHMSL)” feed is provided along the left rear
frame.
This wire should be used to install a CHMSL in the cap or camper.
2-67
Page 113 of 354
Downloaded from www.Manualslib.com manuals search engine Trailer Wiring Harness
Your vehicle may have either a 5-wire or 7-wire harness.
The 5-wire harness is stored under your vehicle, along the left rear frame
crossmember. The harness has no connector, and you should have a
qualified service person wire your harness for you. Be sure you leave it
loose enough
so the wiring doesn’t bend or break, but not so loose that it
drags on the ground.
Store the harness in its original place. Wrap the harness together and tie it
neatly
so it won’t be damaged.
The 7-wire is stored under your vehicle along the rear frame crossmember.
This harness has a
30 Amp. in-line fused battery feed wire and no
connector, and should be wired by
a qualified service person. Attach the
harness to the trailer, then tape or strap
it to your vehicle’s frame rail. Be
sure you leave it loose enough
so the wiring doesn’t bend or break, but not
so loose that it drags on the ground.
Store the harness in its original place. Wrap the harness together and tie it
neatly
so it won’t be damaged.
The fuse for trailer wiring is in-line and located in left front side panel
electrical block.
2-68