1995 CHEVROLET CORVETTE wiper blades
[x] Cancel search: wiper bladesPage 84 of 386
Downloaded from www.Manualslib.com manuals search engine Windshield Wipers
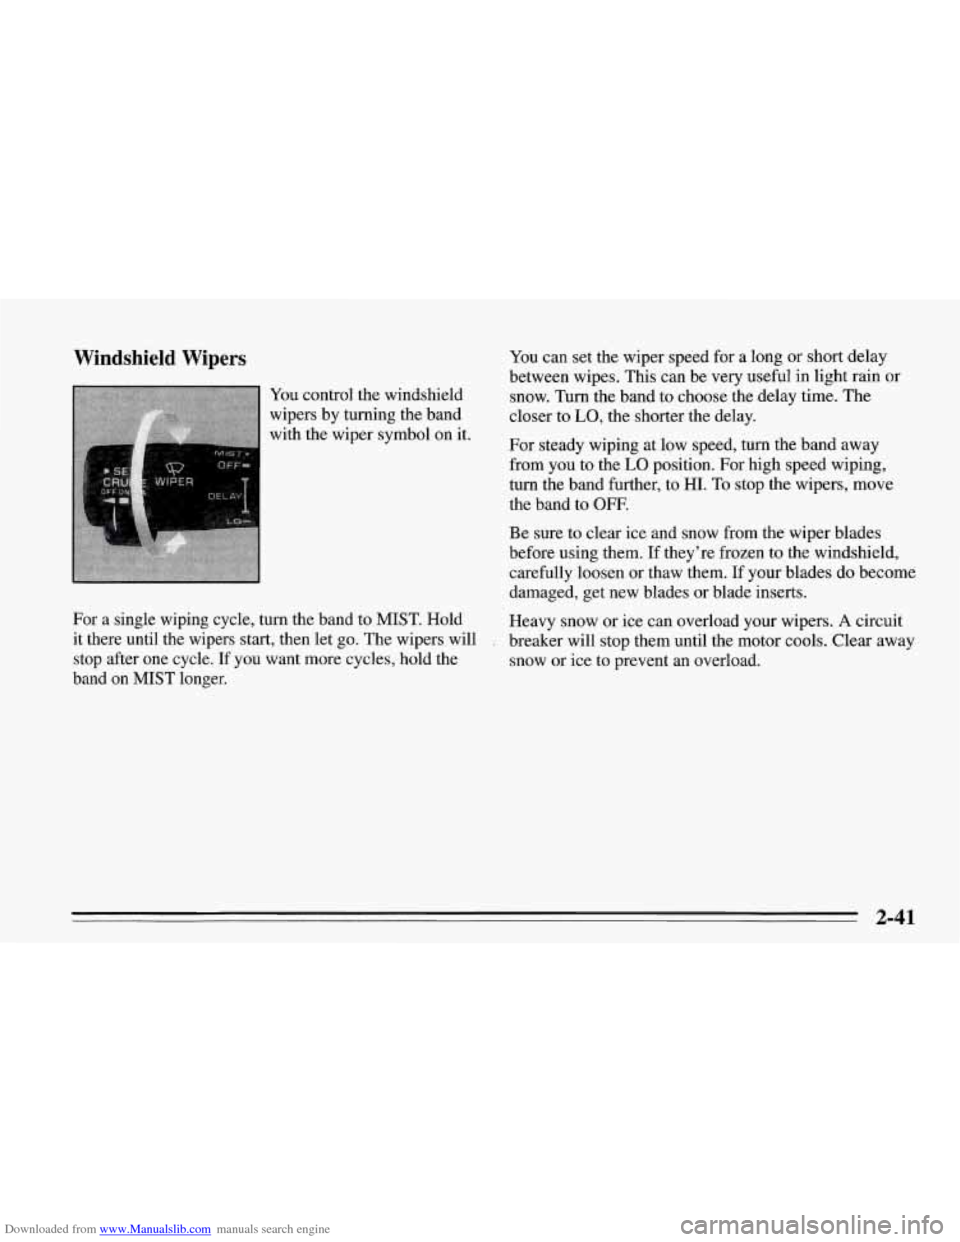
You control the windshield
wipers by turning the band
with the wiper symbol on it.
For
a single wiping cycle, turn the band to MIST. Hold
it there until the wipers start, then let go. The wipers will
stop after one cycle.
If you want more cycles, hold the
band
on MIST longer. You
can set the wiper speed for a long or short delay
between wipes. This can be very useful in light rain or
snow. Turn the band to choose the delay time. The
closer to
LO, the shorter the delay.
For steady wiping at low speed, turn the band away
from you to the
LO position. For high speed wiping,
turn the band further, to HI. To stop the wipers, move
the band to OFF.
Be sure to clear ice and snow from the wiper blades
before using them.
If they’re frozen to the windshield,
carefully loosen or thaw them. If your blades
do become
damaged, get new blades or blade inserts.
Heavy snow or ice can overload your wipers.
A circuit
breaker will stop them until the motor cools. Clear away
snow or ice to prevent an overload.
2-41
Page 180 of 386
Downloaded from www.Manualslib.com manuals search engine The heavier the rain, the harder it is to see. Even if your
windshield wiper blades are in good shape, a heavy rain
can make it harder to see road signs and traffic signals,
pavement markings, the edge of the road, and even
people walking.
It’s wise to keep your wiping equipment in good shape
and keep your windshield washer tank filled. Replace
your windshield wiper inserts when they show signs of
streaking or missing areas on the windshield, or when
strips of rubber start to separate from the inserts. Driving too fast
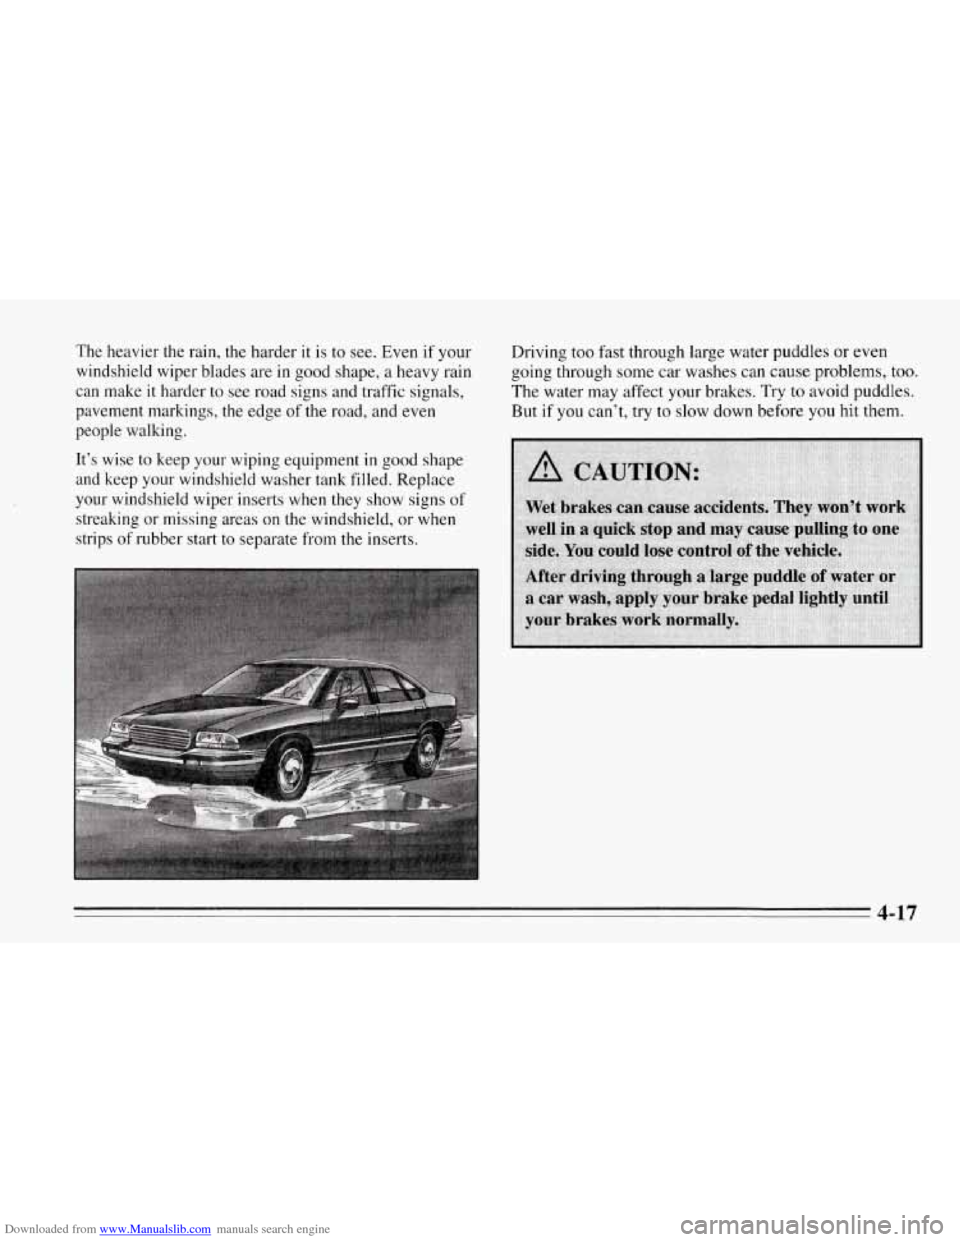
through large water puddles or even
going through some car washes can cause problems, too.
The water may affect your brakes. Try to avoid puddles.
But if you can’t, try to slow down before
you hit them.
4-17
Page 184 of 386
Downloaded from www.Manualslib.com manuals search engine The exit speed is usually posted.
Reduce your speed according to your speedometer, not
to your sense of motion. After driving for any distance
at higher speeds, you may tend to think
you are going
slower than you actually are.
Before Leaving on a Long Trip
Make sure you’re ready. Try to be well rested. If you
must start when you’re not fresh
-- such as after a day’s
work
-- don’t plan to make too many miles that first part
of the journey. Wear comfortable clothing and shoes you
can easily drive in.
Is your vehicle ready for a long trip?
If you keep it
serviced and maintained, it’s ready to
go. If it needs
service, have it done before starting out. Of course,
you’ll find experienced and able service experts in
Chevrolet dealers all across North America. They’ll be
ready and willing to help if you need it. Here
are some things you can check before a trip:
0
0
0
0
0
0
0
Windshield Washer Fluid: Is the reservoir full? Are
all windows clean inside and outside?
Wiper Blades: Are they in good shape?
Fuel, Engine Oil, Other Fluids: Have you checked
all levels?
Lamps: Are they all working? Are the lenses clean?
Tires: They are vitally important to a safe,
trouble-free trip. Is the tread good enough for
long-distance driving? Are the tires all inflated to the
recommended pressure?
Weather Forecasts: What’s the weather outlook
along your route? Should you delay your trip a short
time to avoid
a major storm system?
Maps: Do you have up-to-date maps?
4-21
Page 282 of 386
Downloaded from www.Manualslib.com manuals search engine Windshield Wiper Blades
6. Rock the bulb back and forth while pulling up to
remove it.
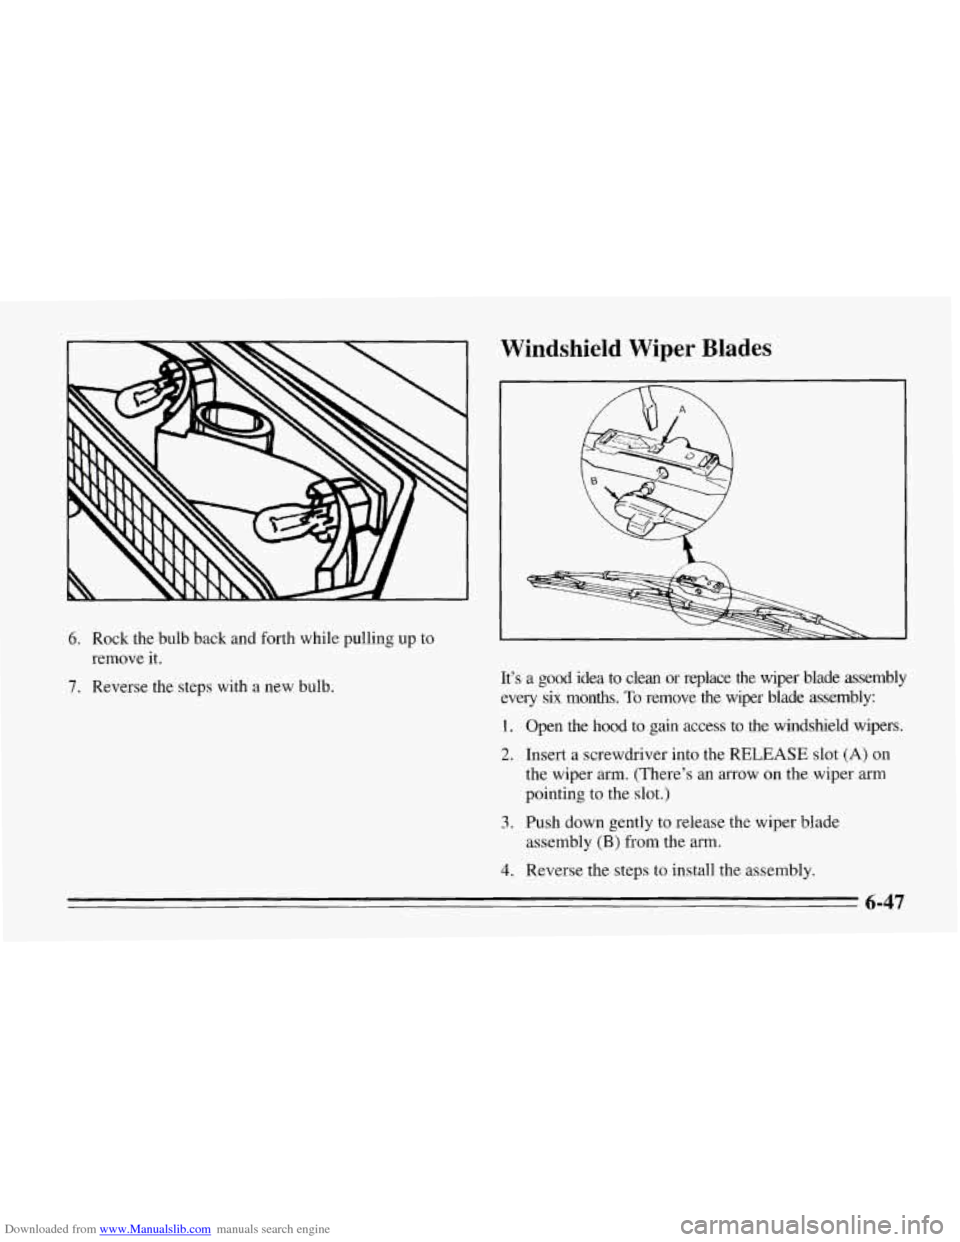
7. Reverse the steps with a new bulb. It’s a good idea to clean or replace the wiper blade assembly
every
six months. To remove the wiper blade assembly:
1. Open the hood to gain access to the windshield wipers.
2. Insert a screwdriver into the RELEASE slot (A) on
the wiper arm. (There’s an arrow on the wiper arm
pointing
to the slot.)
3. Push down gently to release the wiper blade
assembly
(B) from the arm.
4. Reverse the steps to install the assembly.
6-47
Page 295 of 386
Downloaded from www.Manualslib.com manuals search engine Cleaning the Outside of the
Windshield and Wiper Blades
If the windshield is not clear after using the windshield
washer,
or if the wiper blade chatters when running, wax
or other material may be on the blade or windshield.
Clean the outside
of the windshield with GM
Windshield Cleaner, Bon-Ami Powder@ (GM
Part No.
1050011). The windshield is clean if beads do not form
when you rinse it with water.
If you use a glass treatment or conditioner containing
ethyl alcohol or ethyl sulfate on your glass, be sure to
remove the acrylic roof panel, if
so equipped. These
products may darnage the panel.
Clean the blade by wiping vigorously with a cloth
soaked in full strength windshield washer solvent. Then
rinse the blade with water.
Wiper blades should be checked on a regular basis and
replaced when worn.
Weatherstrips
Silicone grease on weatherstrips will make them last
longer, seal better, and not stick or squeak. Apply
silicone grease with a clean cloth at least every six
months. During very cold, damp weather more frequent
application may be required. (See “Recommended
Fluids and Lubricants” in the Index.)
Cleaning a Removable Roof Panel
Special care is necessary when cleaning, removing
and/or storing the roof panel.
Flush with water to remove dust and dirt, then dry
the panel.
Clean the panel with GM Glass Cleaner. Leave the
cleaner on the panel for one minute, then wipe the
panel with a soft, lint-free cloth.
Don’t use abrasive cleaning materials.
If water drops are frequently allowed to dry on the roof
panel, impurities in the water will adhere to the top.
These impurities may destroy the finish. When the panel
gets wet, you should dry it o€f.
6-60
Page 376 of 386
Downloaded from www.Manualslib.com manuals search engine Check Gauges Light ............................. 2-85
Checking Your Restraint Systems
.................. 1-30
Checking Automatic Transmission Fluid
.................. 6-21
BrakeFluid
................................. 6-33
Engine Coolant
.............................. 6-28
Manual Transmission Fluid
.................... 6-23
Power Steering Fluid
......................... 6-30
Restraint Systems
............................ 1-30
Things Under the
Hood ........................ 6-8
Checking and Adding Hydraulic Clutch Fluid
........ 6-25
Chemical Paint Spotting
.......................... 6-64
Child Restraints
................................ 1-25
Securing in the Passenger Seat Position
........... 1-26
TopStrap
................................... 1-25
WheretoPut
................................ 1-25
Cigarette Lighter
............................... 2-6 1
Cinch Feature. Lap Belt
.......................... 1- 12
Cleaner. Air
................................... 6-17
Cleaning Aluminum Wheels
........................... 6-63
Dulso-Coated Moldings ....................... 6-58
Engine
..................................... 6-63
Fabric
..................................... 6-56
Glass
...................................... 6-59
Leather
.................................... 6-58
Outside
of the Windshield and Wiper Blades ....... 6-60
Removable Roof Panel
........................ 6-60
Soft-Touch Surfaces
.......................... 6-58
Speakercovers
.............................. 6-59
Special Problems
............................ 6-57
EngineOil
.................................. 6-13
Stains
...................................... 6-57
The Inside
of Your Corvette .................... 6-56
The Outside of Your Corvette
................... 6-61
Tires
...................................... 6-63
Top
of the Instrument Panel .................... 6-59
Your Convertible Top
......................... 6-62
Cleaning and Storage. Hardtop
.................... 6-63
Climate Control. Automatic Electronic
............... 3-4
Clock. Setting the
............................... 3-10
Clutch. Hydraulic
............................... 6-24
Comfort Controls
................................ 3-1
Compact Discs. Care of Your
...................... 3-19
Compact Spare Tire
............................. 5-40
Compartment. Door Storage ...................... 2-59
Console. Center
................................ 2-57
Control
of a Vehicle .............................. 4-5
Control. Loss of ................................ 4-14
Convertible Hardtop
............................. 2-95
Convertible Hardtop.
To Install .................... 2-99
Convertible Hardtop. To Remove
.................. 2-96
ConvertibleTop
................................ 2-90
ToLower
................................... 2-90
ToRaise
................................... 2-93
Convex Outside Mirror
.......................... 2-50
Coolant ....................................... 6-27
Coolant Heater. Engine
..................... 2-23. 6- 16
Coolant High Fill Reservoir
(LT1 Engine) ........... 5-23
Coolant. How to Add to the High Fill Reservoir
Vinyl
...................................... 6-58
Compartment.
Rear Storage ....................... 2-58
Coolant Recovery Tank
.......................... 5-17
(LTl Engine)
................................. 5-23