1995 CHEVROLET CORVETTE check engine
[x] Cancel search: check enginePage 302 of 386
Downloaded from www.Manualslib.com manuals search engine Add-on Electrical Equipment Fuses & Circuit Breakers
NOTICE:
Don’t add anything electrical to your Corvette
unless you check with your dealer first. Some
electrical equipment can damage your vehicle
and the damage wouldn’t be covered by your warranty. Some add-on electrical equipment can
keep other components from working as they
should.
Your vehicle has an air bag system. Before attempting to
add anything electrical to your Corvette, see “Servicing
Your Air Bag-Equipped Corvette” in the Index.
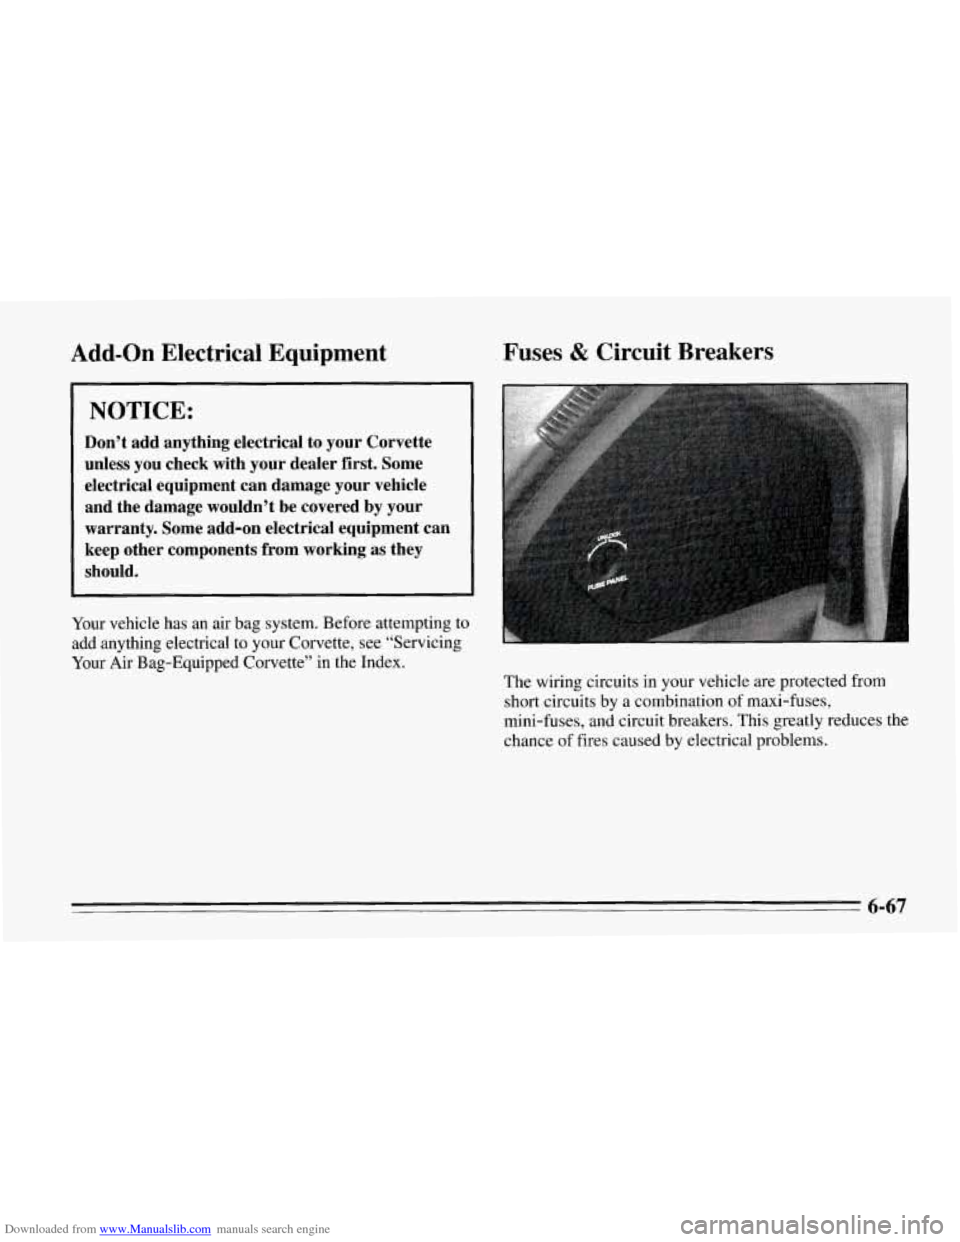
The wiring circuits in your vehicle are protected from
short circuits by a combination
of maxi-fuses,
mini-fuses, and circuit breakers. This greatly reduces the
chance
of fires caused by electrical problems.
6-67
Page 303 of 386
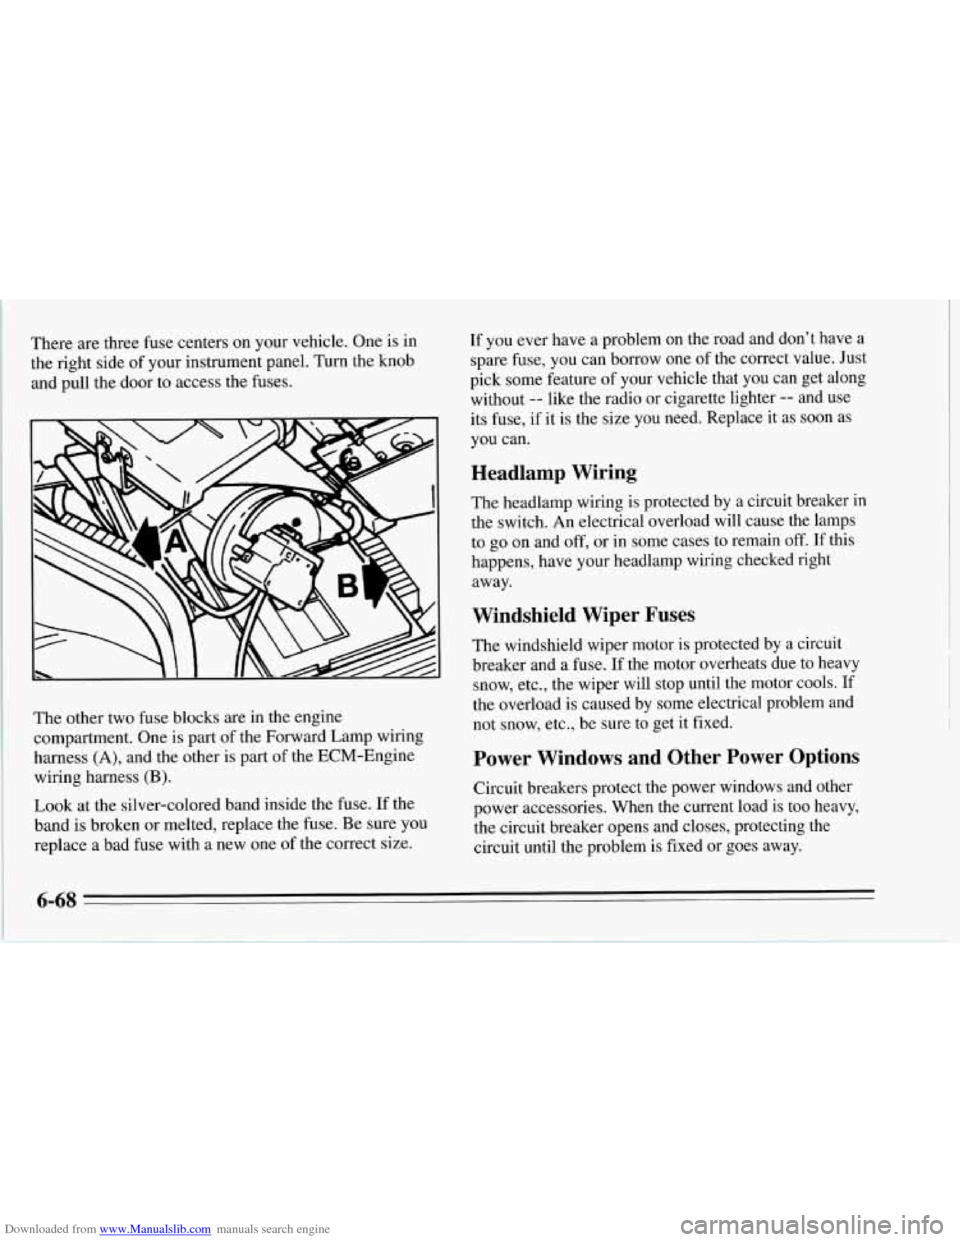
Downloaded from www.Manualslib.com manuals search engine There are three fuse centers on your vehicle. One is in
the right side of your instrument panel. Turn the knob
and pull the door to access the fuses.
The other two fuse blocks are in the engine
compartment. One
is part of the Forward Lamp wiring
harness
(A), and the other is part of the ECM-Engine
wiring harness
(B).
Look at the silver-colored band inside the fuse. If the
band
is broken or melted, replace the fuse. Be sure you
replace a bad fuse with a new one
of the correct size.
If you ever have a problem on the road and don’t have a
spare fuse, you can borrow one of the correct value. Just
pick some feature
of your vehicle that you can get along
without
-- like the radio or cigarette lighter -- and use
its fuse, if it is the size you need. Replace it as soon as
you can.
Headlamp Wiring
The headlamp wiring is protected by a circuit breaker in
the switch. An electrical overload will cause the lamps
to
go on and off, or in some cases to remain off. If this
happens, have your headlamp wiring checked right
away.
Windshield Wiper Fuses
The windshield wiper motor is protected by a circuit
breaker and a
fuse. If the motor overheats due to heavy
snow, etc., the wiper will stop until the motor cools. If
the overload is caused by some electrical problem and
not snow, etc., be sure to get it fixed.
Power Windows and Other Power Options
Circuit breakers protect the power windows and other
power accessories. When the current load is too heavy,
the circuit breaker opens and closes, protecting the
circuit until the problem is fixed or goes away.
6-68
Page 313 of 386
Downloaded from www.Manualslib.com manuals search engine Capacities (Approximate)
Air Conditioning? ............................ See the refrigerant information lab
The following approximate capacities are given in U.S. and metric conversions.
Automatic Transmission
Drain and Refill ....................... 10.0 pt. (4.7 L)*
Overhaul
....... ............. 21.6pt. (10.2L)*
VIN Engine Code J .................... 14.7 qt. (13.9 L)
VIN Engine Code P .................... 17.8 qt. (16.9 L)
Cooling System
Crankcase
VIN Engine Code J
Without Filter Change ................... 7.6 qt. (7.2 L)*
With Filter Change
..................... 8.6 qt. (8.1 L)*
Without Filter Change ................... 4.0 qt. (3.8 L)*
With Filter Change
..................... 4.5 qt. (4.3 L)*
Fuel Tank
........................... 20.0 gal. (75.7 L)
Manual Transmission (Overhaul)
.......... 4.4 pt. (2.1 L)*
Lubricant
............................. 1.5 qt. (1.42 L)
Limited Slip Additive
................... 4.0 oz. (1 18 ml)
VIN
Engine Code
P
Rear Axle
7 Not all air conditioning refrigerants are the same.
If the air conditioning system in your vehicle needs
refrigerant, be sure the proper refrigerant is used.
If you’re not sure, ask your Chevrolet dealer.
el und er
the hood.
* Recheck fluid level after filling. See Section 6 or
the Index.
6-78
Page 317 of 386
Downloaded from www.Manualslib.com manuals search engine I
1 How This Section is Organized
The remainder of this section is divided into five parts:
“Part A: Scheduled Maintenance Services” shows
what
to have done and how often. Some of these
services can be complex,
so unless you are technically
qualified and have the necessary equipment, you should
let your dealer’s service department
or another qualified
service center do these jobs.
If you are skilled enough to do some work on your
i vehicle, you will probably want to get the service
1
information GM publishes. See “Service Publications”
in the Index.
3
“Part B: Owner Checks and Services” tells you what
should be checked whenever you stop for fuel. It also
explains what you can easily do to help keep your
vehicle in good condition.
“Part C: Periodic Maintenance Inspections” explains
important inspections that your Chevrolet dealer’s
service department or another qualified service center
should perform.
“Part D: Recommended Fluids and Lubricants” lists
some products
GM recommends to help keep your
vehicle properly maintained. These products, or their
equivalents, should be used whether you do the work
yourself or have it done.
“Part E: Maintenance Record’’ provides a place for
you to record the maintenance performed on your
vehicle. Whenever any maintenance is performed, be
sure to write it down
in this part. This will help you
determine when your next maintenance should be done.
In addition, it is a good idea to keep your maintenance
receipts. They may be needed to qualify your vehicle for
warranty repairs.
7-2
Page 318 of 386
Downloaded from www.Manualslib.com manuals search engine Part A: Scheduled Maintenance
Services
Using Your Maintenance Schedule
We at General Motors want to help you keep your
vehicle in good working condition. But we don’t know
exactly how you’ll drive it. You may drive very short
distances only a few times a week. Or you may drive
long distances all the time in very hot, dusty weather.
You may use your vehicle in making deliveries. Or you
may drive it to work, to do errands or
in many other
ways.
Because of all the different ways people use their GM
vehicles, maintenance needs vary. You may even need
more frequent checks and replacements than you’ll find
in the schedules in this section.
So please read this
section and note how
you drive. If you have any
questions on how to keep your vehicle in good
condition, see your Chevrolet dealer.
This part tells you the maintenance services you should
have done and when you should schedule them. If you
go to your dealer for your service needs, you’ll know
that GM-trained and supported service people will
perform the work using genuine GM parts. The proper
fluids and lubricants to use are listed in
Part D. Make sure whoever services your vehicle uses
these. All parts should be replaced and all necessary
repairs done before you or anyone else drives the
vehicle.
These schedules are for vehicles that:
carry passengers and cargo within recommended
limits. You will find these limits on your vehicle’s
Tire-Loading Information label. See “Loading Your
Vehicle” in the Index.
are driven on reasonable road surfaces within legal
driving limits.
use the recommended unleaded fuel. See “Fuel” in
the Index.
Selecting the Right Schedule
First you’ll need to decide which of the two schedules is
right for your vehicle. Here’s how to decide which
schedule to follow:
7-3
Page 356 of 386
Downloaded from www.Manualslib.com manuals search engine Part B: Owner Checks and Services
Listed below are owner checks and services which
should be performed at the intervals specified to help
ensure the safety, dependability and emission control
performance of your vehicle.
Be sure any necessary repairs are completed at once.
Whenever any fluids or lubricants are added to your
vehicle, make sure they are the proper ones, as shown
in
Part D.
At Each Fuel Fill
It is important for you or a service station attendant to
per$orm these underhood checks at each fuel fill.
Engine Oil Level
Check the engine oil level and add the proper oil if
necessary. See “Engine Oil” in the Index for further
details.
Engine Coolant Level
Check the engine coolant level and add the proper
coolant mix
if necessary. See “Coolant” in the Index for
further details.
Windshield Washer Fluid Level
Check the windshield washer fluid level in the
windshield washer tank and add the proper fluid if
necessary. See “Windshield Washer Fluid” in the Index
for further details.
At Least Once a Month
Tire Inflation
Check tire inflation. Make sure tires are inflated to the
pressures specified on the Tire-Loading Information
label located on the rear edge of the driver’s door. See
“Tires”
in the Index for further details.
Cassette Deck
Clean cassette deck. Cleaning should be done every 50
hours of tape play. See “Audio Systems” in the Index for
further details.
Power Antenna
Clean power antenna mast. See “Audio Systems” in the
Index for further details.
7-41
Page 358 of 386
Downloaded from www.Manualslib.com manuals search engine 2. Firmly apply the parking brake (see “Parking Brake”
in the Index if necessary).
Parking Brake and Automatic Transmission PARK
(P) Mechanism Check
3.
NOTE: Be ready to apply the regular brake
immediately if the vehicle begins to move.
With the engine off, turn the key
to the RUN
position, but don’t start the engine. Without applying
the regular brake, try to move the shift lever out
of
PARK (P) with normal effort. If the shift lever
moves out of PARK (P), your vehicle’s BTSI needs
service.
Steering Column Lock
While parked, and with the parking brake set, try to turn
the key to LOCK in each shift lever position.
With an automatic transmission, the key should turn
to LOCK only when the shift lever is in PARK
(P).
0 With a manual transmission, the key should turn to
LOCK only when the shift lever is in REVERSE (R).
On vehicles with
a key release button, try to turn the key
to LOCK without pressing the button. The key should
turn to LOCK only with the key button depressed.
On all vehicles, the key should come out only in LOCK. Park on a fairly
steep hill, with the vehicle facing
downhill. Keeping your foot on the regular brake, set the
parking brake.
To check the parking brake: With the engine running
and transmission in NEUTRAL
(N), slowly remove
foot pressure from the regular brake pedal.
Do this
until the vehicle is held by the parking brake only.
To check the PARK (P) mechanism’s holding ability:
Shift to PARK (P). Then release all brakes.
Underbody Flushing
At least every spring, use plain water to flush any corrosive
materials from the underbody. Take care to clean thoroughly any areas where mud and other debris can collect.
7-43
Page 359 of 386
Downloaded from www.Manualslib.com manuals search engine Part C: Periodic Maintenance
Inspections
Listed below are inspections and services which should be
performed at least twice a year (for instance, each spring
and fall). You should let your GM dealer’s service
department or other qualified service center do these jobs.
Make sure any necessary repairs
are completed at once.
Restraint Systems
Now and then, make sure all your belts, buckles, latch
plates, retractors, anchorages and reminder systems are
working properly. Look for any loose parts or damage.
If you see anything that might keep a restraint system
from doing its job, have it repaired.
Steering and Suspension Inspection
Inspect the front and rear suspension and steering
system for damaged, loose or missing parts, signs of
wear,
or lack of lubrication. Inspect the power steering
lines and hoses for proper hookup, binding, leaks,
cracks, chafing, etc.
Tire and Wheel Inspection
Inspect the tires for uneven wear or damage. If there is
irregular or premature wear, check the wheel alignment.
Inspect for damaged wheels.
Exhaust System Inspection
Inspect the complete exhaust system. Inspect the body near
the exhaust system. Look for broken, damaged, missing or
out-of-position parts as well as open seams, holes, loose
connections, or other conditions which could cause a heat
build-up in the floor pan or could let exhaust fumes into
the vehicle. See “Engine Exhaust” in the Index.
Manual Transmission
Check the transmission fluid level; add if needed. See
“Manual Transmission” in the Index.
A fluid loss may
indicate a problem. Check the system and repair
if needed.
Rear Axle Service
Check the gear lubricant level in the rear axle and add if
needed. See “Rear Axle” in the Index. A fluid loss may
indicate a problem. Check the axle and repair it if needed.
Brake System Inspection
Inspect the complete system. Inspect brake lines and
hoses for proper hookup, binding, leaks, cracks, chafing,
etc. Inspect disc brake pads for wear and rotors for
surface condition. Inspect other brake parts, including
calipers, parking brake, etc.
You may need to have your
brakes inspected more often if your driving habits or
conditions result in frequent braking.
7-44