1995 CHEVROLET CORVETTE check engine light
[x] Cancel search: check engine lightPage 176 of 386
Downloaded from www.Manualslib.com manuals search engine 0
0
0
Do not get too close to the vehicle you want to pass
while you’re awaiting an opportunity. For one thing,
following too closely reduces your area of vision,
especially if you’re following a larger vehicle. Also,
you won’t have adequate space if the vehicle ahead
suddenly slows or stops. Keep back a reasonable
distance.
When it looks like a chance to pass is coming up,
start to accelerate but stay in the right lane and don’t
get too close. Time your move
so you will be
increasing speed as the time comes to move into the
other lane.
If the way is clear to pass, you will have a
“running start” that more than makes up for the
distance you would lose by dropping back. And if
something happens to cause you to cancel your pass,
you need only slow down and drop back again and
wait for another opportunity.
If other cars are lined up to pass a slow vehicle, wait
your turn. But take care that someone isn’t trying to
pass you as you pull out to pass the slow vehicle.
Remember to glance over your shoulder and check
the blind spot.
Check your mirrors, glance over your shoulder, and
start your left lane change signal before moving out
of the right lane to pass. When you are far enough
ahead of the passed vehicle to see its front in your
inside mirror, activate your right lane change signal
and move back into the right lane. (Remember that
your right outside mirror
is convex. The vehicle you
just passed may seem to be farther away from you
than it really
is.)
two-lane roads. Reconsider before passing the next
vehicle.
0 Try not to pass more than one vehicle at a time on
0 Don’t overtake a slowly moving vehicle too rapidly.
Even though the brake lights are not flashing, it may
be slowing down or starting to turn.
0 If you’re being passed, make it easy for the
following driver to get ahead of you. Perhaps you
can ease a little to the right.
4-13
Page 179 of 386
Downloaded from www.Manualslib.com manuals search engine You can be temporarily blinded by approaching lights. It
can take a second or two, or even several seconds, for
your eyes to readjust to the dark. When you are faced
with severe glare (as from a driver who doesn’t lower
the high beams, or a vehicle with misairned headlamps),
slow down a little. Avoid staring directly into the
approaching lights.
Keep your windshield and all the glass on your vehicle
clean
-- inside and out. Glare at night is made much
worse by dirt on the glass. Even the inside of the glass
can build up a film caused by dust. Dirty glass makes
lights dazzle and flash more than clean glass would,
making the pupils of your eyes contract repeatedly.
Remember that your headlamps light
up far less of a
roadway when you are
in a turn or curve. Keep your
eyes moving; that way, it’s easier
to pick out dimly
lighted objects. Just as your headlamps should
be
checked regularly for proper aim, so should your eyes
be examined regularly. Some drivers suffer from night
blindness
-- the inability to see in dim light -- and aren’t
even aware of it.
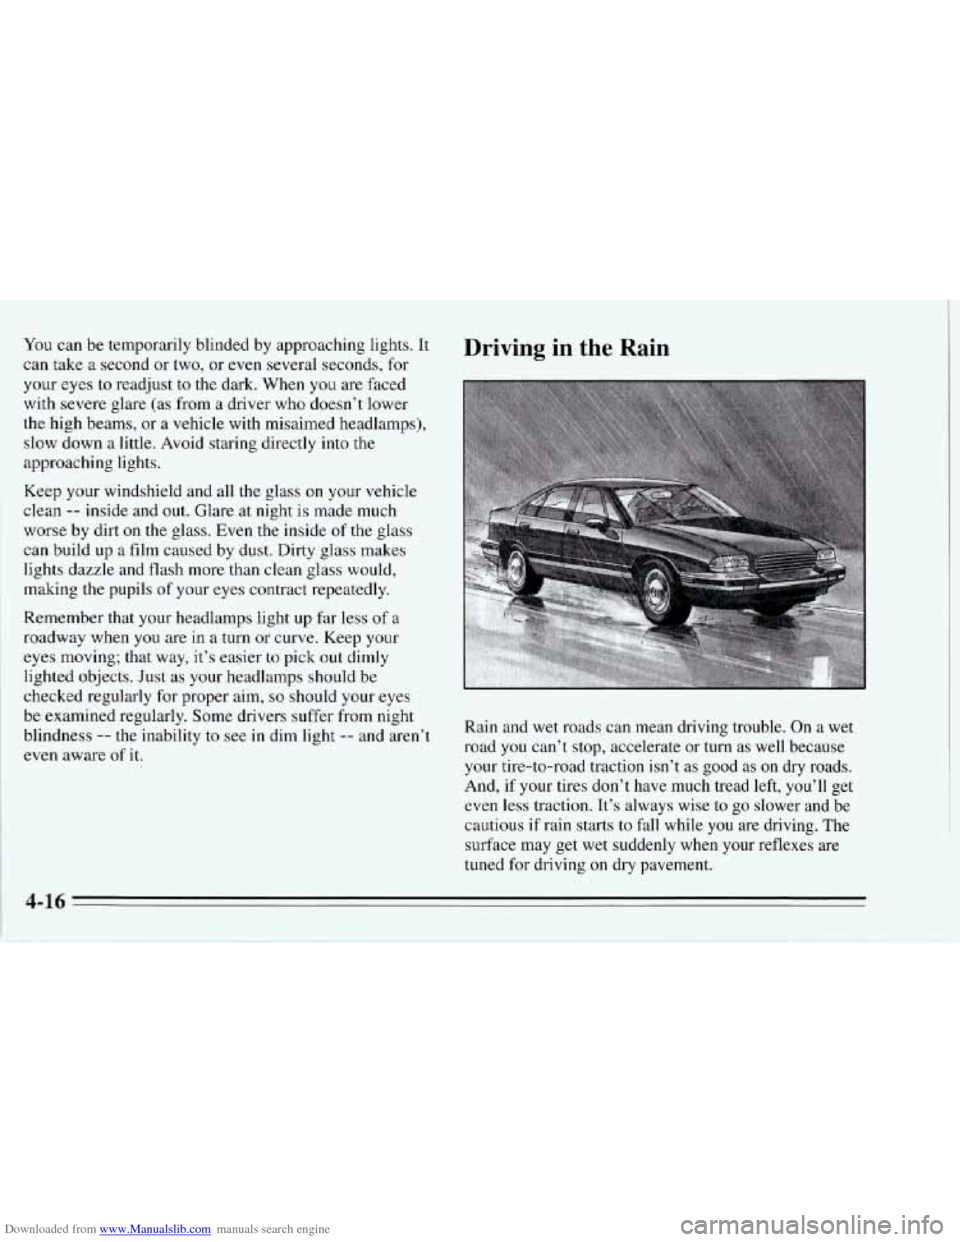
Driving in the Rain
Rain and wet roads can mean driving trouble. On a wet
road you can’t stop, accelerate or turn as well because
your tire-to-road traction isn’t as good as
on dry roads.
And,
if your tires don’t have much tread left, you’ll get
even
less traction. It’s always wise to go slower and be
cautious
if rain starts to fall while you are driving. The
surface may get wet suddenly when your reflexes are
tuned for driving on dry pavement.
4-16
Page 182 of 386
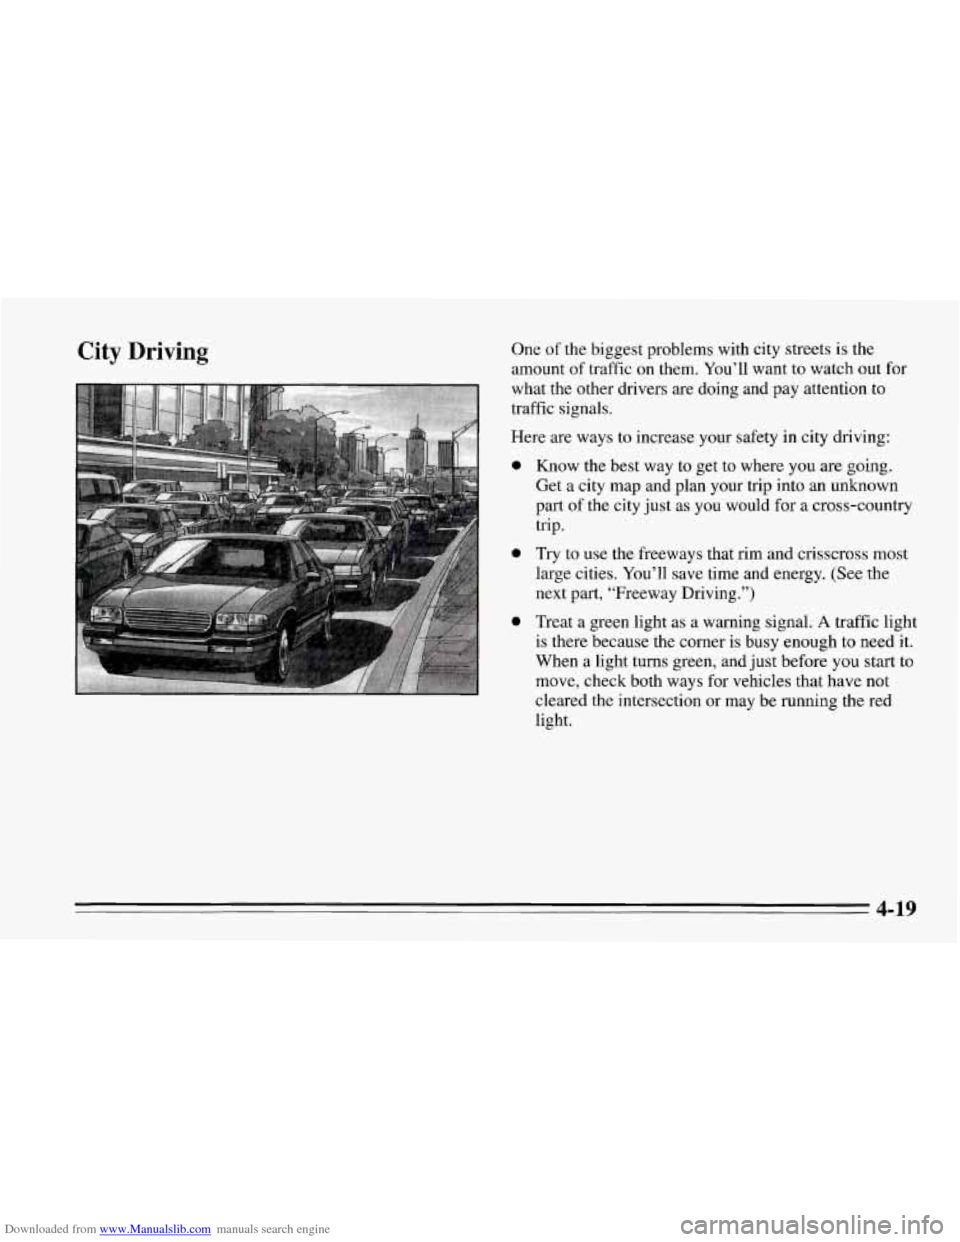
Downloaded from www.Manualslib.com manuals search engine City Driving One of the biggest problems with city streets is the
amount of traffic on them. You’ll want to watch out for
what the other drivers are doing and pay attention to
traffic signals.
Here are ways to increase your safety in city driving:
0 Know the best way to get to where you are going.
Get a city map and plan your trip into an unknown
part
of the city just as you would for a cross-country
trip.
0 Try to use the freeways that rim and crisscross most
large cities.
You’ll save time and energy. (See the
next part, “Freeway Driving.”)
0 Treat a green light as a warning signal. A traffic light
is there because the corner is busy enough to need it.
When a light turns green, and just before
you start to
move, check both ways for vehicles that have not
cleared the intersection or may be running the red
light.
4-19
Page 183 of 386
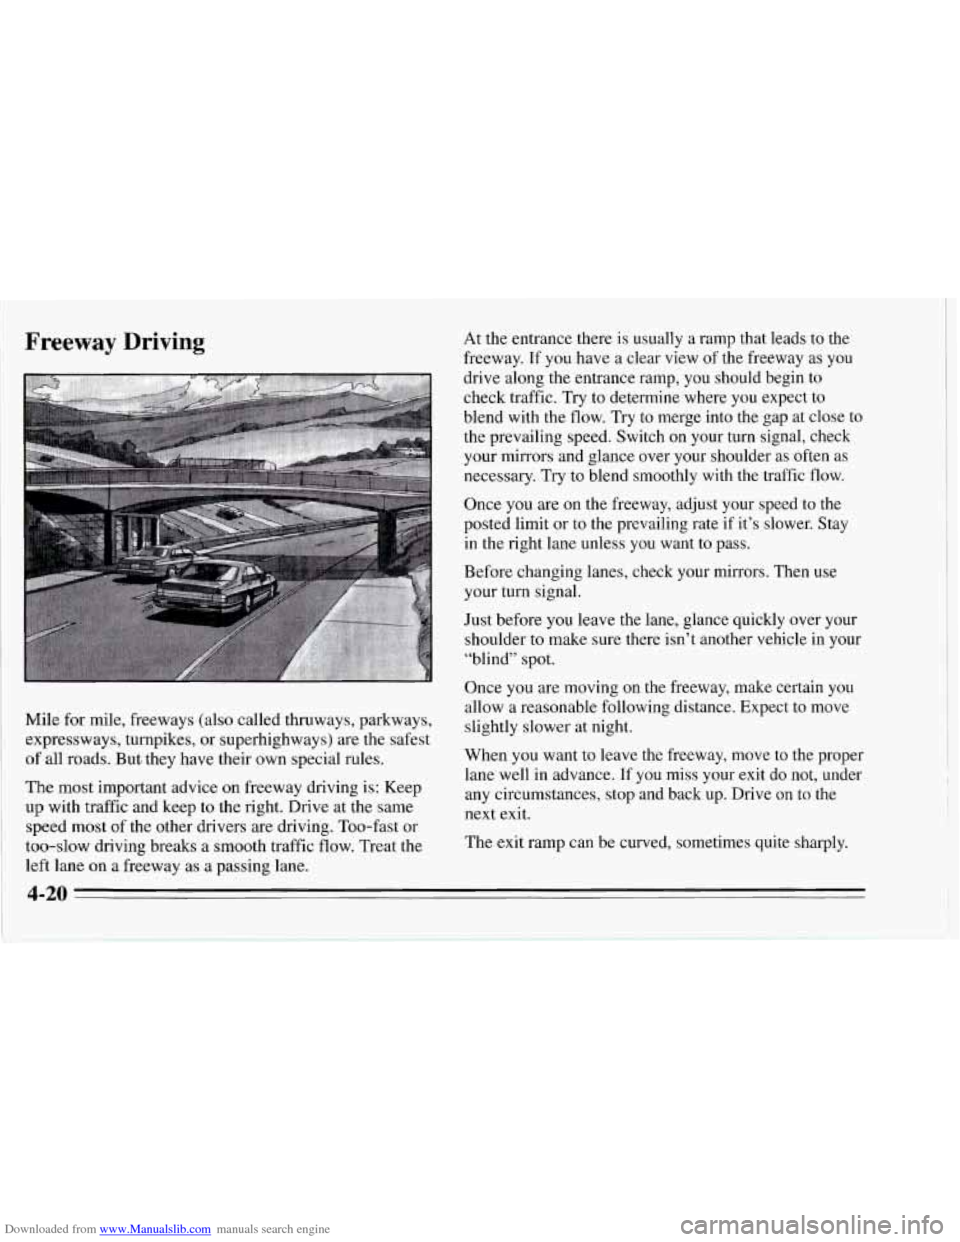
Downloaded from www.Manualslib.com manuals search engine Freeway Driving
Mile for mile, freeways (also called thruways, parkways,
expressways, turnpikes, or superhighways) are the safest
of all roads. But they have their own special rules.
The most important advice on freeway driving is: Keep
up with traffic and keep to the right. Drive at the same
speed most of the other drivers are driving. Too-fast or
too-slow driving breaks a smooth traffic flow. Treat the
left lane
on a freeway as a passing lane. At
the entrance there is usually a ramp that leads to the
freeway. If you have a clear view of the freeway as you
drive along the entrance ramp, you should begin to
check traffic. Try to determine where you expect to
blend with the flow. Try to merge into the gap at close to
the prevailing speed. Switch on your turn signal, check
your mirrors and glance over your shoulder
as often as
necessary. Try to blend smoothly with the traffic flow.
Once you are on the freeway, adjust your speed to the
posted limit or to the prevailing rate if it’s slower. Stay
in the right lane unless you want to pass.
Before changing lanes, check your mirrors. Then use
your turn signal.
Just before you leave the lane, glance quickly over your
shoulder to make sure there isn’t another vehicle in your
“blind” spot.
Once
you are moving on the freeway, make certain you
allow a reasonable following distance. Expect to move
slightly slower at night.
When you want to leave the freeway, move to the proper
lane well in advance.
If you miss your exit do not, under
any circumstances, stop and back up. Drive
on to the
next exit.
The exit ramp can be curved, sometimes quite sharply.
4-20
Page 196 of 386
Downloaded from www.Manualslib.com manuals search engine To Jump Start Your Corvette:
1. Check the other vehicle. It must have a 12-volt
battery with a negative ground system.
NOTICE:
If the other system isn’t a 12-volt system with a
negative ground, both vehicles can be damaged.
2. Get the vehicles close enough so the jumper cables
can reach, but be sure the vehicles aren’t touching
each other.
If they are, it could cause a ground
connection
you don’t want. You wouldn’t be able to
start your Corvette, and the bad grounding could
damage the electrical systems.
3. Turn off the ignition on both vehicles. Turn off all
lights that aren’t needed, and radios. This will avoid
sparks and help save both batteries. And
it could
save your radio!
NOTICE:
If you leave your radio on, it could be badly
damaged. The repairs wouldn’t be covered by
your warranty.
4. Open the hoods and locate the batteries. Find the
positive
(+) and negative (-) terminals on each.
5-3
Page 268 of 386
Downloaded from www.Manualslib.com manuals search engine your brake fluid. Adding brake fluid won’t correct a
leak. If you add fluid when your linings
are worn, then
you’ll have too much fluid when
you get new brake
linings. You should add (or remove) brake fluid, as
necessary, only when work is done on the brake
hydraulic system. On
vehicles equipped with the
LT5 (Code J) engine, the
brake warning light will come on when your brake fluid
falls to a low level. See “Brake System Warning Light”
in the Index.
For vehicles equipped with the
LT1 (Code P) engine,
refer to the Maintenance Schedule to determine when to
check your brake fluid. See “Periodic Maintenance
Inspections” in the Index.
To Check Brake Fluid
You can check the brake fluid without taking off the cap.
Just look at the brake fluid reservoir.
The fluid level
should be above the MIN mark on the reservoir. If it
isn’t, have your brake system checked to see
if there is
a leak.
After work is done on the brake hydraulic system, make
sure the level is between the MIN and MAX
marks.
6-33
Page 284 of 386
Downloaded from www.Manualslib.com manuals search engine Extended Mobility Tires (Option)
If your Corvette has optional Goodyear Extended
Mobility Tires (EMT’s), the tires will have “EMT”
molded on the sidewalls. Your vehicle may also have a
spare tire delete option. With the spare tire delete option,
there’s no spare tire, no tire changing equipment and no
place to store a tire in the vehicle. Extended Mobility
Tires perform
so well without any air that a Low Tire
Pressure Warning System (LTPWS) is used to alert you if
a tire has lost pressure.
A LOWELAT TIRE light will
appear on your Driver Information Center
if a tire’s
inflation pressure is less than
25 psi (170 kPa). If the
LOW/FLAT
TIRE light comes on, check your tire
pressures as soon as you can. See “Low Tire Pressure
Warning System” in the Index for additional information. If a
tire goes flat,
you won’t need to stop on the side of
the road to change the tire. You can just keep on driving.
The shorter the distance
you drive and the slower the
speed, the greater the chance that the tire will not have
to be replaced. If
you drive on a deflated EMT for
distances
of 50 miles (80 km) or less and at speeds of
55 mph (90 km/h) or less, there is a good chance that the
tire can be repaired. The tire can operate effectively with
no air pressure for up to 200 miles (320 km) at speeds
up to
55 mph (90 kmk), but the tire would then have to
be replaced. Also remember: When a tire is filled with
air, it provides a cushion between the road and the
wheel. Because you do not have this cushion when
driving on a deflated tire, try to avoid potholes that
could damage your wheel and require replacement of it.
Some road hazards can damage a tire beyond repair. This
damage could occur before you’ve driven on the tire
in a
deflated condition. Whenever a tire has been damaged, or
if you’ve driven any distance on a deflated EMT, check
with a Goodyear EMT Service Center to determine
whether
the tire can be repaired or should be replaced.
To maintain your vehicle’s extended mobility feature,
all replacement tires must be Extended Mobility Tires.
See the Goodyear Extended Mobility Tire Owner’s
Manual and Limited Warranty supplied with your
Corvette for additional information.
6-49
Page 303 of 386
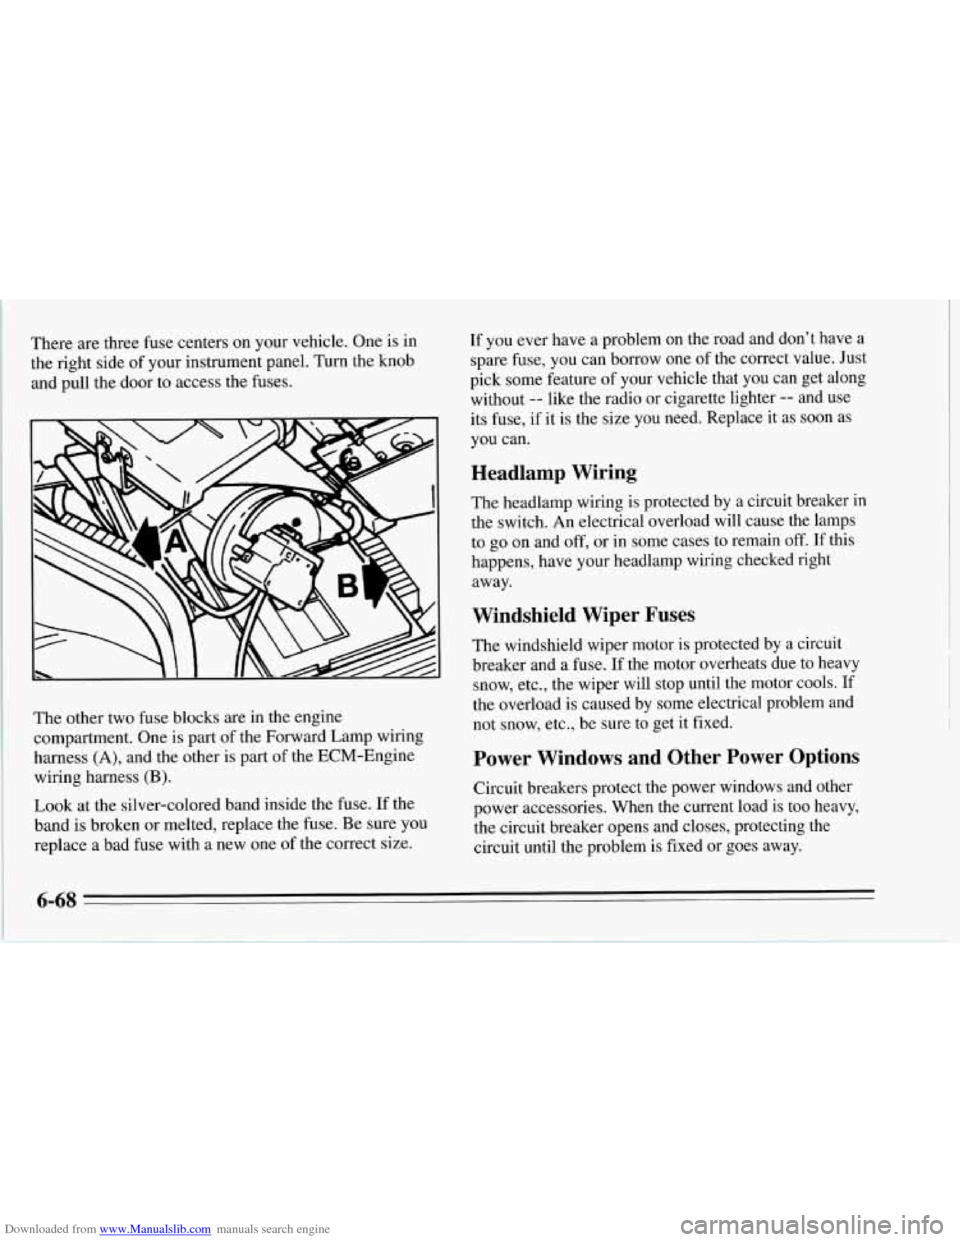
Downloaded from www.Manualslib.com manuals search engine There are three fuse centers on your vehicle. One is in
the right side of your instrument panel. Turn the knob
and pull the door to access the fuses.
The other two fuse blocks are in the engine
compartment. One
is part of the Forward Lamp wiring
harness
(A), and the other is part of the ECM-Engine
wiring harness
(B).
Look at the silver-colored band inside the fuse. If the
band
is broken or melted, replace the fuse. Be sure you
replace a bad fuse with a new one
of the correct size.
If you ever have a problem on the road and don’t have a
spare fuse, you can borrow one of the correct value. Just
pick some feature
of your vehicle that you can get along
without
-- like the radio or cigarette lighter -- and use
its fuse, if it is the size you need. Replace it as soon as
you can.
Headlamp Wiring
The headlamp wiring is protected by a circuit breaker in
the switch. An electrical overload will cause the lamps
to
go on and off, or in some cases to remain off. If this
happens, have your headlamp wiring checked right
away.
Windshield Wiper Fuses
The windshield wiper motor is protected by a circuit
breaker and a
fuse. If the motor overheats due to heavy
snow, etc., the wiper will stop until the motor cools. If
the overload is caused by some electrical problem and
not snow, etc., be sure to get it fixed.
Power Windows and Other Power Options
Circuit breakers protect the power windows and other
power accessories. When the current load is too heavy,
the circuit breaker opens and closes, protecting the
circuit until the problem is fixed or goes away.
6-68