Page 170 of 388

Downloaded from www.Manualslib.com manuals search engine Do not get too close to the vehicle you want to pass
while you’re awaiting
an opportunity. For one thing,
following
too closely reduces your area of vision,
especially if you’re following a larger vehicle. Also,
you won’t have adequate space if the vehicle ahead
suddenly slows or stops. Keep back a reasonable
distance.
0 When it looks like a chance to pass is coming up,
start to accelerate but stay in the right lane and don’t
get too close. Time your move
so you will be
increasing speed as the time comes to move into the
other lane.
If the way is clear to pass, you will have a
“running start’’ that more than makes up for the
distance you would lose by dropping back. And if
something happens to cause you
to cancel your pass,
you need only slow down and drop back again and
wait for another opportunity.
0 If other cars are lined up to pass a slow vehicle, wait
your turn. But take care that someone isn’t trying to
pass you as you pull out
to pass the slow vehicle.
Remember
to glance over your shoulder and check
the blind spot.
Check your mirrors, glance over your shoulder, and
start your left lane change signal before moving out
of the right lane
to pass. When you are far enough
ahead of the passed vehicle to see its front in your
inside mirror, activate your right lane change signal
and move back into the right lane. (Remember that
your right outside mirror is convex. The vehicle you
just passed may seem to be farther away from
you
than it really is.)
0 Try not to pass more than one vehicle at a time on
two-lane roads. Reconsider before passing the next
vehicle.
0 Don’t overtake a slowly moving vehicle too rapidly.
Even though the brake lights are
not flashing, it may
be slowing down or starting to turn.
following driver to get ahead of
you. Perhaps you
can ease a little to the right.
0 If you’re being passed, make it easy for the
Page 174 of 388

Downloaded from www.Manualslib.com manuals search engine The heavier the rain, the harder it is to see. Even if your
windshield wiper blades are in good shape,
a heavy rain
can make it harder to
see road signs and traffic signals,
pavement markings, the edge
of the road, and even
people walking.
It’s wise to keep your wiping equipment in good shape
and keep your windshield washer tank filled. Replace
your windshield wiper inserts when they show signs
of
streaking or missing areas on the windshield, or when
strips
of rubber start to separate from the inserts.
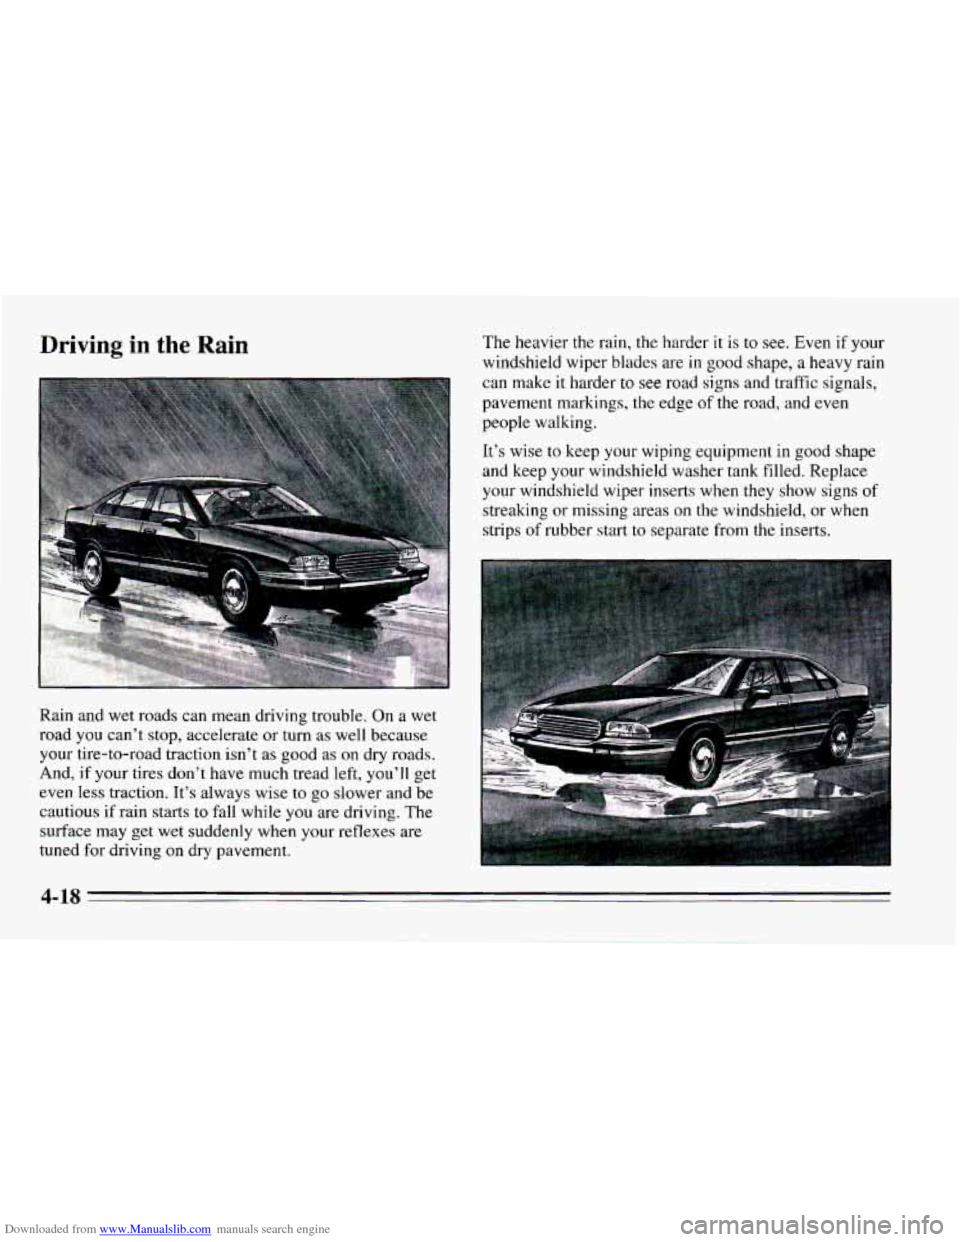
Rain and wet roads can mean driving trouble. On
a wet
road you can’t stop, accelerate or turn as well because
your tire-to-road traction
isn’t as good as on dry roads.
And, if your tires don’t have much tread left, you’ll get
even
less traction. It’s always wise to go slower and be
cautious
if rain starts to fall while you are driving. The
surface may
get wet suddenly when your reflexes are
tuned for driving
on dry pavement.
4-18
Page 176 of 388
Downloaded from www.Manualslib.com manuals search engine City Driving
One of the biggest problems with city streets is the
amount of traffic
on them. You’ll want to watch out for
what the other drivers are doing and pay attention
to
traffic signals. Here
are ways
to increase your safety in city driving:
Know the best way to get to where you are going.
Get
a city map and plan your trip into an unknown
part of the city just as you would for a cross-country
trip,
Try to use the freeways that rim and crisscross most
large cities. You’ll save time and energy. (See the
next part, “Freeway Driving.”)
Treat a green light as a warning signal. A traffic light
is there because the corner is busy enough
to need it.
When a light turns green, and just before you start to
move, check both ways for vehicles that have not
cleared the intersection or may be running the red
light.
4-20
Page 177 of 388
Downloaded from www.Manualslib.com manuals search engine At the entrance there is usually a ramp that leads to the
freeway. If you have a clear view of the freeway as you
drive along the entrance ramp, you should begin to
check traffic. Try to determine where you expect to
blend with the flow. Try to merge into the gap at close to
the prevailing speed. Switch on your turn signal, check
your mirrors and glance over your shoulder as often as
necessary. Try
to blend smoothly with the traffic flow.
Once you are on the freeway, adjust your speed to the
posted limit or to the prevailing rate if it’s slower. Stay
in the right lane unless you want to pass.
Before changing lanes, check your mirrors. Then use
4-21
Page 192 of 388

Downloaded from www.Manualslib.com manuals search engine Making ’hrns When towing a trailer, the green arrows on your
instrument panel will flash for turns even if the bulbs on
the trailer are burned out. Thus, you may think drivers
NOTICE: behind you are seeing your signal when they are not. It’s
Making very sharp turns while trailering could
cause the trailer to come in contact with the
vehicle. Your vehicle could be damaged. Avoid important to check occasionally to be sure the trailer
bulbs
are still working.
Driving On Grades
making very sharp turns while trailering. Reduce speed and shift to a lower gear before you start
down
a long or steep downgrade. If you don’t shift
When you’re turning with a trailer, make wider turns
than normal.
Do this so your trailer won’t strike soft
shoulders, curbs, road signs, trees, or other objects.
Avoid jerky or sudden maneuvers. Signal well in
advance.
Turn Signals When Towing a Trailer
When you tow a trailer, your vehicle has to have a
different turn signal flasher and extra wiring. The green
arrows on your instrument panel will flash whenever
you signal a turn or lane change. Properly hooked up,
the trailer lamps will also flash, telling other drivers
you’re about to turn, change lanes or stop. down,
you might have to use your brakes
so much that
they would get hot and no longer work well.
On a long uphill grade, shift down and reduce your
speed to around
45 mph (70 km/h) to reduce the
possibility
of engine and transmission overheating.
If you are towing a trailer and you have an automatic
transmission with Overdrive, you may prefer to drive in
DRIVE (D) instead of Overdrive (or, as you need to, a
lower gear). Or, if you have a manual transmission with
FIFTH or SIXTH gear. It is better not to use FIFTH or
SIXTH gear. Just drive in FOURTH gear (FIFTH gear
if
you have a six-speed manual transmission) (or, as you
need to, a lower gear).
4-36
Page 195 of 388
Downloaded from www.Manualslib.com manuals search engine 0 Section 5 Problems on the Road
Here you’ll find what to do about some problems that
can occur on the road.
Hazard Warning Flashers
Your hazard warning flashers let you warn others. They
also let police know you have
a problem. Your front and
rear
turn signal lamps will flash on and off.
Press the button in to make
your frc
signal 1
off.
ont and rear turn
ights flash on and
Your hazard warning flashers work no manel- what
position your key
is in, and even if the key isn’t in.
Page 196 of 388
Downloaded from www.Manualslib.com manuals search engine To turn off the flashers.
When the hazard warning flashers are on, your turn
signals won’t work.
Other Warning Devices
If you carry reflective triangles, you can set one up at
the side
of the road about 300 feet (100 m) behind your
vehicle.
Jump Starting
If your battery has run down, you may want to use
another vehicle and some jumper cables
to start your
Chevrolet. But please follow the
steps below to do it
safely.
i
NOTICE:
Ignoring these steps could result in costly damage
to your vehicle that wouldn’t be covered by your
warranty.
Trying to start your Chevrolet by pushing or
pulling it could damage your vehicle, even
if you
have a manual transmission. And
if you have an
automatic transmission, it won’t start that way.
5-2
Page 277 of 388
Downloaded from www.Manualslib.com manuals search engine Front Turn Signal Rear lamps
To change any rear bulb, you have to remove the entire
housing.
I. Using a screwdriver, remove the plastic screws from
the deflector under the vehicle. Move the deflector
out
of the way.
2. Turn and pull out the socket and the bulb.
3. Pull out the bulb.
4. Reverse the steps with a new bulb.
1. Remove the trim panel from the side that you are
replacing the bulb.
2. Pull the carpet back.
3. Remove the wing nuts.
6-45