1995 CHEVROLET BLAZER set clock
[x] Cancel search: set clockPage 136 of 380
Downloaded from www.Manualslib.com manuals search engine The upper knob changes the air temperature. Turn the knob clockwise for
warmer air. Turn the knob counterclockwise for cooler air.
The lower knob selects the heater
or air conditioning function and
determines which outlets the air will flow through (instrument panel,
defroster, heater, etc
.).
OFF - This setting turns off all heating functions. Some outside air will
still come
out of the heater outlet whenever the vehicle is moving forward.
MAX A/C - Air inside your vehicle is recirculated to maximize your air
conditioner’s performance and your vehicle’s fuel economy. This setting
cools the air the fastest and should be used to keep “unwanted odors” and/or
dust from entering the vehicle.
NORM A/C - This setting cools outside air and directs it through the
instrument panel vents. This setting is useful for normal cooling on hot
days.
BI-LEV A/C
- Air is delivered through the heater floor vents as well as
the instrument panel vents. This setting is useful in cool weather with bright
sunlight.
VENT
- Airflow is through the instrument panel vents. Set the upper knob
to the temperature desired. This setting
is useful for mild outside
temperatures, when little heating or cooling is desired. The air conditioner
does not run.
HEAT
- Heated air comes out through the heater floor vents and
windshield defroster vents. This setting is useful for cold weather.
BLEND
- Airflow is divided equally between the heater floor vent and the
windshield defroster vents. This setting is useful in cool weather when you
have fog or ice on the windshield or side windows.
DEF - This setting directs most air through the windshield defroster vents
and some through the heater vents. This setting is useful when you have fog
or ice on the windshield.
Engine Coolant Heater (Option)
If you use the optional engine coolant heater before starting your engine,
your heating system will produce warmer air faster, to heat the passenger
compartment in cold weather. See “Engine Coolant Heater” in the Index.
3-2
Page 139 of 380
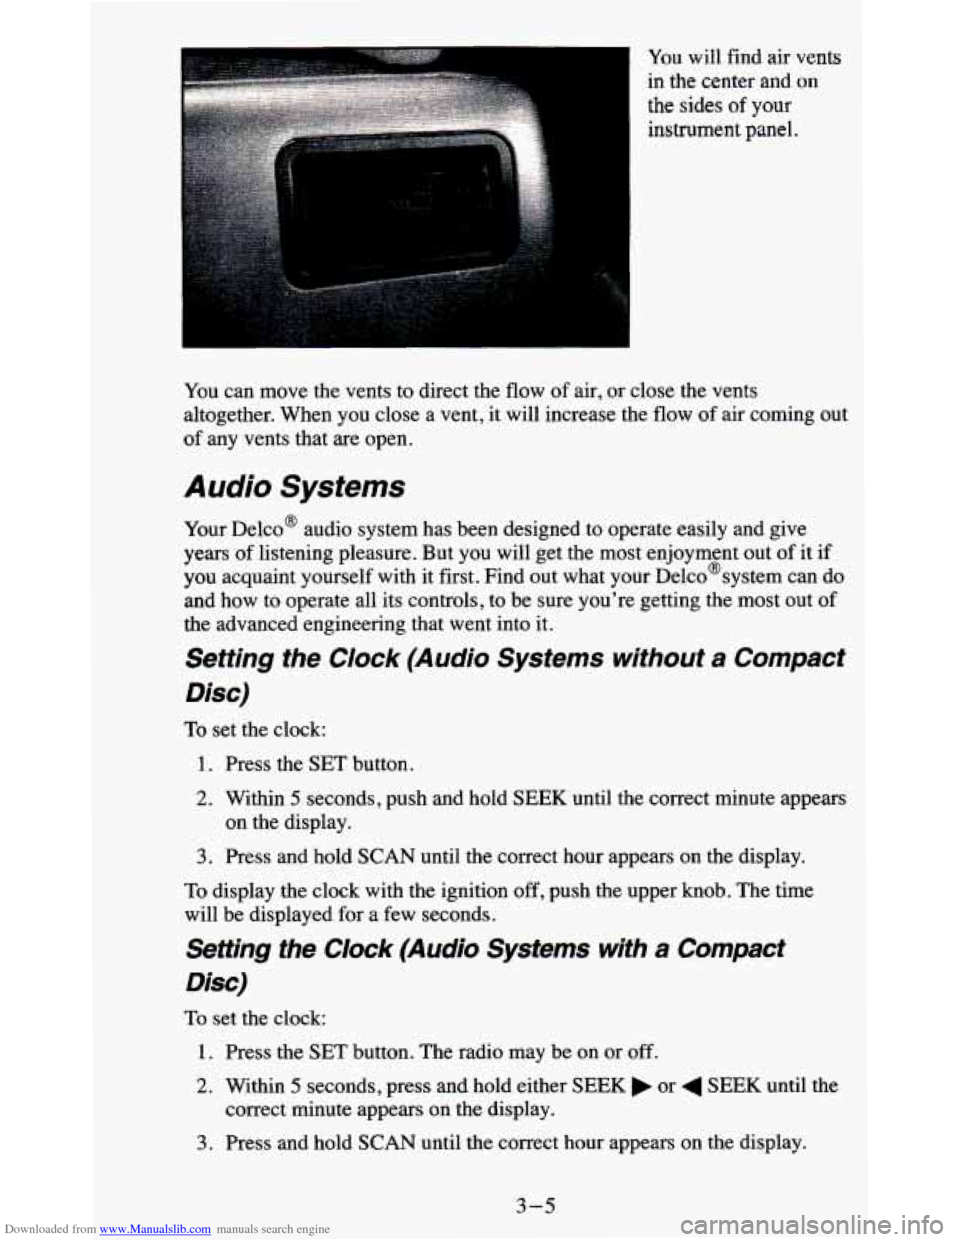
Downloaded from www.Manualslib.com manuals search engine You will find air vents
in the center and
on
the sides of your
instrument panel.
You can move the vents to direct the
flow of air, or close the vents
altogether. When you close a vent, it will increase the flow of air coming out
of any vents that are open.
Audio Systems
Your Delco@ audio system has been designed to operate easily and give
years of listening pleasure. But you will get the most enjoyment out of it if
you acquaint yourself with it first. Find out what your Delco@system can do
and how to operate all its controls, to be sure you're getting the most out of
the advanced engineering that went into it.
Setting the Clock (Audio Systems without a Compact
Disc)
To set the clock:
1. Press the SET button.
2. Within 5 seconds, push and hold SEEK until the correct minute appears
3. Press and hold SCAN until the correct hour appears on the display.
on the display.
To display the clock with the ignition off, push the upper knob. The time
will be displayed for a few seconds.
Setting the Clock (Audio Systems with a Compact
Disc)
To set the clock:
1. Press the SET button. The radio may be on or off.
2. Within 5 seconds, press and hold either SEEK or 4 SEEK until the
correct minute appears
on the display.
3. Press and hold SCAN until the correct hour appears on the display.
3-5
Page 142 of 380
Downloaded from www.Manualslib.com manuals search engine How to Operate Your ETP AM-FM Stereo Audio
Cassette System
- __ - __
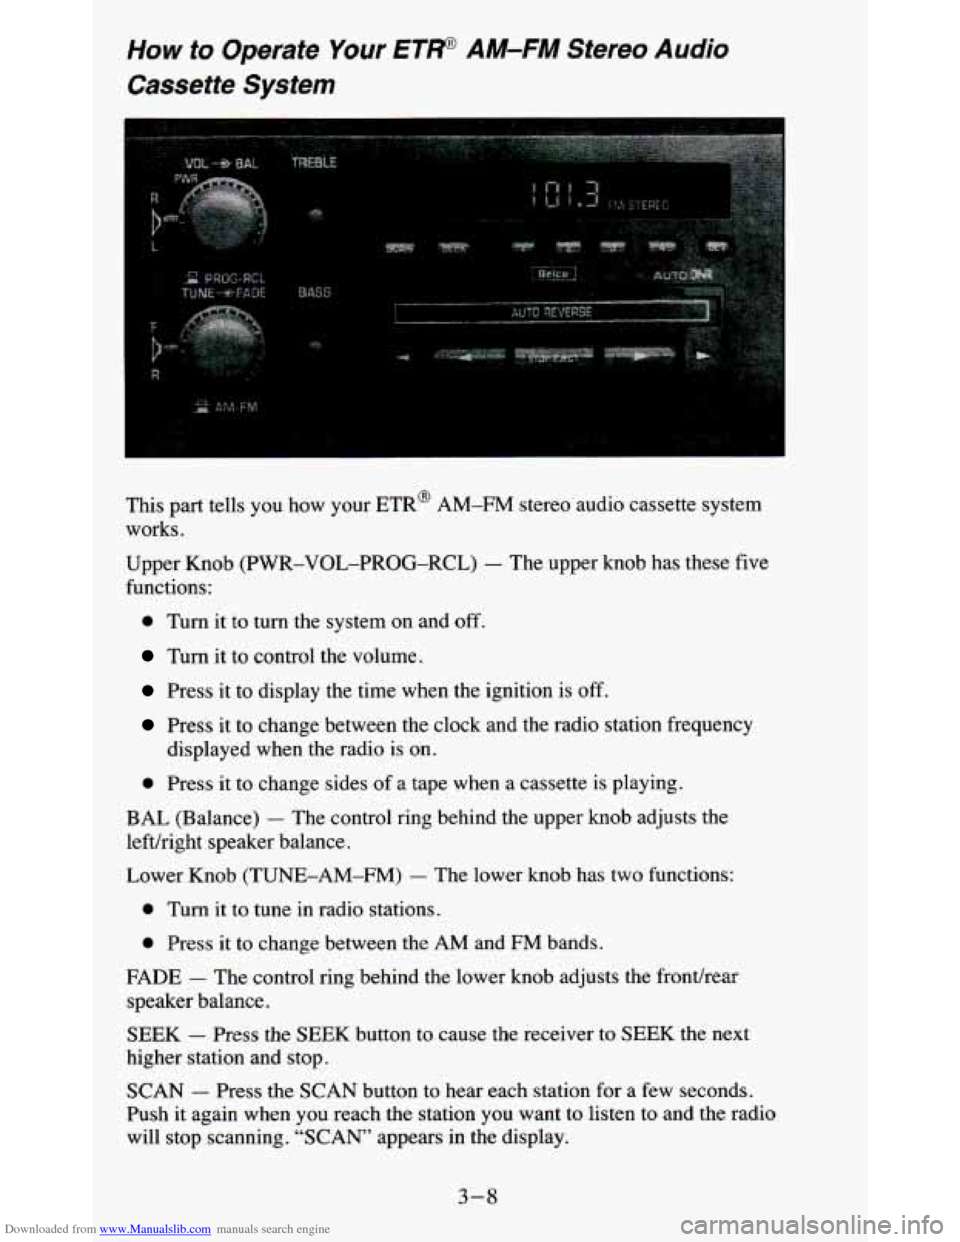
This part tells you how your ETR@ AM-FM stereo audio cassette system
works.
Upper Knob (PWR-VOL-PROG-RCL)
- The upper knob has these five
functions:
0 Turn it to turn the system on and off.
Turn it to control the volume.
Press it to display the time when the ignition is off.
Press it to change between the clock and the radio station fr\
equency
displayed when the radio is
on.
0 Press it to change sides of a tape when a cassette is playing.
BAL (Balance) - The control ring behind the upper knob adjusts the
lefthight speaker balance.
Lower Knob
(TUNE-AM-FM) - The lower knob has two functions:
0 Turn it to tune in radio stations.
0 Press it to change between the AM and FM bands.
FADE - The control ring behind the lower knob adjusts the fronthear
speaker balance.
SEEK - Press the SEEK button to cause the receiver to SEEK the next
higher station and stop.
SCAN - Press the SCAN button to hear each station for a few seconds.
Push it again when
you reach the station you want to listen to and the radio
will stop scanning.
“SCAN” appears in the display.
3-8
Page 144 of 380
Downloaded from www.Manualslib.com manuals search engine PROGRAM - To go from one side of the tape to the other, press the
PWR-VOL-PROCi-RCL knob.
STOP-EJECT
- To remove the tape or stop the tape and switch to radio,
press the STOP-EJECT button.
If “Cln” (Clean) appears on the display when you insert
your cassette tape,
your cassette player needs to be cleaned. It
will still play cassette tapes but it
should be cleaned to prevent damage to your cassette tapes and\
the cassette
tape player. See “Care
of Your Cassette Tape Player’’ later in this section.
After you have cleaned the cassette tape player, press and hol\
d EJECT for
5
seconds to reset the the “Cln” indicator. The radio will display “- - -” to
show the clean feature has been reset.
How to Operate Your ET* AM-FM Stereo Audio
Cassette System wifh Equalizer
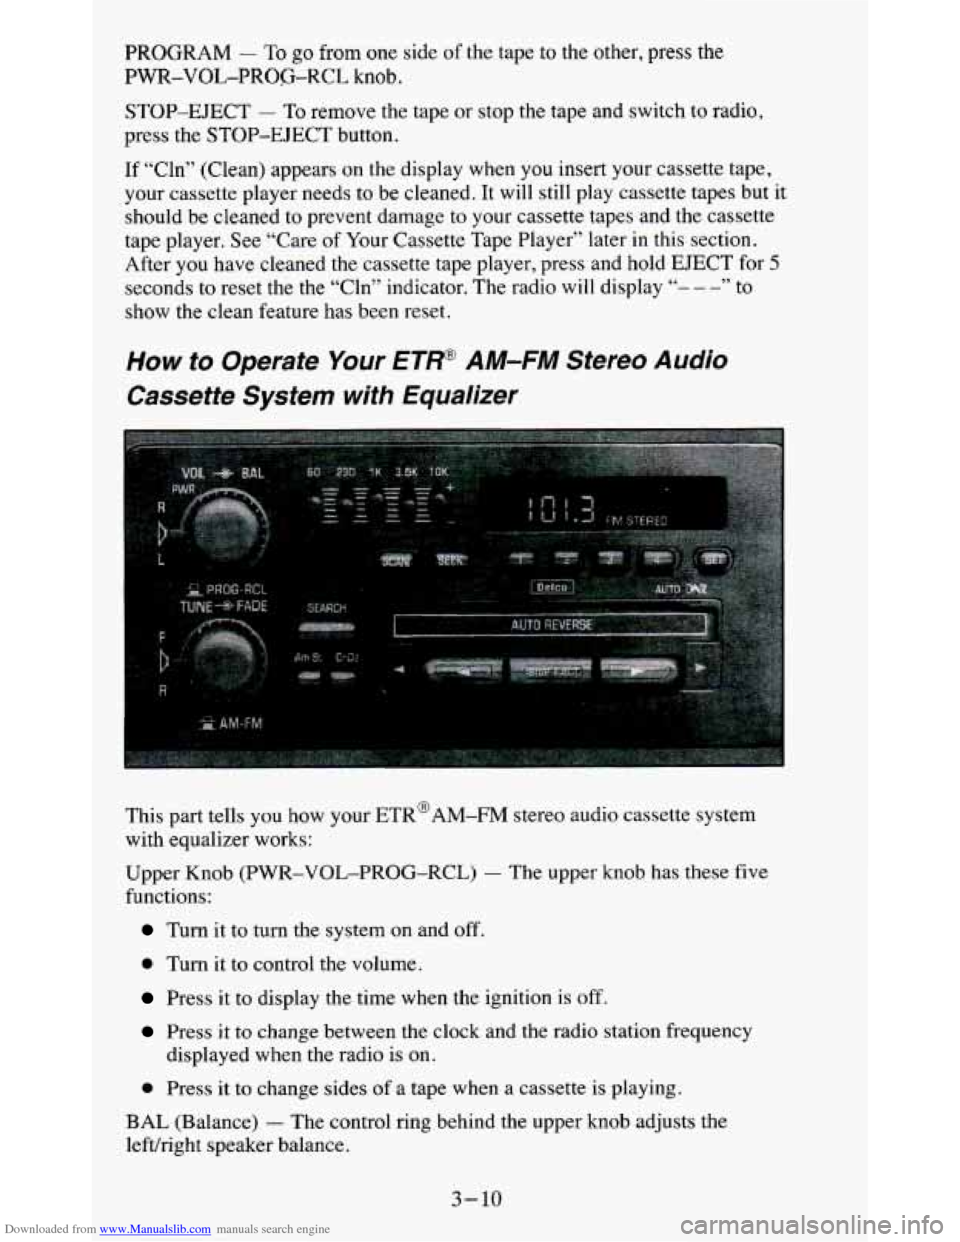
This part tells you how your ETR@AM-FM stereo audio cassette system
with equalizer works:
Upper Knob
(PWR-VOL-PROG-RCL) - The upper knob has these five
functions:
Turn it to turn the system on and off.
0 Turn it to control the volume.
Press it to display the time when the ignition is off.
Press it to change between the clock and the radio station frequency
0 Press it to change sides of a tape when a cassette is playing.
displayed when the radio
is on.
BAL (Balance)
- The control ring behind the upper knob adjusts the
lefvright speaker balance.
3-10
Page 148 of 380
Downloaded from www.Manualslib.com manuals search engine Pushbuttons - The five pushbuttons let you return to favorite stations.
They are also used
when you play a disc. (See “TO Play A Compact Disc”.)
To set the pushbuttons for
up to ten favorite stations (5 AM and 5 FM):
1. Tune in the desired station.
2. Push the SET button. “SET” is displayed briefly.
3. Within 5 seconds, push one of the five pushbuttons to store the station.
Whenever you press that button, the preset station will return. Repeat
the steps for each of the
5 AM and 5 FM stations.
MUTE
- Press the MUTE button and all sound from the radio or CD
player stops. By pressing the button again sound will begin again.
RCL
- Press the RCL button to change between the clock and the radi\
o
station frequency displayed when the radio is on. RCL may be pressed when
the ignition is
off to see the time.
BASS
- Press the BASS A to increase the bass tones and v BASS to
decrease bass tones. Press the center of the control for a preset BASS
position. The bass level will be displayed briefly when using this control.
TREBLE
- Press the TREB A to increase the treble tones and v TREB to
decrease the treble tones. Press the center of the control for a preset TREB
position. The treble level will be displayed briefly when using this control.
To Play A Compact Disc (CD)
NOTICE:
DO NOT use mini4iscs that are called singles. They won’t eject.
USE FULL-SIZE COMPACT DISCS. If the disc player is very
hot, or if you’re driving on a very rough road, a disc may com\
e
out or just not play.
If you see the word HOT on the display, the
disc player
is too hot to play the disc. Press RCL to make the
word HOT
go off the display. When things get back to normal,
the disc should play again. Press
PWR to turn the system on.
Insert a disc partway into the slot, label side up. The player will pull it in.
Wait a few seconds and the disc should play.
If the disc comes back out, check to see if any of the following are true:
The disc is upside down.
It is dirty, scratched, or wet.
Too much moisture is in the air. (If there is, wait about one hour and try
again.)
3- 14
Page 172 of 380
Downloaded from www.Manualslib.com manuals search engine 0 As you are backing down the hill, put your left hand on the steering\
wheel at the
12 o’clock position. This way, you’ll be able to tell if your
wheels are straight and maneuver as you back down. It’s best that
you
back down the hill with your wheels straight rather than in the left or
right direction. Turning the wheel too far to the left or right will
increase the possibility of
a rollover.
Here are some things you
must not do if you stall, or are about to stall,
when going up a hill.
Never attempt to prevent a stall by shifting into NEUTRAL (N) (or
depressing the clutch, if you have a manual transmission) to “rev-up”
the engine and regain forward momentum. This won’t work. Your
vehicle will roll backwards very quickly and you could
go out of
control.
Instead, apply the regular brake to stop the vehicle. Then app\
ly the parking
brake. Shift into reverse, release the parking brake, and slowl\
y back straight down.
Never attempt to turn around if you are about to stall when going up a
hill.
If the hill is steep enough to stall your vehicle, it’s steep enou\
gh to
cause you to roll over
if you turn around. If you can’t make it up the
hill, you must back straight down the hill.
Q: Suppose, after stalling, I try to back down the hill and decide I just
can’t do it. What should
I do?
A: Set the parking brake, put your transmission in PARK (P) (or the
manual transmission in first gear), and
turn off the engine. Leave the
vehicle
and go get some help. Exit on the uphill side and stay clear of
the path the vehicle would take if it rolled downhill. Do not shift the
transfer case to NEUTRAL
(N) when you leave the vehicle. Leave it in
some gear.
4-18
Page 370 of 380
Downloaded from www.Manualslib.com manuals search engine Bulb Replacement Composite Headlamps
......................................... 6-32
Front Park Turn Signal Lamps ................................... 6-34
Halogen Bulb ................................................ 6-32
RearLamps .................................................. 6-35
Replacementchart ............................................ 6-64
Sealed Beam Headlamps ........................................ 6-31
C
Capacities and Specification ....................................... 6-62
Cargocover .................................................... 2-64
Cargo Tie Downs ................................................. 2-63
Carbon Monoxide ................................ 2-10.2-29.4-34. 4-44
Care of Your Cassette Tape Player (See “Audio Systems”)
Catalytic Converter
.............................................. 640
Certificatiomire Label ........................................... 4-37
Changing a Flat Tire .............................................. 5-21
Chemical Paint Spotting ........................................... 6-56
Child Restraints (See “Safety Belts”)
CHMSL (Center High Mounted Stop Lamp)
........................... 6-36
Cigarette LightedAshtrays ......................................... 2-54
Circuit Breakers (See “Fuses and Circuit Breakers”)
Cleaning
Fabricprotection
.............................................. 6-51
Finishcare .................................................. 6-54
Glass ....................................................... 6-53
InsideofVehicle .............................................. 6-49
Instrument Panel. Top .......................................... 6-52
Outside of Vehicle ............................................. 6-53
Special Problems .............................................. 6-51
VinylorLeather .............................................. 6-52
Weatherslips ................................................. 6-53
Wheels and Tires .............................................. 6-55
Audio System without a Compact Disc (CD) ......................... 3-5
Audio System with Compact Disc (CD) ............................. 3-5
Comfort Controls ................................................. 3-1
Compass ....................................................... 2-59
Console
Centeroverhead
.............................................. 2-58
Garage Door Opener Compartment ............................... 2-61
ConvenienceNet ................................................ 2-63
Control of a Vehicle ............................................... 4-4
Coolant (See “Engine”)
Cooling System Capacity
.......................................... 6-63
Courtesy Transportation ............................................ 8-7
Crankcasecapacity .............................................. 6-63
Cruise Control (Option) ........................................... 2-42
OnHills ..................................................... 246
Passing Another Vehicle ........................................ 2-45
To Erase Speed Memory ........................................ 246
ToGetOutOf ................................................ 246
ToIncreaseSpeed ............................................. 24
ToReduceSpeed .............................................. 2-45
Clock. Setting the
2