Page 20 of 342
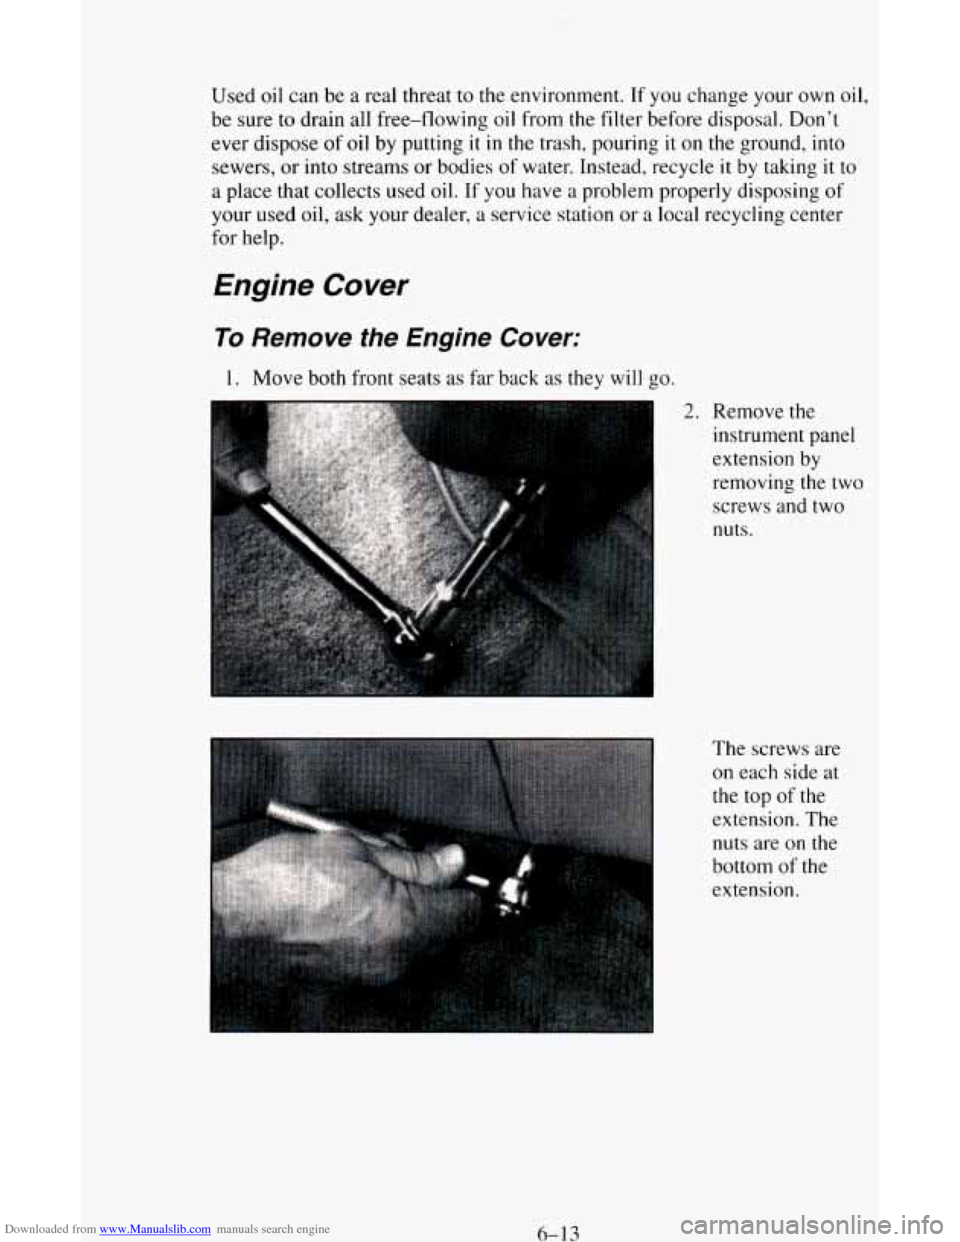
Downloaded from www.Manualslib.com manuals search engine 3. If you have a
safety belt guide
on your seat, pull
the safety belt all
the way out
through the
guide.
4. Pull up on the seatback latch on
the right rear
of
the front seat.
Push the seatback
down until it
locks in place
(non-touring
bench seats only).
5. Lift up on the seat release latch. The latches are near the floor on the
rear legs
of the seat. To relieve pressure on the latch, pull back on the
seat.
6. Lift up on the
rear
of the seat to
remove the seat assembly from
the rear latch
pins. Then, pull
back and lift the seat out
of the
vehicle.
1-8
Page 22 of 342
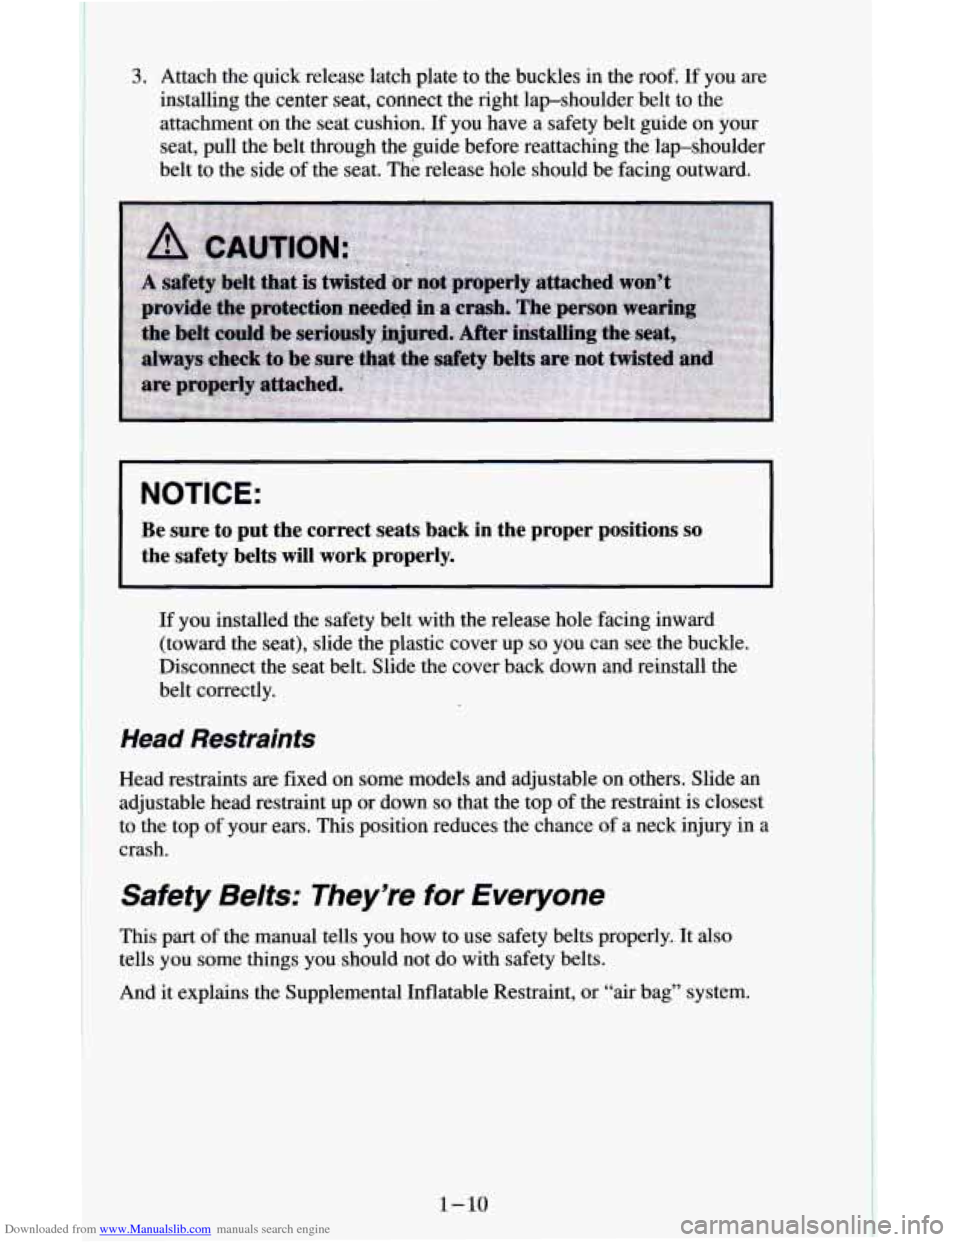
Downloaded from www.Manualslib.com manuals search engine 3. Attach the quick release latch plate to the buckles in the roof. If you are
installing the center seat, colinect the right lap-shoulder belt to the
attachment on the seat cushion.
If you have a safety belt guide on your
seat, pull the belt through the guide before reattaching the lap-shoulder
belt to the side
of the seat. The release hole should be facing outward.
NOTICE:
Be sure to put the correct seats back in the proper positions so
the safety belts will work properly.
If you installed the safety belt with the release hole facing inward
(toward the seat), slide the plastic cover up
so you can see the buckle.
Disconnect the seat belt. Slide the cover back down and reinstall the
belt correctly.
Head Restraints
Head restraints are fixed on some models and adjustable on others. Slide an
adjustable head restraint up
or down so that the top of the restraint is closest
to the top of your ears. This position reduces the chance of a neck injury in a
crash.
Safety Belts: They’re for Everyone
This part of the manual tells you how to use safety belts properly. It also
tells you some things you should not do with safety belts.
And it explains the Supplemental Inflatable Restraint,
or “air bag” system.
1-10
Page 27 of 342
Downloaded from www.Manualslib.com manuals search engine How to Wear Safety Belts Properly
Adults
This part is only for people of adult size.
Be aware that there are special things to know about safety belts and
children. And there are different rules for smaller children and babies. If
a
child will be riding in your vehicle, see the part of this manual called
“Children.” Follow those rules for everyone’s protection.
First, you’ll want to
know which restraint systems your vehicle has.
We’ll start with the driver position.
Driver Position
This part describes the driver’s restraint system.
Lap-Shoulder Belt
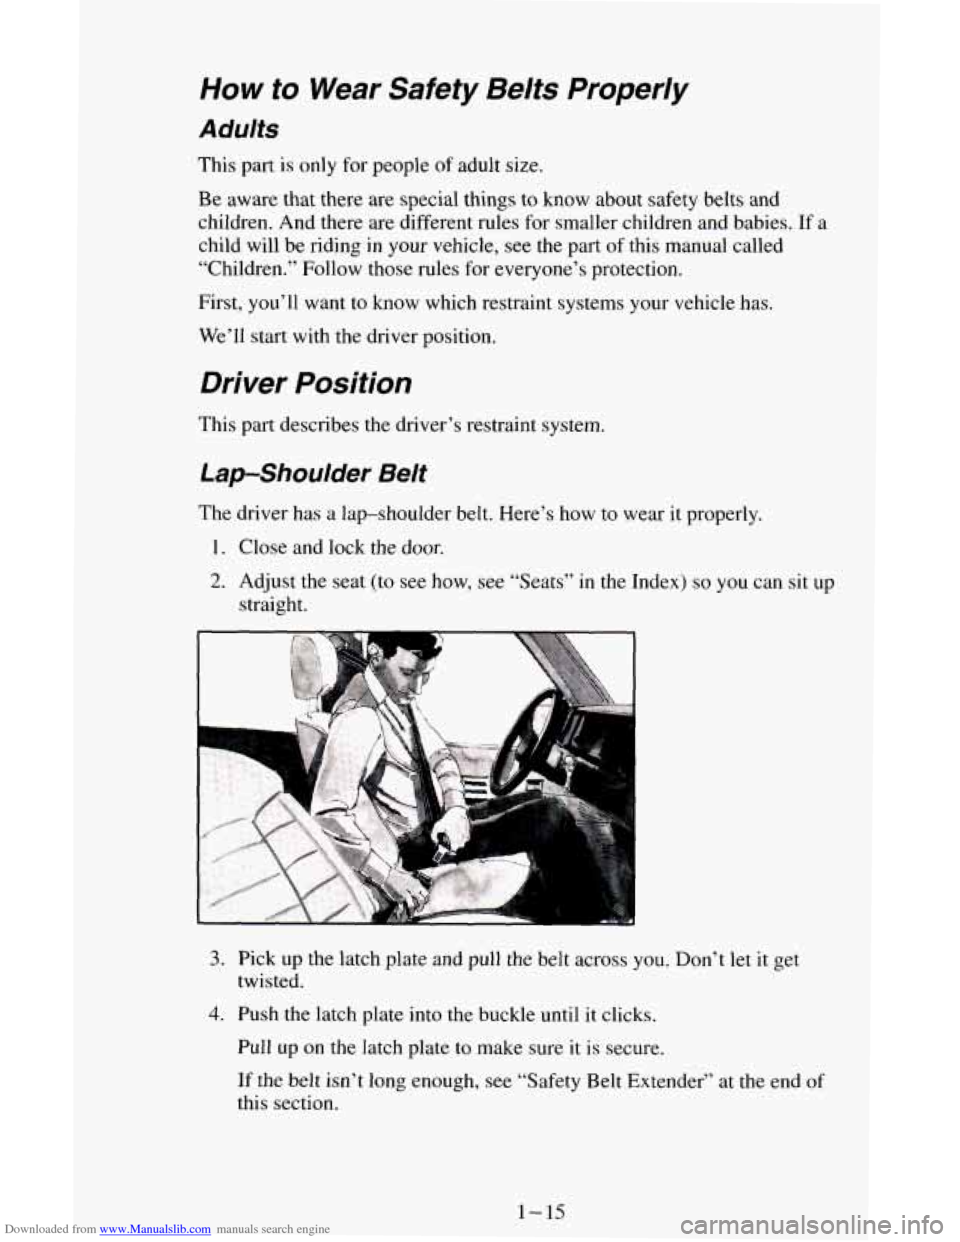
The driver has a lap-shoulder belt. Here’s how to wear it properly.
1. Close and lock the door.
2. Adjust the seat (to see how, see “Seats” in the Index) so you can sit up
straight.
3. Pick up the latch plate and pull the belt across you. Don’t let it get
4. Push the latch plate into the buckle until it clicks.
twisted.
Pull up
on the latch plate to make sure it is secure.
If the belt
isn’t long enough, see “Safetv Belt Extender” at the end of
this section.
1-15
Page 42 of 342
Downloaded from www.Manualslib.com manuals search engine Lap Belt
If your vehicle has rear bench seats, someone can sit in the center positions.
When you sit in
a center seating position, you have a lap safety belt, which
has
no retractor. To make the belt longer, tilt the latch plate and pull it along
the belt.
To make the belt shorter, pull its free end as shown until the belt is snug.
Buckle, position and release it the same way as the lap part
of a
lap-shoulder belt.
If the belt isn’t long enough, see “Safety Belt Extender”
at the end of this section.
Make sure the release button on
the buckle is positioned so you would be
able to unbuckle the safety belt quickly
if you ever had to.
1-30
Page 123 of 342
Downloaded from www.Manualslib.com manuals search engine You can turn the defogger off at any time by pressing the bottom of the switch.
The defogger will shut itself off after several minutes
so that the glass does not
get too hot. If the window still isn’t clear, turn the defogger on again.
NOTICE:
Scraping the inside of your rear window could cut and damage
the defogger. Your warranty would not cover this damage. And
don’t put decals there, you might have to scrape them
off.
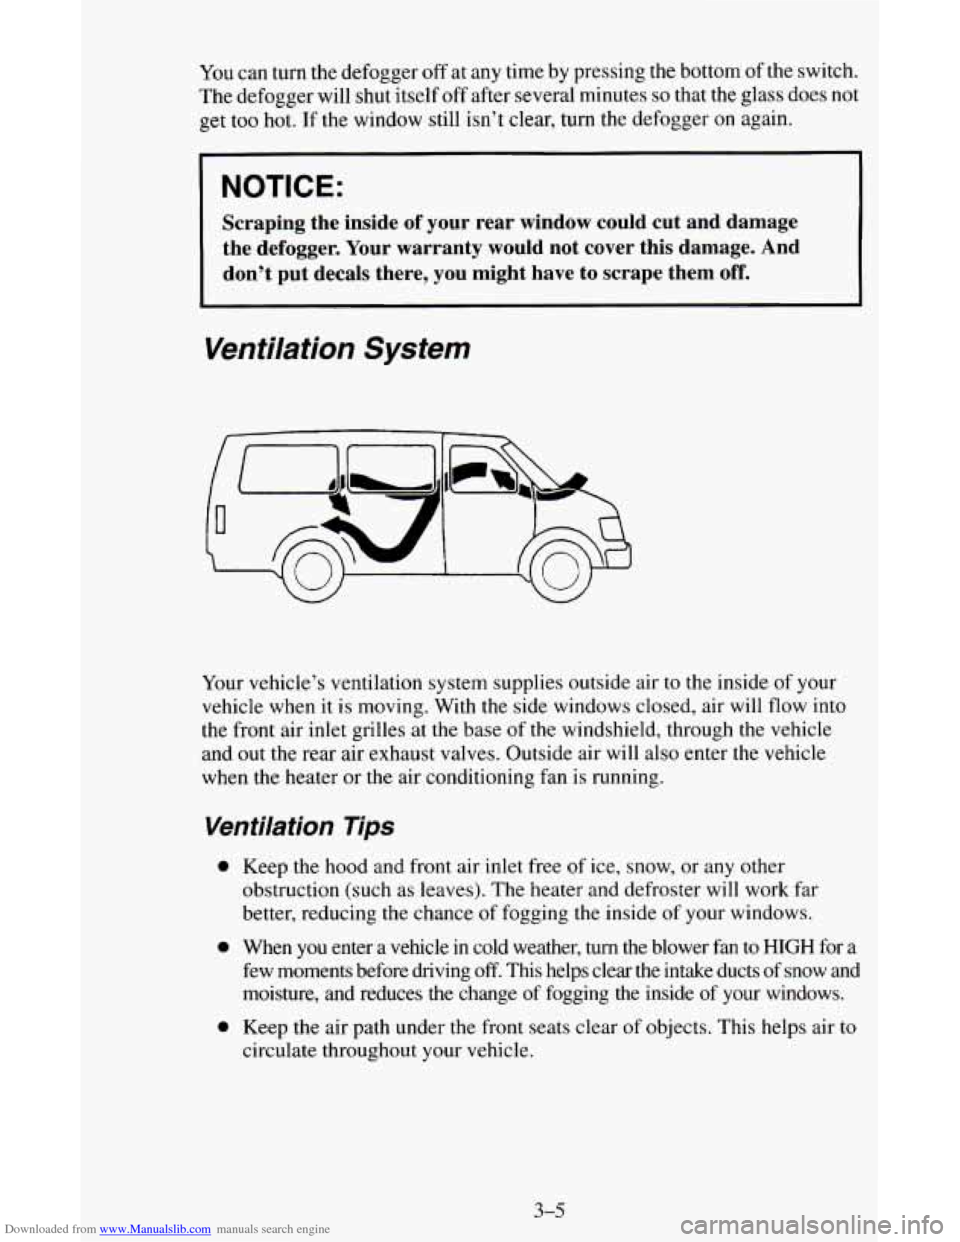
Ventilation System
Your vehicle’s ventilation system supplies outside air to the inside of your
vehicle when it is moving. With the side windows closed, air will flow into
the front air inlet grilles at the base of
the windshield, through the vehicle
and out the rear air exhaust valves. Outside air will also enter the vehicle
when the heater or the air conditioning fan is running.
Venfilation Tips
0 Keep the hood and front air inlet free of ice, snow, or any other
obstruction (such as leaves). The heater and defroster will work far
better, reducing the chance of fogging the inside of your windows.
0 When you enter a vehicle in cold weather, turn the blower fan to HIGH for a
few moments before driving
off. This helps clear the intake ducts of snow and
moisture, and reduces the change
of fogging the inside of your windows.
0 Keep the air path under the front seats clear of objects. This helps air to
circulate throughout your vehicle.
3-5
Page 221 of 342
Downloaded from www.Manualslib.com manuals search engine Used oil can be a real threat to the environment. If you change your own oil,
be sure to drain all free-flowing
oil from the filter before disposal. Don’t
ever dispose
of oil by putting it in the trash, pouring it on the ground, into
sewers, or into streams or bodies
of water. Instead, recycle it by taking it to
a place that collects used oil. If you have a problem properly disposing of
your used oil, ask your dealer, a service station
or a local recycling center
for help.
Engine Cover
To Remove the Engine Cover:
1. Move both front seats as far back as they will go.
I 2. Remove the
instrument panel
extension by
removing the two
screws and two
nuts.
The screws are
on each side at
the top of the
extension. The
nuts are on the
bottom
of the
extension.
6-1 3
Page 264 of 342

Downloaded from www.Manualslib.com manuals search engine Appearance Care Materials Chart
PART
NUMBER
1050 172
1050173
1050174
1050214 I050244
1050427
1050429
1050729
1051055
1051398 1052870
105020
1
SIZE PRODUCT
16 oz. (0.473L) Tar and Road
Oil Remover
16 oz. (0.473L) White Sidewall
32
oz. (0,9461) VinyVLeather
Tire
Cleaner
Cleaner
USAGE
Removes old
waxes, polishes,
tar and road oil
16 oz. (0.473L) Chrome Cleaner Removes rust
and Polish and corrosion
on
chrome and
stainless steel
Cleans white
and black tires
Spot and stain
removal
on
leather or vinyl
16 oz. (0.473L) Fabric Cleaner
23 oz. (0.680L) Glass Cleaner
8 oz. (0.237L) Vinyl Top
Cleaner
16 oz. (0.4731) Preservatone
8 oz. (0.237L) Spot
Lifter Spot
and stain
removal on cloth
and fabric
Glass cleaning
and spot
cleaning on
vinyls
6 lbs. (2.72
kg) Multi-Purpose Cleans vinyl and
Powder Cleaner cloth
on door
trim,
seats, and
carpet-also
tires and mats
Cleaning
of
vinyl tops
Vinyl top
dressing
Spot and stain
removal on cloth
and fabric
16 oz. (0.473L) Wash-Wax
16
oz. (0.473L) Magic Mirror (conc.)
Cleaner-Polish Exterior
wash
Exterior cleaner
and polish
6-56
Page 336 of 342
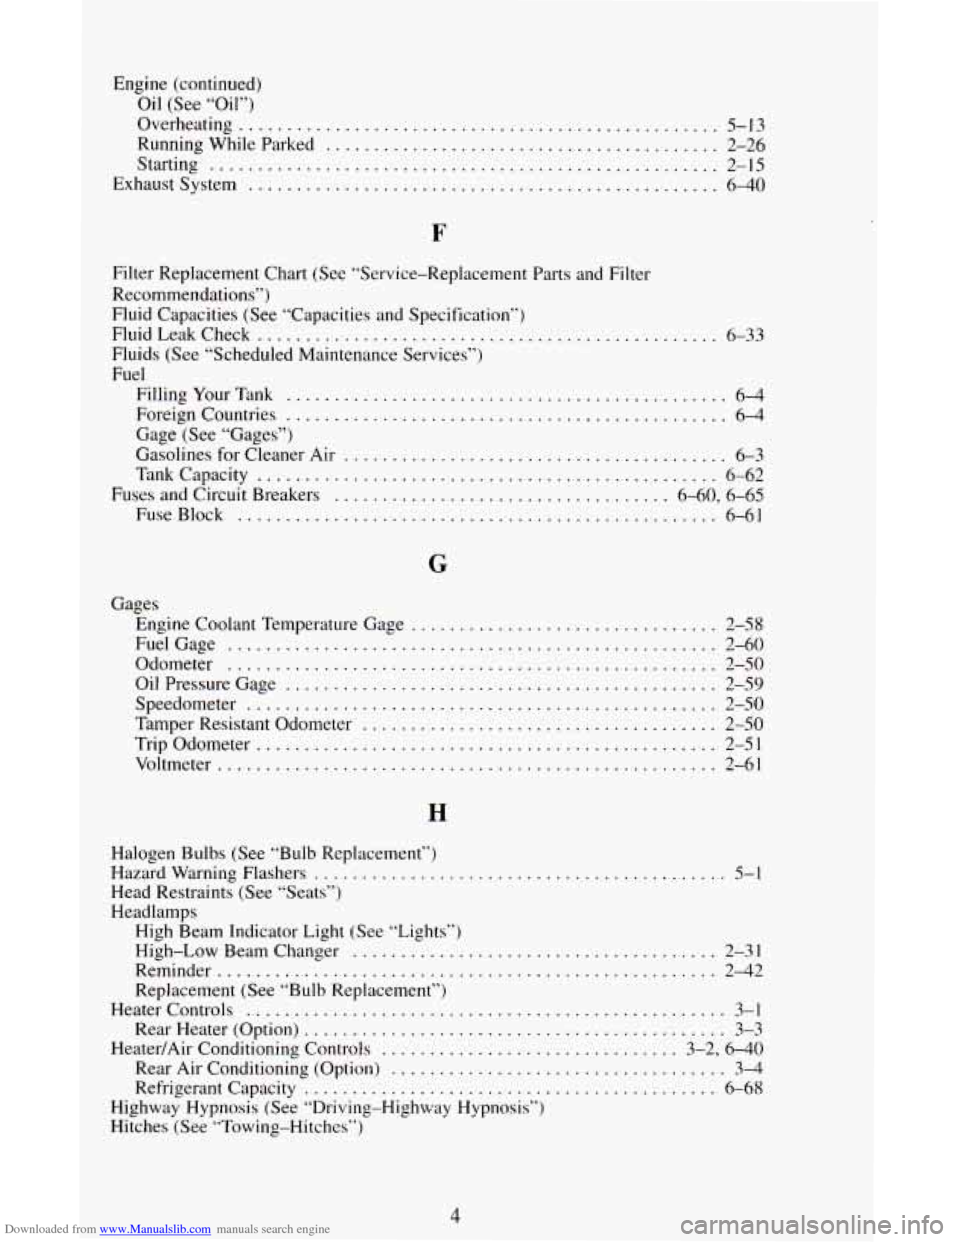
Downloaded from www.Manualslib.com manuals search engine Engine (continued) Oil (See “Oil”)
Overheating
.................................................. 5-13
RunningWhileParked
......................................... 2-26
Starting
..................................................... 2-15
Exhaustsystem
................................................. 6-40
Filter Replacement Chart (See “Service-Replacement Parts and Filter
Recommendations”)
Fluid Capacities (See “Capacities and Specification”)
FluidLeakCheck
................................................ 6-33
Fluids (See “Scheduled Maintenance Services”)
Fuel FillingYourTmk
.............................................. 6-4
Foreign Countries .............................................. 64
Gage (See “Gages”)
Cholines for Cleaner Air
........................................ 6-3
Tank Capacity
................................................ 6-62
Fuses and Circuit Breakers
................................... 6-60. 6-65
FuseBlock
.................................................. 6-61
G
Gages Engine Coolant Temperature Gage
................... ........ 2-58
Odometer
................................................... 2-50
Speedometer
................................................. 2-50
FuelGage ................................................. 2-60
Oil Pressure Gage
............................................. 2-59
Tamper Resistant Odometer
..................................... 2-50
Trip Odometer
................................................ 2-51
Voltlneter .................................................... 2-61
Halogen Bulbs (See “Bulb Replacement”)
Head Restraints (See “Seats”)
Headlamps
Hazard Warning Flashers
........................................... 5- . 1
High Beam Indicator Light (See
“Lights”)
High-Low Beamchanger
...................................... 2-31
Reminder
.................................................... 2-42
Replacement (See “Bulb Replacement”)
Heatercontrols
.................................................. 3-1
Rear Heater (Option)
............................................ 3-3
HeatedAir Conditioning Controls
............................... 3-2, 6-40
Rear Air Conditioning (Option)
................................... 3-4
Refrigerant Capacity
........................................... 6-68
Highway Hypnosis (See “Driving-Highway Hypnosis”)
Hitches (See “Towing-Hitches”)
4