1995 CADILLAC FLEETWOOD service
[x] Cancel search: servicePage 120 of 306
Downloaded from www.Manualslib.com manuals search engine NOTICE:
If you keep driving your vehicre with this light
on, after a while, your emission controls may not
work as well, your fuel economy may not be as
good and your engine may not run as smoothly.
This could lead to costly repairs that may not be
covered by your warranty.
This light should come on, as a check to show you it is
working, when the ignition is on and the engine is not
running.
If the light doesn’t come on, have it repaired.
This light will also come on during a malfunction in one
of two ways:
Light Flashing -- A misfire condition has been
detected. A misfire increases vehicle emissions and
may damage the emission control system on your
vehicle. Dealer or qualified service center diagnosis and service is required.
Light On Steady -- An emission control system
malfunction has been detected on your vehicle.
Dealer or qualified service center diagnosis and
service may
be required. The following
may prevent more serious damage to
your vehicle:
0 Reduce vehicle speed.
0 Avoid hard accelerations.
0 Avoid steep uphill grades.
0 If towing a trailer, reduce the amount of cargo being
hauled as soon as it is possible.
If the light stops flashing and remains on steady, see “If
the Light Is On Steady” following.
If the light continues to flash, when it is safe to do so,
stop the vehicle. Put your vehicle in PARK (P). Turn the
key
off, wait at least 10 seconds and restart the engine.
If the light remains on steady, see
“If the Light Is On
Steady” following.
If the light is still flashing follow the
previous steps, and drive the vehicle to your dealer or
qualified service center for service.
Page 121 of 306
Downloaded from www.Manualslib.com manuals search engine If the Light Is On Steady
You may be able to correct the emission system
malfunction by considering the following:
Did you just put fuel into your vehicle?
If
so, reinstall the fuel cap, making sure to fully install
the cap. The diagnostic system can determine if the fuel
cap has been left off or improperly installed. This will
allow fuel to evaporate into the atmosphere.
A few
driving trips should turn the light
off.
Did you just drive through a deep puddle of water?
If
so, your electrical system may be wet. The condition
will usually be corrected when the electrical system
dries out. A few driving trips should turn the light
off.
Are you low on fuel?
As your engine starts to run out of fuel, your engine may
not run as efficiently as designed since small amounts of
air are sucked into the fuel line causing
a misfire. The
system can detect this. Adding fuel should correct this
condition. Make sure to install the fuel cap properly.
It
will take a few driving trips to turn the light off. Have
you recently changed brands of fuel?
If
so, be sure to fuel your vehicle with quality fuel (see
“Fuel”
in the Index). Poor fuel quality will cause your
engine not to run as efficiently as designed. You may
notice this as stalling after start-up, stalling when you
put
the vehicle into gear, misfiring, hesitation on
acceleration or stumbling on acceleration. (These
conditions may go away once the engine is warmed up.)
This will be detected by the system and cause the light
to turn on.
If you experience this condition, change the fuel brand
you use. It will require at least one full tank of the
proper fuel to turn the light
off.
If none of the above steps have made the light turn off,
have your dealer or qualified service center check the
vehicle. Your dealer has the proper test equipment
and
diagnostic tools to fix any mechanical or electrical
problems that may have developed.
2-62
I t
Page 122 of 306
Downloaded from www.Manualslib.com manuals search engine Oil Pressure Light
WA
PRESSURE
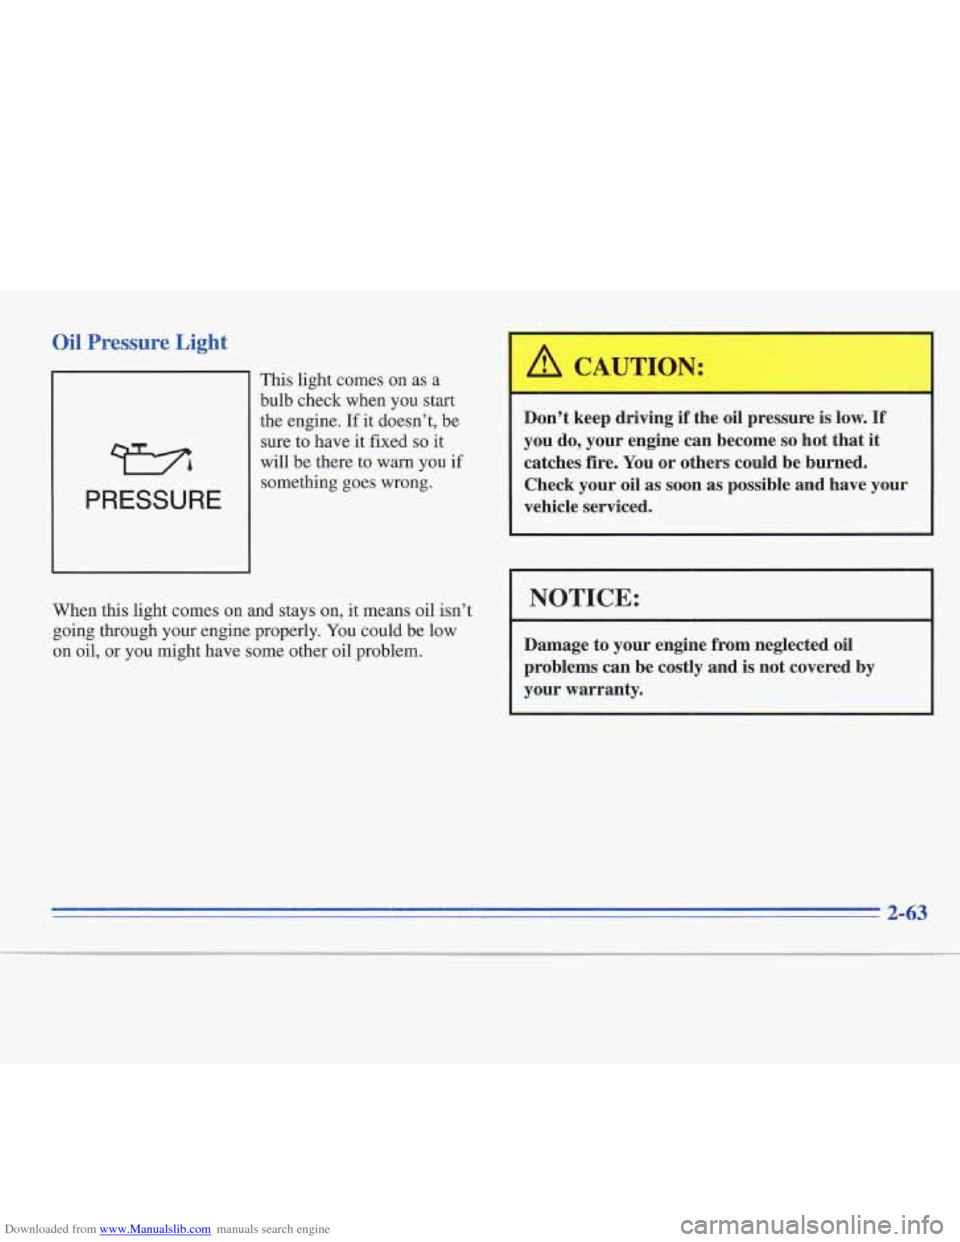
This light comes on as a
bulb check when you start
the engine. If
it doesn’t, be
sure to have it fixed
so it
will be there
to warn you if
something goes wrong.
When
this light comes on and stays on, it means oil isn’t
going through your engine properly. You could be low
on oil, or
you might have some other oil problem.
Don’t keep driving if the oil pressure is low. If
you do, your engine can become so hot that it
catches fire. You or others could be burned.
Check your oil as
soon as possible and have your
vehicle serviced.
I NOTICE:
Damage to your engine from neglected oil
problems can be costly and
is not covered by
your warranty.
2-63
Page 123 of 306
Downloaded from www.Manualslib.com manuals search engine Low Oil Level Light
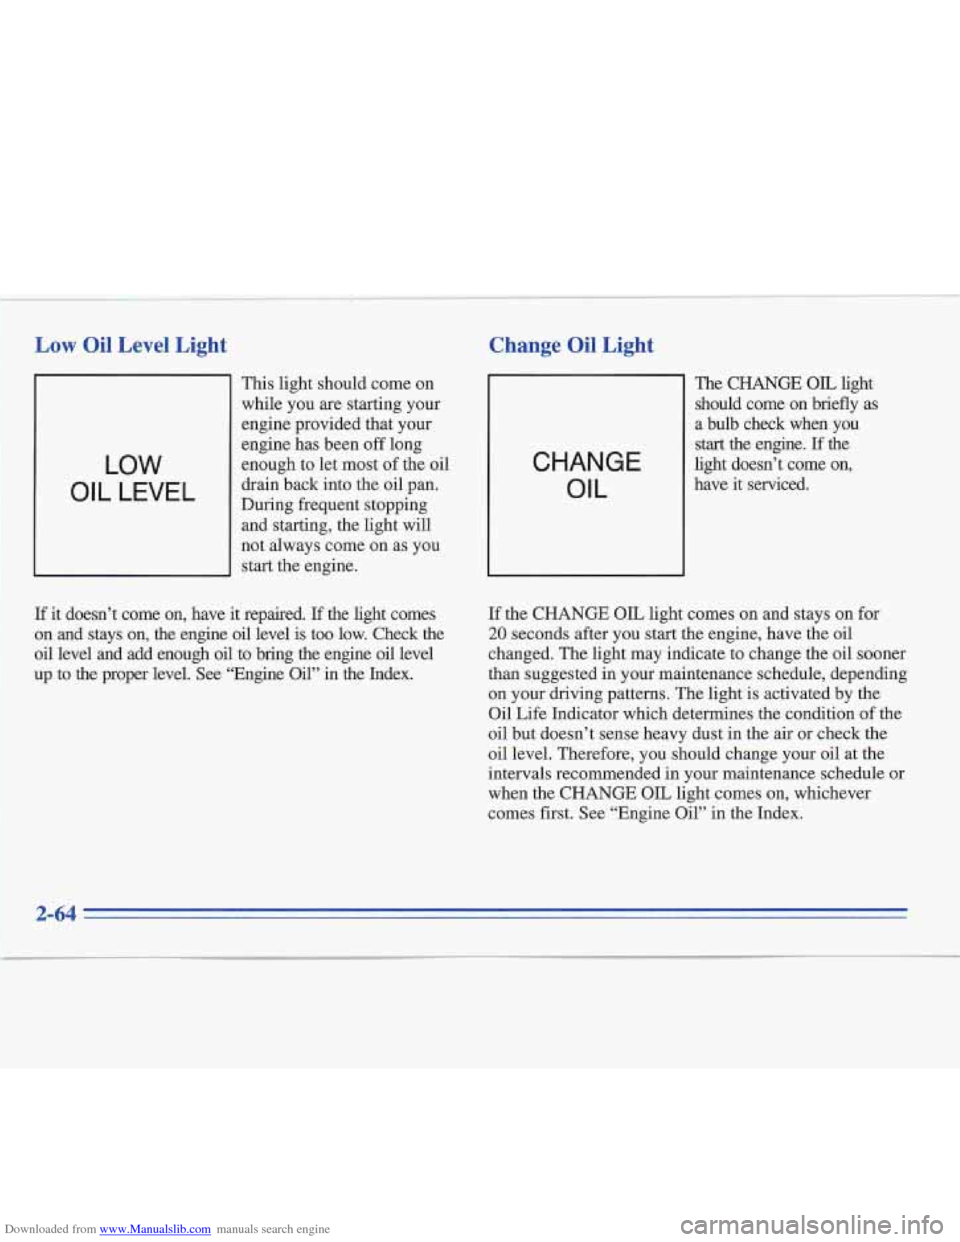
11 This light should come on
while you are starting your
engine provided that your
LOW
OIL LEVEL
engine has been off long
enough to let most
of the oil
drain back into the oil pan.
During frequent stopping and starting, the light will
not always come on as you
start the engine.
If it doesn’t come on, have it repaired. If the light comes
on and stays on, the engine oil level is too low. Check the
oil level and add enough oil to bring the engine oil level
up to the proper level.
See “Engine Oil” in the Index.
Change Oil Light t
CHANGE OIL
The CHANGE OIL light
should come on briefly as
a bulb check when you
start the engine. If the
light doesn’t come on,
have it serviced.
If the CHANGE OIL light comes on and stays on for
20 seconds after you start the engine, have the oil
changed. The light may indicate to change the oil sooner
than suggested in your maintenance schedule, depending
on your driving patterns. The light is activated by the
Oil Life Inlcator which determines the condition of the
oil but doesn’t sense heavy dust in the air or check the
oil level. Therefore, you should change your oil at the
intervals recommended in your maintenance schedule or
when the CHANGE OIL light comes on, whichever
comes first. See “Engine Oil” in the Index.
Page 129 of 306
Downloaded from www.Manualslib.com manuals search engine 1
OUT TEMP: Press this to display the outside
temperature. Press it again to return to the regular
system display.
TEMP: This sets the interior temperature you want.
Press the lower portion to lower the inside temperature
setting. Press the upper portion to raise the temperature
setting. Once you set the temperature, the system will
automatically maintain the set temperature.
You can change the temperature from
65 OF (1 8 O C) to
85 OF (29"C), one degree at a time. You may also choose
60 OF ( 16 O C) for maximum cooling or 90 OF (33 O C) for
maximum heating. The fan will stay on high speed
unless you select a different speed. In maximum heating,
most of the air will flow out the heater outlets. In
maximum cooling, the system will recirculate the air
inside your vehicle instead of pulling air from outside.
OFF: This turns off anything set in the ECC, but air will
flow through your Cadillac.
ECON: Use this in cold or cool weather to save fuel. It
won't cool or remove humidity from the air. However,
the system will try to keep the air at the chosen
temperature. If it's
so warm outside that you need to
cool the air, use AUTO.
AUTO: With this setting, the system automatically
controls the temperature, air distribution and fan
speeds. In cold conditions, the fan will not come on
until the system senses that the engine has started to warrn up. This prevents cold air from blowing on you
and your passengers.
FAN: The fan speed is controlled automatically if
you have the ECC set
on AUTO. However, if you want
the fan to run at a lower speed, press the lower portion
of the fan switch.
If you want the blower to run at a fixed higher speed,
press the upper portion
of the fan switch until you see
HI on the display.
If you want the fan to run at a fixed low speed, press the
switch until
LO is shown on the display.
If you want the fan speed to be automatic but you like
the fan to be higher or lower than the AUTO settings,
just press the switch until either HI AUTO or AUTO
LO
is displayed.
If the Fahrenheit
(F") or Celsius (C")
flash, or flashes when you turn
on the symbol begins to
ignition, it
indicates an electrical problem with your air
conditioning system. The flashing will continue for
about two minutes. It means you should have your
system serviced.
Page 144 of 306
Downloaded from www.Manualslib.com manuals search engine Care of Your Cassette Tape Player
A tape player that is not cleaned regularly can cause
reduced sound quality, ruined cassettes or a damaged
mechanism. Cassette tapes should be stored
in their
cases away from contaminants, direct sunlight and
extreme heat.
If they aren't, they may not operate
properly or may cause failure of the tape player.
Your tape player should be cleaned regularly after every
50 hours of use. Your radio may display CLN to indicate
that you have used your tape player for
50 hours without
resetting the tape clean timer.
If you notice a reduction in
sound quality,
try a known good cassette to see if the tape
or the tape player is at fault. If
this other cassette has no
improvement in sound quality, clean the tape player.
Cleaning may be done with a scrubbing action,
non-abrasive cleaning cassette with pads which scrub
the tape head as the hubs of the cleaner cassette turn.
It
is normal for the cassette to eject while cleaning. Insert
the cassette at least
three times to ensure thorough
cleaning.
A scrubbing action cleaning cassette is
available through your Cadillac dealer. You
may also choose a non-scrubbing action, wet-type
cleaner which uses a cassette with a fabric belt to clean
the tape head. This type of cleaning cassette will not.
eject. It may not clean as thoroughly as the scrubbing
type cleaner.
Cassettes
are subject to wear and the sound quality may
degrade over time. Always make sure that the cassette
tape is
in good condition before you have your tape
player serviced.
Care of Your Compact Discs
Handle discs carefully. Store them in their original cases
or other protective cases and away from direct sunlight and dust.
If the surface of a disc is soiled, dampen a
clean, soft cloth in a mild, neutral detergent solution and
clean
it, wiping from 'the center to the edge.
Be sure never to touch the signal surface when handling
discs. Pick up discs by grasping the outer edges or the
edge of the hole and the outer edge.
3-17
Page 167 of 306
Downloaded from www.Manualslib.com manuals search engine The exit speed is usually posted.
Reduce your speed according to your speedometer, not
to your sense of motion. After driving for any distance
at higher speeds, you may tend to think you are going
slower than you actually
are.
Before Leaving on a Long Trip
Make sure you’re ready. Try to be well rested. If you
must start when you’re ndt fresh
-- such as after a day’s
work
-- don’t plan to make too many miles that first part
of the journey. Wear comfortable clothing and shoes you
can easily drive in.
Is your vehicle ready for a long trip? If you keep it
serviced and maintained, it’s ready to go. If it needs
service, have it done before starting out. Of course,
you’ll find experienced and able service experts in Cadillac dealerships all across North America. They’ll
be ready and willing to help if you need it.
e
d
c
4-22
Page 168 of 306
Downloaded from www.Manualslib.com manuals search engine Highway Hypnosis
Is there actually such a condition as “highway hypnosis”?
Or is it just plain falling asleep at the wheel? Call it
highway hypnosis, lack of awareness, or whatever.
There is something about an easy stretch
of road with
the same scenery, along with the hum of the tires on the
road, the drone of the engine, and the rush of the wind
against the vehicle that can make you sleepy. Don’t
let it happen to you! If it does, your vehicle can leave
the road in
less than a second, and you could crash and
be injured.
What can you do about highway hypnosis? First, be
aware that it can happen.
Then here are some tips:
Make sure your vehicle is well ventilated, with a
comfortably cool interior.
Keep your eyes moving. Scan the road ahead and to
the sides. Check your rearview mirrors and your
instruments frequently.
0 If you get sleepy, pull off the road into a rest, service
or parking area and take a nap, get some exercise, or
both. For safety, treat drowsiness on the highway as
an emergency.
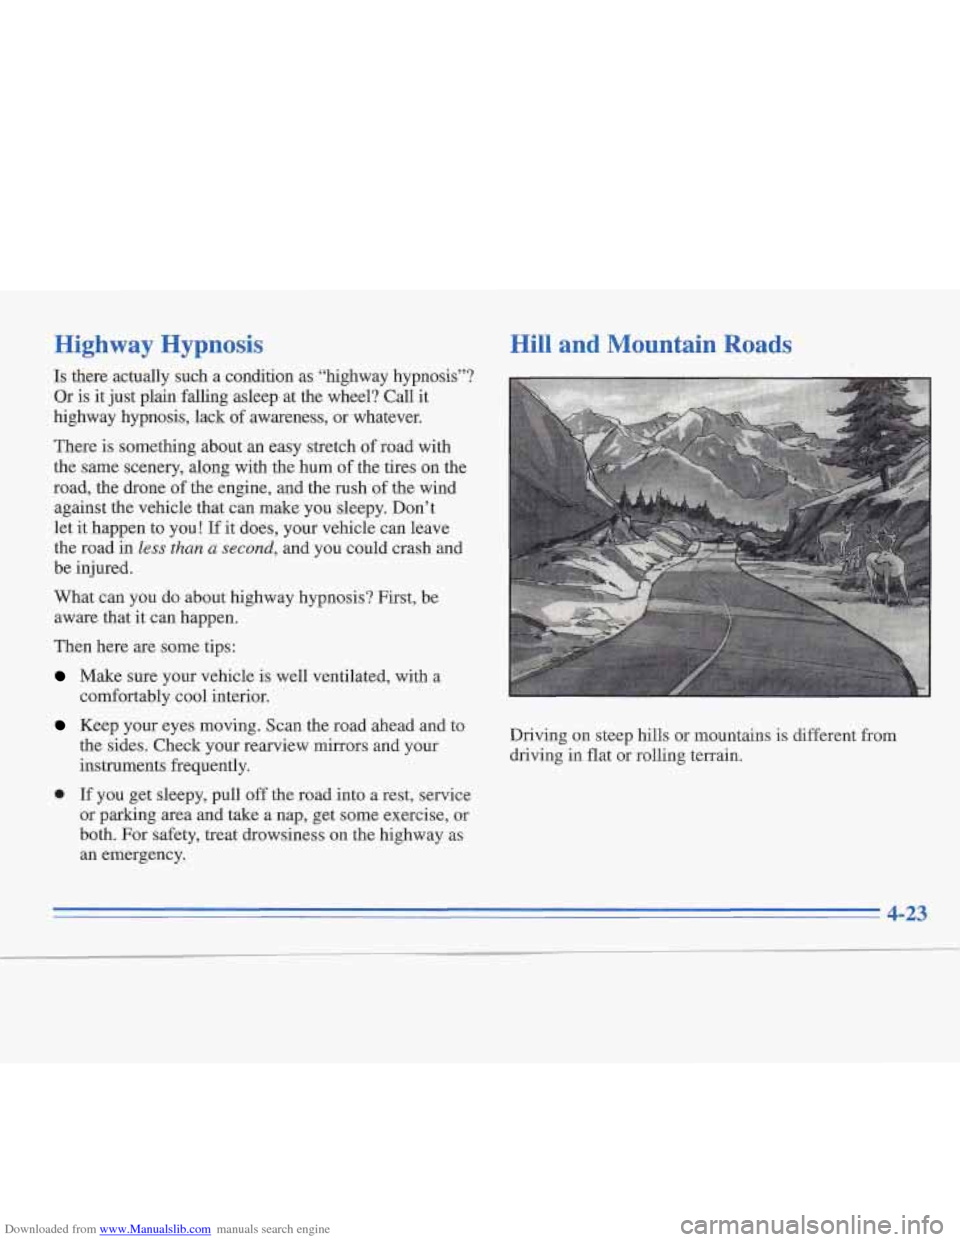
Hill and Mountain Roads
Driving on steep hills or mountains is different from
driving in flat
or rolling terrain.
4-23