1994 OLDSMOBILE SILHOUETTE CD player
[x] Cancel search: CD playerPage 111 of 276
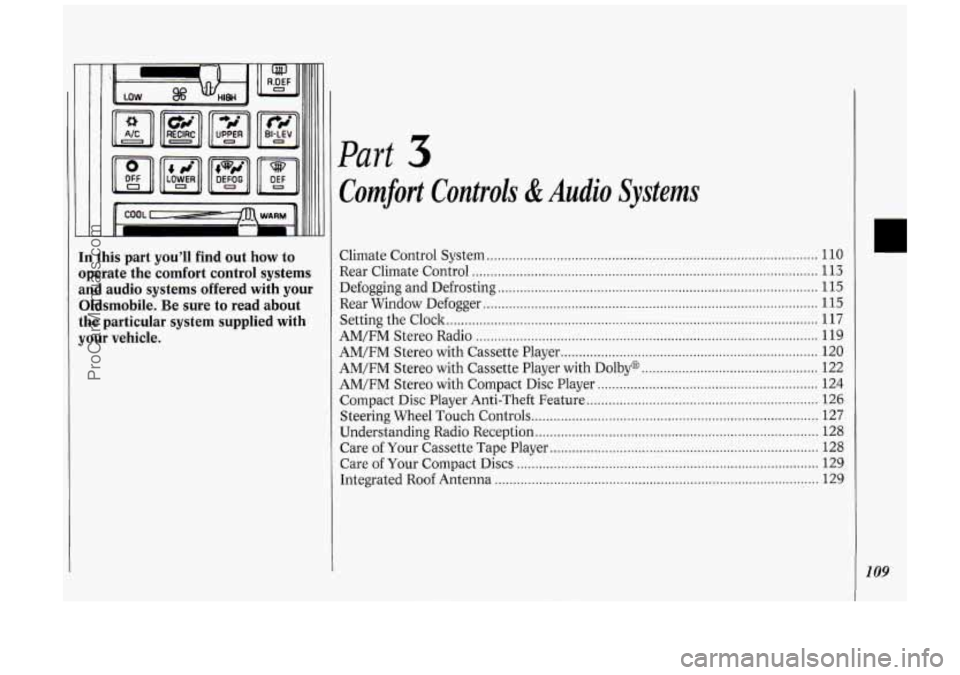
In this part you’ll find out how to
operate the comfort control systems
and audio systems offered with your
Oldsmobile
. Be sure to read about
the particular system supplied with
your vehicle
.
Part
Comfort Controls & Audio Systems
Climate Control System ........................................................................\
.................. 110
Rear Climate Control ........................................................................\
...................... 113
Defogging and Defrosting
........................................................................\
............... 115
Rear Window Defogger
........................................................................\
................... 115
AM/FM Stereo Radio
........................................................................\
..................... 119
Setting the
Clock
........................................................................\
............................. 117
AM/FM Stereo with Cassette Player
...................................................................... 120
AM/FM Stereo with Cassette Player with Dolby@
................................................ 122
AM/FM Stereo with Compact Disc Player ............................................................ 124
Compact Disc Player Anti-Theft Feature ............................................................... 126
Steering Wheel Touch Controls ........................................................................\
...... 127
Understanding Radio Reception ........................................................................\
..... 128
Care of Your Compact Discs
........................................................................\
.......... 129
Integrated Roof Antenna
........................................................................\
................ 129
Care
of Your Cassette Tape Player
........................................................................\
. 128
ProCarManuals.com
Page 119 of 276
4 Audio Systems
The following pages describe the audio
systems available for your Oldsmobile,
and how to get the best performance
from them. Please read about the
system in your vehicle.
Hearing damage from loud noise is
almost undetectable until it is too late.
Your hearing can adapt to higher
volumes of sound. Sound that seems
normal can be loud and harmful to your
hearing. Take precautions by adjusting
the volume control on your radio to a
safe sound level before your hearing
adapts
to it.
To help avoid hearing loss or damage:
1. Adjust the volume control to the
lowest setting.
2. Increase volume slowly until you
hear comfortably and clearly.
NOTICE:
Before you add any sound
equipment
to your vehicle - like a
tape player,
CB radio, mobile
telephone or two-way radio
- be
sure you can add what you want. If
you can, it’s very important to do it
properly. Added sound equipment
may interfere with the operation
of
your vehicle’s engine, Delco@ radio
or other systems, and even damage
them. And, your vehicle’s systems
may interfere with the operation of
sound equipment that has been
added improperly.
So, before
adding sound equipment, check
with your dealer and be sure to
check Federal rules covering mobile
radio and telephone units.
111 111 AUTO REVERSE
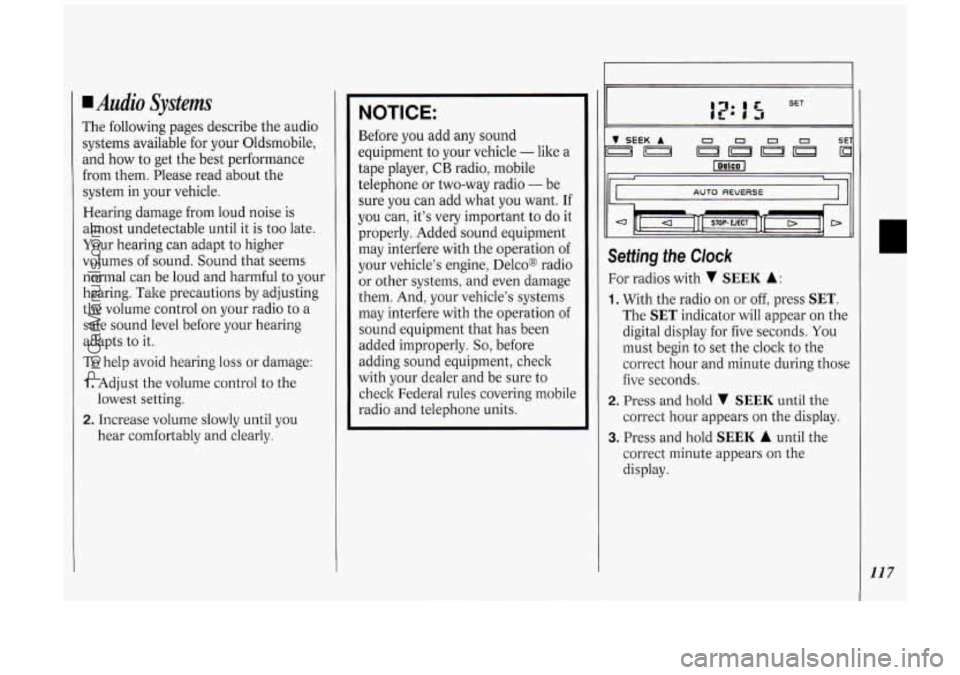
Setting the Clock
For radios with v SEEK A:
1. With the radio on or off, press SET.
The SET indicator will appear on the
digital display for five seconds. You
must begin to set the clock to the
correct hour and minute during those
five seconds.
correct hour appears on the display.
2. Press and hold v SEEK until the
3. Press and hold SEEK A until the
correct minute appears on the
display.
117
ProCarManuals.com
Page 124 of 276
Comfort Controls &Audio Systems
122
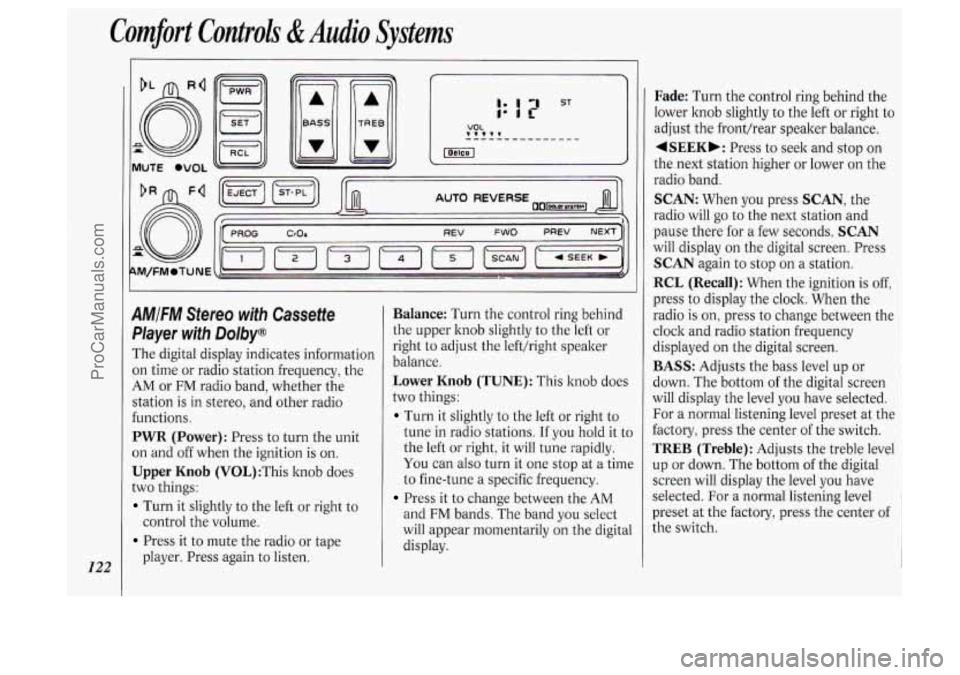
AMIFM Stereo with Cassette
Pkyer with Dolby@
The digital display indicates information
on time or radio station frequency, the
AM or FM radio band, whether the
station
is in stereo, and other radio
functions.
PWR (Power): Press to turn the unit
on and off when the ignition
is on.
Upper Knob (V0L):This knob does
two things:
Turn it slightly to the left or right to
Press it to mute the radio or tape
control the
volume.
player. Press again to listen.
Balance: Turn the control ring behind
the upper knob slightly to the left or
right to adjust the lefthight speaker
balance.
Lower Knob (TUNE): This knob does
two things:
Turn it slightly to the left or right to
tune in radio stations. If you hold it to
the left or right, it will tune rapidly.
You can also turn it one stop at a time
to fine-tune a specific frequency.
Press it to change between the AM
and FM bands. The band you select
will appear momentarily on the digital
display.
Fade: Turn the control ring behind the
lower knob slightly to the left or right to
adjust the fronthear speaker balance.
4SEEKb: Press to seek and stop on
the next station higher or lower on the
radio band.
SCAN: When you press SCAN, the
radio will
go to the next station and
pause there for a few seconds.
SCAN
will display on the digital screen. Press
SCAN again to stop on a station.
RCL (Recall): When the ignition is off,
press to display the clock. When the
radio
is on, press to change between the
clock and radio station frequency
displayed on the digital screen.
BASS: Adjusts the bass level up or
down. The bottom
of the digital screen
will display the level you have selected.
For a normal listening level preset at the
factory, press the center of the switch.
TREB (Treble): Adjusts the treble level
up or down. The bottom of the digital
screen will display the level you have
selected. For a normal listening level
preset at the factory, press the center of
the switch.
ProCarManuals.com
Page 127 of 276
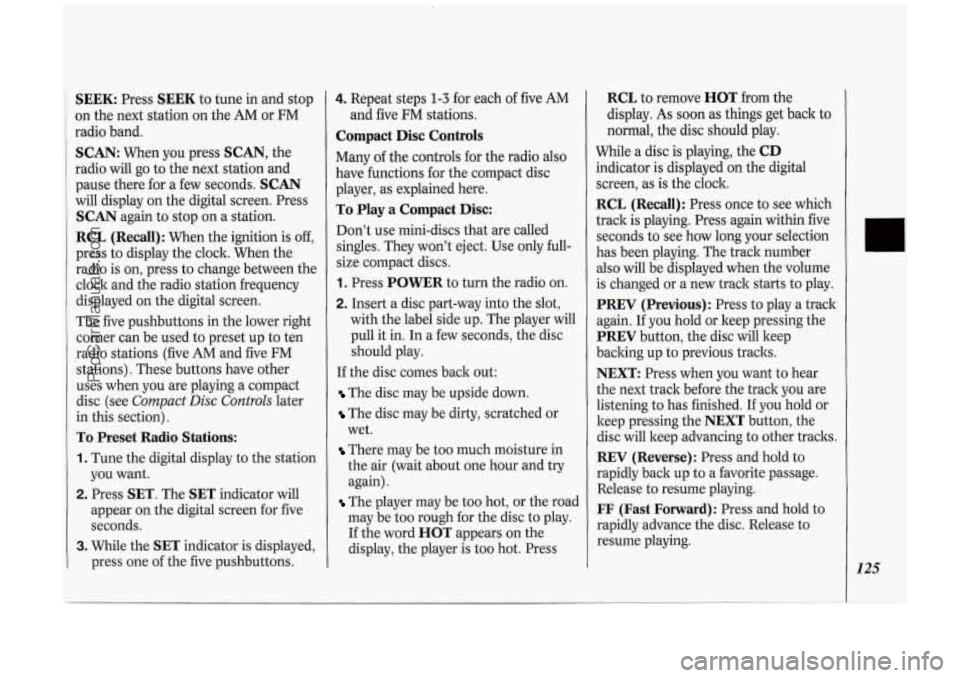
SEEK: Press SEEK to tune in and stop
on the next station on the
AM or FM
radio band.
SCAN: When you press SCAN, the
radio will go to the next station and
pause there for a few seconds.
SCAN
will display on the digital screen. Press
SCAN again to stop on a station.
RCL (Recall) : When the ignition is off,
press to display the clock. When the
radio is on, press to change between the
clock and the radio station frequency
displayed on the digital screen.
The five pushbuttons in the lower right
corner can be used to preset up to ten
radio stations (five AM and five FM
stations). These buttons have other
uses when you are playing a compact
disc (see
Compact Disc Controls later
in this section).
To Preset Radio Stations:
1. Tune the digital display to the station
you want.
2. Press SET. The SET indicator will
appear on the digital screen for five
seconds.
3. While the SET indicator is displayed,
press one of the five pushbuttons.
4. Repeat steps 1-3 for each of five AM
and five FM stations.
Compact Disc Controls
Many of the controls for the radio also
have functions for the compact disc
player, as explained here.
To Play a Compact Disc:
Don’t use mini-discs that are called
singles. They won’t eject. Use only full-
size compact discs.
1. Press POWER to turn the radio on.
2. Insert a disc part-way into the slot,
with the label side up. The player will
pull it in. In a few seconds, the disc
should play.
If the disc comes back out:
The disc may be upside down.
The disc may be dirty, scratched or
wet.
There may be too much moisture in
the air (wait about one hour and
try
again).
The player may be too hot, or the road
may be too rough for the disc to play.
If the word
HOT appears on the
display, the player is too hot. Press
RCL to remove HOT from the
display. As soon as things get back to
normal, the disc should play.
While a disc is playing, the
CD
indicator is displayed on the digital
screen, as is the clock.
RCL (Recall): Press once to see which
track is playing. Press again within five
seconds to see how long your selection
has been playing. The track number
also will be displayed when the volume
is changed or a new track starts to play.
PREV (Previous): Press to play a track
again. If you hold or keep pressing the
PREV button, the disc will keep
backing up to previous tracks.
NEXT: Press when you want to hear
the next track before the track you are
listening to has finished. If you hold or
keep pressing the
NEXT button, the
disc will keep advancing to other tracks.
REV (Reverse): Press and hold to
rapidly back up to a favorite passage.
Release to resume playing.
FF (Fast Forward): Press and hold to
rapidly advance the disc. Release to
resume playing.
r
125
ProCarManuals.com
Page 128 of 276
Comfort Conboh &Audio Systems
126
COMP (Compression): Press this
button to make soft and loud passages
more equal in volume. Press again to
resume normal play.
When Finished with the Compact
Disc Player:
If you press POWER or turn off the
ignition, the disc will stay in the player
and start again when you turn on the
ignition or power switch. The disc will
begin playing at the point where it had
been stopped.
ST/PL (Stop/Play): Press to stop the
disc player; the radio will play. Press
again to play the disc (the player will
start playing the disc where it was
stopped earlier).
EJCT (Eject): Press to eject the disc;
the radio will play.
CD Player Anti-Theft Feature
Delco LOC 110 is a security feature for
the compact disc player. It can be used
or ignored. If ignored, the system plays
normally. If it is used, your player won’t
be usable if it is ever stolen, because it will go
to LOC mode any time battery
power is removed. Until an
unLOC
code is entered, it will not turn on.
The instructions below tell you how to
enter
a secret code into the system. If
your vehicle loses battery power for any
reason, you must unlock the system
with the secret code before the radio
will turn on.
To Set the Anti-Theft System:
1. Write down any six-digit number and
2. Turn the ignition to the Accessory or
3. Press the POWER button to turn the
4. Press the PREV and FF buttons
keep
it in a safe place.
Run position.
radio off.
together. Hold them down until
“- - -”
shows on the display (at least five
seconds).
You are ready to enter your
secret code.
NOTE: If you allow more than
15
seconds to elapse between any steps,
the radio automatically reverts to time
and you must start the procedure over
at step
4.
5. Press SET and 000 will appear on
6. Press and hold SEEK until the first
7. Press and hold SCAN until the
the
display.
digit
of your code appears.
second and third digits of your code
appear.
8. Press AM/FM and 000 will appear
again. Now you are ready to enter the
last three digits of your code.
9. Repeat steps 6 and 7 for the last three
digits of your code.
IO. Press AM/FM and rEP will appear.
11. Repeat steps 6 through 10. This
time
SEC will appear, indicating
that the radio is secure. If
“- - -”
appears, the steps were not
successful and you must repeat the
entire procedure.
To Unlock the System After a Power
Loss:
When battery power is reapplied to a
secured radio, the radio won’t turn on
and
LOC will appear on the display.
Enter your secret code as follows; pause
no more than
15 seconds between
steps.
ProCarManuals.com
Page 130 of 276
Comfort Controls &Audio Systems
128
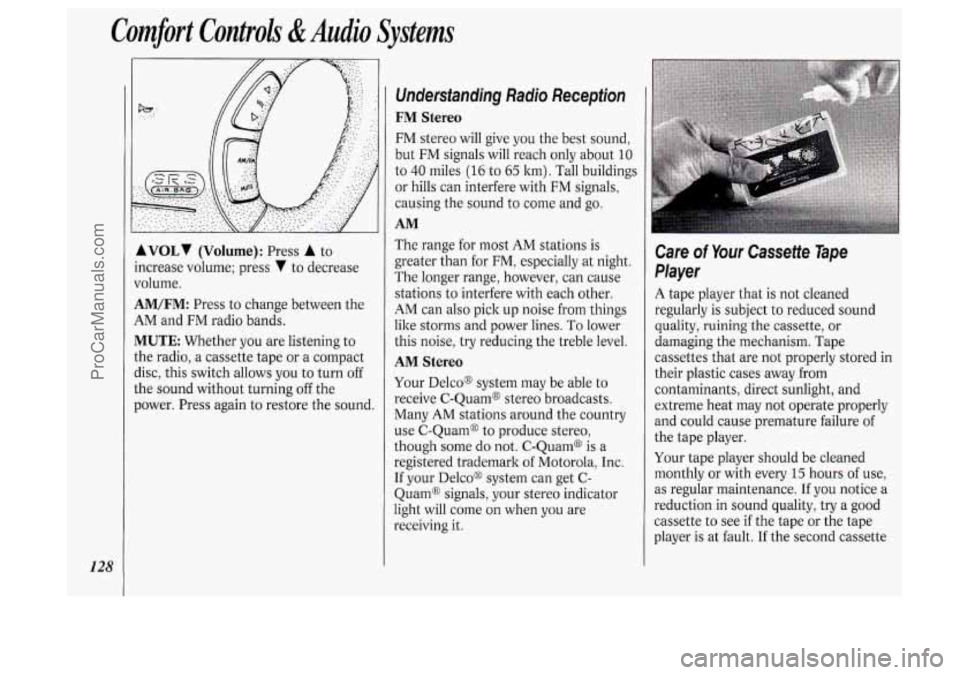
AVOLI (Volume): Press A to
ncrease volume; press
V to decrease
Jolume.
4M/FM: Press to change between the
4M and FM radio bands.
MUTE Whether you are listening to
:he radio, a cassette tape or a compact
lisc, this switch allows
you to turn off
;he sound without turning off the
lower. Press again to restore the sound.
Undersfanding Radio Reception
FM Stereo
FM stereo will give you the best sound,
but FM signals will reach only about
10
to 40 miles (16 to 65 km). Tall buildings
or hills can interfere with FM signals,
causing the sound to come and go.
AM
The range for most AM stations is
greater than for
FM, especially at night.
The longer range, however, can cause
stations to interfere with each other.
AM can also pick up noise from things
like storms and power lines.
To lower
this noise, try reducing the treble level.
AM Stereo
Your Delcoo system may be able to
receive C-Quam@ stereo broadcasts.
Many
AM stations around the country
use C-Quam@ to produce stereo,
though some
do not. C-Quam@ is a
registered trademark of Motorola, Inc.
If your Delco@ system can get C-
Quam@ signals, your stereo indicator
light will come
on when you are
receiving it.
Care of Your Cassette Tape
Player
A tape player that is not cleaned
regularly is subject to reduced sound
quality, ruining the cassette, or
damaging the mechanism. Tape
cassettes that are not properly stored in
their plastic cases away from
contaminants, direct sunlight, and
extreme heat may not operate properly
and could cause premature failure
of
the tape player.
Your tape player should be cleaned
monthly or with every
15 hours of use,
as regular maintenance. If you notice a
reduction in sound quality, try a good
cassette to see
if the tape or the tape
player is at fault.
If the second cassette
ProCarManuals.com
Page 131 of 276
results in no improvement in sound
quality,
try cleaning the tape player.
Proper tape player cleaning should be
done with a
wiping action nonabrasive
cleaner cassette. To properly clean your
; tape player, you should follow the
I
directions on the cleaning cassette.
Cassettes are subject to wear and the
1 sound quality may degrade over time.
Always verlfy that the cassette tape is in
good condition before obtaining service
on your tape player.
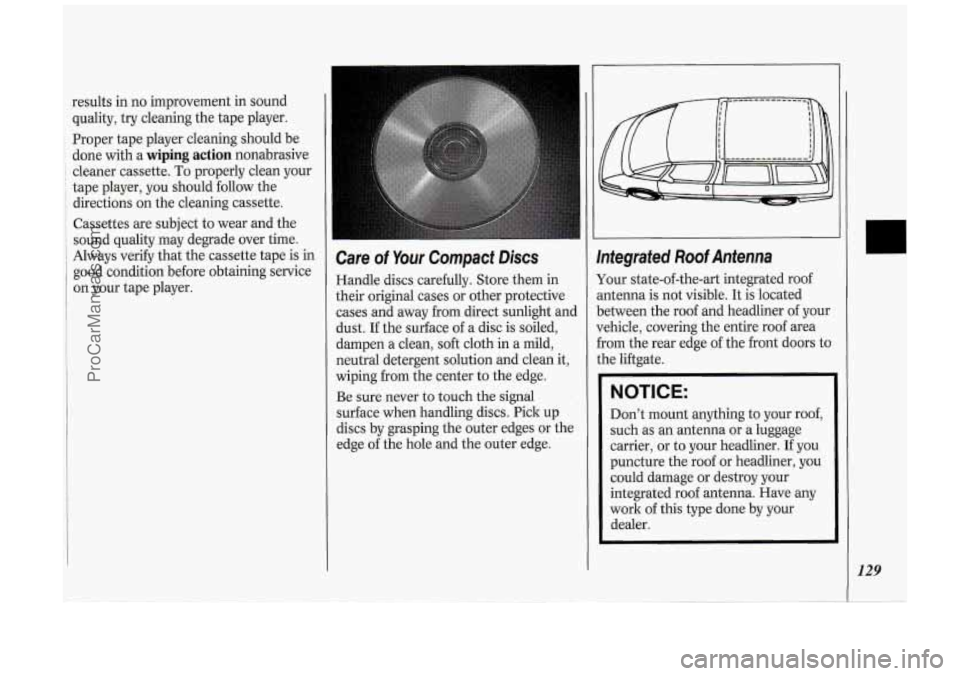
:are of Your Compact Discs
Handle discs carefully. Store them in
their original cases or other protective
cases and away from direct sunlight and
dust. If the surface of a disc is soiled,
dampen a clean, soft cloth in a mild,
neutral detergent solution and clean it,
wiping
from the center to the edge.
Be sure never to touch the signal
surface when handling discs. Pick up
discs by grasping the outer edges or the
edge of the hole and the outer edge.
In
YC
an
be
ve
frc
th
I
I
mtegrated Roof Antenna
)ur state-of-the-art integrated roof
ltenna is not visible. It is located
!tween the roof and headliner of your
Ihicle, covering the entire roof area
3m the rear edge
of the front doors to
.e liftgate.
NOTICE:
Don't mount anything to your roof,
such as an antenna or a luggage
carrier, or to your headliner. If you
puncture the roof or headliner, you
could damage or destroy your
integrated roof antenna. Have any
work of this type done by your
dealer.
129
ProCarManuals.com
Page 265 of 276
lndex
Accessory Power Outlet ................... 84
Adding Brake Fluid
............................. 201. 227
Electrical Equipment
........ .60. 117 . 2 19
Engine Coolant
.......... 167.197.224. 227
Engine Oil
.............................. 190. 224
Power Steering Fluid
..... 199.225. 227
Sound Equipment
.......................... 11 7
Transaxle Fluid
.............. 195. 224. 227
Windshield Washer Fluid
...... 200. 227
Air Bag Readiness Light
..................... 27
Air Bags
............................................... 26
Air Cleaner
............................... 194. 226
Air Conditioner
................................ 11 1
Air Inflator System ............................. 85
Alcohol. Driving Under the
Influence
of ..................................... 132
Alcohol in Gasoline
.......................... 183
Aluminum Wheels .................... 21 1. 216
Antenna
............................................ 129
Anti-Lock
.......................................... 135
Anti-Lock Brake System
................... 135
Brake Master Cylinder ................... 201
Junction Block Fuse
...................... 222
Warning Light
................................ 104
Appearance Care
.............................. 212
Adjusting
Rear Seats
.......................... 17
Antifreeze
......................... 197. 224. 227
Ashtrays and Lighter
.................... 89. 90 Audio
Systems
.................................. 117
AM/FM Stereo Radio
.................... 1 19
AM/FM Stereo Radio with Compact
Disc Player
..................................... 124
Care
of Audio Systems .................. 128
Setting the Clock
........................... 117
Steering Wheel Touch Controls
.... 127
Adding Fluid
.................. 197. 225. 227
Checking Fluid
............................... 195
Shifting
............................................. 62
Battery
............................................ 203
Jump Starting
................................. 158
Battery Warning Gage ...................... 103
Blizzard
............................................. 149
Brake Cassette
Player
...................... 120. 122
Radio Reception. For the Best
...... 128
Automatic Transaxle
(( Blowout. .. Tire ................................ 172
Adjustment
.................................... 202
Anti-Lock Brakes
.......................... 135
Anti-Lock Brake System Warning
Light
............................................ 104
Fluid
....................................... 201. 227
Parking
............................................. 65
Pedal Travel
................................... 202
Rear
Drums .................................... 202
Junction
Block Fuse
...................... 222
Master Cylinder
............................. 201 Warning Light
................................ 103
Wear Indicators
............................. 202
Brake System Warning Light
........... 103
Braking
............................................. 134
Braking in Emergencies
................... 138
Braking Technique
........................... 134
“Break.1n.
.. New Vehicle ............. 57. 152
Bucket Seats. Removable Rear
.......... 15
Buckling Up (see
Safety Belts)
Bulb Replacement
Headlight
....................................... 203
Taillight
.......................................... 204
Bulbs, Replacement
.......................... 228
Capacities
81 Specifications ............ 224
Carbon Monoxide in
Exhaust
...................... 57, 68. 150. 154
Cassette Tape Player
(see
Audio Systems )
Center Passenger Position
(see
Safety Belts)
Chains. Safety ................................... 154
Chains. Tire
.............................. 179, 212
Changing a Flat Tire
......................... 172
Checking
Brake Fluid
.................................... 201
Engine Coolant
.............................. 197
Engine Oil ...................................... 190
Power Steering Fluid
..................... 199
Safety Belt Systems
......................... 41
.
263
ProCarManuals.com