1994 OLDSMOBILE SILHOUETTE clock
[x] Cancel search: clockPage 49 of 276
remote lock control transmitter, or lock
it manually by turning the lock
counterclockwise.
With this feature you can unlock all of
the doors from the outside by holding
the ltey in the unlock position for one
second. To unlock only the driver’s or
passenger’s door, turn the key to the
unlock position and release.
From the inside, when the ignition is on
and the driver’s door is closed,
all doors
will lock each time you move the shift
lever out of
P (Park). If the passenger
door or the liftgate are open when you
move the shift lever out of
P (Park),
they will lock when closed.
If the sliding door is open when you
move the shift lever out of
P (Park), a
lock delay feature allows the sliding
door to lock five seconds after it is
closed. All other doors will lock again,
too.
With the automatic door loclts feature,
you can still lock or unlock the doors at
any time, either manually or with the
power door lock switches.
Overriding Lock Delay
To override the lock delay feature, press
the front of the power door loclts switch
(the unlock position) while the shift
lever is in
P (Park).
If you have the remote lock control
system, there are three additional ways
you can disable the loclt delay feature
(see
Remote Lock Control later in this
section)
:
Press the unlock symbol on your
remote transmitter,
Return the shift lever to P (Park), or
Turn the ignition off.
Customizing Your Automatic Door
Locks Feature
With the remote lock control system
you can customize your automatic door
loclts feature to suit your individual
needs. (See
Remote Lock ControZ later
in this section.)
With the doors closed and the ignition
on, press and hold the driver’s power
door lock switch in the lock position for
ten seconds. The doors will lock, then
unlock, indicating that you have ten
seconds in which to program one of
four custom modes.
To program the automatic door loclts
system to unlock only the driver’s
door when the shift lever is returned
to
P (Park), press the unlock symbol
on your remote transmitter once. The
driver’s door will unlock, indicating
that this mode has been successfully
programmed.
To program the automatic door loclts
system to unlock all doors when the
shift lever
is returned to P (Park):
press the unlock symbol on your
remote transmitter once (the driver’s
door will unlock), then press the
unlock symbol again. All doors will
unlock, indicating that this mode has
been successfully programmed.
To program the automatic door loclts
system to leave all doors locked when
the shift lever is returned to
P (Park),
press the lock symbol on your remote
transmitter once. All doors will lock,
indicating that this mode has been
successfully programmed.
loclts system, press the lock symbol
on your remote transmitter once (all
doors will lock)
. Then press the lock
symbol again. All doors will lock
To disengage the automatic door
47
ProCarManuals.com
Page 52 of 276
Features & Controls
50
Battery Replacement
Under normal use, the batteries in your
key chain transmitter should last about
two years.
You can tell the batteries are weak if the
transmitter won‘t work at the normal
range in any location.
If you have to get
close to your vehicle before the
transmitter works, it’s probably time
to
change the batteries.
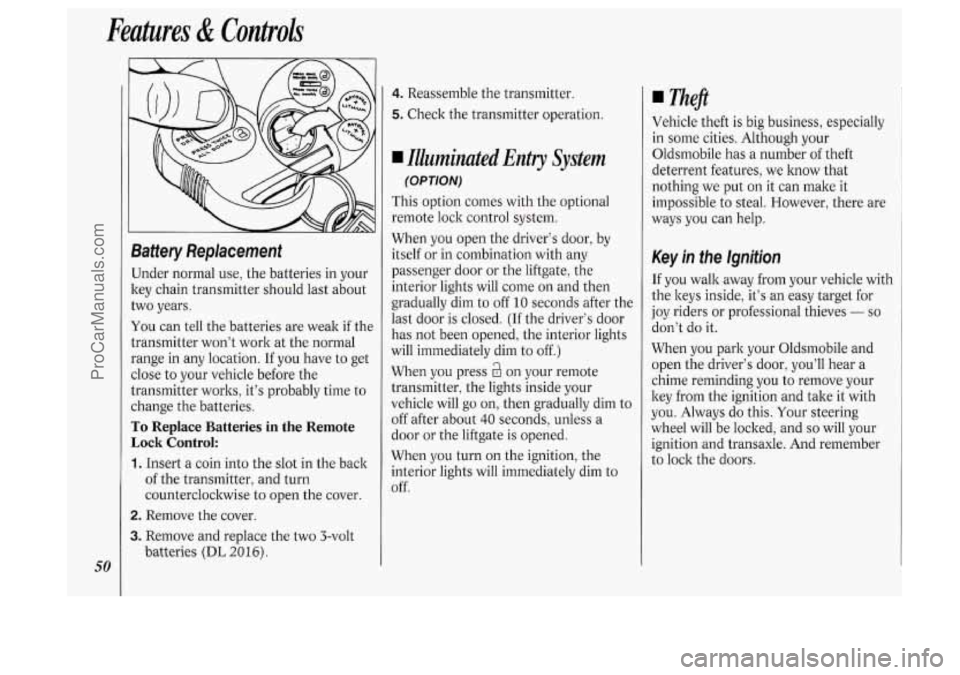
To Replace Batteries in the Remote
Lock Control:
1. Insert a coin into the slot in the back
of the transmitter, and turn
counterclockwise to open the cover.
2. Remove the cover.
3. Remove and replace the two 3-volt
batteries
(DL 20 16).
4. Reassemble the transmitter.
5. Check the transmitter operation.
I Illuminated Entry System
(OPTION)
This option comes with the optional
remote lock control system.
When you open the driver’s door, by
itself or in combination with any
passenger door or the liftgate, the
interior lights will come on and then
gradually dim to off
10 seconds after the
kt door is closed.
(If the driver’s door
has not been opened, the interior lights
will immediately dim to off.)
When you press
a on your remote
transmitter, the lights inside your
vehicle will go on, then gradually dim to
off after about
40 seconds, unless a
door or the liftgate is opened.
When you turn on the ignition, the
interior lights will immediately dim to
off. Vehicle
theft is big business, especially
in some cities. Although your
Oldsmobile has a number of theft
deterrent features, we know that
nothing we put
on it can make it
impossible to steal. However, there are
ways you can help.
Key in the Ignition
If you walk away from your vehicle with
the keys inside, it’s an easy target for
joy riders or professional thieves
- so
don’t do it.
When you park your Oldsmobile and
open the driver’s door, you’ll hear a
chime reminding you to remove your
key from the ignition and take it with
you. Always do this. Your steering
wheel will be locked, and
so will your
ignition and transaxle. And remember
to lock the doors.
ProCarManuals.com
Page 58 of 276
Features & Controls
56
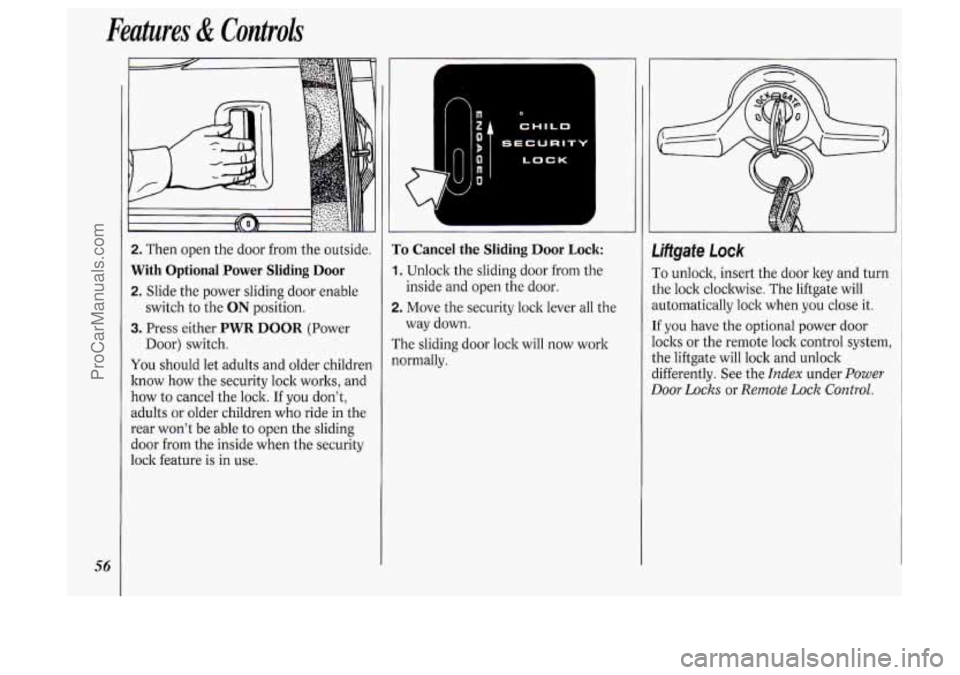
2. Then open the door from the outside.
With Optional Power Sliding Door
2. Slide the power sliding door enable
3. Press either PWR DOOR (Power
You should let adults and older children
know how the security lock works, and
how to cancel the lock.
If you don’t,
adults or older children who ride in the
rear won’t be able to open the sliding
door from the inside when the security
lock feature is
in use.
switch
to the ON position.
Door) switch.
0
CHILD
bECURIT
LOCK
To Cancel the Sliding Door Lock:
1. Unlock the sliding door from the
2. Move the security lock lever all the
The sliding door lock will now work
normally. inside
and open the door.
way down.
~
!iffgate Lock
I‘o unlock, insert the door key and turn
:he lock clockwise. The liftgate will
mtomatically lock when
you close it.
[f you have the optional power door
ocks or the remote lock control system,
:he liftgate will lock and unlock
lifferently. See the
Index under Power
9oor Locks or Remote Lock Control.
ProCarManuals.com
Page 95 of 276
NOTICE:
Loading cargo that weighs more
than
125 pounds (56 kg) on the
luggage carrier may damage your
vehicle. When you carry cargo
on
the luggage carrier of a proper size
and weight, put it
on the slats, as
far forward as
you can. Then slide
the crossrail up against the rear of
the load, to help keep it from
moving. You can then tie it down. Don’t
exceed the maximum vehicle
sapacity when loading your Oldsmobile.
For more information
on vehicle
capacity and loading, see the
Index
under Loading Your Vehicle.
To prevent damage or loss of cargo as
you’re driving, check now and then to
make sure the luggage carrier and cargo
are still securely fastened.
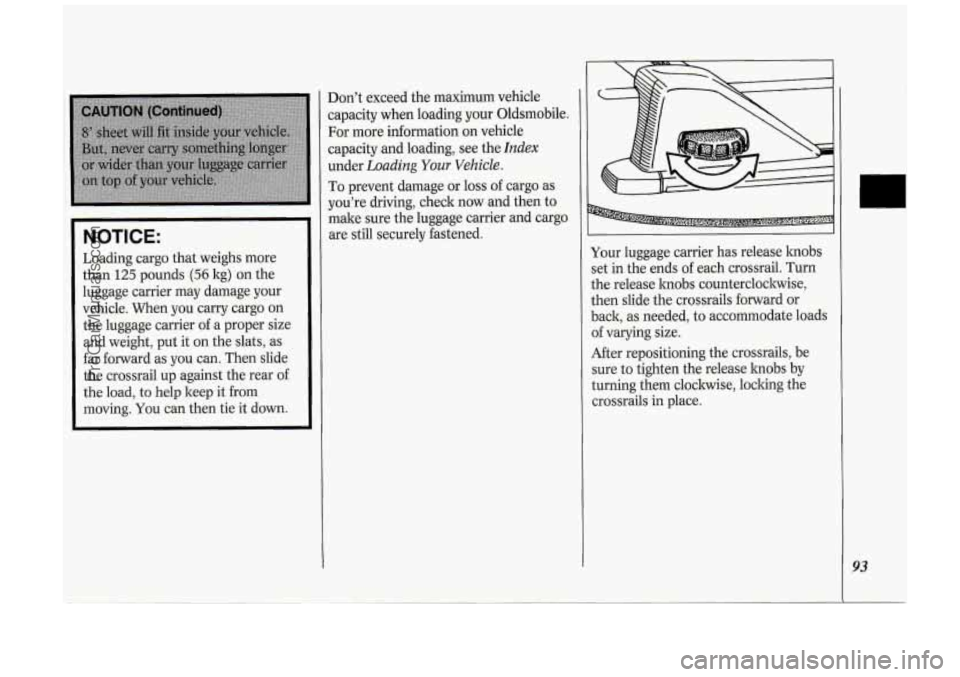
Your luggage carrier has release hobs
set in the ends of each crossrail. Turn
the release hobs counterclockwise,
then slide the crossrails forward or
back, as needed, to accommodate loads
of varying size.
After repositioning the crossrails, be
sure to tighten the release hobs by
turning them clockwise, locking the
crossrails in place.
93
ProCarManuals.com
Page 96 of 276
Features & Controls
94
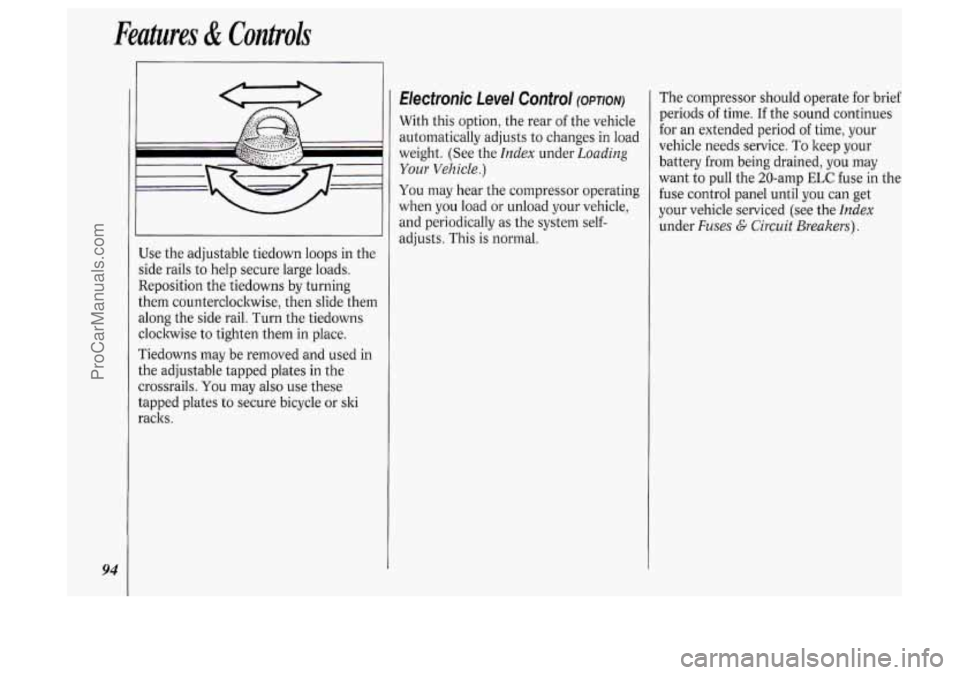
Use the adjustable tiedown loops in the
side rails
to help secure large loads.
Reposition the tiedowns by turning
them counterclockwise, then slide them
along the side rail. Turn the tiedowns
cloclnvise
to tighten them in place.
Tiedowns may be removed and used in
the adjustable tapped plates in the
crossrails.
You may also use these
tapped plates to secure bicycle or ski
racks.
Electronic Level Control (OPTION)
With this option, the rear of the vehicle
automatically adjusts to changes in load
weight. (See the
Index under Loading
Your Vehicle.)
You may hear the compressor operating
when you load or unload your vehicle,
and periodically
as the system self-
adjusts. This is normal. The compressor
should operate for brief
periods of time. If the sound continues
for an extended period
of time, your
vehicle needs service. To keep your
battery from being drained, you may
want to pull the 20-amp
ELC fuse in the
fuse control panel until you can get
your vehicle serviced (see the
Index
under Fuses G Circuit Breakers).
ProCarManuals.com
Page 111 of 276
In this part you’ll find out how to
operate the comfort control systems
and audio systems offered with your
Oldsmobile
. Be sure to read about
the particular system supplied with
your vehicle
.
Part
Comfort Controls & Audio Systems
Climate Control System ........................................................................\
.................. 110
Rear Climate Control ........................................................................\
...................... 113
Defogging and Defrosting
........................................................................\
............... 115
Rear Window Defogger
........................................................................\
................... 115
AM/FM Stereo Radio
........................................................................\
..................... 119
Setting the
Clock
........................................................................\
............................. 117
AM/FM Stereo with Cassette Player
...................................................................... 120
AM/FM Stereo with Cassette Player with Dolby@
................................................ 122
AM/FM Stereo with Compact Disc Player ............................................................ 124
Compact Disc Player Anti-Theft Feature ............................................................... 126
Steering Wheel Touch Controls ........................................................................\
...... 127
Understanding Radio Reception ........................................................................\
..... 128
Care of Your Compact Discs
........................................................................\
.......... 129
Integrated Roof Antenna
........................................................................\
................ 129
Care
of Your Cassette Tape Player
........................................................................\
. 128
ProCarManuals.com
Page 119 of 276
4 Audio Systems
The following pages describe the audio
systems available for your Oldsmobile,
and how to get the best performance
from them. Please read about the
system in your vehicle.
Hearing damage from loud noise is
almost undetectable until it is too late.
Your hearing can adapt to higher
volumes of sound. Sound that seems
normal can be loud and harmful to your
hearing. Take precautions by adjusting
the volume control on your radio to a
safe sound level before your hearing
adapts
to it.
To help avoid hearing loss or damage:
1. Adjust the volume control to the
lowest setting.
2. Increase volume slowly until you
hear comfortably and clearly.
NOTICE:
Before you add any sound
equipment
to your vehicle - like a
tape player,
CB radio, mobile
telephone or two-way radio
- be
sure you can add what you want. If
you can, it’s very important to do it
properly. Added sound equipment
may interfere with the operation
of
your vehicle’s engine, Delco@ radio
or other systems, and even damage
them. And, your vehicle’s systems
may interfere with the operation of
sound equipment that has been
added improperly.
So, before
adding sound equipment, check
with your dealer and be sure to
check Federal rules covering mobile
radio and telephone units.
111 111 AUTO REVERSE
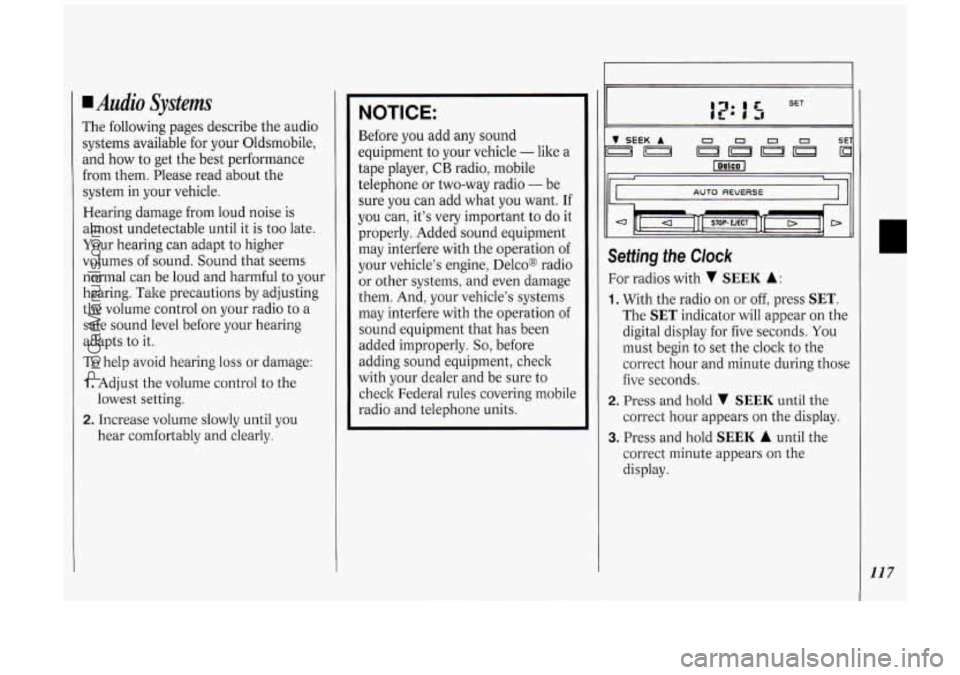
Setting the Clock
For radios with v SEEK A:
1. With the radio on or off, press SET.
The SET indicator will appear on the
digital display for five seconds. You
must begin to set the clock to the
correct hour and minute during those
five seconds.
correct hour appears on the display.
2. Press and hold v SEEK until the
3. Press and hold SEEK A until the
correct minute appears on the
display.
117
ProCarManuals.com
Page 120 of 276
Comfort Controli &Audio Systems
118
bc
1.
2.
3.
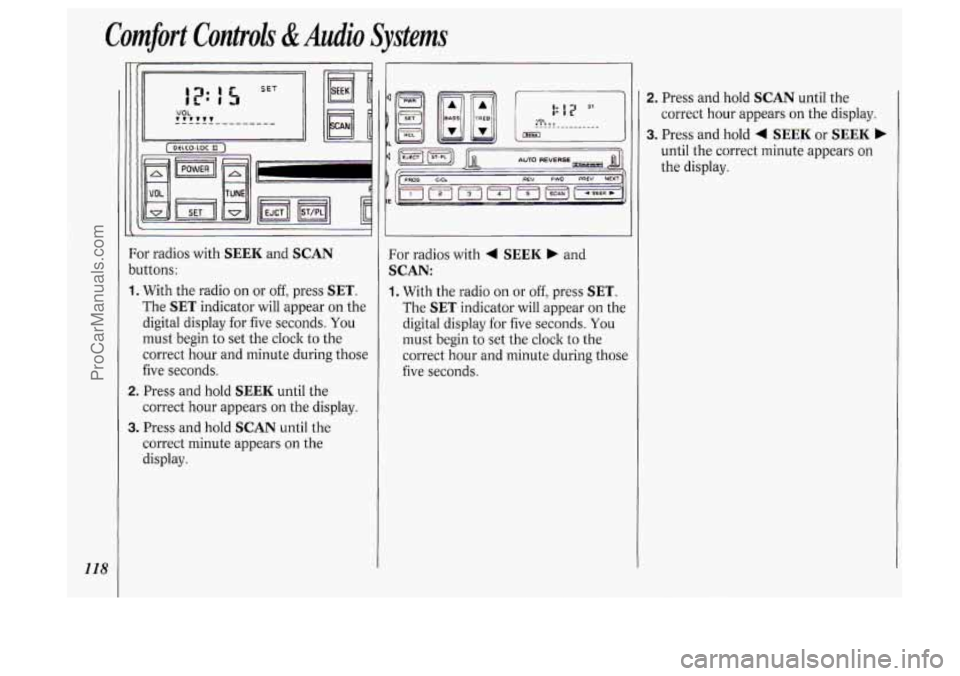
)r radios with SEEK and SCAN
Ittons:
With the radio on or
off, press SET.
The SET indicator will appear on the
digital display for five seconds. You
must begin to set the clock to the
correct hour and minute during those
five seconds.
Press and hold
SEEK until the
correct hour appears
on the display.
Press and hold
SCAN until the
correct minute appears on the
display. For radios with
4 SEEK b and
SCAN:
1. With
the radio on or off, press SET.
The SET indicator will appear on the
digital display
for five seconds. You
must begin to set the clock to the
correct hour and minute during those
five seconds.
1
2. Press and hold SCAN until the
correct hour appears
on the display.
3. Press and hold 4 SEEK or SEEK b
until the correct minute appears on
the display.
ProCarManuals.com