1994 CHEVROLET CORVETTE lock
[x] Cancel search: lockPage 220 of 274
Downloaded from www.Manualslib.com manuals search engine Fuses and Circuit
Breakers
The wiring circuits in your vehicle are
protected from short circuits by a
combination of maxi-fuses, mini-fuses
and circuit breakers. This greatly reduces
the chance of fires caused by electrical
problems.
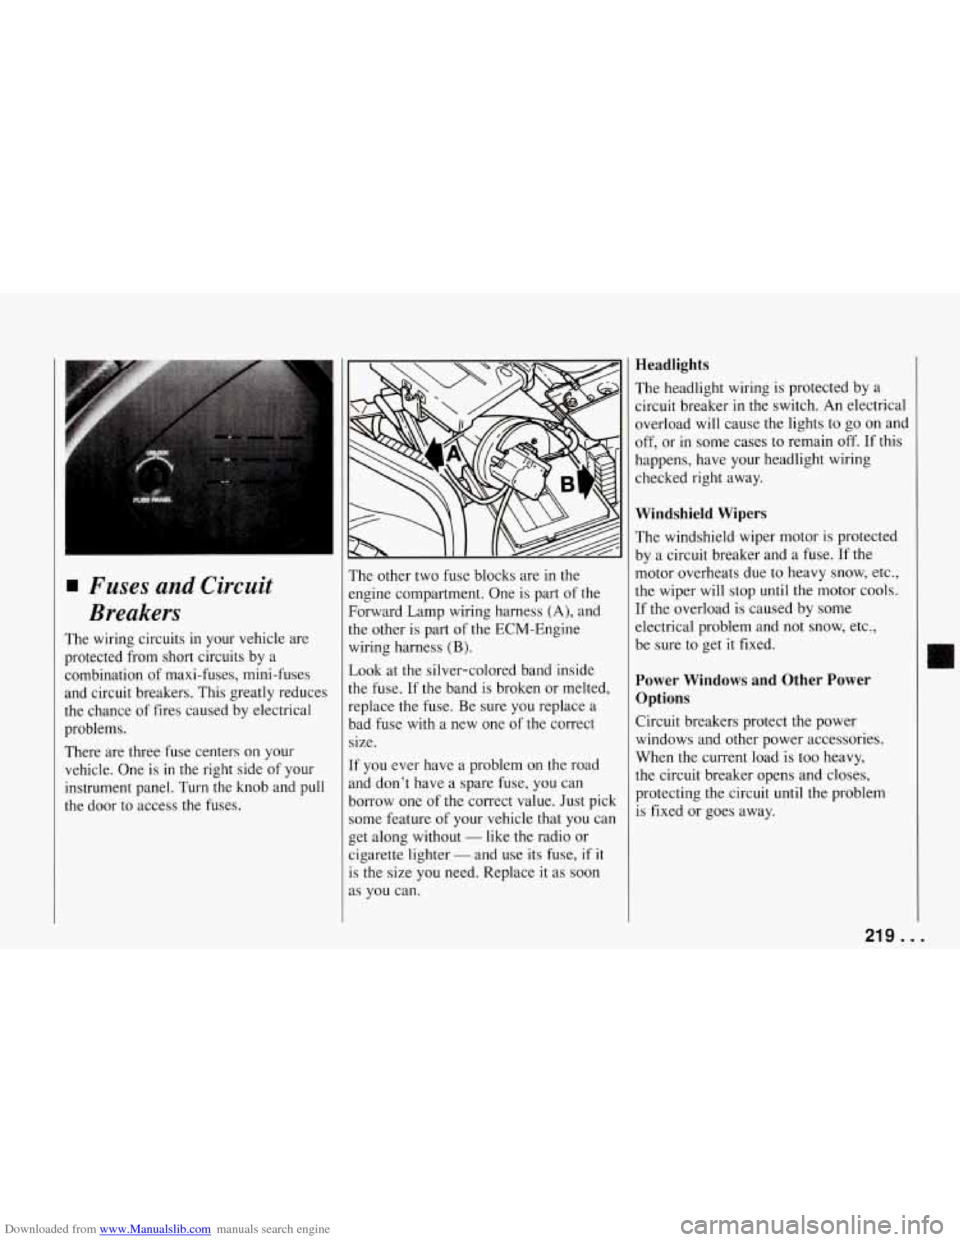
There are three fuse centers on your
vehicle. One
is in the right side of your
instrument panel. Turn the knob and pull
the door to access the fuses. The other
two fuse blocks are in the
engine compartment. One is part of the
Forward Lamp wiring harness
(A), and
the other is part of the ECM-Engine
wiring harness
(B).
Look at the silver-colored band inside
the fuse. If the band is broken or melted,
replace the fuse. Be sure you replace a
bad fuse with a new one of the correct
size.
If you ever have a problem on the road
and don’t have a spare fuse, you can
borrow one of the correct value. Just pick
some feature of your vehicle that you can
get along without
- like the radio or
cigarette lighter
- and use its fuse, if it
is the size you need. Replace it as soon
as you can.
Headlights
The headlight wiring is protected by a
circuit breaker
in the switch. An electrical
overload will cause the lights to go on and
off, or in some cases to remain
off. If this
happens, have your headlight wiring
checked right away.
Windshield Wipers
The windshield wiper motor is protected
by a circuit breaker and a fuse. If the
motor overheats due to heavy snow, etc.,
the wiper will stop until the motor cools.
If the overload is caused by some
electrical problem and not snow, etc.,
be sure to get
it fixed.
Power Windows and Other Power
Options
Circuit breakers protect the power
windows and other power accessories.
When the current load is too heavy,
the circuit breaker opens and closes,
protecting the circuit until the problem
is fixed or goes away.
II
219 ...
Page 221 of 274

Downloaded from www.Manualslib.com manuals search engine Service and Appearance Care
I EoA7 I
POWER WINDOW
lu
D
.
Instrument Panel Fuse Block
1 - A/C Module (5 Amp)
2 - Blank
3 - Windshield WiperNVasher Switch
4 - Radio Receiver Box (Ignition)
5 - Heated Mirrors (5 Amp.)
6 - Taillight, Daytime Running Lights
Module (15 Amp.)
Assembly
(30 Amp.)
(5 Amp.)
7 - Horn Relay
(15 Amp.)
*Export Horn
(20 Amp.)
8 - Hazard Flashers; Brake Switch
(20 Amp.)
9 - Crank-Air Bag (5 Amp.)
10 - Crank-Parmeutral Shitch
(Automatic); Clutch (Manual)
(5 Amp.)
11 - RH Illumination (5 Amp.)
12 - LH Illumination (5 Amp.)
13 - Console Illumination (5 Amp.)
14 - Fuel Pump 1 (10 Amp.)
15 - Fuel Pump 2 (LT5) (IO Amp.)
16 - Central Control Module; Daytime
Running Lights Module
(5 Amp.)
17 - Generator; Vacuum Pump (LT5);
Valet Mode (LT5); EGR Circuit
(LT5); Oxygen Sensors (LT5)
(10 Amp.)
and A/C Control Head; Heater and
A/C Programmer; Rear Defog
Relay
(10 Amp.)
19 - Utility Plug (15 Amp.)
20 - Heated Oxygen Sensors (LT1)
(15 Amp.)
21 - Fuel Pump Relay Coil #2 (LT5);
Selective Ride Control Module;
ABS Module; Transmission Clutch
Control Switch (Automatic);
Air Pump Relay; Diverter Valve;
Secondary Bypass Valve (LT5)
(10 Amp.)
22 - Injectors #1,4,6,7 (LT1); Primary
Injectors #1-8 (LT5); Ignition Coil
Module (LT5); Ignition Coil Plate
Connector (LT5) (10 Amp.)
18 - A/C Compressor Clutch; Heater
. . .220
Page 222 of 274

Downloaded from www.Manualslib.com manuals search engine 23 - Injectors #2, 3, 5, 8 (LTI);
Secondary Injector Relays (#1,2
(LT5); Secondary SF1 Control
Modules (LT5)
(10 Amp.)
24 - Turn Signal Flashers (10 Amp.)
25 - Ignition Coil and Ignition Coil
26 - Passive Keyless Entry Module
27 - Instrument Cluster; Driver Module (10 Amp.)
(5 Amp.)
Information Center; Air Bag Derm; Acceleration Slip Regulation
Switch
(15 Amp.)
Transmission Position Switch; One
to Four Shift Solenoid
(10 Amp.)
29 - Primary Cooling Fan Relay Coil;
Secondary Cooling Fan Relay Coil
28 - Backup Lights Switch;
(5 Amp.)
30 - Direct Ignition Module; Camshaft Sensor; Canister Purge Solenoid;
Throttle Position Sensor Buffer
Module; EGR Circuit (LT1);
31
32
Secondary Air Inlet Solenoid
(LT5); Electronic Ignition Control
Module (LT5); One to Four Shift
Relay
( 10 Amp.)
Power Mirror Adjuster Control;
Lighted Rearview Mirror; Visor
Vanity Mirrors
(5 Amp.)
Cruise Control Engage Switch;
Daytime Running Lights Module;
Low Tire Pressure Warning
Module
(5 Amp.)
33 - Engine Control Module (5 Amp.)
34 - Air Bag System (15 Amp.)
35 - Central Control Module (5 Amp.)
36 - Footwell Courtesy Lights; Door
Courtesy Lights; Glove
Compartment Lights; Lighted
Rearview Mirror
(5 Amp.)
37 - Bose Amplifier Relay; Power
Antenna Relay; Cargo
Compartment Lights
(20 Amp.)
Relay
(5 Amp.)
38 - LCD; Tone Generator; Dome Light
39 - Central Control Module (5 Amp.)
40 - Radio Receiver Box (Battery);
Radio Control Head; Passive
Keyless Entry Module
(5 Amp.)
41 - Sport Seat (10 Amp.)
42 - Power Door Lock Switches; Driver
Information Center; Passive
Keyless Entry Module
(20 Amp.)
43 - A/C Programmer (5 Amp.)
44 - Cigar Lighter; Accessory Plug
45 - Hatch or Deck Lid Release Relay
K - Power Seats (30 Amp. Circuit
L - Blank
M - Power Windows (30 Amp: Circuit
N - Blank
P - Blank
(15 Amp.)
(25 Amp.)
Breaker)
Breaker)
221 . I
Page 223 of 274
Downloaded from www.Manualslib.com manuals search engine Service and Appearance Care
. . .222
1 I INTERIOR LIGHTING
20A I
I RH HDLP 30A I I I
h 3 5 I SECONDARY COOLING FAN
40A I
6 I EXTERIOR LIGHTING
60A
I
7 piiiFiAAccsy
I
AIR PUMP
20A I
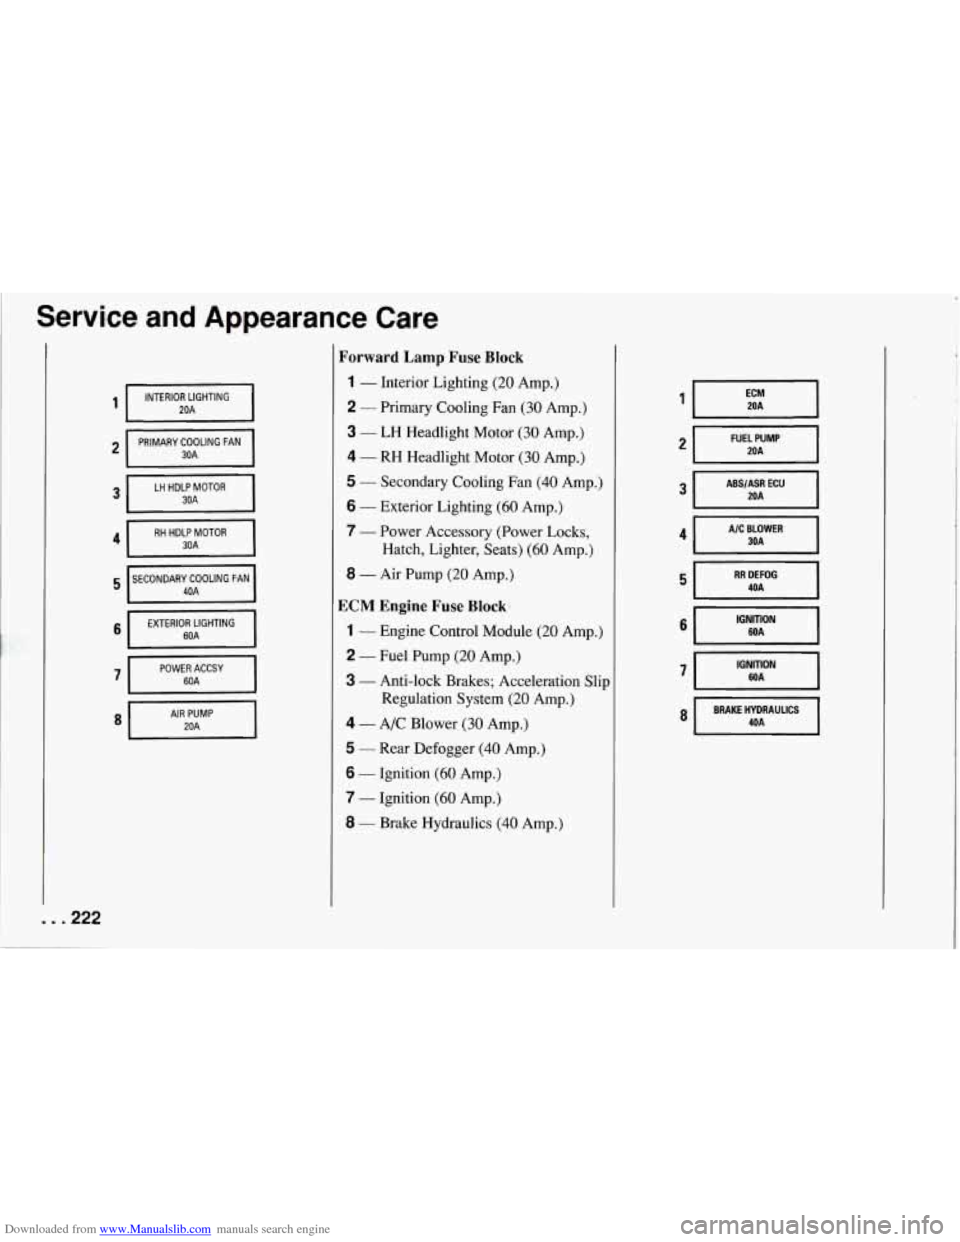
Forward Lamp Fuse Block
1 - Interior Lighting (20 Amp.)
2 - Primary Cooling Fan (30 Amp.)
3 - LH Headlight Motor (30 Amp.)
4 - RH Headlight Motor (30 Amp.)
5 - Secondary Cooling Fan (40 Amp.)
6 - Exterior Lighting (60 Amp.)
7
- Power Accessory (Power Locks, Hatch, Lighter, Seats)
(60 Amp.)
8 - Air Pump (20 Amp.)
ECM Engine Fuse Block.
1 - Engine Control Module (20 Amp.)
2 - Fuel Pump (20 Amp.)
3 - Anti-lock Brakes; Acceleration Slip
Regulation System
(20 Amp.)
4 - A/C Blower (30 Amp.)
5 - Rear Defogger (40 Amp.)
6 - Ignition (60 Amp.)
7 - Ignition (60 Amp.)
8 - Brake Hydraulics (40 Amp.)
FUEL PUMP
ABS/ASR ECU
A/C BLOWER
IGNITION WA I
8 I BRAKE HYDRAULICS 4OA I
Page 240 of 274
Downloaded from www.Manualslib.com manuals search engine I At Least Once a Year
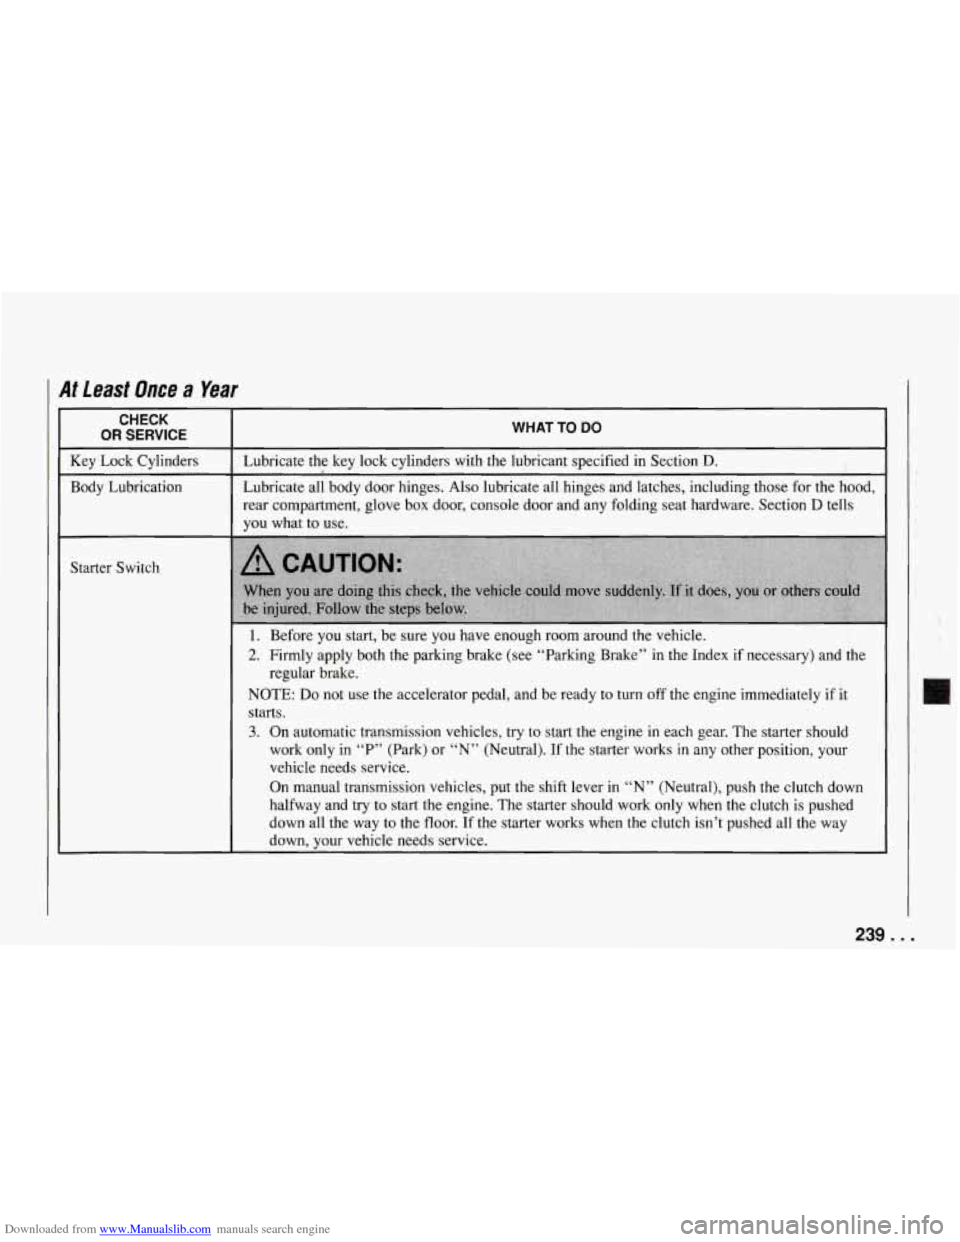
WHAT TO DO
Lubricate the key lock cylinders with the lubricant specified in Section D.
Lubricate all body door hinges. Also lubricate all hinges and latches, including those for the hood,
rear compartment, glove box door, console door and any folding seat hardware. Section
D tells
you what to use.
1. Before you start, be sure you have enough room around the vehicle.
2. Firmly apply both the parking brake (see “Parking Brake” in the Index if necessary) and the
regular brake.
....
NOTE: Do not use the accelerator pedal, and be ready to turn off the engine immediately if it
starts.
3. On automatic transmission vehicles, try to start the engine in each gear. The starter should
work only in
“P” (Park) or “N” (Neutral). If the starter works in any other position, your
vehicle heeds service.
On manual transmission vehicles, put the shift lever in “N” (Neutral), push the clutch down
halfway and try to start the engine. The starter should work only when the clutch is pushed
down all the way to the floor. If the starter works when the clutch isn’t pushed all the way
down, your vehicle needs service.
r::. ,; II
U
239. . .
Page 241 of 274
Downloaded from www.Manualslib.com manuals search engine At Least Once a Year (CONT.)
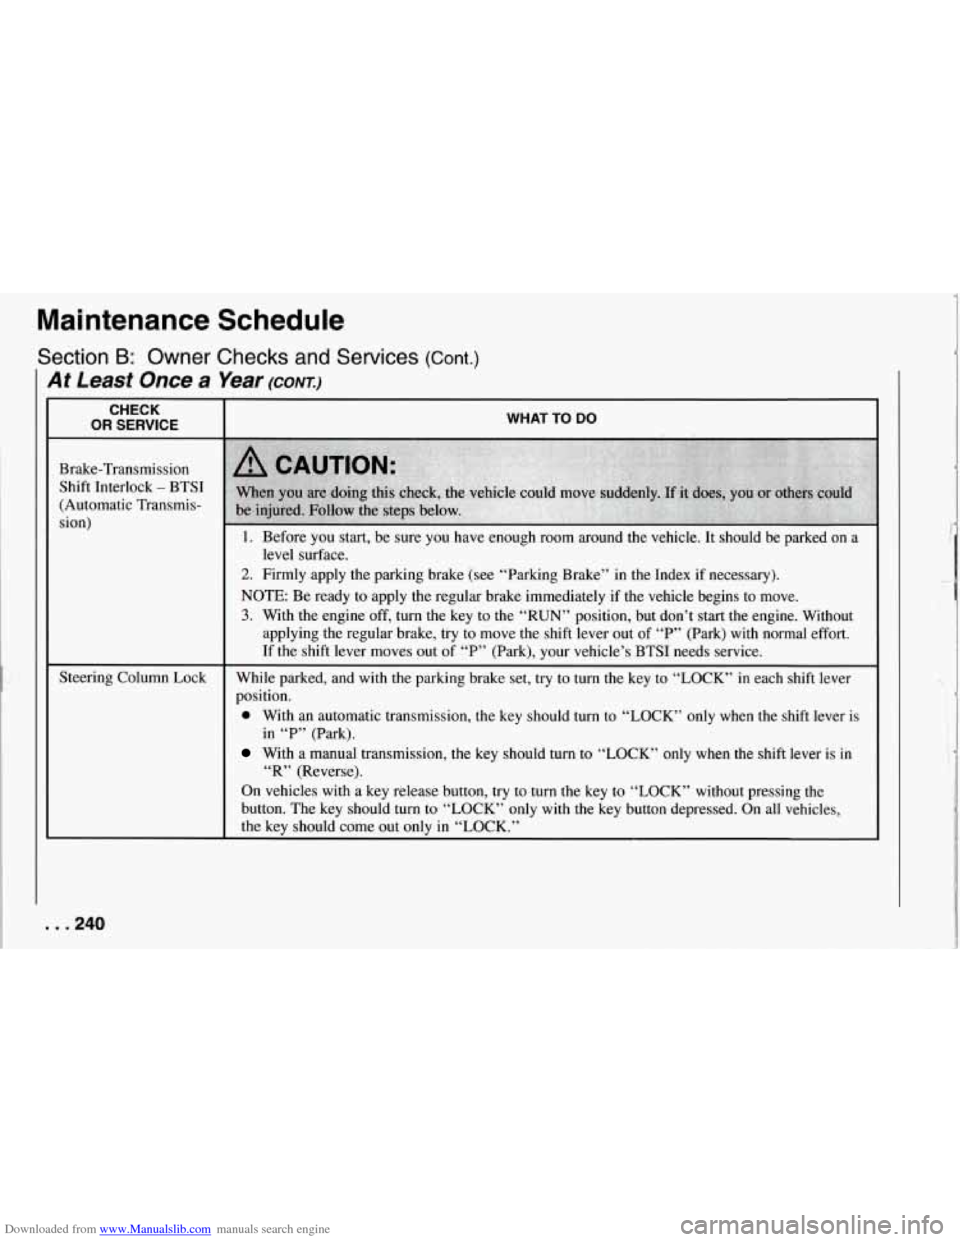
CHECK
OR SERVICE
Brake-Transmission Shift Interlock
- BTSI
(Automatic Transmis-
sion)
Maintenance Schedule
Section B: Owner Checks and Services (Cont.)
Steering Column Lock
WHAT TO DO
1. Before you start, be sure you have enough room around the vehicle. It should be parked on a
2. Firmly apply the parking brake (see “Parking Brake” in the Index if necessary).
NOTE: Be ready to apply the regular brake immediately if the vehicle begins to move.
3. With the engine off, turn the key to the “RUN” position, but don’t start the engine. Without
applying the regular brake, try to move the shift lever out of “P” (Park) with normal effort.
If the shift lever moves out of “P” (Park), your vehicle’s BTSI needs service.
level surface.
While parked, and with the parking brake set,
try to turn the key to “LOCK” in each shift lever
position.
0 With an automatic transmission, the key should turn to “LOCK” only when the shift lever is
With a manual transmission, the key should turn to “LOCK” only when the shift lever is in
On vehicles with a key release button, try to turn the key to “LOCK” without pressing the
button. The key should turn to. “LOCK” only with the key button depressed. On all vehicles,
the key should come out only in “LOCK.”
in
“P” (Park).
“R” (Reverse).
. . .240
Page 244 of 274
Downloaded from www.Manualslib.com manuals search engine INSPECTION
OR SERVICE
I WHAT SHOULD BE DONE
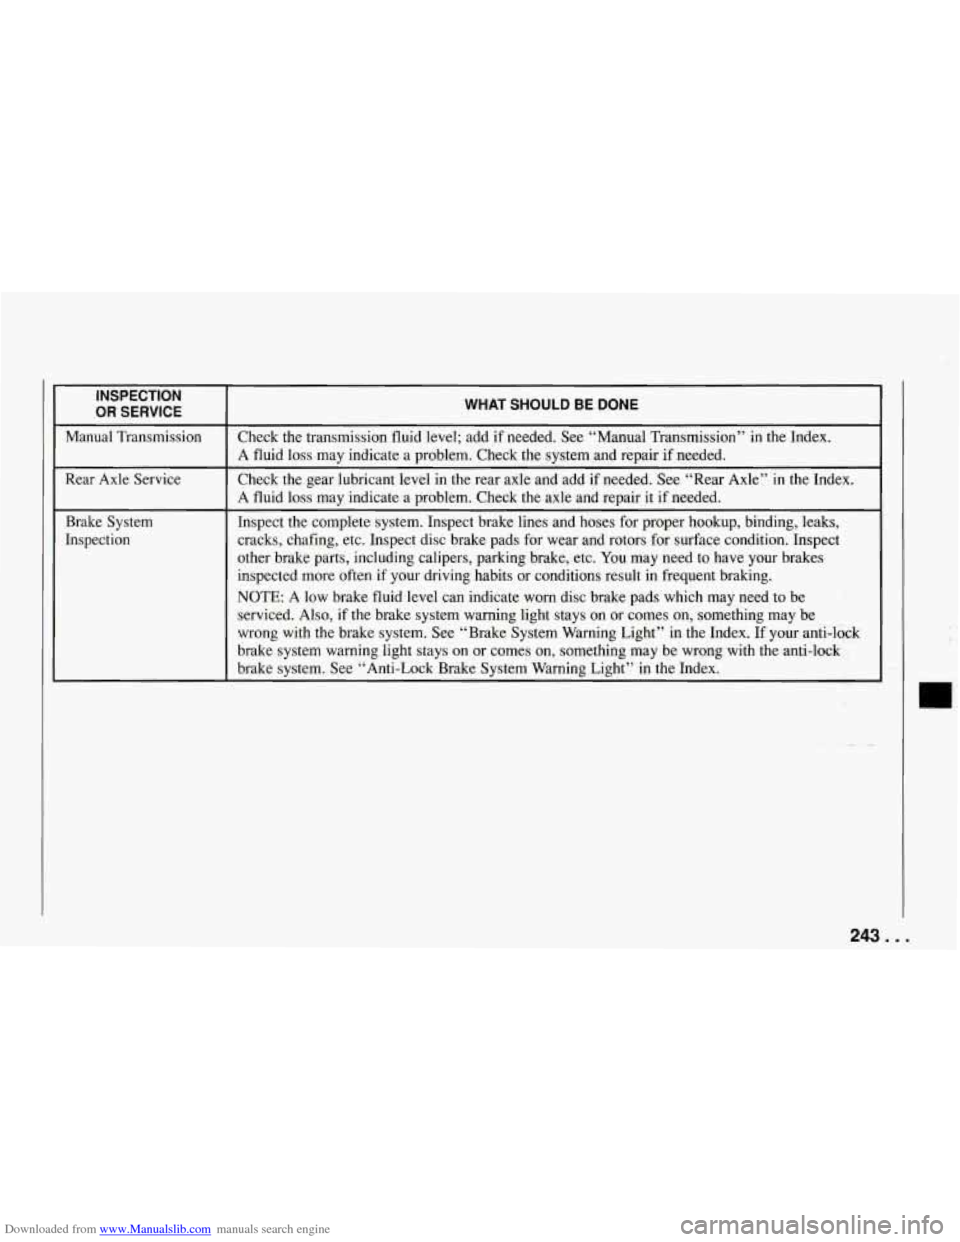
Manual Transmission
Inspect the complete system. Inspect brake lines and hoses for proper hookup, binding, leaks,
Brake System Check the gear lubricant level in the rear axle and add
if needed. See “Rear Axle” in the Index.
Rear Axle Service Check the transmission fluid level;
add if needed. See “Manual Transmission” in the Index.
Inspection cracks, chafing, etc. Inspect disc brake pads
for wear and rotors for surface condition. Inspect
A fluid loss may indicate a problem. Check the system and rep\
air
if needed.
A fluid loss may indicate a problem. Check the axle and repair it
if needed.
other brake parts, including calipers, parking brake, etc. You may need to have your brakes
inspected more often if your driving habits or conditions result in frequent braking.
NOTE: A low brake fluid level can indicate worn disc brake pads whi\
ch may need to be
serviced. Also, if the brake system warning light stays on or comes on, something may be
wrong with the brake system. See “Brake System Warning Light” in the Index.
If your anti-lock
brake system warning light stays on or comes on, something may be wrong with the anti-lock
brake system. See
“ Anti-Lock Brake System Warning Light” in the Index.
I 1
243. . .
Page 246 of 274
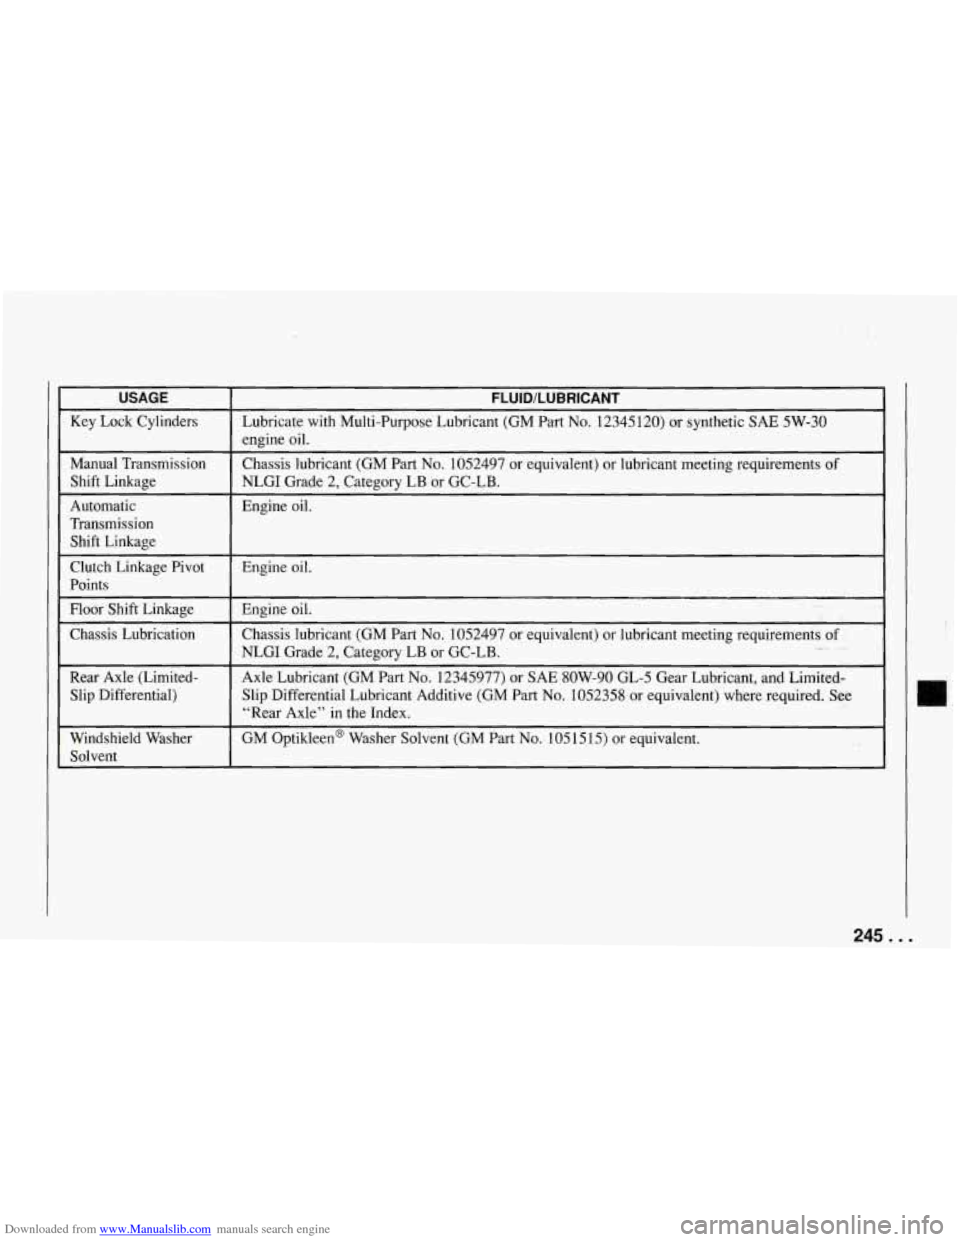
Downloaded from www.Manualslib.com manuals search engine USAGE FLUlDlLUBRlCANT
Key Lock Cylinders Lubricate with Multi-Purpose Lubricant (GM Part No. 12345120) or synthetic SAE 5W-30
Manual Transmission Shift Linkage
Automatic
Transmission Shift Linkage
Clutch Linkage Pivot
Points
engine oil. Chassis lubricant (GM Part
No. 1052497 or equivalent) or lubricant meeting requirements of
NLGI Grade 2, Category LB or GC-LB.
Engine oil.
Engine oil.
Floor Shift Linkage Chassis Lubrication
Rear Axle (Limited- Slip Differential)
Windshield Washer Engine
oil.
Chassis lubricant (GM Part
No. 1052497 or equivalent) or lubricant meeting requirements of
NLGI Grade 2, Category LB or GC-LB.
Axle Lubricant (GM Part
No. 12345977) or SAE 8OW-90 GL-5 Gear Lubricant, and Limited-
Slip Differential Lubricant Additive (GM Part
No. 1052358 or equivalent) where required. See
“Rear Axle” in the Index.
GM Optikleen@ Washer Solvent (GM Part
No. 1051515) or equivalent.
I
245. . .