1994 CHEVROLET CORVETTE coolant level
[x] Cancel search: coolant levelPage 157 of 274
Downloaded from www.Manualslib.com manuals search engine Problems on the Road
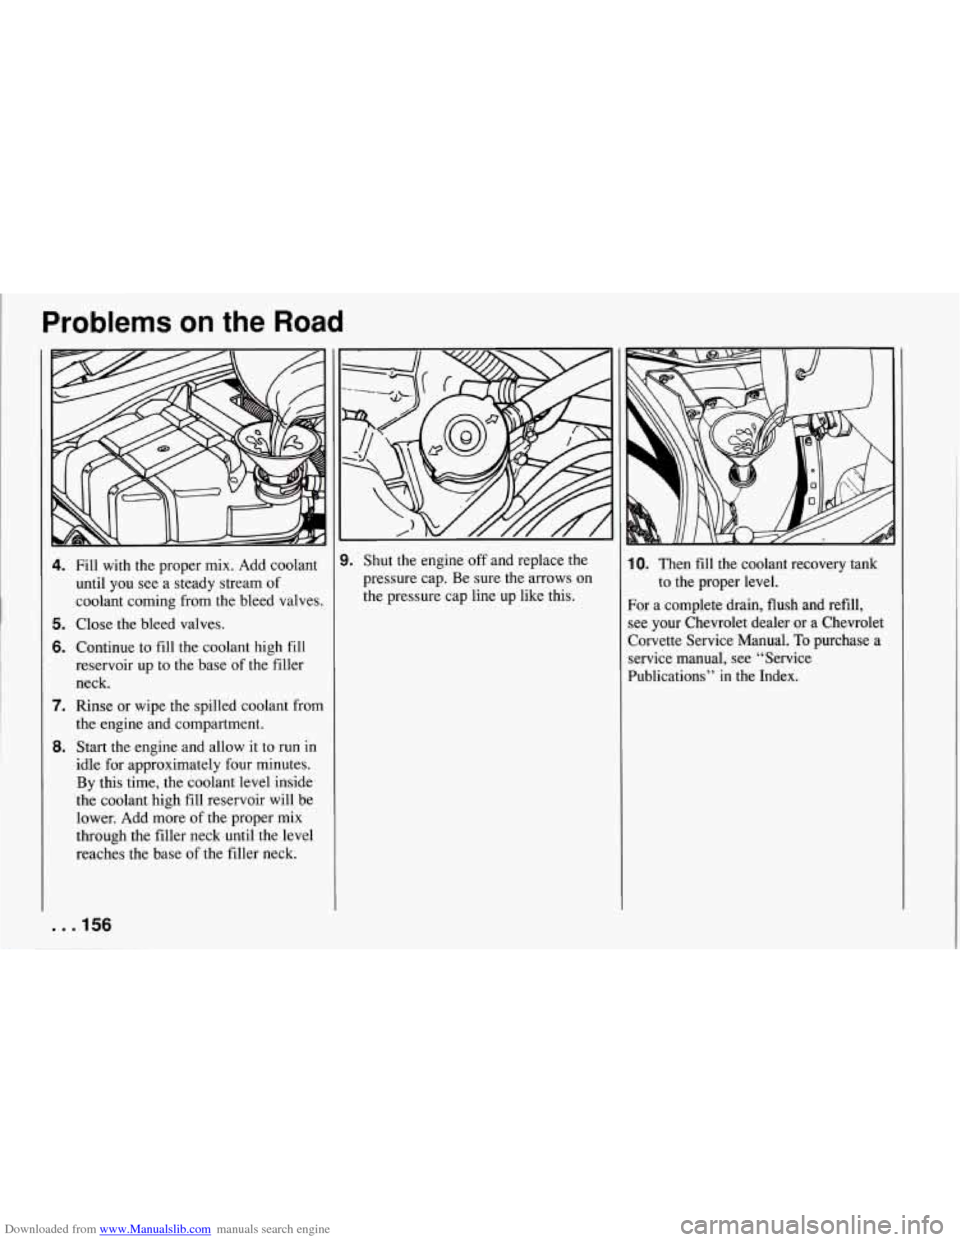
4.
5.
6.
7.
8.
Fill with the proper mix. Add coolant
until you see a steady stream of
coolant coming from the bleed valves.
Close the bleed valves.
Continue to fill the coolant high fill
reservoir up to the base of the filler
neck.
Rinse or wipe the spilled coolant from
the engine and compartment.
Start the engine and allow it to run in
idle for approximately four minutes.
By this time, the coolant level inside
the coolant high fill reservoir will be
lower. Add more of
the proper mix
through the filler neck until the level
reaches the base
of the filler neck.
9. Shut the engine off and replace the
pressure cap. Be sure the arrows on
the pressure cap line up like this. 10. Then fill the coolant recovery tank
For a complete drain, flush and refill,
see your Chevrolet dealer or a Chevrolet
Corvette Service Manual.
To purchase a
service manual, see “Service
Publications’’ in the Index. to
the proper level.
. . .156
Page 159 of 274
Downloaded from www.Manualslib.com manuals search engine Problems on the Road
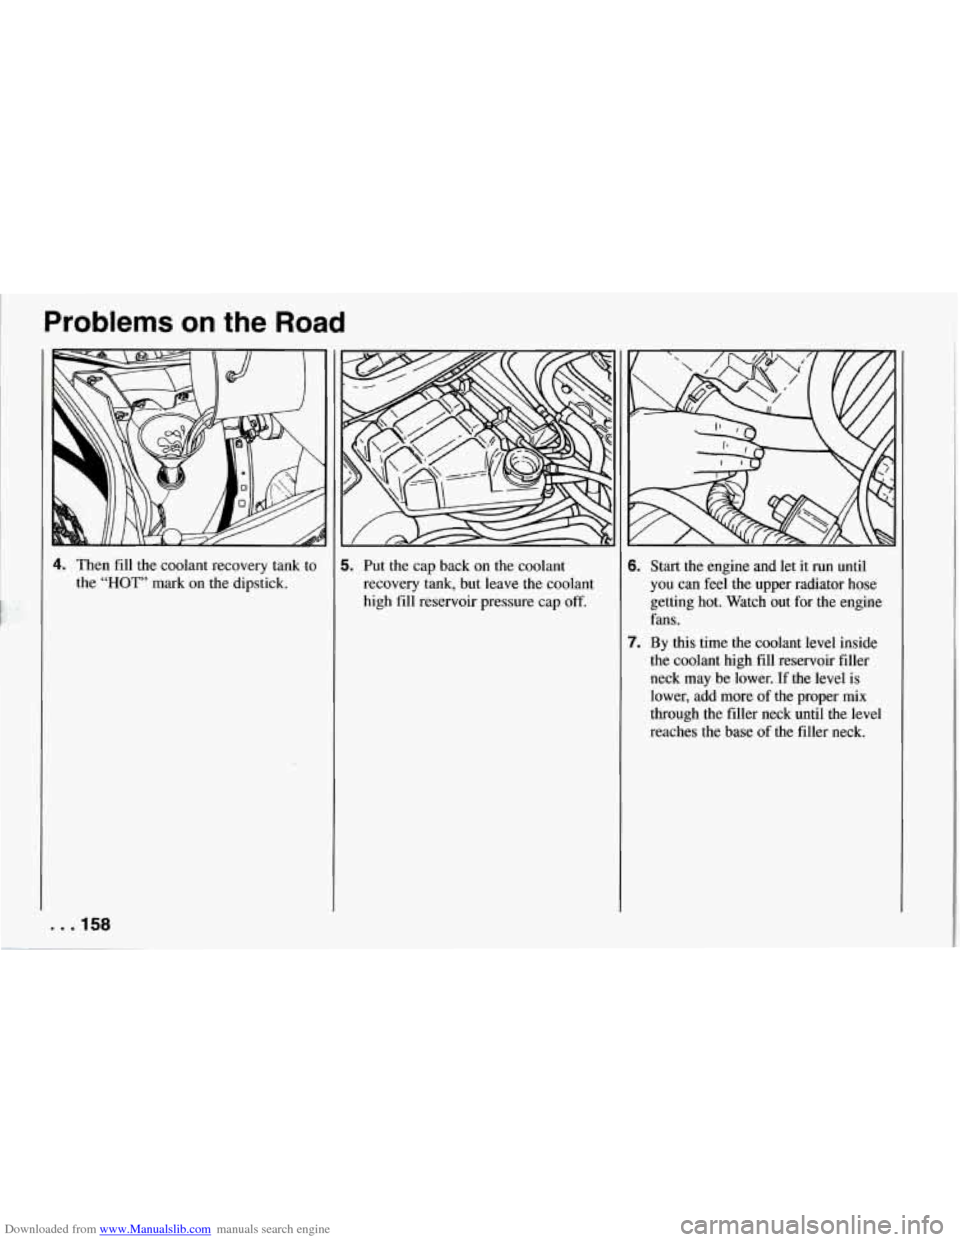
4. Then fill the coolant recovery tank to
the “HOT” mark
on the dipstick.
5. Put the cap back on the coolant
recovery tank, but leave
the coolant
high fill reservoir pressure cap
off.
6. Start the engine and let it run until
you can feel the upper radiator hose
getting hot. Watch out for the engine
fans.
7. By this time the coolant level inside
the coolant high fill reservoir filler
neck may be lower. If the level is
lower, add more of the proper
mix
through the filler neck until the level
reaches the base of the filler neck.
. . .158
Page 160 of 274

Downloaded from www.Manualslib.com manuals search engine 8. Shut the engine off and replace the
pressure cap. At any time during this
procedure if coolant begins
to flow
out
of the filler neck, reinstall the
pressure cap. Be sure the arrows on
the cap line up like this.
If a Tire Goes Flat
It’s unusual for a tire to “blow out” while
you’re driving, especially if you maintain
your tires properly. If air goes out of a
tire, it’s much more likely
to’ leak out
slowly. But
if you should ever have a
”blowout,” here are a few tips about
what to expect and what to do:
If a front tire fails, the flat tire will create
a drag that pulls the vehicle toward that
side. Take your foot off the accelerator
pedal and grip the steering wheel firmly.
Steer
to maintain lane position, then
gently brake to a stop well out of the
traffic lane.
A rear blowout, particularly on a curve,
acts much like a skid and may require the
same correction you’d use in a skid. In
any rear blowout, remove your foot from
the accelerator pedal. Get the vehicle
under control by steering the way you
want the vehicle to go.
It may be very
bumpy and noisy, but you can still steer.
Gently brake to a stop, well qff the road
if possible.
If a tire goes flat, the next section shows
how to use your jacking equipment to
change a flat tire safely. If your vehicle
has Extended Mobility Tires (tires with
“EMT” molded on the sidewalls), see
“Extended Mobility Tires” in the Index.
Changing a Flat Tire
If a tire goes flat, avoid further tire
damage by driving slowly to a level place.
Turn on your hazard warning flashers.
159 ...
Page 172 of 274

Downloaded from www.Manualslib.com manuals search engine Here you will find information
about the care of your Corvette
.
This part begins with service
and fuel information. and then it
shows how
to check important
fluid and lubricant levels
. There
is also technical information
about your vehicle. and a section devoted
to its
appearance care
.
Part 6
Service & Appearance Care
Service ........................................................
Fuel ..........................................................
Checking Things under the Hood ...................................
HoodRelease .................................................
Engineoil .................................................
Aircleaner ........................... ...................
Automatic Transmission Fluid ..................................
Manual Transmission Fluid ......................................
Hydraulic Clutch ...............................................
RearAxle ....................................................
Enginecoolant ................................................
Power Steering Fluid ...........................................
Windshield Washer Fluid ........................................
Brake Master Cylinder ..........................................
Battery ......................................................
Bulb Replacement ...............................................
Windshield Wiper Blades ..........................................
Tires ..........................................................
Appearancecare ................................................
Appearance Care Materials Chart ...................................
Vehicle Identification Number (VIN) ................................
Service Parts Identification Label ...................................
Add-on Electrical Equipment ......................................
Fuses and Circuit Breakers ........................................
Replacement Bulbs ..............................................
Capacities and Specifications ...................................
LoadingYourVehicle ............................................
172
173
175
175
178
182 184
186
187
188
188
191
192
193
195
195
202
202
204
210
217
218
218
218
219
223
224
171 ..
Page 182 of 274
Downloaded from www.Manualslib.com manuals search engine Substitute Oil (LT1 Only): When adding
oil to maintain engine oil level, if an oil
meeting GM Standard GM4718M is not
available, you can use oil designated
either
SAE 5W-30 API Service SH or SG
at all temperatures, or
SAE 1OW-30 API
Service
SH or SG at temperatures above
0°F (-18°C). This oil should not be used
for an oil change.
Substitute Oil (LT5 Only): When adding
oil to maintain engine oil level, if an oil
meeting
GM Standard GM4718M is not
available, you can use oil designated SAE
1OW-30 API Service SH or
SG at all
temperatures. This oil should not be used
for an oil change.
Engine Oil Additives
Don’t add anything to your oil. Your
Chevrolet dealer is ready to advise if you
think something should be added.
When to Change Engine Oil
See if any one of these is true for you:
Most trips are less than 4 miles
It’s below freezing outside and most
trips are less than
10 miles (16 km).
(6 km).
The engine is at low speed most of
the time (as
in stop-and-go traffic).
Most trips are through dusty places.
If any one of these is true for your
vehicle, you need to change your oil and
filter every 3,000 miles
(5 000 km) or
3 months
- whichever comes first.
(See “Engine Oil Life Monitor” in the
Index.)
If none of them is true, change the oil
every 7,500 miles
( 12 500 km) or 12
months
- whichever comes first. Change
the filter at the first oil change and at
every other oil change after that. (See
“Engine Oil Life Monitor” in the Index.)
Engine Coolant Heater (Engine Block
Heater)
An engine coolant heater can be a big
help if you have to park outside in very
cold weather,
0 “F (- 18 “C) or colder. If
your vehicle has this feature, see “Engine
Coolant Heater” in the Index.
What to Do with Used Oil
Did you know that used engine oil
contains certain elements that may be
unhealthy for your skin and could even
cause cancer? Don’t let used oil stay on your
skin for very long. Clean your skin
and nails with soap and water, or a good
hand cleaner. Wash or throw away
clothing or rags containing used engine
oil. (See the manufacturer’s warnings
about the use and disposal of oil
products.)
Used oil can be a real threat to the
environment. If you change your own oil,
be sure to drain all free-flowing oil from
the filter before disposal. Don’t ever
dispose of oil by putting it in the trash,
pouring it on the ground, into sewers, or
into streams or bodies of water. Instead,
recycle
it by taking it to a place that
collects used oil. If you have a problem
properly disposing of your used oil, ask
your dealer, a service station or
a local
recycling center for help. L 1
181 ...
Page 189 of 274
Downloaded from www.Manualslib.com manuals search engine Service and Appearance Care
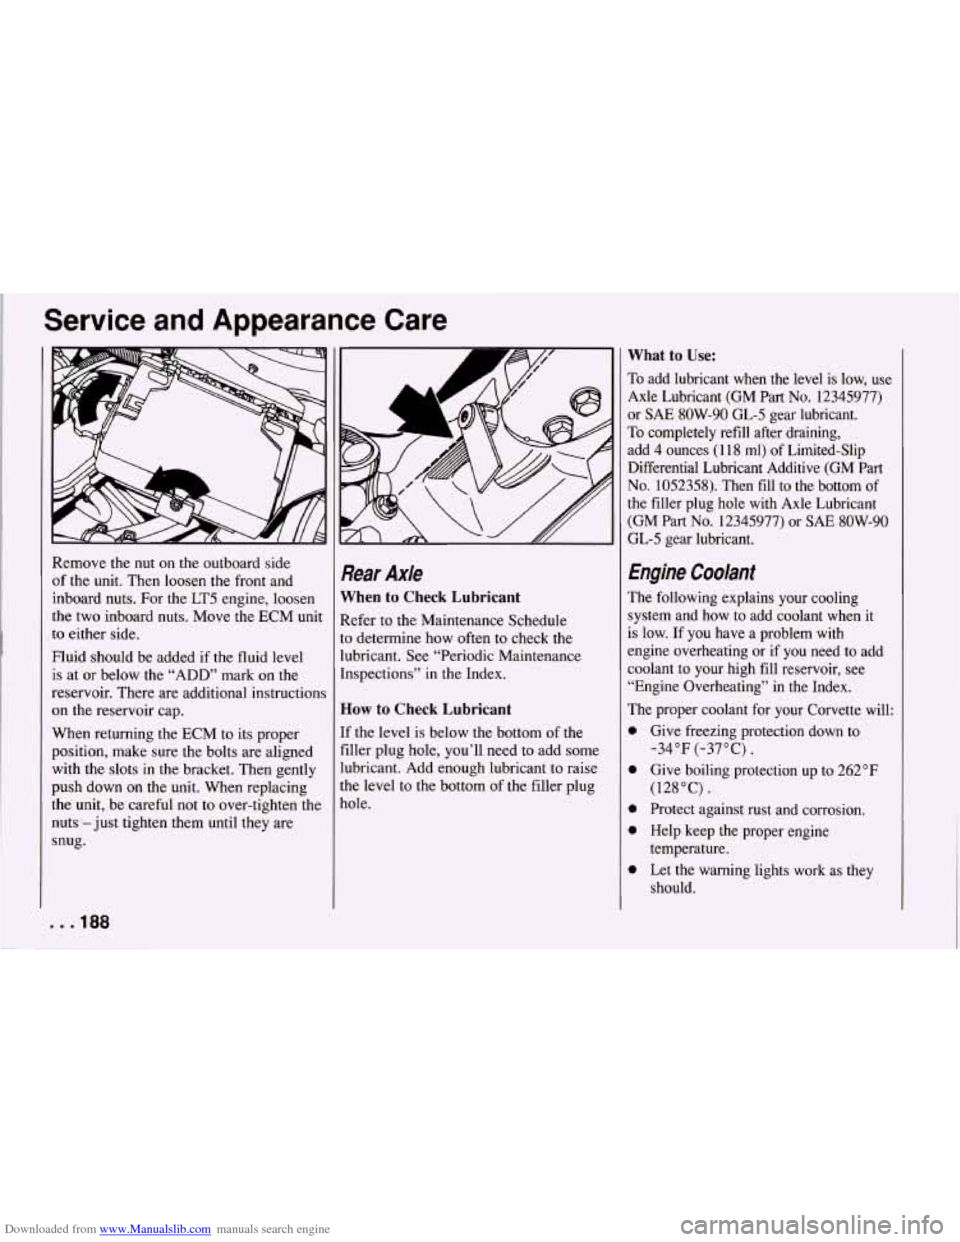
Remove the nut on the outboard side
of the unit. Then loosen the front and
inboard nuts. For the LT5 engine, loosen
the two inboard nuts. Move the ECM unit
to either side.
Fluid should be added if the fluid level
is at or below the “ADD” mark on the
reservoir. There are additional instructions
on the reservoir cap.
When returning the ECM to its proper
position, make sure the bolts are aligned
with the slots in the bracket. Then gently
push down on the unit. When replacing
the unit, be careful not to over-tighten the
nuts -just tighten them until they are
snug.
. . * 188
Rear Axle
When to Check Lubricant
Refer to the Maintenance Schedule
to determine how often to check the
lubricant. See “Periodic Maintenance
Inspections” in the Index.
How to Check Lubricant
If the level is below the bottom of the
filler plug hole, you’ll need to add some
lubricant. Add enough lubricant to raise
the level to the bottom of the filler plug
hole.
What to Use:
To add lubricant when the level is low, use
Axle Lubricant (GM Part
No. 12345977)
or
SAE 8OW-90 GL-5 gear lubricant.
To completely refill after draining,
add 4 ounces (1 18 ml) of Limited-Slip
Differential Lubricant Additive (GM Part
No. 1052358). Then fill to the bottom of
the filler plug hole with Axle Lubricant
(GM Part
No. 12345977) or SAE 8OW-90
GL-5 gear lubricant.
Engine Coolant
The following explains your cooling
system and how to add coolant when
it
is low. If you have a problem with
engine overheating or
if you need to add
coolant to your high fill reservoir, see
“Engine Overheating” in the Index.
The proper coolant for your Corvette will:
0
0
0
0
0
Give freezing protection down to -34°F (-37°C).
Give boiling protection up to 262°F
(128°C).
Protect against rust and corrosion.
Help keep the proper engine
temperature.
Let the warning lights work as they
should.
Page 190 of 274
Downloaded from www.Manualslib.com manuals search engine What to Use:
Use a mixture of one-half clean water
(preferably distilled) and one-half
antifreeze that meets “GM Specification
1825-M,” which won’t damage aluminum
parts.
You can also use a recycled coolant
conforming to GM Specification 1825-M
with a complete coolant flush and refill.
If you use this mixture, you don’t need to
add anything else.
NOTICE:
If you use an improper coolant mix,
your engine could overheat and be
badly damaged. The repair cost wouldn’t be covered by your
warranty.
Too much water in the mix
can freeze and crack the engine,
radiator, heater core and other parts.
Adding Coolant
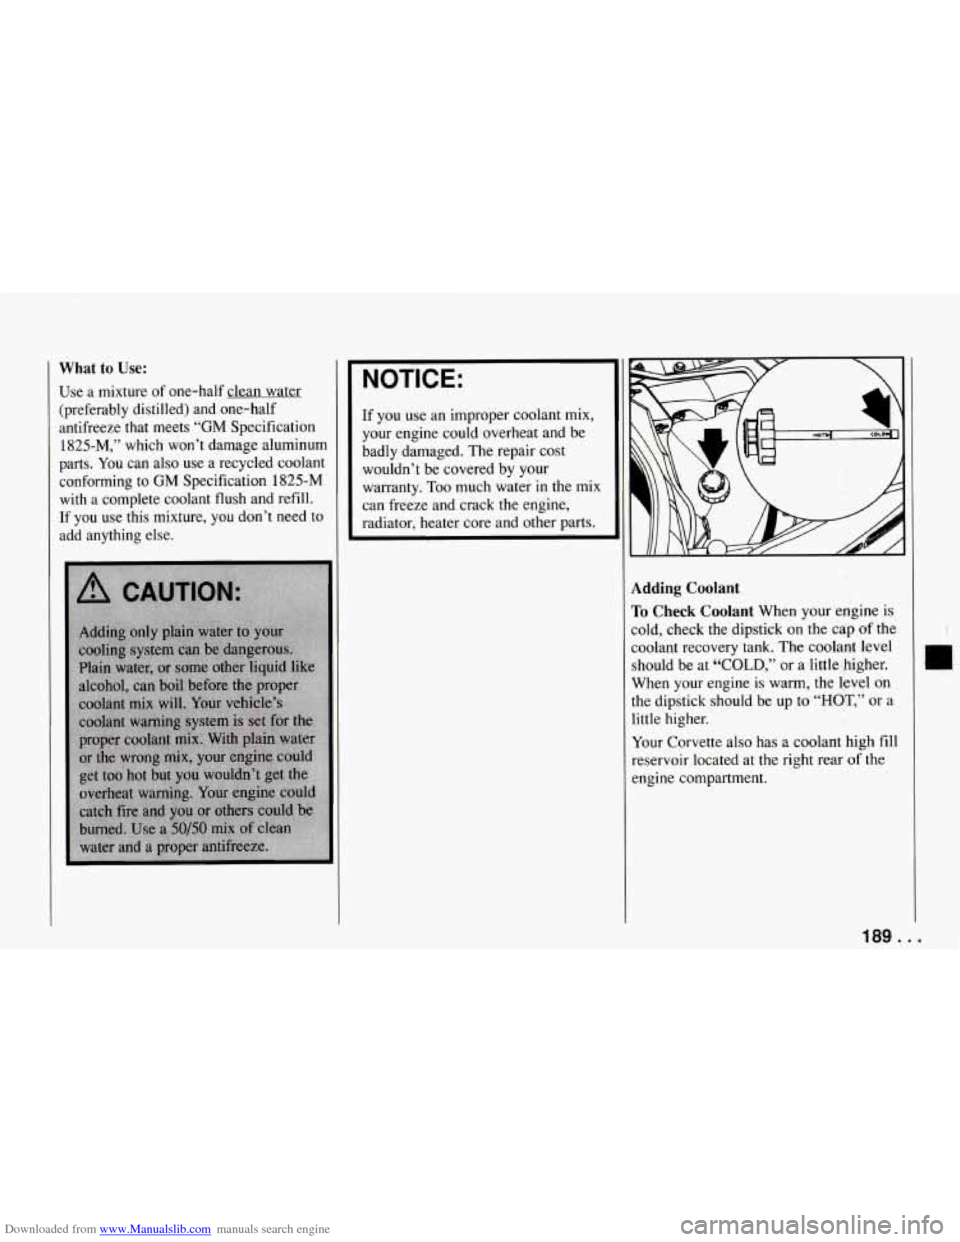
I’o Check Coolant When your engine is
;old, check the dipstick on the cap of the
;oolant recovery tank. The coolant level
should be at “COLD,” or a little higher.
When your engine is warm, the level on
the dipstick should be up to “HOT,” or a
little higher.
Your Corvette also has a coolant high fill
reservoir located at the right rear of the
engine compartment.
189 ...
Page 239 of 274
Downloaded from www.Manualslib.com manuals search engine Maintenance Schedule
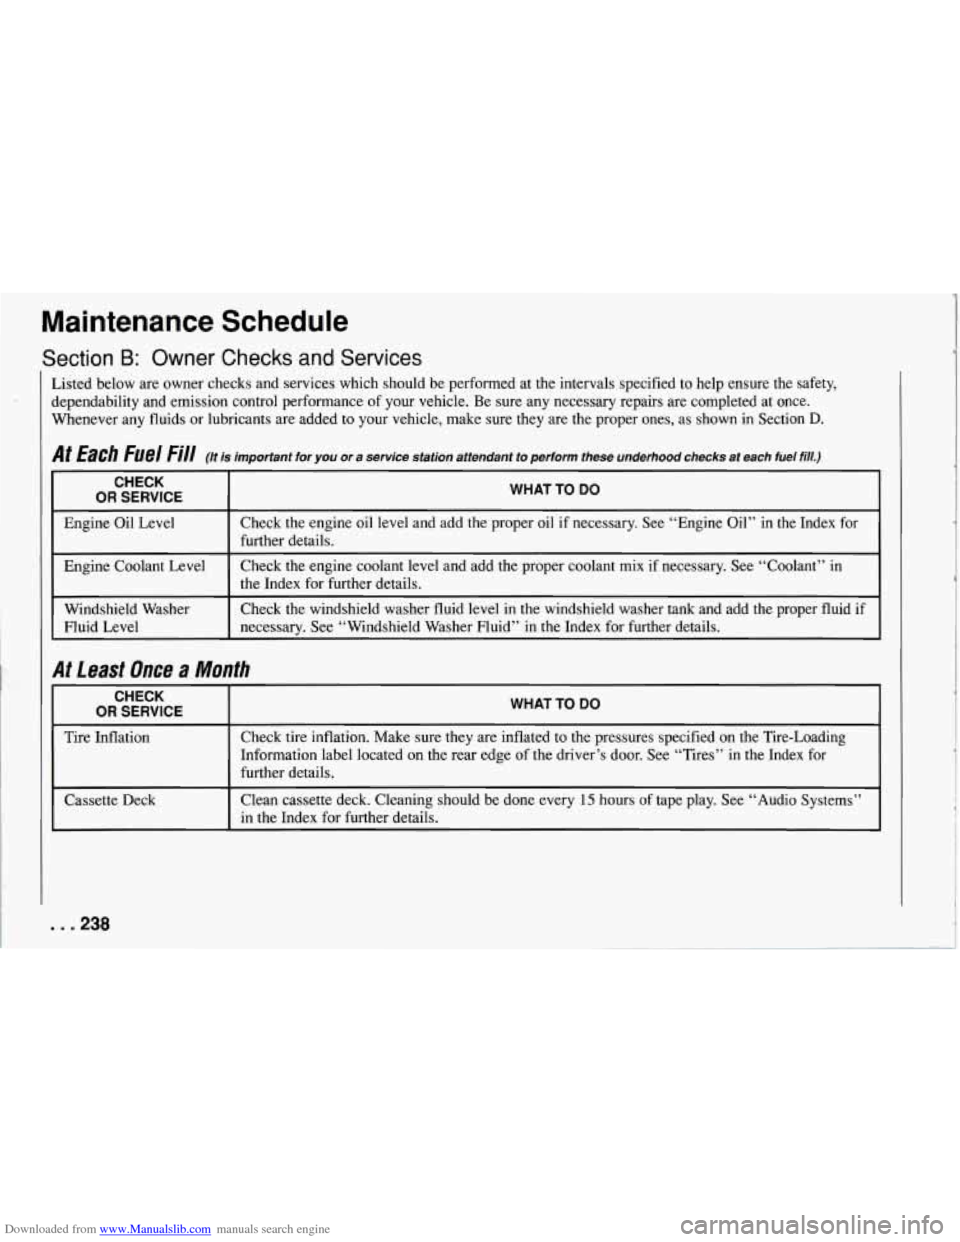
Section B: Owner Checks and Services
isted below are owner checks and services which should be performed at the intervals specified to help ensure the safety,
ependability and emission control performance of your vehicle. Be sure any necessary repairs are completed at once.
Vhenever any fluids or lubricants are added
to your vehicle, make sure they are the proper ones, as shown in Section D.
If Each Fuel Fill (/t is important for you or a service station attendant to perform these underhood checks at each fuel fill.)
i CHECK
OR SERVICE I WHAT TO DO
Engine Oil Level
Check the windshield washer fluid level in the windshield washer
tank and add the proper fluid if
Windshield Washer Check
the engine coolant level and add the proper coolant mix if necessary. See “Coolant” in
Engine Coolant Level Check the
engine oil level and add the proper oil if necessary. See “Engine Oil” in the Index for
Fluid Level necessary.
See “Windshield Washer Fluid” in the Index for further details.
further details.
the
Index for further details.
It Least Once a Month
CHECK
OR SERVICE
Tire Inflation
Cassette Deck
WHAT TO DO
Check tire inflation. Make sure they are inflated to the pressures specified on the Tire-Loading
Information label located on the rear edge
of the driver’s door. See “Tires” in the Index for
further details.
Clean cassette deck. Cleaning should be done every
15 hours of tape play. See “Audio Systems”
in the Index for further details.
. .238