1994 CHEVROLET CAVALIER ignition
[x] Cancel search: ignitionPage 103 of 243

Downloaded from www.Manualslib.com manuals search engine Comfort Concr 5 & Audio Systems
102
4. Repeat steps 1-3 for each of five AM
Compact Disc Player
Many of the controls for the radio also
have functions for the compact disc
player,
as explained here.
Don’t use mini-discs that are called
singles. They won’t eject. Use only full-
size compact discs.
1. Turn the PWR-VOL knob to turn on
the power.
2. Insert a disc part-way into the slot,
with the label side up. The player will
pull
it in. Within a few seconds, the
disc should play.
If the disc comes back out and/or
Err
appears on the display:
The disc may be upside down.
The disc may be dirty, scratched or
wet.
There may be too much moisture in
the air (wait about one hour and try
again).
The player may be too hot, or the road
may be too rough for the disc to play.
As soon as things get back to normal,
the disc should play.
and
five
FM stations.
While a disc is playing, the
CD indicator
is displayed on the digital screen, as is
the clock.
RCL (Recall): Press this button once
to see which track is playing. Press
again while the track number is still
displayed to see how long your selection
has been playing. The track number
also will be displayed when the volume,
bass, or treble is changed or a new track
starts to play.
COMP (Compression): Pressing this
button makes soft and loud passages
more equal in volume. Press again to
resume normal play.
RDM (Random): Press to play tracks
in random, rather than sequential,
order. This feature remains active until
the
RDM button is pressed again.
REV (Reverse): Press and hold to rapidly
reverse the disc. Release to resume playing.
FWD (Fast Forward): Press and hold
to rapidly advance the disc. Release to
resume playing.
SCAN: Press this button to sample ten
seconds of each track. Press again to
stop scanning.
PREV (Previous): Press to play a track
again.
If you keep pressing the PREV
button, the disc will keep backing up to
previous tracks.
NEXT: Press to advance to the next
track. If you keep pressing the
NEXT
button, the disc will keep advancing to
other tracks.
When Finished with the Compact
Disc Player:
If you turn off the radio, or turn off the
ignition, the disc will stay in the player
Page 104 of 243

Downloaded from www.Manualslib.com manuals search engine and start again when you turn on the
ignition or the
PWR-VOL button. The
disc will begin playing at the point
where it had been stopped.
ST-PL (Stop-Play): Press to stop the
disc player; the radio will play. Press
again to play the disc (the player will
start playing the disc where it had
stopped earlier).
EJCT (Eject): Press to eject the disc; the
radio will play. The disc will start at
track
1 when you reinsert it. EJCT works
even when the radio or the ignition is
off.
CD Player Anti-Theft Feature
Delco LOC II@ is a security feature that
can be used or ignored. If you ignore it,
the radio will play normally. If you use
it, your radio cannot be turned on
if it is
stolen. These instructions will tell you
how to enter a secret code into the radio.
If battery power is lost for any reason, the
secret code must be entered again before
your audio system can be turned on.
To Set the Anti-Theft System:
1. Write down any six-digit number and
keep it in a safe place. This is your
secret code.
2. Turn the ignition on.
3. Rotate the PWR-VOL knob to turn
the radio
off.
4. Press station preset buttons 1 and 4
at the same time and hold until "- - -"
shows on the display. You now have
only
15 seconds between each of the
following steps.
5. Press SET and 000 will appear on
the display.
6. Press SCAN until the first digit of
your code appears.
7. Press SEEK until the second and
third digits of your code appear.
8. Press the TUNE knob (000 will
appear on the display).
9. Press SCAN until the fourth digit of
your code appears.
IO. Press SEEK until the fifth and sixth
11. Press the TUNE knob (rEP will
12. Repeat steps 6 through 10. Then
digits
of your code appear.
appear for five seconds, then
000 ) .
press the TUNE knob again. SEC
will appear, indicating that Delco
LOC IP is set, and your radio is
secure. If
"- - -" appears, the steps
were not successful and you must
repeat the entire procedure.
To Disable the Anti-Theft System:
Enter your secret code by following
these steps (you will have only
15
seconds between each step).
1, Turn the ignition on and the radio
off, then press station preset buttons
1 and 4. SEC will appear, showing
the radio is secure.
2. Press SET and 000 will appear on
the display.
3. Press SCAN until the first digit of
your secret code appears.
4. Press SEEK until the second and
third digits of your code appear.
5. Press the TUNE knob (000 will
appear on the display).
6. Press SCAN until the fourth digit of
your code appears.
7. Press SEEK until the fifth and sixth
digits of your code appear.
I03
Page 126 of 243
Downloaded from www.Manualslib.com manuals search engine Run your engine only as long as you
must. This saves fuel. When you run the
engine, malte it go a little faster than
just idle. That is, push the accelerator
slightly. This uses less fuel for the heat
that you get and it keeps the battery
charged.
You will need a well-charged
battery to restart the vehicle, and
possibly
for signaling later on with your
headlights. Let the heater run for
awhile.
Then, shut the engine
off and close the
window almost all the way to preserve
the heat. Start the engine again and
repeat this only when you feel really
uncomfortable
from the cold. But do it
as little as possible. Preserve the fuel as
long as
you can. To help keep warm,
you can get out
of the vehicle and do
some fairly vigorous exercises every half
hour or so until help comes.
~~
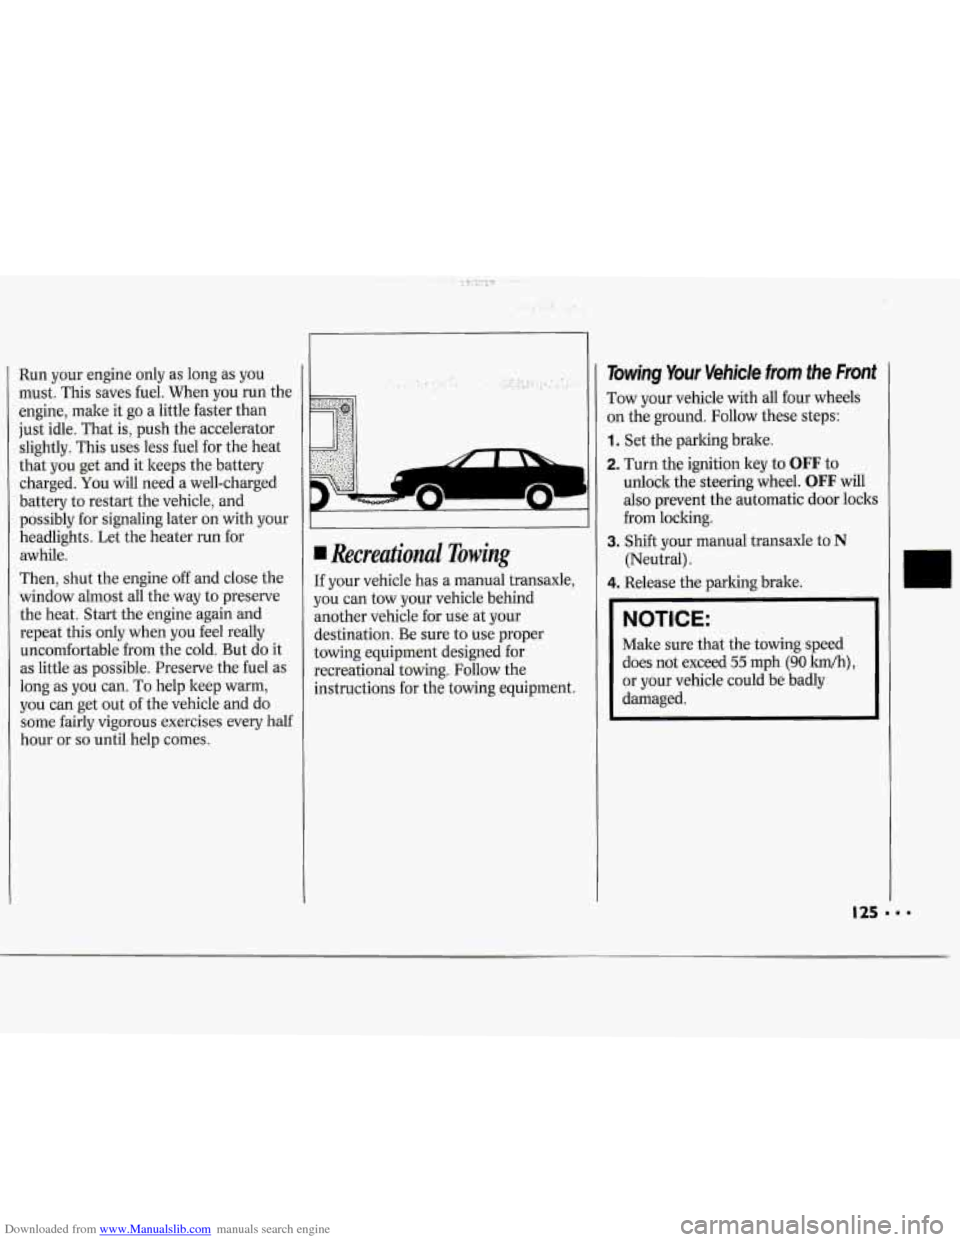
Recreational Towing
If your vehicle has a manual transaxle,
you can tow your vehicle behind
another vehicle for use at your
destination. Be sure
to use proper
towing equipment designed for
recreational towing. Follow the
instructions for the towing equipment.
Towing Your Vehicle from the Front
Tow your vehicle with all four wheels
on the ground. Follow these steps:
1. Set the parking brake.
2. Turn the ignition key to OFF to
unlock the steering wheel.
OFF will
also prevent the automatic door locks
from locking.
(Neutral).
3.
Shift your manual transaxle to
N
4. Release the parking brake.
NOTICE:
Make sure that the towing speed
does not exceed
55 mph (90 lm),
or your vehicle could be badly
damaged.
Page 130 of 243
Downloaded from www.Manualslib.com manuals search engine NOTICE:
Ignoring these steps could result in
costly damage to your vehicle that
wouldn’t be covered by your
warranty. Trying to start your
Chevrolet by pushing or pulling it
could damage your vehicle, even if
you have a manual transaxle. And
if
you have an automatic transaxle, it
won’t start that way.
To Jump Start Your Chevrolet:
1. Check the other vehicle. It must have
a 12-volt battery with a negative
ground system.
NOTICE:
If the other system isn’t a 12-volt
system with
a negative ground,
both vehicles can be damaged.
2. Get the vehicles. close enough so the
jumper cables can reach, Ijut be suke
the vehicles aren’t touching each
other. If they are, it could cause a
ground connection you don’t want.
You wouldn’t be able to start your
Chevrolet, and the bad grounding
could damage the electrical systems.
You could be injured if the vehicles roll.
Set the parking brake
firmly on each
vehicle. Put an automatic transaxle in
P (Park) or a manual transaxle in
N (Neutral).
3.
Turn off the ignition on both
vehicles. Turn
off all lights that aren’t
needed, and radios. This
will avoid
sparks and help save both batteries.
And
it could save your radio!
NOTICE:
If you leave your radio on, it could
be badly damaged. The repairs
wouldn’t
be covered by your warranty.
4. Open the hoods and locate the
batteries.
Find the positive
(+) and negative (-)
terminals on each battery.
Page 134 of 243
Downloaded from www.Manualslib.com manuals search engine When your vehicle is being towed, have
the ignition key
off. The steering wheel
should be clamped in a straight-ahead
position, with a clamping device
designed for towing service.
Do not use
the vehicle’s steering column lock for
this. The transaxle should be in
N
(Neutral) and the parking brake
released.
Don’t have your vehicle towed
on the
front wheels, unless you must. If the
vehicle must be towed
on the front wheels,
don’t
go more than 35 mph (56 kdh)
or farther than
50 miles (80 lun) or your
transaxle will be damaged.
If these
limits must be exceeded, then the front
wheels have to be supported on a dolly.
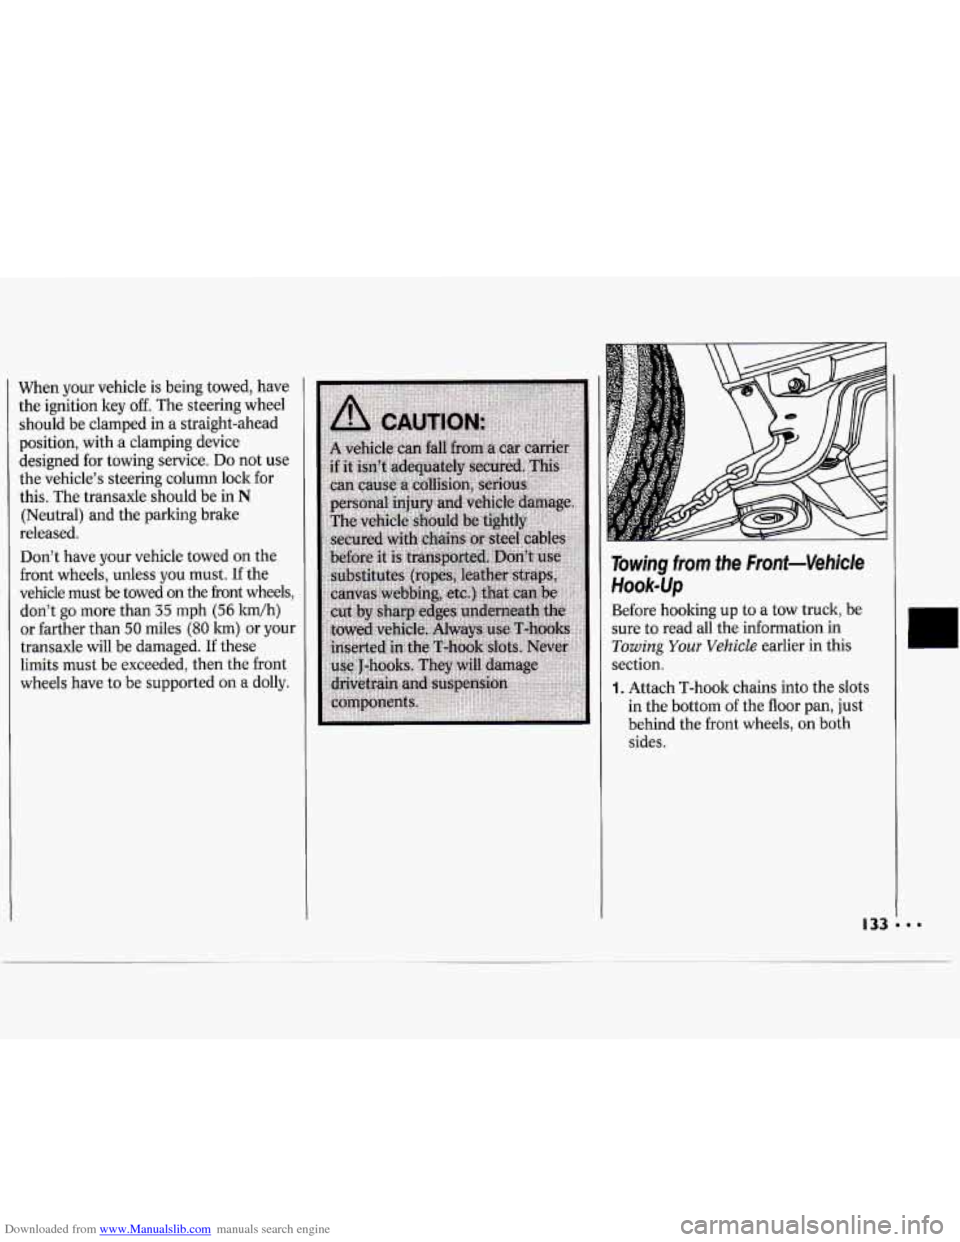
Towing from the Front-Vehicle
Hookup
Before hooking up to a tow truck, be
sure to read all the information in
Towing Your Vehicle earlier in this
section.
1. Attach T-hook chains into the slots
in the bottom
of the floor pan, just
behind the front wheels, on both
sides.
Page 136 of 243
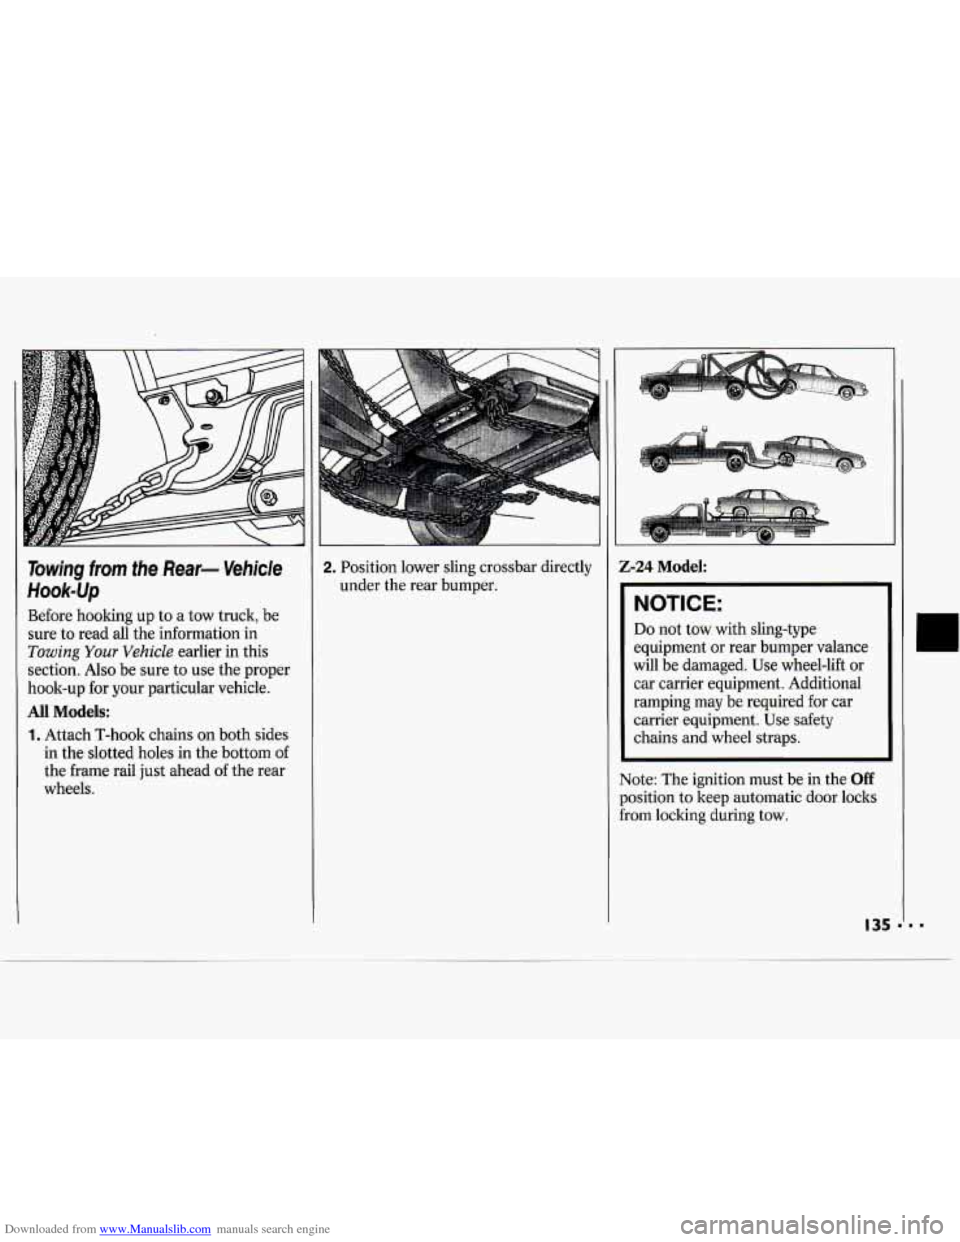
Downloaded from www.Manualslib.com manuals search engine Towing from the Rear- Vehicle
Hook-up
Before hooking up to a tow truck, be
sure to read all the information in
Towing Your Vehicle earlier in this
section.
Also be sure to use the proper
hook-up for your particular vehicle.
All Models:
1. Attach T-hook chains on both sides
in the slotted holes in the bottom
of
the frame rail just ahead of the rear
wheels.
2. Position lower sling crossbar directly
under the rear bumper.
I-
-24 Model:
NOTICE:
Do not tow with sling-type
equipment or rear bumper valance
will be damaged. Use wheel-lift
or
car carrier equipment. Additional
ramping may be required for car
carrier equipment. Use safety
chains and wheel straps.
~~
ote: The ignition must be in the Off
Isition to keep automatic door locks
3m locking during tow.
I
I
135 11 -
Page 237 of 243
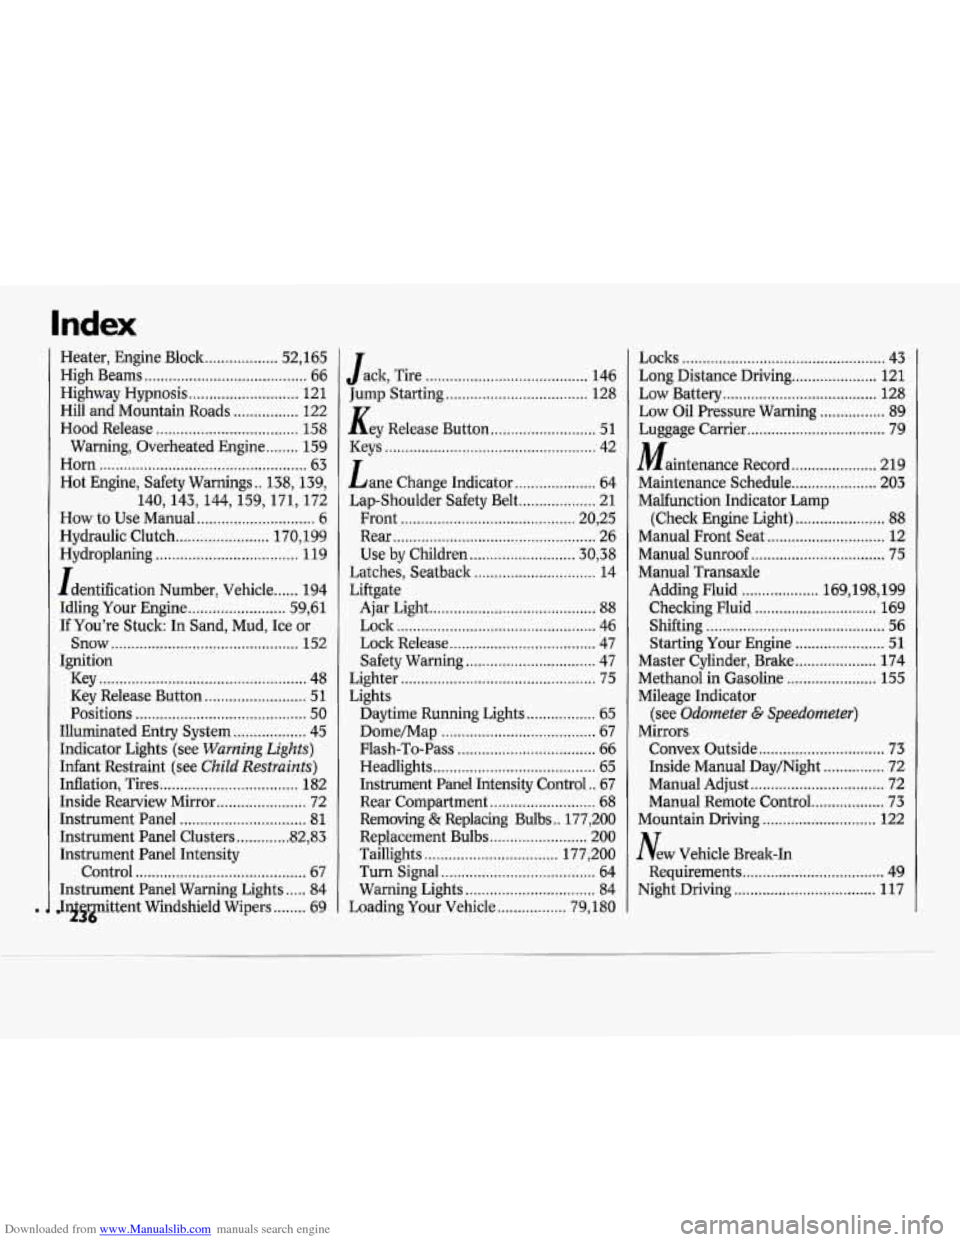
Downloaded from www.Manualslib.com manuals search engine Heater. Engine Block .................. 52. 165
High Beams ........................................ 66
Highway Hypnosis
........................... 121
Hill and Mountain Roads
................ 122
Hood Release
................................... 158
Warning. Overheated Engine
........ 159
Horn
................................................... 63
Hot Engine. Safety Warnings
.. 138. 139.
140.143.144.159.171. 172
How to Use Manual ............................. 6
Hydraulic Clutch
....................... 170. 199
Hydroplaning
................................... 1 19
Identification Number. Vehicle
...... 194
If You're Stuck: In Sand. Mud. Ice or
Ignition Idling Your Engine
........................ 59. 61
Snow .............................................. 152
Key
................................................... 48
Key Release Button
......................... 51
Positions
.......................................... 50
Illuminated Entry System
.................. 45
Indicator Lights (see
Warning Lights)
Infant Restraint (see Child Restraints)
Inflation. Tires .................................. 182
Inside Rearview Mirror
...................... 72
Instrument Panel
............................... 81
Instrument Panel Clusters ............. 82. 83
Instrument Panel Intensity
Control
.......................................... 67
Instrument Panel Warning Lights 84
ittent Windshield Wipers 69
.....
.'95iP ........
Jack. Tire ........................................ 146
Key Release Button .......................... 51
Jump Starting
................................... 128
Keys
.................................................... 42
Lap-Shoulder Safety Belt
................... 21
Use by Children
.......................... 30'38
Latches, Seatback
.............................. 14
Liftgate
Lane
Change Indicator
.................... 64
Front
........................................... 20, 25
Rear .................................................. 26
Ajar Light
......................................... 88
Lock ................................................. 46
Lock Release
.................................... 47
Safety Warning
................................ 47
Lighter
................................................ 75
Lights Daytime Running Lights
................. 65
Dome/Map ...................................... 67
Flash-To-Pass
.................................. 66
Headlights
........................................ 65
Instrument Panel Intensity Control
.. 67
Rear Compartment
.......................... 68
Removing & Replacing Bulbs .. 177, 200
Replacement Bulbs
........................ 200
Taillights
................................. 177, 200
Turn Signal
...................................... 64
Warning Lights
................................ 84
Loading Your Vehicle
................. 79, 180 Locks
.................................................. 43
Long Distance Driving
..................... 121
Low Battery
...................................... 128
Low Oil Pressure Warning
................ 89
Maintenance Record ..................... 219
Maintenance Schedule
..................... 203
Malfunction Indicator Lamp
(Check Engine Light)
...................... 88
Manual Front Seat ............................. 12
Manual Sunroof
................................. 75
Manual Transaxle
Luggage
Carrier
.................................. 79
Adding Fluid
................... 169,198, 199
Checking Fluid
.............................. 169
Shifting
............................................ 56
Starting Your Engine
...................... 51
Master Cylinder. Brake
.................... 174
Methanol in Gasoline
...................... 155
Mileage Indicator
Mirrors (see
Odometer G Speedometer)
Convex
Outside ............................... 73
Inside Manual Day/Night
............... 72
Manual Adjust
................................. 72
Manual Remote Control
.................. 73
Mountain Driving
............................ 122
New Vehicle Break-In
Requirements
................................... 49
Night Driving ................................... 117