1994 CHEVROLET CAVALIER ignition
[x] Cancel search: ignitionPage 59 of 243
Downloaded from www.Manualslib.com manuals search engine Features & Controls
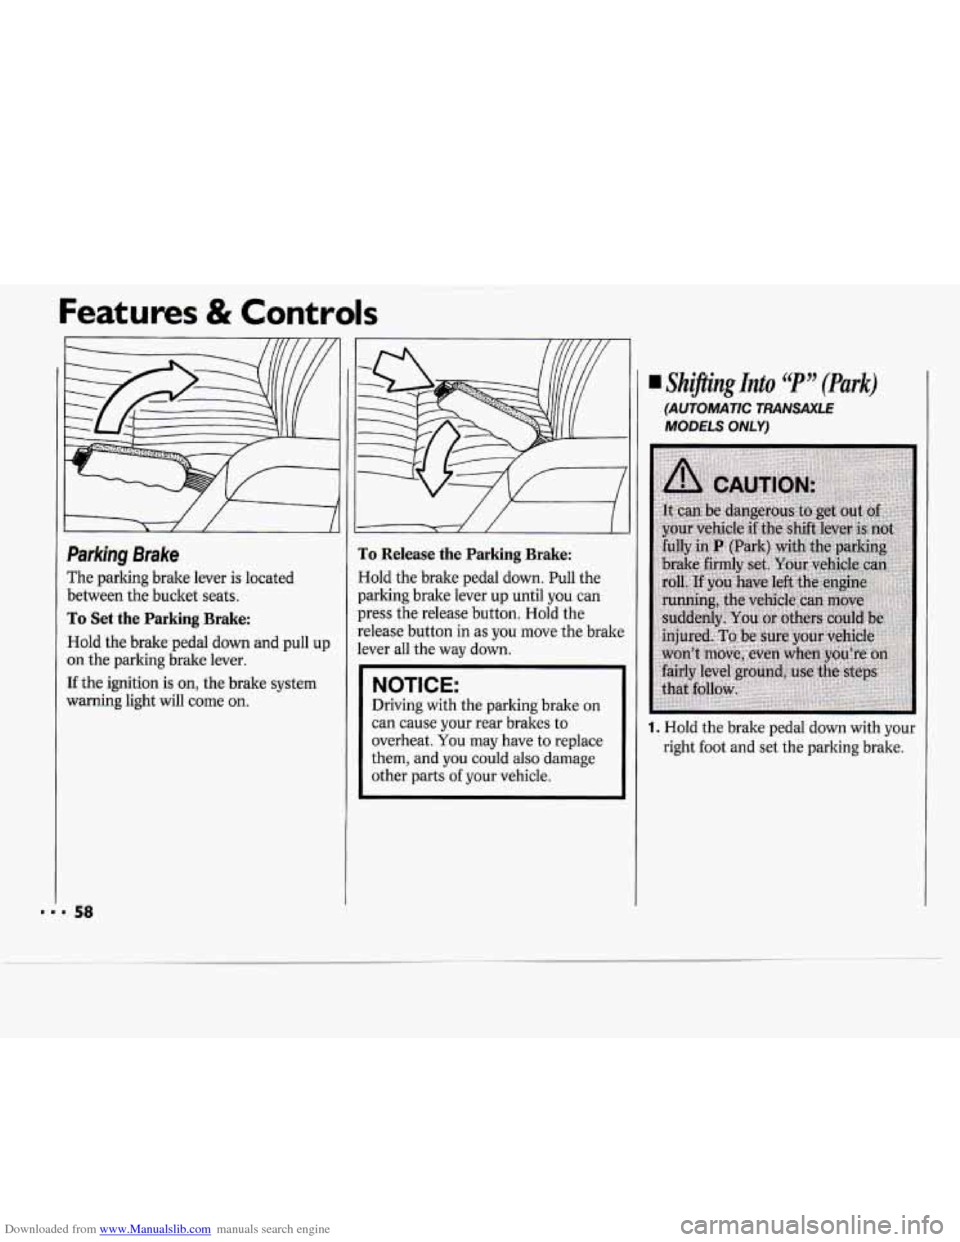
Parking Brake
The parking brake lever is located
between the bucket seats.
To Set the Parking Brake:
Hold the brake pedal down and pull up
on the parking brake lever.
If the ignition is on, the brake system
warning light will come
on.
J
To Release the Parking Brake:
Hold the brake pedal down. Pull the
parking brake lever up until you can
press the release button. Hold the
release button
in as you move the brake
lever all the way down.
NOTICE:
Driving with the parking brake on
can cause your rear brakes to
overheat.
You may have to replace
them, and you could also damage
other parts
of your vehicle.
Shijling Into C( P JJ (Park)
(AUTOMATIC TRANSAXLE
MODELS ONLY)
1. Hold the brake pedal down with your
right foot and set the parking brake.
Page 60 of 243
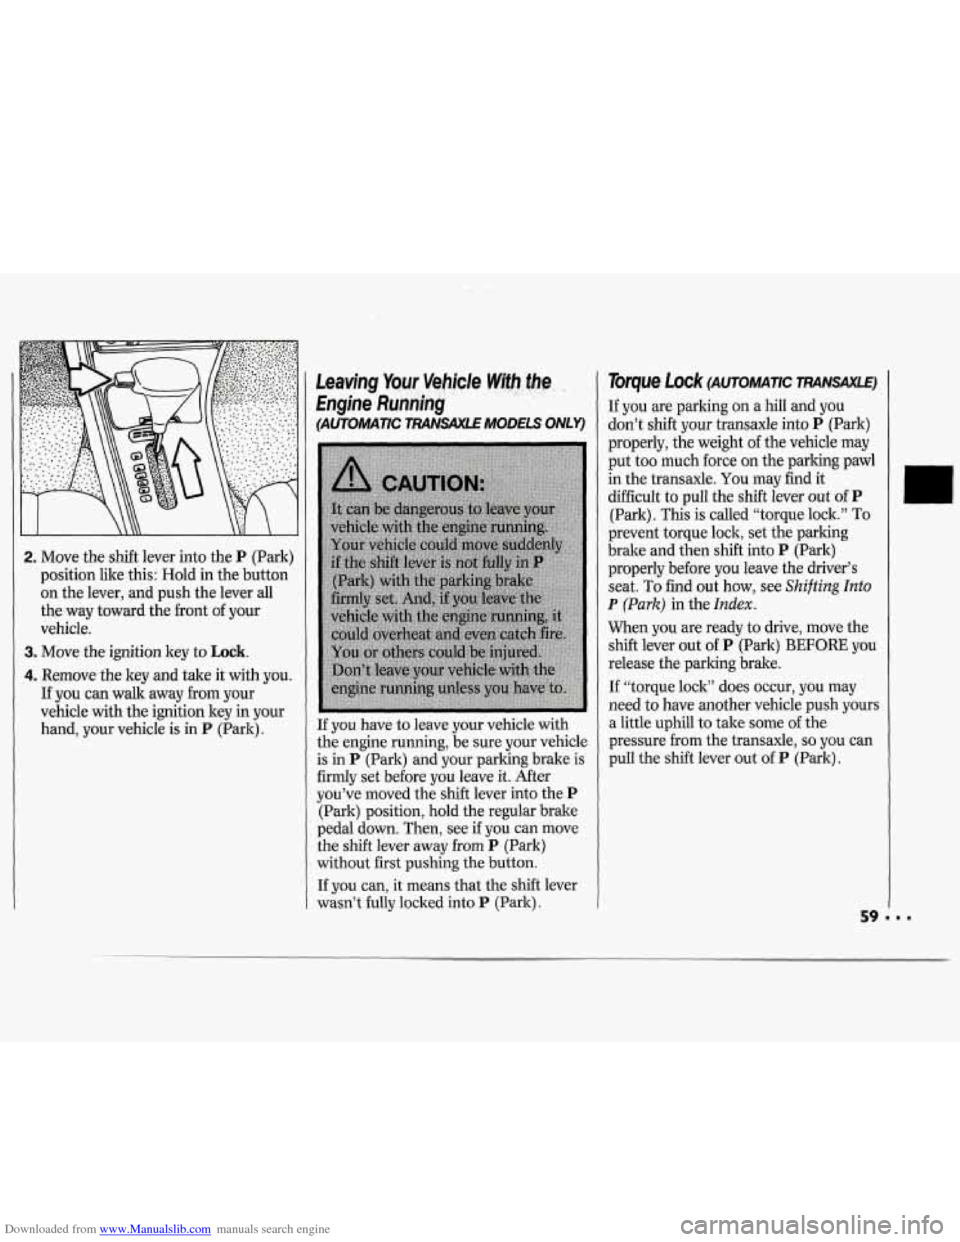
Downloaded from www.Manualslib.com manuals search engine 2. Move the shift lever into the P (Park)
position like this: Hold in the button
on the lever, and push the lever all
the way toward the front of your
vehicle.
3. Move the ignition key to Lock.
4. Remove the key and take it with you.
If you can walk away from your
vehicle with the ignition key
in your
hand, your vehicle is in
P (Park).
Leaving Yqur. Vebjcle W@h:,.the .-‘j! ., . , , :. . .
Engine Runriing ’ ’ ,. .
(AUTOllrlATIC TRANSAXLE MODELS ONLY)
If you have to leave your vehicle with
the engine running, be sure your vehicle
is in
P (Park) and your parking brake is
firmly set before you leave it. After
you’ve moved the shift lever into the
P
(Park) position, hold the regular brake
pedal down. Then, see if you can move
the shift lever away from
P (Park)
without first pushing the button.
If you can, it means that the shift lever
wasn’t fully locked into
P (Park).
Torque Lock (AUTOMATIC RWVSAXLE)
If you are parking on a hill and you
don’t shift your transaxle into
P (Park)
properly, the weight of the vehicle may
put too much force on the parking pawl
in the transaxle. You may find it
difficult to pull the shift lever out
of P
(Park). This is called “torque lock.” To
prevent torque lock, set the parking
brake and then shift into
P (Park)
properly before you leave the driver’s
seat.
To find out how, see Shifting Into
P (Park) in the Index.
When you are ready to drive, move the
shift lever out
of P (Park) BEFORE you
release the parking brake.
If “torque lock” does occur, you may
need to have another vehicle push yours
a little uphill to take some of the
pressure from the transaxle,
so you can
pull the shift lever out of
P (Park).
Page 61 of 243
Downloaded from www.Manualslib.com manuals search engine Features & Controls
Shifting Out of P (Park)
(AUTOMATIC TRANSAXLE)
Your Cheyrolet has a brake-transaxle
shift interlock. You have
to fully apply
your regular brakes before you can shift
from P (Park) when the ignition is in
the
Run position. See the Index under
Automatic Transaxb. If you cannot
shift out of P (Park), ease pressure on
the shift lever-push the shift lever all
the way into
P (Park) and also release
the shift lever button on floor shift
console models as you maintain brake
application. Then move the shift lever
into the gear you wish. (Press the
shift
lever button before moving the shift
lever on floor shift console models.)
If you ever hold the brake pedal down but
still can’t shift out
of P (Park), try this:
1. Turn the key to OFF.
2. Apply and hold the brake until the
3. Shift to
N (Neutral).
4. Start the vehicle and then shift to the
drive gear you want.
5. Have the vehicle fixed as soon as you
end
of Step 4.
Can.
Parking Your Vehicle
(MANUAL
TRANSAXLE)
Before you get out of your vehicle, put
your manual transaxle in
R (Reverse) .
and firmly apply the parking brake.
Parking Over Things That
Burn
Page 63 of 243
Downloaded from www.Manualslib.com manuals search engine Features & Controls
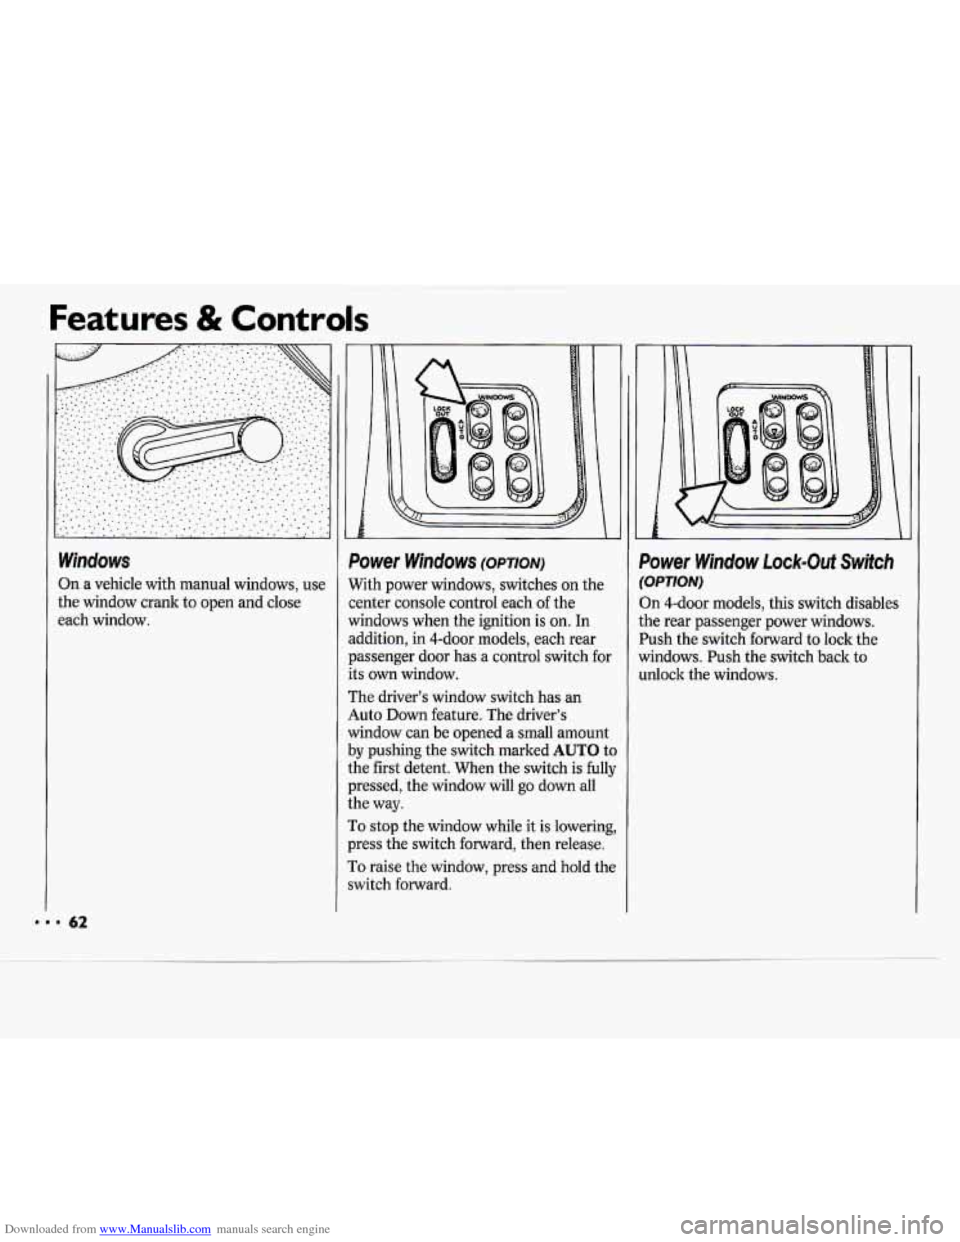
Windows
On a vehicle with manual windows, use
the window crank
to open and close
each window.
i Le I
Power Windows (OPTION)
With power windows, switches on the
center console control each of the
windows when the ignition is on. In
addition, in 4-door models, each rear
passenger door has a control switch
for
its own window.
The driver’s window switch has an
Auto
Down feature. The driver’s
window can be opened a small amount
by pushing the switch marked AUTO to
the first detent. When the switch is fully
pressed, the window will go down all
the way.
To stop the window while it is lowering,
press the switch forward, then release.
To raise the window, press and hold the
switch forward.
h?
Power Window Lock-Out Switch
(OPTION)
Dn 4-door models, this switch disables
the rear passenger power windows.
Push the switch forward to lock the
windows. Push the switch back to
unlock the windows.
Page 67 of 243
Downloaded from www.Manualslib.com manuals search engine Features & Controls
The high beam headlights will come on
at reduced brightness in daylight when:
The ignition is on
The headlight switch is off, and
The parking brake is released.
When you turn on your headlights, the
DRL will switch off and the exterior
lights will come on. When you turn off
the headlights, the exterior lights will go
out and the high beams will change to
the reduced brightness
of DRL again.
The DRL indicator light on the
instrument panel will go on whenever
the DRL are on. This light means that
only the DRL are on. When you turn on
your exterior lights, this light will go
out. Of course, you may still turn on the
headlights any time
you need to.
To idle your vehicle with the DRL off,
set the parking brake. The
DRL will
stay
off until you release the parking
brake.
J
Headlight High-Low Beam
Changer
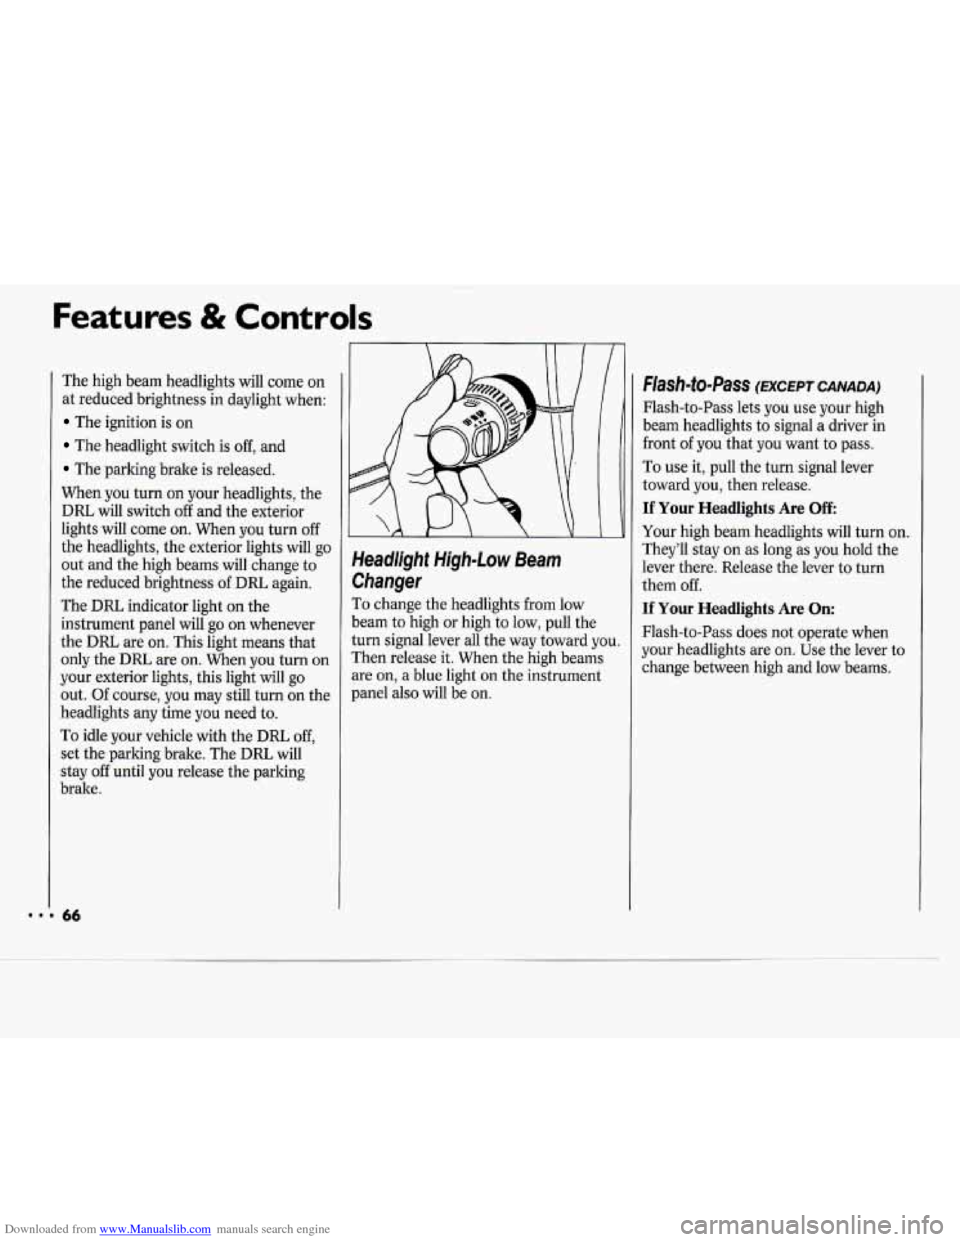
To change the headlights from low
beam
to high or high to low, pull the
turn signal lever all the way toward you.
Then release it. When the high beams
are on, a blue light on the instrument
panel also will be on.
Flash-to-Pass (EXCEPT CANADA)
Flash-to-Pass lets you use your high
beam headlights to signal a driver in
front
of you that you want to pass.
To use it, pull the turn signal lever
toward you, then release.
If Your Headlights Are Off
Your high beam headlights will turn on.
They’ll stay on
as long as you hold the
lever there. Release the lever to turn
them off.
If Your Headlights Are On:
Flash-to-Pass does not operate when
your headlights are on. Use the lever to
change between high and low beams.
Page 73 of 243
Downloaded from www.Manualslib.com manuals search engine Features & Controls
To Reduce Speed While Using
Cruise Control
There are two ways to reduce your
speed while using cruise control:
Push in the button at the end of the
lever until you reach the lower speed
you want, then release
it.
To slow down in very small amounts,
push the button for less than half a
second. Each time you do this, you’ll
go
1 mph (1.6 km/h) slower.
Passing Another Vehicle While Using Cruise Control
Use the accelerator pedal to increase
your speed. When you take your foot
off
the pedal, your vehicle will slow down
to the cruise control speed you set
earlier.
Using Cruise Control on Hills
How well your cruise control will work
on hills depends upon your speed, load,
and the steepness of the hills. When
going
up steep hills, you may have to step
on the accelerator pedal to
maintain your speed. When going
downhill, you may have to brake or
shift to a lower gear to keep your speed
down. Of course, applying the brake or
clutch pedal takes you out of cruise
control. Many drivers find this to be too,
much trouble and don’t use cruise
control on steep hills.
To Get Out of Cruise Control
There are several ways to turn off the
cruise control:
Step lightly on the brake pedal, or
push the clutch pedal,
if you have a
manual transaxle; OR
Move the cruise switch to OFF.
To Erase Cruise Speed Memory
When you turn off the cruise control or
the ignition, your cruise control set
speed memory is erased.
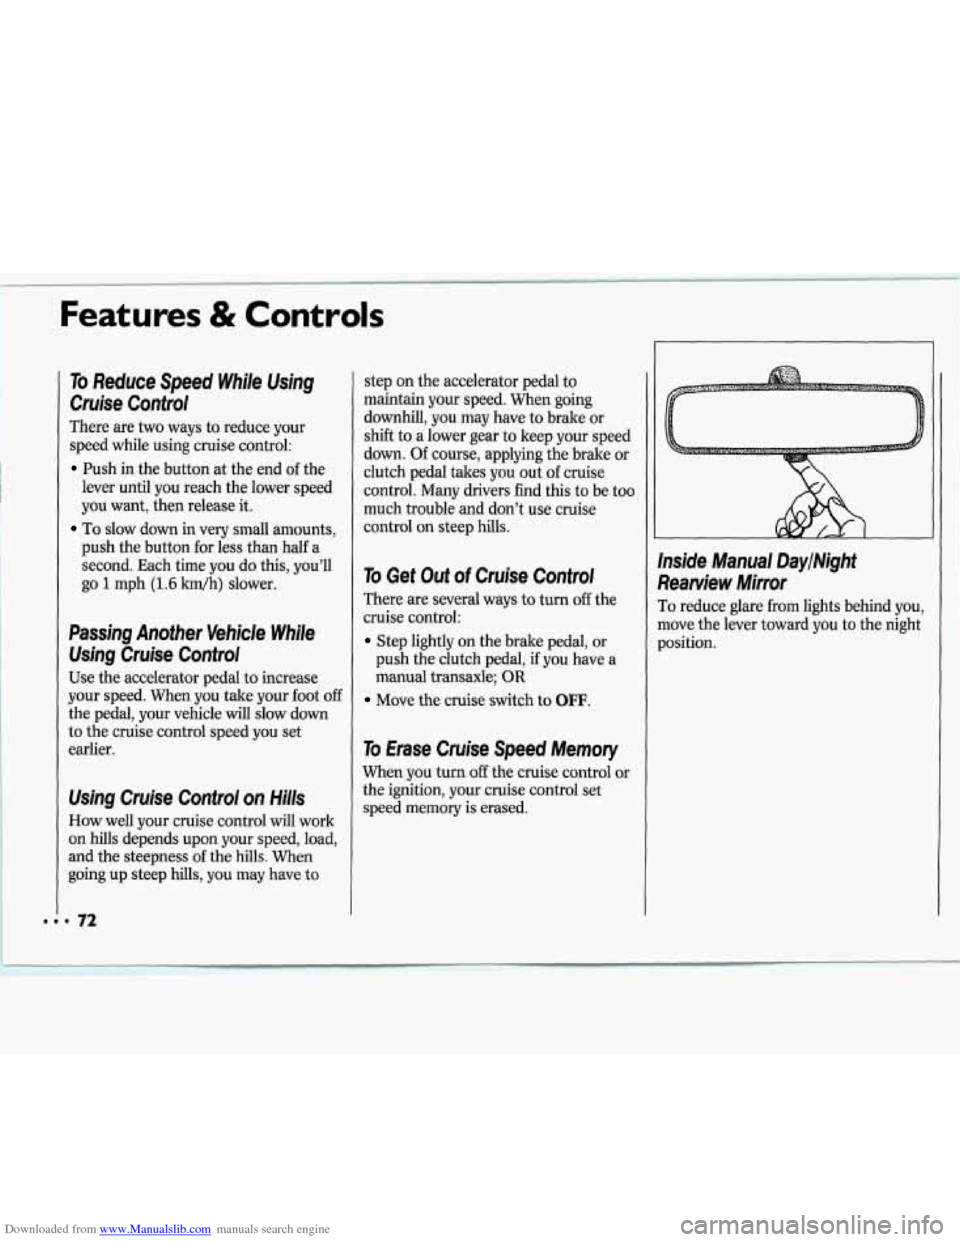
Inside Manual DaylNight
Rearview Mirror
To reduce glare from lights behind you,
move the lever toward you to the night
position.
Page 82 of 243

Downloaded from www.Manualslib.com manuals search engine The Instrument Panel-
Your Information System
Your instrument panel is designed to let
you know at a glance how your vehicle
is running. You’ll
know how fast you’re
going, how much fuel you’re using, and
many other things you’ll need to drive
safely and economically. The
main components of your
instrument panel are:
1. Side Vent
2. Instrument Panel Intensity Control
3. Turn Signal/Multifunction Lever
4. Hazard Warning Flashers Switch
5. Instrument Cluster
6. Ignition Switch
7. Windshield Wipermasher Controls
8. Interior Light Control
9. Audio System
10. Center Vents
1 1. Cup Holder
12. Side Vent
13. Glove Box
14. Climate Controls and Rear Window
15. Parking Brake Lever
16. Ashtray/Lighter
17. Gearshift Lever
18. Horn
19. Tilt Steering Wheel Lever (Option)
20. Fuse Panel
21. Hood Release Lever
Defogger
Page 85 of 243
Downloaded from www.Manualslib.com manuals search engine Features & Controls
Warning Lights, Gages and
Indicators
This section describes the warning
lights and gages that may be on your
vehicle. The pictures will help you
locate them.
Warning lights and gages can signal that
something is wrong before it becomes
serious enough to cause an expensive
repair
or replacement. Paying attention
to your warning lights and gages could
also save you or others from injury.
Warning lights go on when there may
be or is a problem with one of your
vehicle’s functions.
As you will see in
the details
on the next few pages, some
warning lights come on briefly when
you turn the ignition key just to let you
lmow they’re working.
If you are familiar
with this section, you should
not be alarmed when this happens.
Gages can indicate when there may be
or is a problem with one of your
vehicle’s functions. Often gages and
warning lights work together to let
you
know when there’s a problem with your
vehicle.
When one of the warning lights comes
on and stays on when you are driving,
or when one of the gages shows there
may be a problem, check the section
that tells you what to do about it. Please
follow the manual’s advice. Waiting to
do repairs can be costly
- and even
dangerous.
So please get to know your
warning lights and gages. They’re a big
help.
260 0
E
93 ’&
fi
FUEL ONLY
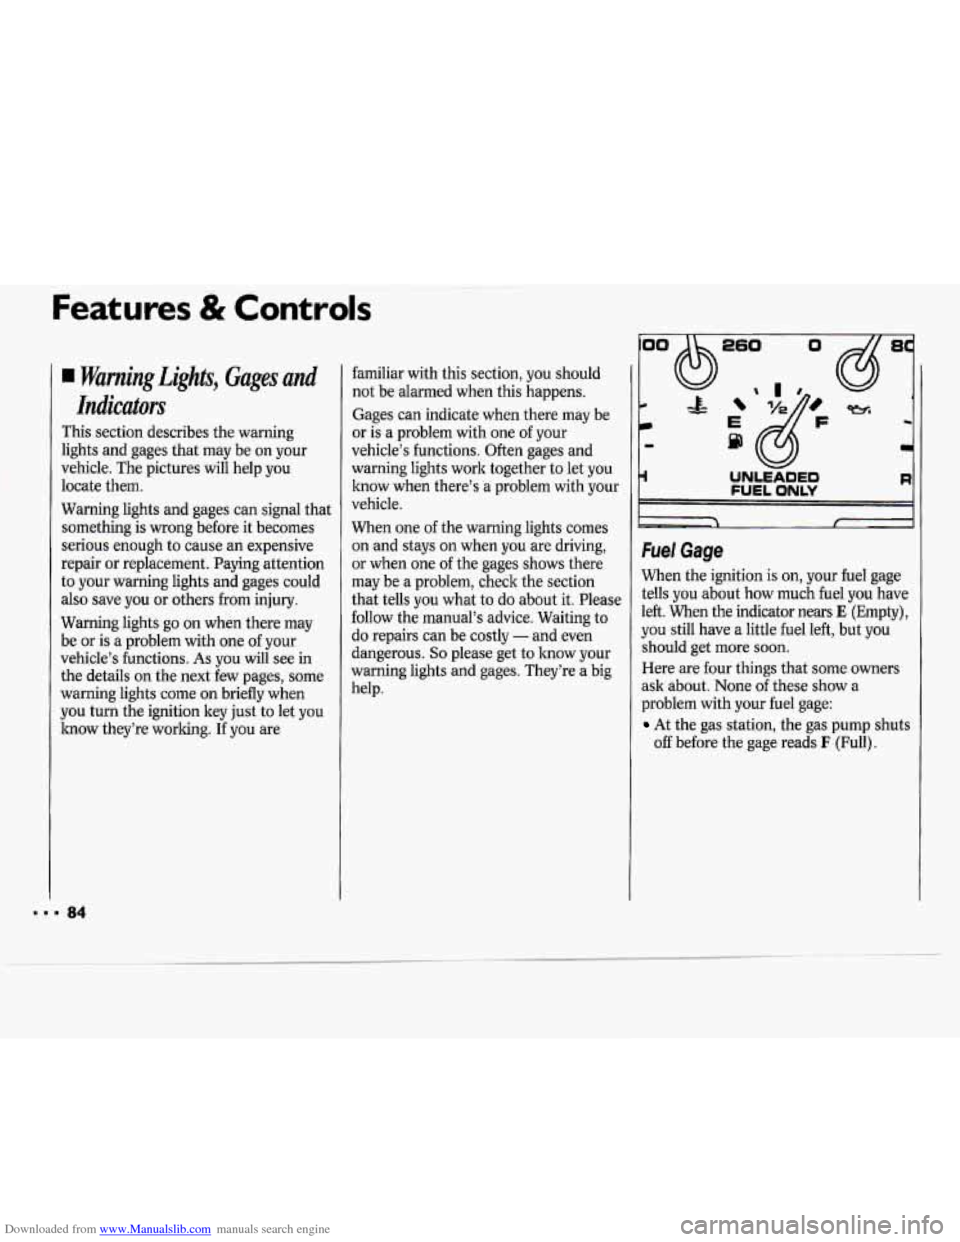
Fuel Gage
When the ignition is on, your fuel gage
tells you about how much fuel you have
left. When the indicator nears
E (Empty),
you still have a little fuel left, but you
should get more soon.
Here are four things that some owners
ask about. None of these show a
problem with your fuel gage:
At the gas station, the gas pump shuts
off before the gage reads I: (Full).
8
-4