1994 CHEVROLET BLAZER check engine
[x] Cancel search: check enginePage 13 of 348
Downloaded from www.Manualslib.com manuals search engine Seats & Safety Belts
Section
Here you’ll find information about the seats in your vehicle and how to use
your safety belts properly
. You can also learn about some things you should
not do with safety belts .
Seats and Seat Controls ...................................... 1-2
Head Restraints
.......................................... 1-8
Safety Belts: They’re
for Everyone ............................. 1-8
Why Safety Belts Work
.................................. 1-10
Questions Many People Ask About Safety Belts ............... 1-13
How to Wear Safety Belts Properly ............................ 1-14
Adults
................................................... 1-14
Driver Position
......................................... 1-15
Lap-Shoulder Belt
.................................... 1-15
Safety Belt Use During Pregnancy .......................... 1-21
Right Front Passenger Position
............................. 1-22
Center Passenger Position
................................. 1-22
LapBelt
............................................ 1-23
Rear Seat Passenger Positions
............................. 1-24
Children
... ; . t ............................................. 1-26
Smaller Children and Babies
.............................. 1-27
Child Restraints ........................................ 1-28
Larger Children
......................................... 1-38
Safety Belt Extender
....................................... 1-40
Checking Your Restraint Systems ............................. 1-41
Replacing Safety Belts After a Crash .......................... 1-41
1-1
Page 20 of 348

Downloaded from www.Manualslib.com manuals search engine Your rear seatback has mechanical latches on both side. Push and pull on the
seatback to check that both latches have locked
in the upright position. If
they haven’t, have them fixed immediately.
1-8
Page 53 of 348
Downloaded from www.Manualslib.com manuals search engine Checking Your Restraint Systems
Now and then, make sure all your belts, buckles, latch plates, retractors,
anchorages and reminder systems are working properly.
Look for any loose
parts or damage. If you see anything that might keep a restraint system from
doing its job, have it repaired.
Replacing Safety Belts After a Crash
If you’ve had a crash, do you need new belts?
After a very minor collision, nothing may be necessary. But if the belts were
stretched, as they would be if worn during a more severe crash,
then you
need new belts.
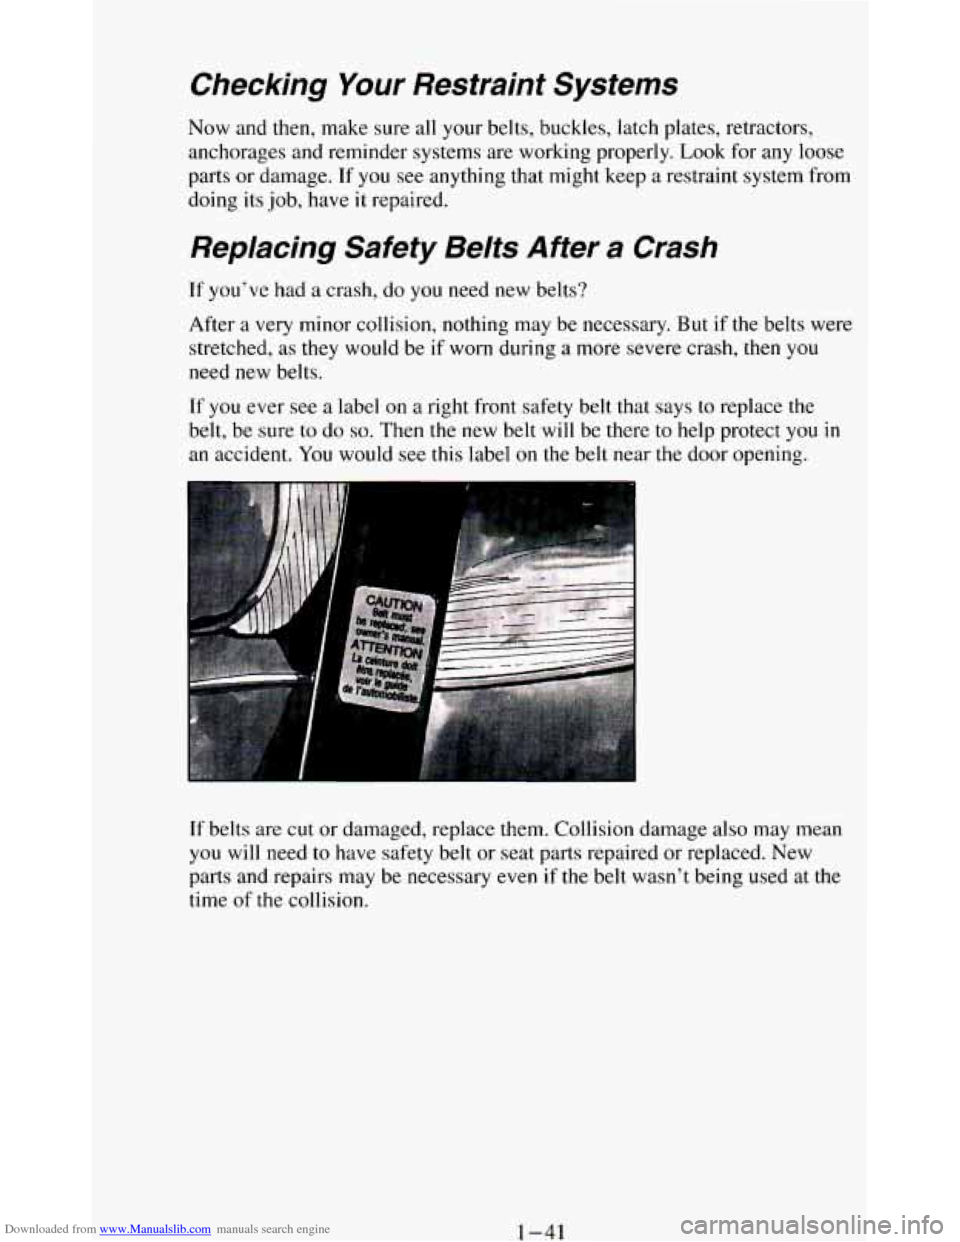
If you ever see a label on a right front safety belt that says to replace the
belt, be sure to do
so. Then the new belt will be there to help protect you in
an accident. You would see this label on the belt near the door opening.
If belts are cut or damaged, replace them. Collision damage also may mean
you will need to have safety belt or seat parts repaired or replaced. New
parts and repairs may be necessary even if
the belt wasn’t being used at the
time
of the collision.
1-41
Page 65 of 348

Downloaded from www.Manualslib.com manuals search engine Keyless Entry System
If your vehicle has this option, you can lock and unlock your doors or
unlock your trunk from up to
30 feet (9 m) away using the key chain
transmitter supplied with your vehicle.
Your Keyless Entry System operates on a radio frequency subject to Federal
Communications Commission (FCC) Rules.
This device complies with Part
15 of the FCC Rules. Operation is subject to
the following two conditions:
(1) This device may not cause harmful
interference, and
(2) This device must accept any interference received,
including interference that may cause undesired operation.
Should interference to this system occur,
try this:
a
a
a
a
Check to determine if battery replacement is necessary. See the
instructions
on battery replacement.
Check the distance. You may be too
far from your vehicle. This product
has
a maximum range.
Check the location. Other vehicles or objects may be blocking the
signal.
See your
GM dealer or a qualified technician for service.
Changes or modifications to this system by other than
an authorized service
facility could void authorization to use
this equipment.
2-11
Page 72 of 348
Downloaded from www.Manualslib.com manuals search engine Tu start your 4.3 Liter engine:
1. Without pushing the accelerator pedal, turn your ignition key to “Start.”
When
the engine starts, let go of the key. The idle speed will go down
as your engine gets warm.
NOTICE:
Holding your key in “Start” for longer than 15 seconds at a time
will cause your battery to be drained much sooner. And the
excessive heat can damage your starter motor.
2. If it doesn’t start right away, hold your key in “Start.” If it doesn’t start
in three seconds, push the accelerator pedal about one-quarter of the
way down for
12 more seconds, or until it starts.
3. If your engine still won’t start (or starts but then stops), it could be
flooded with too much gasoline. Try this:
Wait
15 seconds to let the starter motor cool down. Then push your
accelerator pedal all the way to the floor. Hold it there. Then, hold the
key
in “Start” for no more than ten seconds. This clears the extra
gasoline from the engine.
If the engine still doesn’t start, wait another 15 seconds and do it all
again..
When
the engine starts, let go of the key and the accelerator pedal.
j ~ NOTICE:
, Your engine is designed to work with the electronics in your
vehicle. If you add electrical parts
or accessories, you could
change the
way the fuel injection system operates. Before adding
electrical equipment, check with your dealer. If you don’t, your
engine might not perform properly.
If you ever have to have your vehicle towed, see the part of this
manual that tells how
to do it without damaging your vehicle.
See “Towing Your Vehicle” in the Index.
2- 18
Page 86 of 348
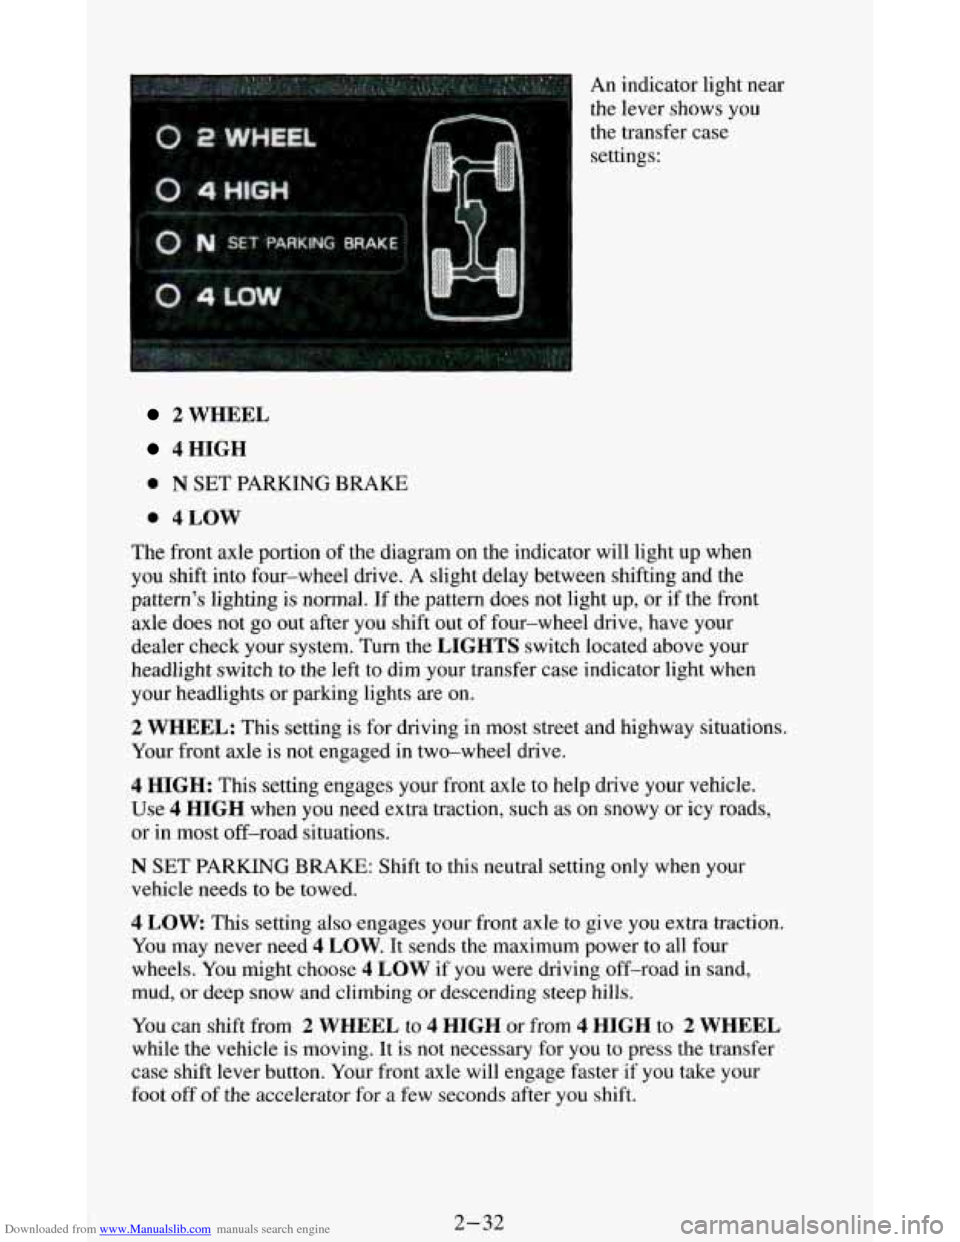
Downloaded from www.Manualslib.com manuals search engine An indicator light near
the lever shows you
the transfer case
settings:
2 WHEEL
4HIGH
0 N SET PARKING BRAKE
0 4LOW
The front axle portion of the diagram on the indicator will light up when
you shift into four-wheel drive.
A slight delay between shifting and the
pattern's lighting
is normal. If the pattern does not light up, or if the front
axle does not go out after you shift out of four-wheel drive, have your
dealer check your system. Turn the
LIGHTS switch located above your
headlight switch
to the left to dim your transfer case indicator light when
your headlights or parking lights are on.
2 WHEEL: This setting is for driving in most street and highway situations.
Your front axle
is not engaged in two-wheel drive.
4 HIGH: This setting engages your front axle to help drive your vehicle.
Use 4 HIGH when you need extra traction, such as on snowy or icy roads,
or
in most off-road situations.
N SET PARKING BRAKE: Shift to this neutral setting only when your
vehicle needs to be towed.
4 LOW This setting also engages your front axle to give you extra traction.
You may never need
4 LOW. It sends the maximum power to all four
wheels. You might choose
4 LOW if you were driving off-road in sand,
mud, or deep snow and climbing or descending steep hills.
You can shift from 2 WHEEL to 4 HIGH or from 4 HIGH to 2 WHEEL
while the vehicle is moving. It is not necessary for you to press the transfer
case shift lever button. Your front axle will engage faster if you take your
foot off of the accelerator for a few seconds after you shift.
2-32
Page 93 of 348
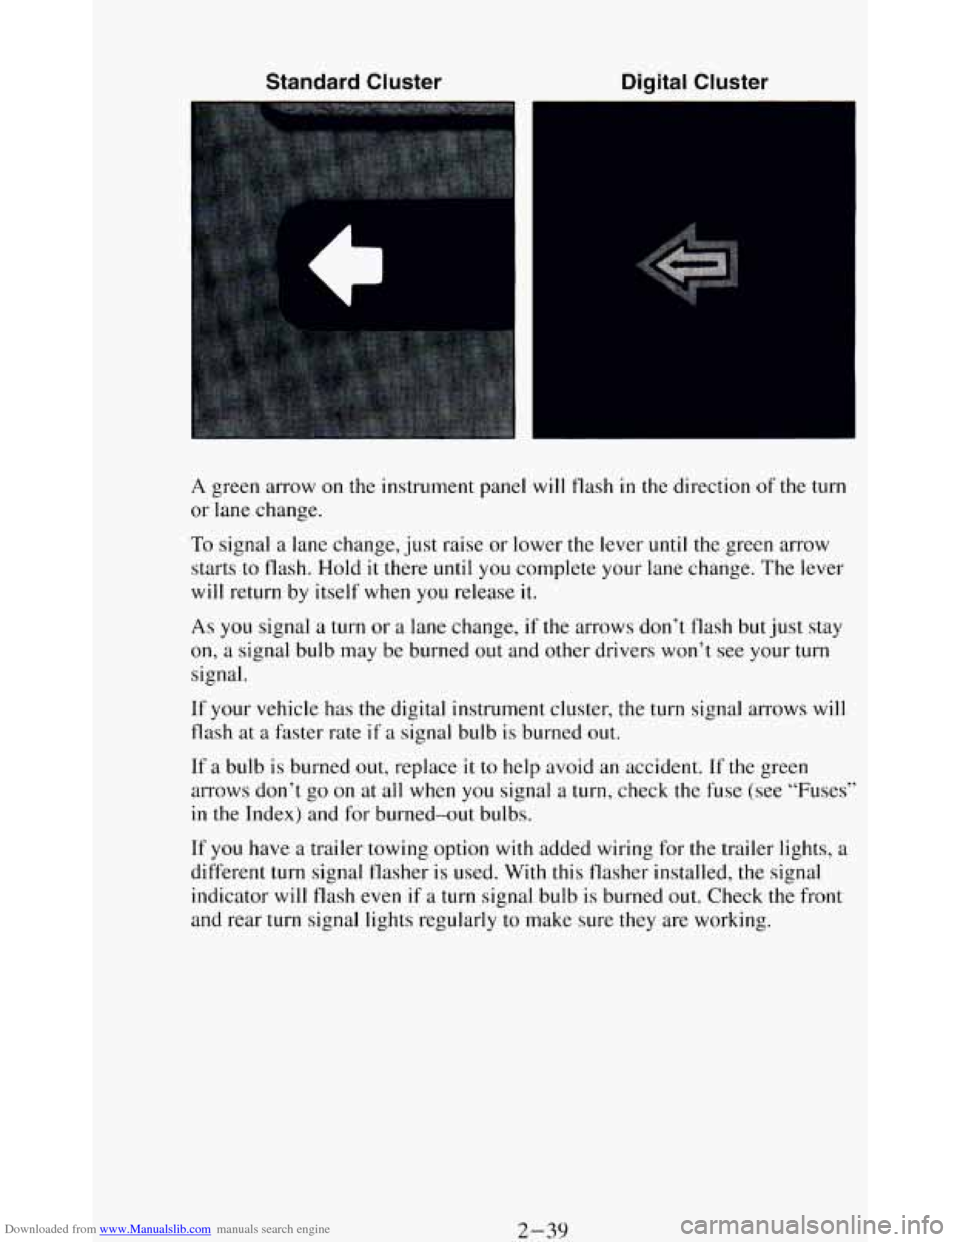
Downloaded from www.Manualslib.com manuals search engine Standard Cluster Digital Cluster
A green arrow on the instrument panel will flash in the direction of the turn
or lane change.
To signal
a lane change, just raise or lower the lever until the green arrow
starts to flash. Hold
it there until you complete your lane change. The lever
will return by itself when you release it.
As you signal a turn or a lane change, if the arrows don’t flash but just stay
on,
a signal bulb may be burned out and other drivers won’t see your turn
signal.
If your vehicle has the digital instrument cluster, the turn signal arrows will
flash at
a faster rate if a signal bulb is burned out.
If a bulb is burned out, replace it to help avoid an accident. If the green
arrows don’t go on at all when you signal a turn, check the fuse (see “Fuses”
in the Index) and for burned-out bulbs.
If
you have a trailer towing option with added wiring for the trailer lights, a
different turn signal flasher is used. With this flasher installed, the signal
indicator will flash even if
a turn signal bulb is burned out. Check the front
and rear turn signal lights regularly to make sure they are working.
2-39
Page 94 of 348

Downloaded from www.Manualslib.com manuals search engine Operation of Lights
Although your vehicle's lighting system (headlights, parking lig\
hts, fog
lamps, side marker lights and taillights) meets
all applicable federal lighting
requirements, certain states and provinces may apply their own lighting
regulations that may require special
attention before you operate these
lights.
For example, some jurisdictions may require that you operate your fog
lamps
only when your lower beam headlights are also on, or that headlights
be turned
on whenever you must use your windshield wipers. In addition,
most jurisdictions prohibit driving solely with parking lights, especially at
dawn or dusk. It is recommended that
you check with your own state or
provincial highway authority for applicable lighting regulations.
Headlight High-Low Beam
To change the
headlights from low
beam to high or high
to
low, pull the turn
signal lever all the
way toward you. Then
release
it.
When the high beams
are
on, this blue
indicator light on the
instrument panel also
will be on.
2-40