1994 CHEVROLET BLAZER air conditioning
[x] Cancel search: air conditioningPage 135 of 348
Downloaded from www.Manualslib.com manuals search engine Comrort Controls & Audio Systems
Section
In this part you’ll find out how to operate the comfort control systems and
audio systems offered with your vehicle
. Be sure to read about the particular
system supplied with your vehicle
.
For explanation of vehicle symbols, refer to “Vehicle Symbols” in the
Introduction
.
Comfort Controls
Flow-Through Ventilation System
........................... 3-2
Heater Controls
.......................................... 3-3
Heater/Air Conditioning Controls ........................... 3-4
Engine Coolant Heater (Engine Block Heater) .................... 3-5
Rear Window Defogger
...................................... 3-5
Audiosystems ............................................. 3-6
FMStereo
.............................................. 3-7
AM
................................................... 3-7
AMStereo
.............................................. 3-7
How to Operate Your ETR@ AM Radio
....................... 3-8
How to Operate Your ETR@ AM-FM Stereo Audio System ..... 3-10
How to Operate Your ETR@ AM-FM Stereo Audio Cassette
System
............................................. 3-12
How to Operate Your ETR’ AM-FM Stereo Audio Cassette System
With Equalizer
....................................... 3-15
Care
of Your Cassette Tape Player .......................... 3-18
How to Operate Your ETR’ AM-FM Stereo Audio Compact Disc
(CD)System
........................................ 3-19
Care of Your Compact Discs ...................... **t!%*BB 3-24
Fixed Mast Antenna ..................................... 3-24
3-1
Page 136 of 348
Downloaded from www.Manualslib.com manuals search engine Comfort Controls
Flow-Through Ventilation System
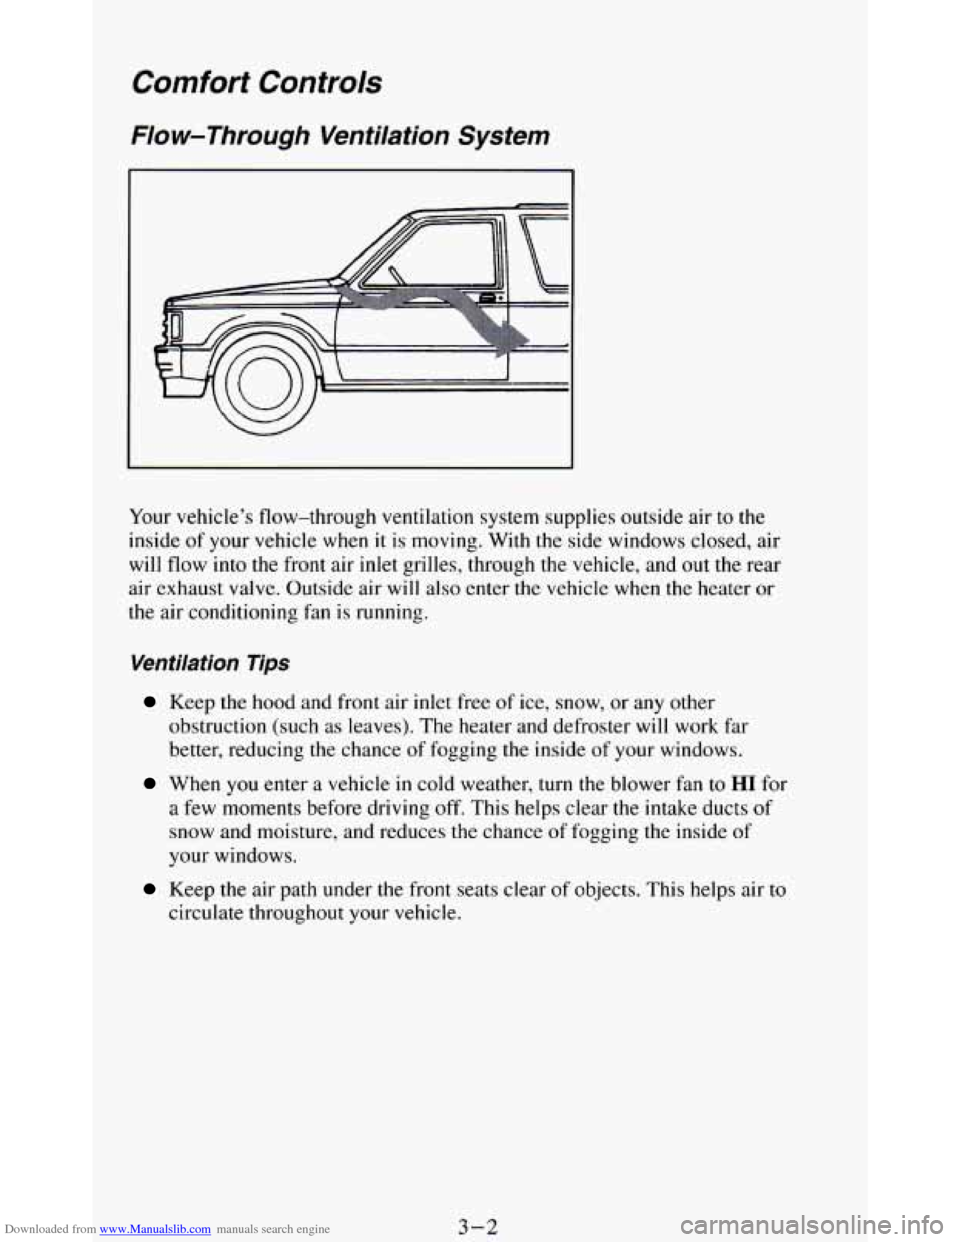
Your vehicle’s flow-through ventilation system supplies outside air to the
inside of your vehicle when it is moving. With the side windows closed, air
will flow into the front air
inlet grilles, through the vehicle, and out the rear
air exhaust valve. Outside air will also enter the vehicle when the heater
or
the air conditioning fan is running.
Ventilation Tips
Keep the hood and front air inlet free of ice, snow, or any other
obstruction (such
as leaves). The heater and defroster will work far
better, reducing the chance of fogging the inside
of your windows.
When you enter a vehicle in cold weather, turn the blower fan to HI for
a few moments before driving
off. This helps clear the intake ducts of
snow and moisture, and reduces the chance of fogging the inside of
your windows.
Keep the air path under the front seats clear of objects. This helps air to
circulate throughout your vehicle.
3-2
Page 137 of 348
Downloaded from www.Manualslib.com manuals search engine Air Vents
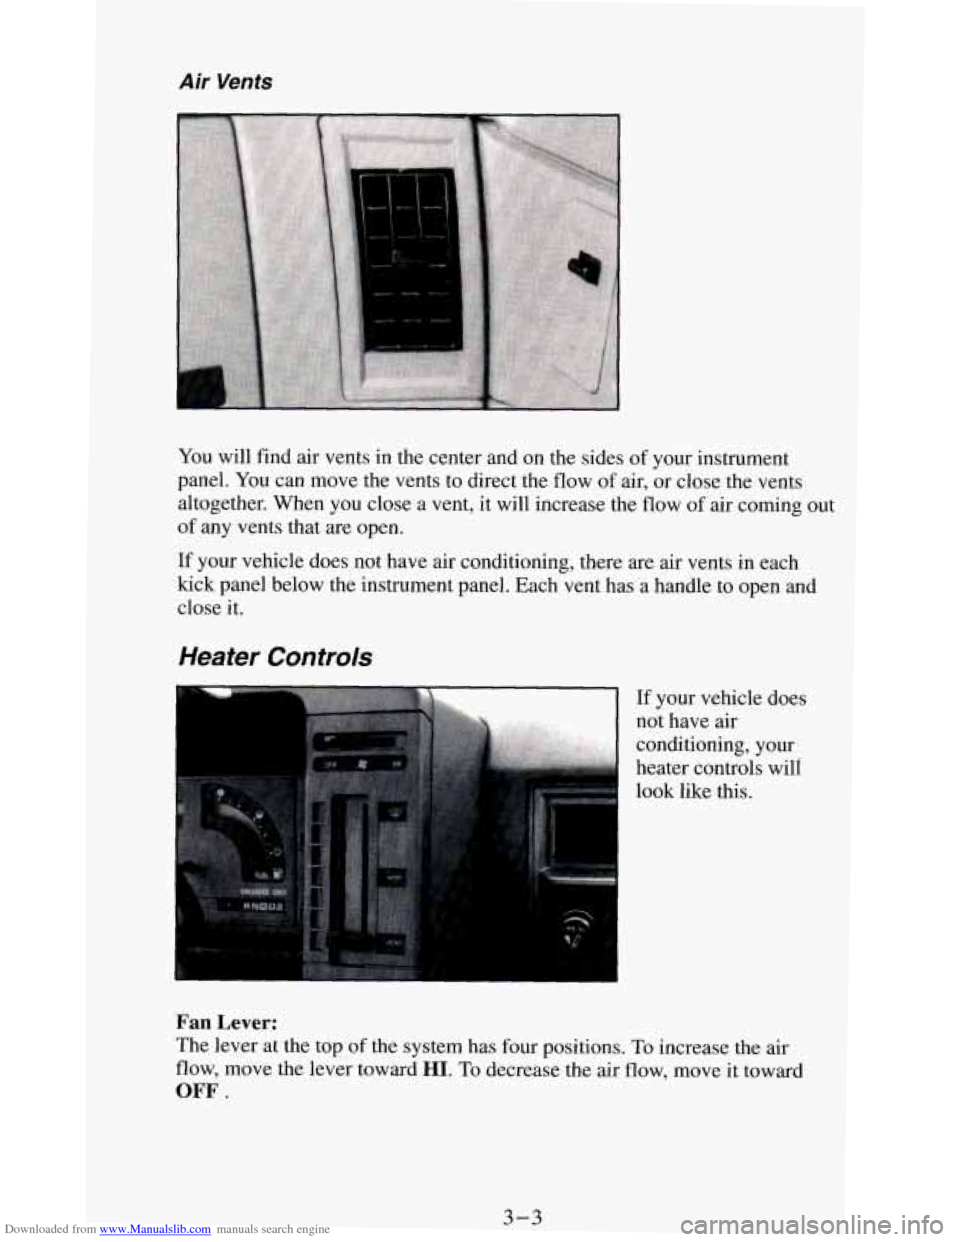
You will find air vents in the center and on the sides of your instrument
panel.
You can move the vents to direct the flow of air, or close the vents
altogether. When you close a vent, it will increase the flow
of air coming out
of any vents that are open.
If your vehicle does not have air conditioning, there are air vents in each
kick panel below the instrument panel. Each vent has a handle to open and
close it.
Heater Controls
If your vehicle does
not have air
conditioning, your
heater controls will
look like this.
Fan Lever:
The lever at the top of the system has four positions. To increase the air
flow, move the lever toward HI. To decrease the air flow, move it toward
OFF.
3-3
Page 138 of 348
Downloaded from www.Manualslib.com manuals search engine Temperature Lever:
The lever on the left of the system lets you select the temperature of the air
flowing into your vehicle. Move the lever up for warmer air. Move the lever
down for cooler air.
Mode Function Lever:
The lever on the right of the system can be moved to three different heating
functions.
DEFROST: This setting operates the defroster. Most of the air comes out
near the windshield,
with some going to the floor vents and side window
defrost vents. Use this when you get fog or ice on the windshield.
HTR (Heater): Most of the air comes out near the floor. The rest comes out
from the defroster vents under the windshield and at the front side windows.
This
is best for cold weather.
VENT: The air comes out at the vents on your instrument panel and at your
front side windows.
Heating/Air Conditioning Controls
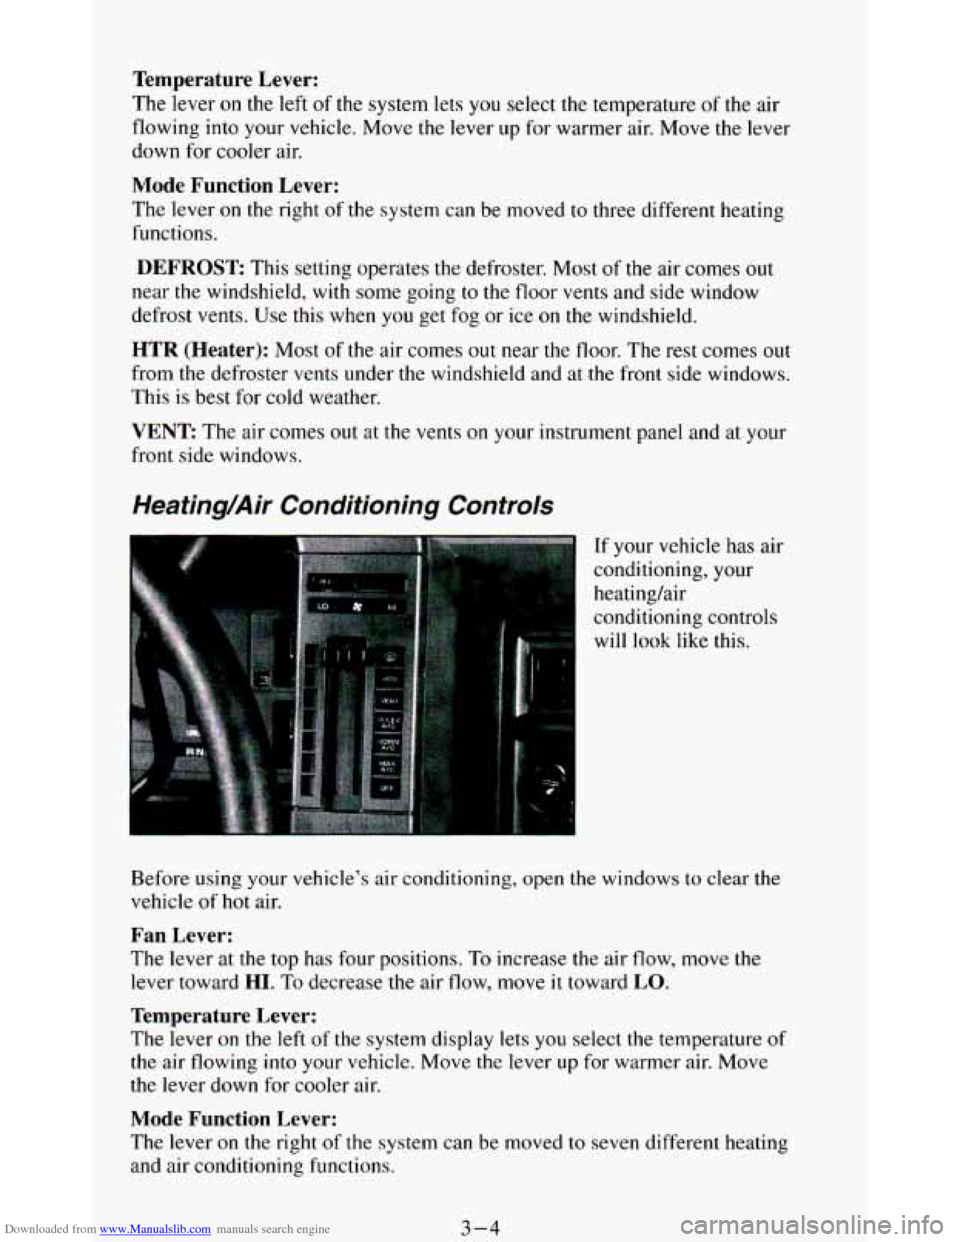
If your vehicle has air
conditioning, your
heating/air
conditioning controls
will look like this.
Before using
your vehicle’s air conditioning, open the windows to clear me
vehicle of hot air.
Fan Lever:
The lever at the top has four positions. To increase the air flow, move the
lever toward
HI. To decrease the air flow, move it toward LO.
Temperature Lever:
The lever on the left of the system display lets you select the temperature of
the air flowing into your vehicle. Move the lever up for warmer air. Move
the lever down for cooler
air.
Mode Function Lever:
The lever on the right of the system can be moved to seven different heating
and air conditioning functions.
3-4
Page 267 of 348
Downloaded from www.Manualslib.com manuals search engine you have to have new ones put in - be sure you get new genuine GM
replacement parts. If you don’t, your brakes may no longer work properly.
For example, if someone puts in brake linings that are wrong for your
vehicle, the balance between your front and rear brakes can change, for the
worse. The braking performance you’ve come to expect can change in many
other ways if someone puts in the wrong replacement brake parts.
Fluid Leak Check
After the vehicle has been parked for a while, inspect the surface under the
vehicle for water, oil, fuel or other fluids. Water dripping from
the air
conditioning system after it has been used is normal. If you notice fuel leaks
or fumes, the causes should be found and corrected at once.
Battery
Every new vehicle has a Delco Freedom@ battery. You never have to add
water
to one of these. When it’s time for a new battery, we recommend a
Delco Freedom@ battery. Get one that has the catalog number shown on the
original battery’s label.
Vehicle Storage
If you’re not going to drive your vehicle for 25 days or more, take off the
black, negative
(-) cable from the battery. This will help keep your battery
from running down.
Contact your dealer to learn how to prepare your vehicle for longer storage
periods.
For more information, contact your dealer’s service department, or write:
Adistra Corporation
17 1 Hamilton Street
Plymouth, MI
48 170
In Canada, write:
General Motors of Canada Limited
Customer Services Department
Oshawa, Ontario
L1J 5Z6 Canada
6-31
Page 272 of 348
Downloaded from www.Manualslib.com manuals search engine Windshield Wiper Blade Inserts
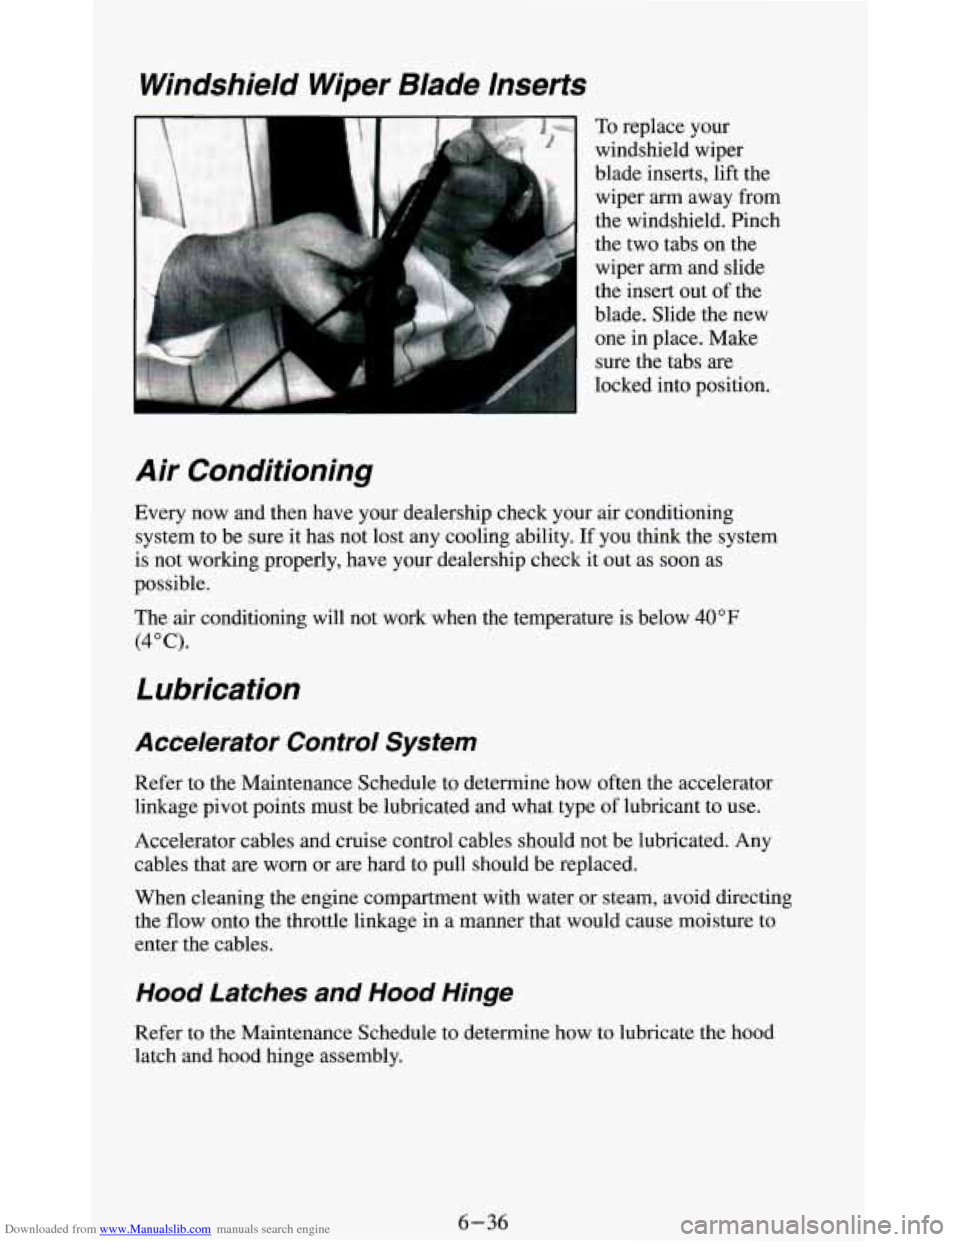
To replace your
windshield wiper
blade inserts, lift the
wiper
arm away from
the windshield. Pinch
the two tabs on the
wiper arm and slide
the insert out of the
blade. Slide the new
one in place. Make
sure the tabs
are
locked into position.
Air Conditioning
Every now and then have your dealership check your air conditioning
system to be sure it has not lost any cooling ability.
If you think the system
is not working properly, have your dealership check it out as soon as
possible.
The air conditioning will not work when the temperature is below
40°F
(4°C).
Lubrication
Accelerator Control System
Refer to the Maintenance Schedule to determine how often the accelerator
linkage pivot points must be lubricated and what type of lubricant to use.
Accelerator cables and cruise control cables should not be lubricated. Any
cables that
are worn or are hard to pull should be replaced.
When cleaning the engine compartment with water or steam, avoid directing
the flow onto the throttle linkage in a manner that would cause moisture to
enter the cables.
Hood Latches and Hood Hinge
Refer to the Maintenance Schedule to determine how to lubricate the hood
latch and hood hinge assembly.
6-36
Page 303 of 348
Downloaded from www.Manualslib.com manuals search engine NAME
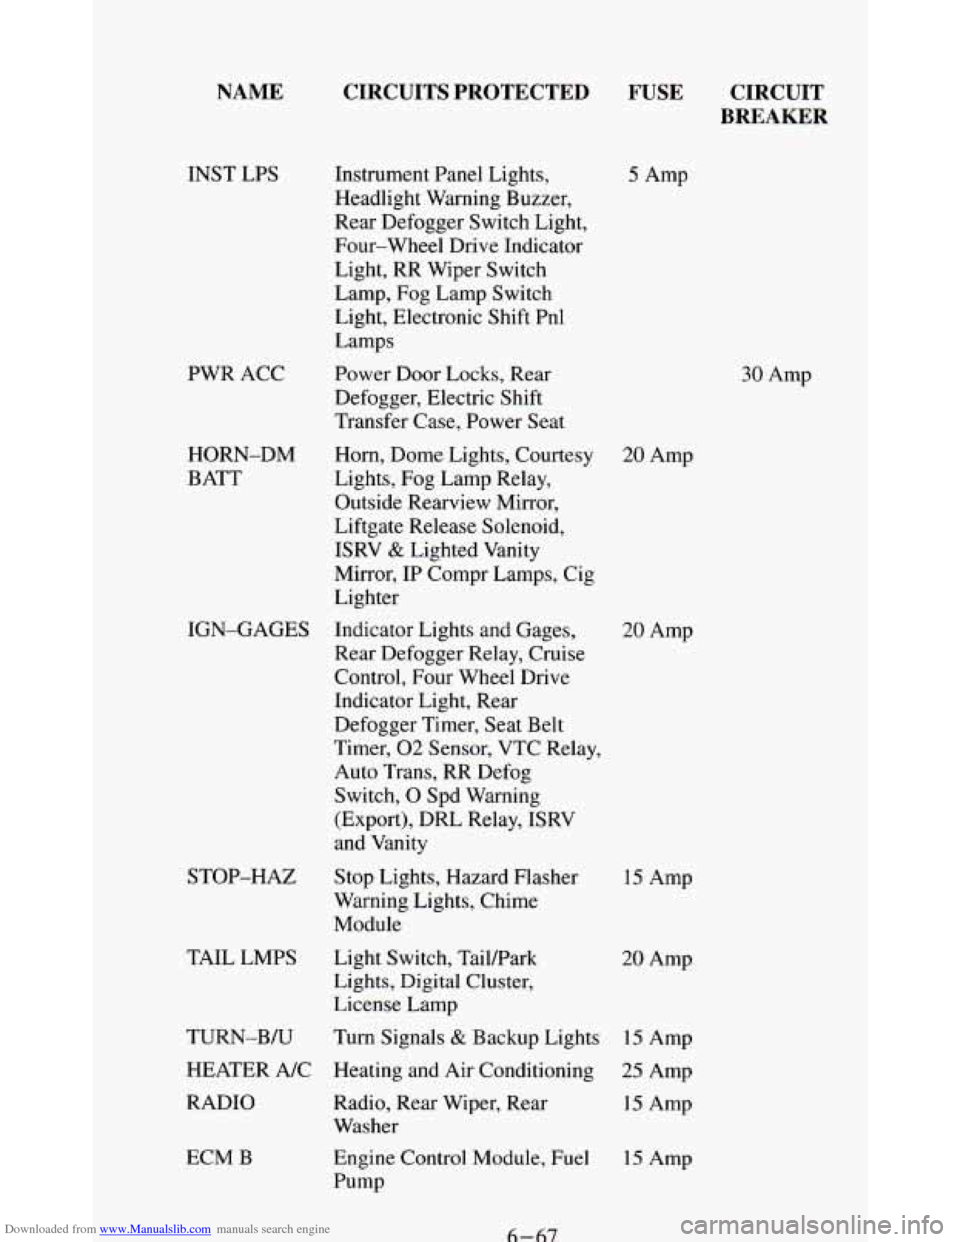
INST LPS
PWR ACC
HORN-DM
BATT
STOP-HAZ
TAIL LMPS
ECM B
CIRCUITS PROTECTED
FUSE CIRCUIT
BREAKER
Instrument Panel Lights,
Headlight Warning Buzzer,
Rear Defogger Switch Light,
Four-wheel Drive Indicator
Light, RR Wiper Switch
Lamp, Fog Lamp Switch
Light, Electronic Shift Pnl
Lamps
Power Door Locks, Rear
Defogger, Electric Shift
Transfer Case, Power Seat
Horn, Dome Lights, Courtesy
20 Amp
Lights, Fog Lamp Relay,
Outside Rearview Mirror,
Liftgate Release Solenoid,
ISRV
& Lighted Vanity
Mirror, IP Compr Lamps, Cig
Lighter
IGN-GAGES Indicator Lights and Gages,
Rear Defogger Relay, Cruise
Control, Four Wheel Drive
Indicator Light, Rear
Defogger Timer, Seat Belt
Timer,
02 Sensor, VTC Relay,
Auto Trans, RR Defog
Switch,
0 Spd Warning
(Export),
DRL Relay, ISRV
and Vanity
Stop Lights, Hazard Flasher
Warning Lights, Chime
Module
Light Switch, Tailpark
Lights, Digital Cluster,
License Lamp
TURN-B/U Turn Signals
& Backup Lights 15 Amp
HEATER A/C Heating and Air Conditioning
25 Amp
RADIO Radio, Rear Wiper, Rear
15 Amp
Washer
Engine Control Module, Fuel
15 Amp
Pump
5 Amp
30 Amp
20 Amp
15 Amp
20 Amp
6-67
Page 305 of 348
Downloaded from www.Manualslib.com manuals search engine Air Conditioning Refrigerants
Not all air conditioning refrigerants are the same. If the air conditioning
system in your vehicle needs refrigerant, be sure the proper refrigerant is
used. If you’re not sure, ask your
GM dealer. For additional information, see
your “Warranty and Owner Assistance Information” booklet.
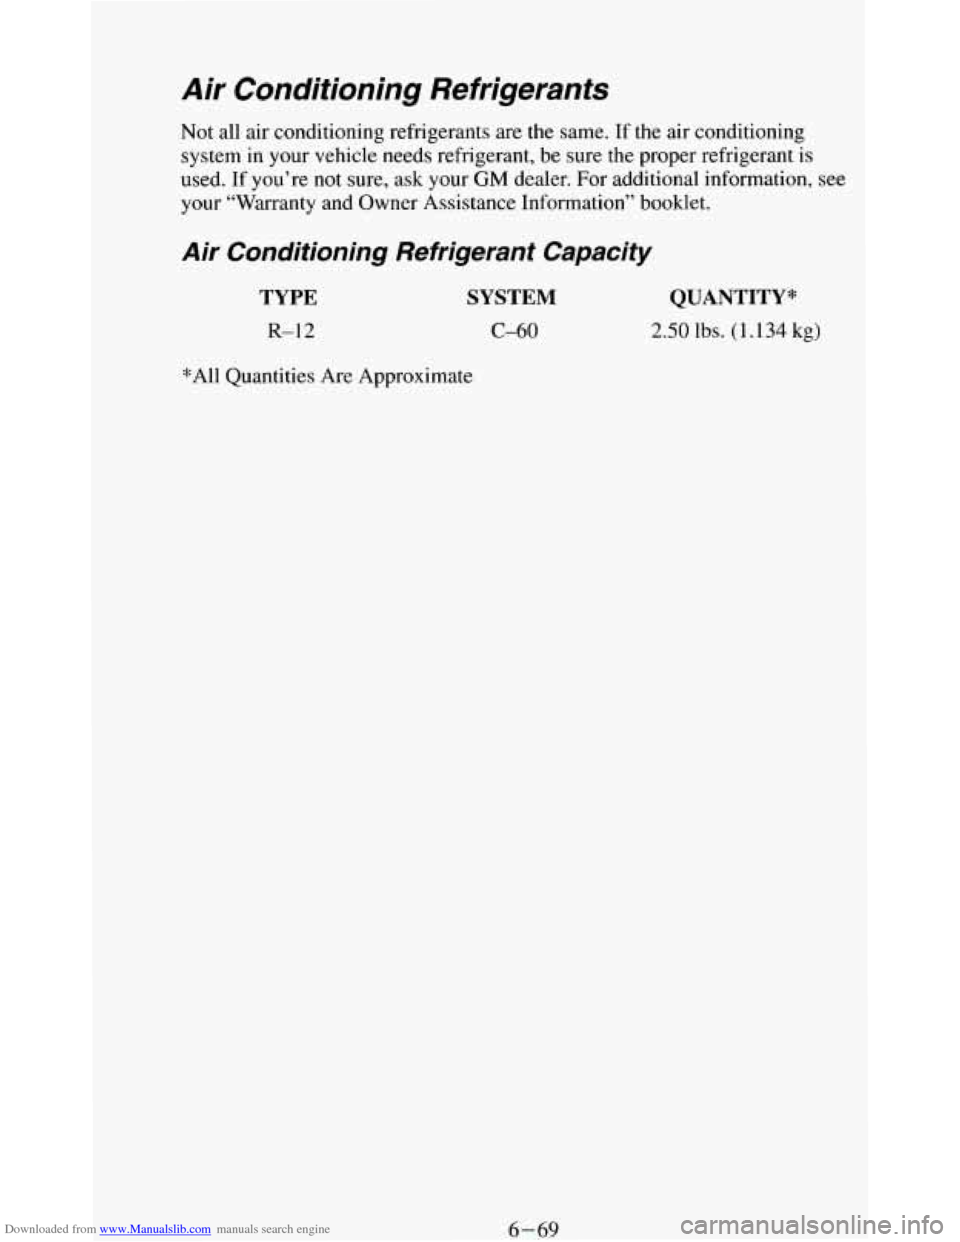
Air Conditioning Refrigerant Capacity
TYPE
R-12
SYSTEM
C-60
*All Quantities Are Approximate
QUANTITY*
2.50 lbs. (1.134 kg)
6-69