Page 73 of 348
Downloaded from www.Manualslib.com manuals search engine Driving Through Deep Standing Water
NOTICE:
If you drive too quickly through deep puddles or standing water,
water can come in through your engine's air intake and badly damage your engine.
If you can't avoid deep puddles or standing
water, drive through them very slowly.
Engine Coolant Heater (Engine Block Heater)
(Option)
4.3 Liter:
I. Engine coolant
heater cord cap
2. Engine coolant
heater cord strap
In very cold weather,
0°F (- 18 "C) or colder, the engine coolant heater can
help. You'll get easier starting and better fuel economy during engine
warm-up. Usually, the coolant heater should be plugged in a minimum
of
four hours prior to starting your vehicle.
To use the coolunt heater:
1. Turn off the engine.
2. Open the hood and unwrap the electrical cord.
3. Plug it into a normal, grounded 1 10-volt outlet.
2-19
Page 130 of 348

Downloaded from www.Manualslib.com manuals search engine Gages
Fuel Gage
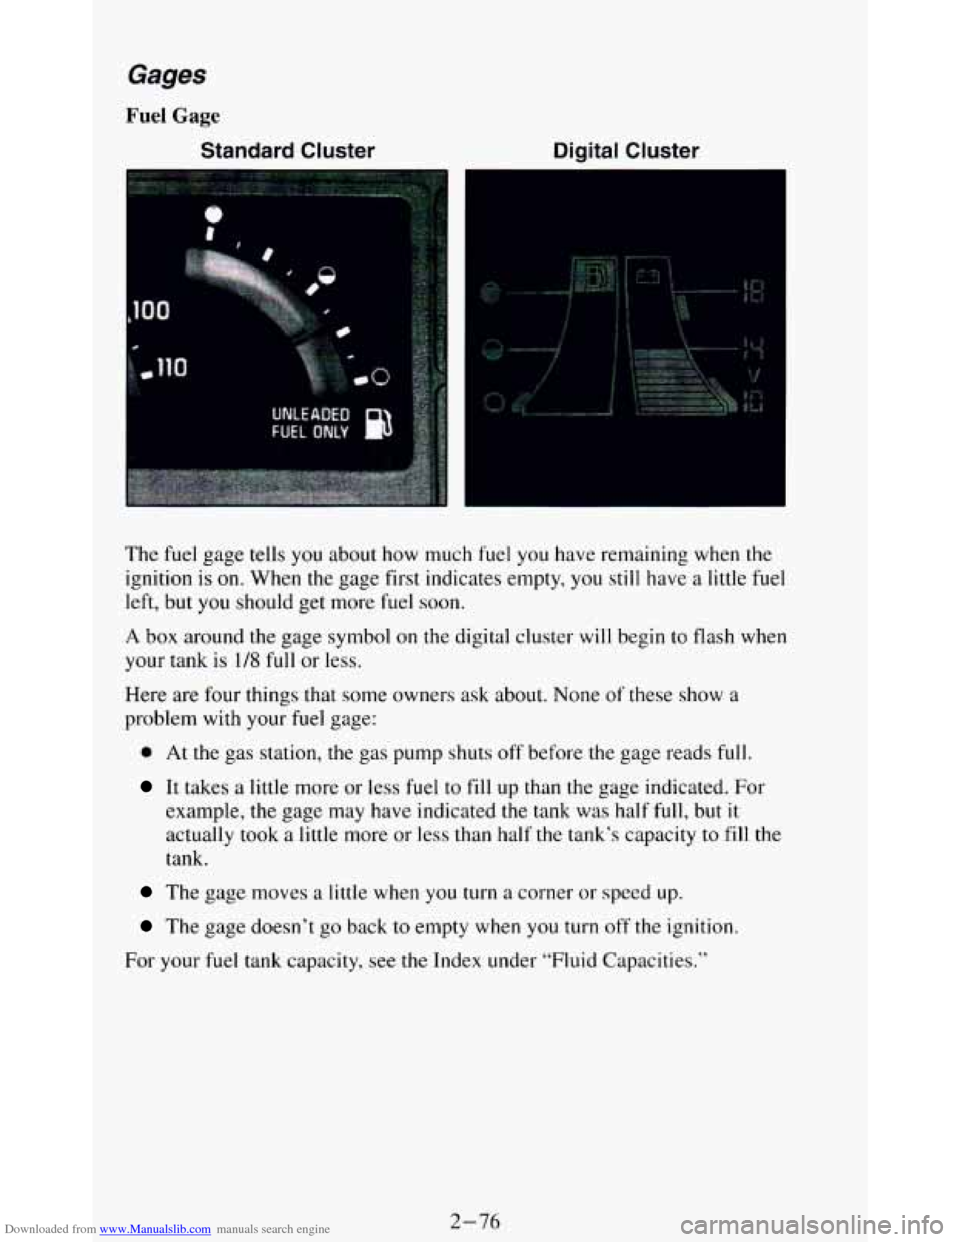
Standard Cluster Digital Cluster
The fuel gage tells you about how much fuel you have remaining when the
ignition is
on. When the gage first indicates empty, you still have a little fuel
left, but you should get more fuel soon.
A box around the gage symbol on the digital cluster will begin to flash when
your tank
is 1/8 full or less.
Here are four things that some owners ask about. None
of these show a
problem with your fuel gage:
0 At the gas station, the gas pump shuts off before the gage reads full.
It takes a little more or less fuel to fill up than the gage indicated. For
example, the gage may have indicated the tank was half
full, but it
actually took a little more or less than half the tank’s capacity to fill the
tank.
The gage moves a little when you turn a corner or speed up.
The gage doesn’t go back to empty when you turn off the ignition.
For your fuel tank capacity, see
the Index under “Fluid Capacities.”
2-76
Page 237 of 348

Downloaded from www.Manualslib.com manuals search engine Service & Appearance Care
Section
Here you will find information about the care of your vehicle . This part
begins with service and fuel information. and then
it shows how to check
important fluid and lubricant levels
. There is also technical information
about your vehicle. and a section devoted to
its appearance care .
Service ................................................... 6-2
Fuel
..................................................... 6-3
Checking Things Under the Hood
.............................. 6-6
Engineoil
.............................................. 6-8
Aircleaner
............................................ 6-14
Automatic Transmission Fluid
............................. 6-15
Manual Transmission Fluid
............................... 6-18
Hydraulic Clutch ........................................ 6-20
RearAxle
............................................. 6-20
Transfer Case
.......................................... 6-21
FrontAxle
............................................. 6-22
Enginecoolant
......................................... 6-23
Power Steering Fluid
.................................... 6-26
Windshield Washer Fluid
................................. 6-28
Brake Master Cylinder
................................... 6-29
Replacing Brake System Parts
................................ 6-30
Battery
.................................................. 6-31
Vehiclestorage
......................................... 6-31
Bulb Replacement
......................................... 6-32
Other Maintenance Items
.................................... 6-35
Loading Your Vehicle
...................................... 6-39
Tires .................................................... 6-42
Appearance Care
.......................................... 6-49
Vehicle Identification Number (VIN)
.......................... 6-58
Service Parts Identification Label
............................. 6-60
Fuses and Circuit Breakers
.................................. 6-60
Capacities and Specifications Charts
........................... 6-62
6-1
Page 241 of 348
Downloaded from www.Manualslib.com manuals search engine Filling ‘Your Tank
The fuel cap is behind
a hinged door on the
left side of your
vehicle.
To take
off the cap, turn it slowly to the left.
Be careful not to spill gasoline. Clean gasoline from painted surfaces as
soon as possible.
See “Cleaning the Outside of Your Vehicle” in the Index.
When you put the cap back
on, turn it to the right until you hear a clicking
noise.
6-5
Page 242 of 348
Downloaded from www.Manualslib.com manuals search engine NOTICE:
If you need a new cap, be sure to get the right type. Your dealer
can get one for you. If you get the wrong type, it may not fit or
have proper venting, and your fuel tank and emissions system
might be damaged.
Checking Things Under the Hood
Then go to the front of
the vehicle and release
the secondary hood
release.
6-6
Page 275 of 348

Downloaded from www.Manualslib.com manuals search engine Loading Your Vehicle
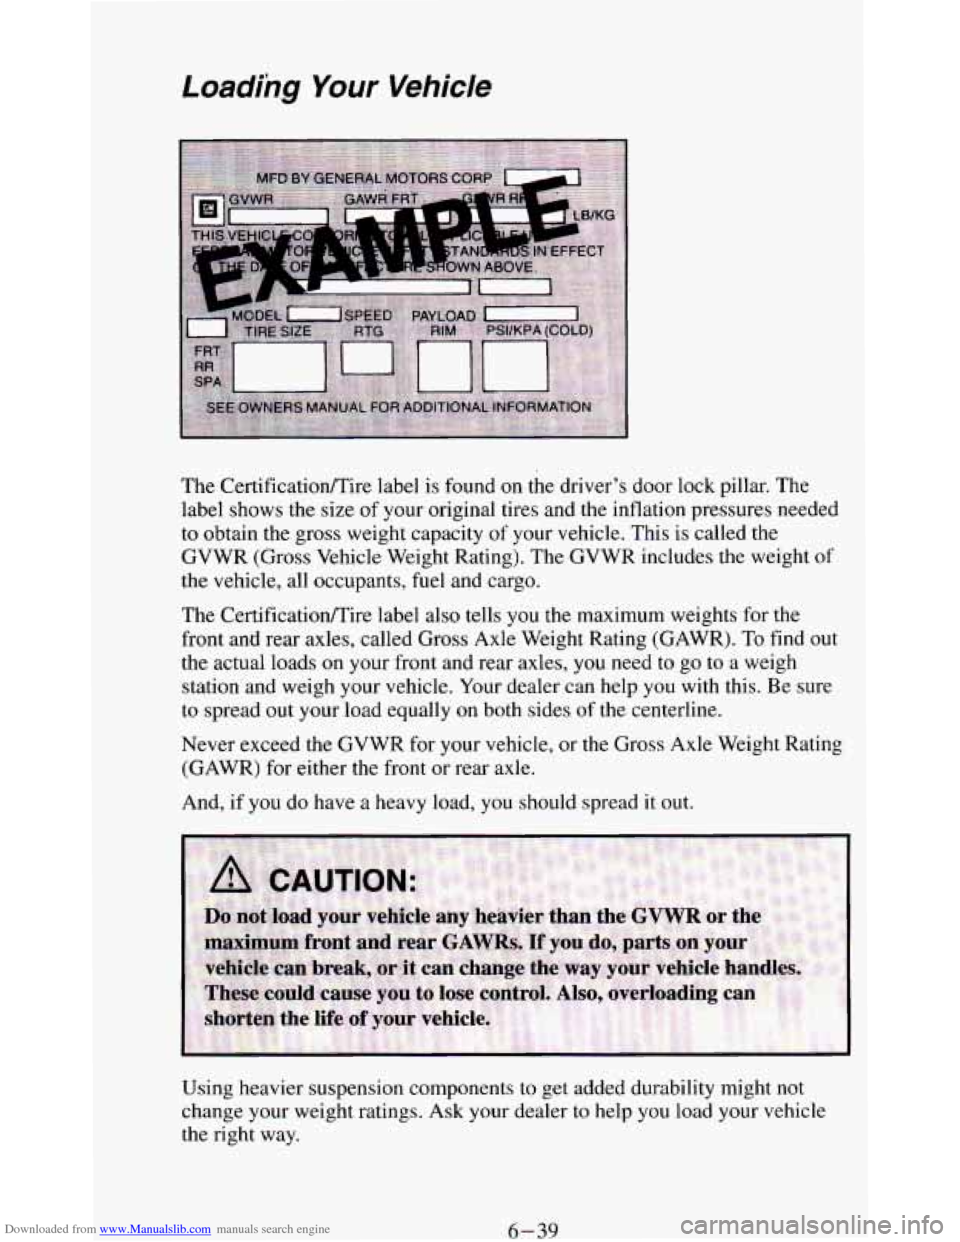
The CertificatiodTire label is found on the driver’s door lock pillar. The
label shows
the size of your original tires and the inflation pressures needed
to obtain the gross weight capacity
of your vehicle. This is called the
GVWR (Gross Vehicle Weight Rating). The GVWR includes the weight
of
the vehicle, all occupants, fuel and cargo.
The Certificationnire label
also tells you the maximum weights for the
front and rear axles, called Gross Axle Weight Rating (GAWR). To find
out
the actual loads on your front and rear axles, you need to go to a weigh
station and weigh your vehicle. Your dealer can help you with this. Be sure
to spread out your load equally on both sides
of the centerline.
Never exceed the GVWR for your vehicle, or the Gross Axle Weight Rating
(GAWR) for either the front or rear axle.
And, if you do have a heavy load, you should spread it out.
Using heavier suspension components to get added durability might not
change your weight ratings.
Ask your dealer to help you load your vehicle
the right way.
6-39
Page 279 of 348
Downloaded from www.Manualslib.com manuals search engine NOTICE:
Don’t let anyone tell you that underinflation or overinflation is
all right. It’s not. If your tires don’t have enough air
(underinflation)
you can get:
Too much flexing
Too much heat
Tire overloading
Bad wear
Bad handling
Bad fuel economy.
If your tires have too much air (overinflation), you can get:
Unusual wear
Bad handling
Rough ride
Needless damage from road hazards.
When to Check
Check your tires once a month or more.
How to Check
Use a good quality pocket-type gage to check tire pressure. Simply looking
at the tires will not tell you the pressure, especially if you have radial tires
- which may look properly inflated even if they’re underinflated.
If your tires have valve caps, be sure to put them back on. They help prevent
leaks by keeping out dirt and moisture.
6-43
Page 298 of 348

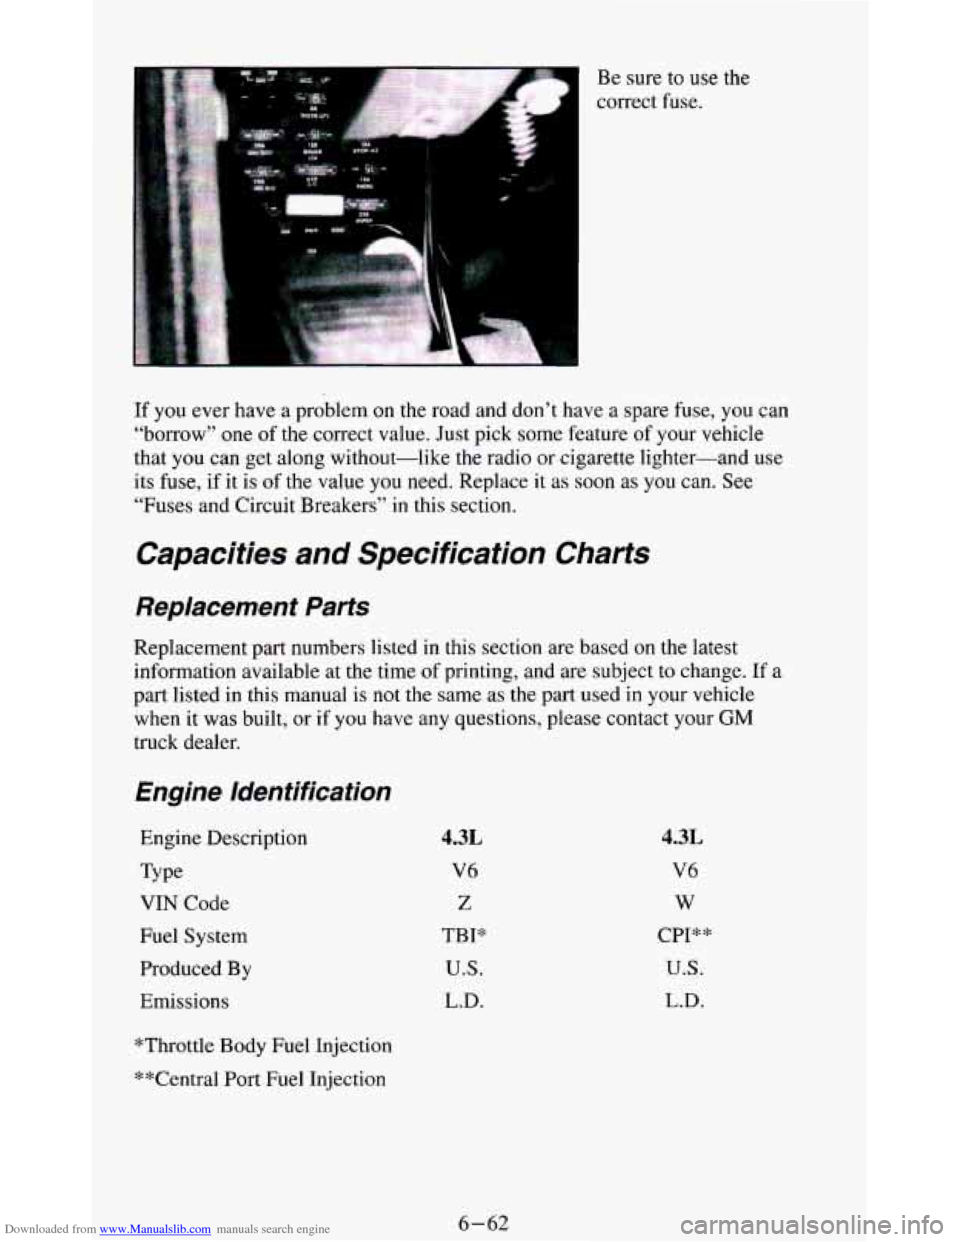
Downloaded from www.Manualslib.com manuals search engine Be sure to use the
correct fuse.
If you ever have a problem on the road and don’t have a spare fuse, you can
“borrow”
one of the correct value. Just pick some feature of your vehicle
that you can get along without-like
the radio or cigarette lighter-and use
its fuse, if it is
of the value you need. Replace it as soon as you can. See
“Fuses and Circuit Breakers”
in this section.
Capacities and Specification Charts
Replacement Parts
Replacement part numbers listed in this section are based on the latest
information available at the time
of printing, and are subject to change. If a
part listed in this manual is
not the same as the part used in your vehicle
when it was built,
or if you have any questions, please contact your GM
truck dealer.
Engine Identification
Engine Description
Type
VIN Code
Fuel System
Produced By
Emissions
4.3L
V6
Z
TBP
U.S.
L.D.
4.3L
V6
w
CPI**
U.S.
L.D.
*Throttle Body Fuel Injection
**Central Port Fuel Injection
6-62