1994 CADILLAC ELDORADO manual radio set
[x] Cancel search: manual radio setPage 7 of 398
Downloaded from www.Manualslib.com manuals search engine r
r
r
r
r
I r
r
,r
r
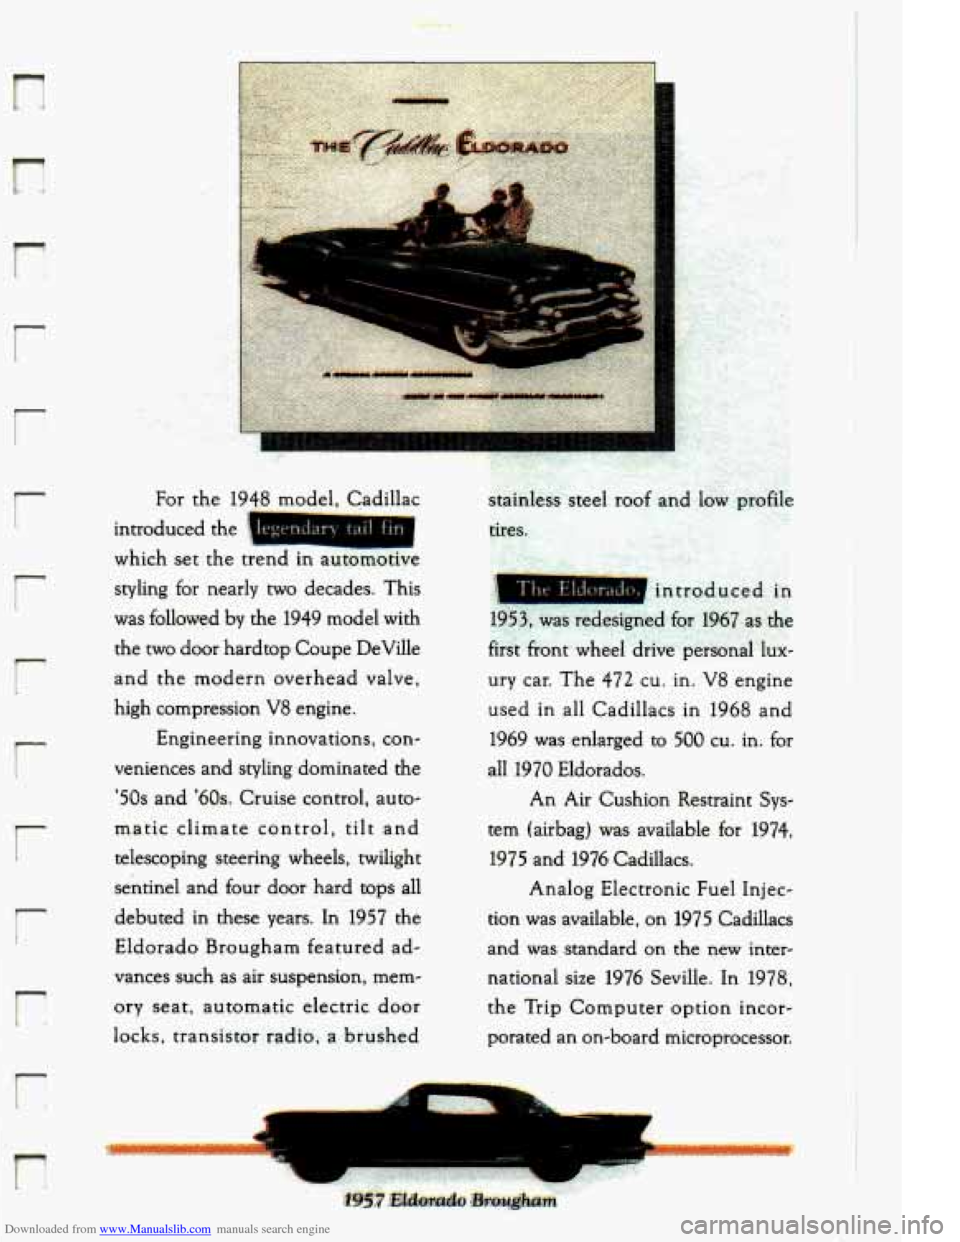
introduced the
which set the trend in automotive
styling for nearly two decades. This
was followed
by the 1949 model with
the two door hardtop Coupe DeVille
and the modern overhead valve,
high compression
V8 engine.
Engineering innovations, con-
veniences and styling dominated the
'50s and '60s. Cruise control, auto-
matic climate control,
tilt and
telescoping steering wheels, twilight
sentinel and four door hard tops all
debuted in these years. In
1957 the
Eldorado Brougham featured ad-
vances such as air suspension, mem-
ory seat, automatic electric door
locks, transistor radio, a. brushed
L.
c .,
Page 155 of 398
Downloaded from www.Manualslib.com manuals search engine I-
r- I
i
BATTERY NO CMGE - .07 r,
This message will appear if your battery is not b.eing charged. Have your
electrical ,system checked by your Cadillac dealership at your earliest
convenience.
BATTERY VOLTS HIGH - 08
This .message shows that the electrical charging system is overcharging,
(more than
16 volts). To.avoid being stranded have. the electrical system
checked by your Cadillac dealership at your earliest convenience. You can
reduce the charging overload by using.the accessories. Turn on the lights,
radio,
set the Climate ‘Control on .“AUTO” and ,the.fan speed on “HI’’
and turn the rear window defogger.on. Youcan monitor battery voltage
on the Driver Information Center by toggling the“‘1NFORMATION”
button. When the engine is running, -the normal range is
11.5 to
1.5.5 volts.
BATTERY VOLTS LOW - 06
.This .message will appear when the.electrica1 system is charging less than
10 volts, or if the battery has been drained. If this message appears
immediately.after starting it .is possible that the .generator can still
recharge the battery. The. battery should recharge after driving a,few
miles and the message should go out.
If this .message appears while
driving or. after starting your vehicle and stays on,’have it, checked
immediately.to determine.the cause
of this problem. To help the
generatorrecharge the,,battery quickly, you can .reduce,the load.on the
electrical system by turning
off your accessories. You can monitor battery
voltage on the Driver Information Center. by toggling the
“INFORMATION” button. The. normal range
is 11.5 to 15.5 volts.
CHANGE TRANS FLUID - 47
This message will appear when it is time to replace the transaxle fluid.
See your maintenance booklet for the proper -fluid and change intervals.
CHECKBRAKEFLUID - 37
This.message. is displayed to inform the-driver that the brake.reservoir
fluid level .is low. Check.the brake reservoir level and add as needed.
Have the brake system serviced by a. Cadillac technician
-as soon as
.possible.
IT the brake warning light is on, €0110~ the directionsin that
section.
r L
143
Page 170 of 398
Downloaded from www.Manualslib.com manuals search engine This means your radio can produce quality AM sound comparable to FM
stereo. AMAX@ reduces noise without reducing the high frequencies you
need for the best sound. In addition to improved sound quality, AMAX’
includes more station on the AM band. You don’t have to do anything to
your radio because
AMAX@ is automatic.
AM Stereo
This means the Delco@ system can receive C-QUAM’ stereo broadcasts.
Many
AM stations around the country use C-QUAM@ to produce stereo,
although some do not. (C-QUAM@ is a registered trademark
of
Motorola, Inc.) If your Delco@ system can get C-QUAM@, your “ST”
stereo light
will come on when you’re receiving it.
Be aware that hearing damage from loud noise is almost undetectable
until it is too late. Your hearing can adapt to higher volumes
of sound.
Sound that seems normal can be loud and harmful to your hearing. Take
precautions by adjusting the volume control on your radio to a safe sound
level before your hearing adapts to it.
To help avoid hearing loss or damage:
Adjust the volume control to the lowest setting.
Increase volume slowly until you hear comfortably and clearly.
158
Page 174 of 398
Downloaded from www.Manualslib.com manuals search engine Export Radio Only
The SCAN and SEEK function selects stations only in one direction.
Pushbuttons
You can set the push buttons to get up to ten favorite stations (Five on
AM and five more on FM). Just:
Choose either AM or FM
Tune in the station.
Push the SET button.
0 Within 5 seconds, push one of the five pushbuttons.
0 Repeat these steps for each of the five pushbuttons.
BASS
The slide control increases or decreases the bass response tone. Moving
the control to the right increases bass while moving it to the left
decreases it.
TREBLE
The slide control increases or decreases the treble response tone. Moving
the control to the right increases the treble while moving it to the left
decreases it.
Your Cassette Tape Phyer
Your cassette tape player works best with tapes that are 30 to 45 minutes
long on each side. Tapes longer than that are
so thin that they may not
work well in this player.
If you look at the tape, or on its label or box, it should say whether its bias,
“equalization” is
70 microseconds (70 p) or 120 microseconds (120 p).
Chrome and metal tapes are 70 p sec and standard iron tapes are 120 p sec.
Your tape player will adjust automatically for either
type of cassette tape.
162
Page 175 of 398
Downloaded from www.Manualslib.com manuals search engine To Play A Cassette Tape
F
0 Turn the radio on.
0 Insert the cassette through the tape door. (The “TAPE” indicator in
the display will light.)
1 If you hear nothing or hear just a garbled sound, the cassette may not be
7 tape equalization is automatically sensed and set. Insertin thecassette
in squarely. Push
the
EJCT button to remove the tape and start over. The
I also automatically disables DNR@* and activates DOLBY noise 0
reduction.
noise from the radio.
- DNR@ is the Dynamic Noise Reduction. It helps remove background hiss, a
Push the FWD button to move forward rapidly to another part of the
same button and the tape will start to play again.
7 tape. The radio will play during fast forward. To stop the tape push the i
r- REV (Reverse)
1 Push the REV button to move the tape rapidly backward. To stop the
r i. will play during this reverse function.
tape,
push the same button lightly or any of the other buttons. The radio
To go from one side of the tape to the other, push in the upperAnob on
your radio.
To remove the tape, push EJCT. The tape can be ejected when
i the ignition is turned off.
*DNR@ is a registered trademark of National Semiconductor
r corporation.
Page 176 of 398
Downloaded from www.Manualslib.com manuals search engine NEXT
Push the NEXT button up to jump quickly to the next selection. If the
selection is at the end of
the tape, the tape will reverse directions and
begin playing at a normal speed.
PREV
Push the PREV button up to quickly go to the beginning of the last
selection.
If the player has played less than
10 seconds into the current selection,
depressing the PREV button
will cause the player to find the beginning of -
the previous selection and resume play from that point. If the player is
more than
10 seconds into the current selection, pressing PREV button
will cause the player to find the beginning of the current selection and -
resume play from that point. If PREV is issued while the first selection on ,
the tape is being played, the player will return to the beginning of that
side of the tape.
STjPL (Stop-Play)
Press ST/PL to switch back to the radio without ejecting the tape. Press it -
a second time to start playing it again. .,
EJCT (Eject Tape)
Press this button to remove the tape.
The Delco Bose Gold Series Music System
This optional sound system combines an AM/FM stereo radio with a
cassette tape player and a compact disc player
in a single unit.
To operate the radio and cassette tape player portion of this music
system, please read the beginning of this section.
“How To Operate Your
Sound System’’ and “Your Cassette Tape Player.’’
164
Page 178 of 398
Downloaded from www.Manualslib.com manuals search engine FWD (Fast Forward)
Press and hold FWD to advance quickly within a track. Release it to
resume playing. Elapsed time will be displayed
to show the forward
progress
of the CD.
Prev (Previous)
Push this button to go back to the beginning of the track or push it again
to
a favorite track.
Next
Push this button to advance to the next track.
ST/PL (StoplPlay)
Press this button and the disc or tape will stop without ejecting it and the
radio will start to play. Press it again and the disc or tape will start to play
again.
EJCT (Eject)
Press this button to eject the disc or tape. If you have both a CD and a
tape in the player, then the other playback media will start to play. Press
it again and the other media will eject.
Comp (Compression)
Pressing COMP makes soft and loud passages more nearly equal in
volume. For example, playing classical or jazz music with very quiet and
very loud passages in the same tune. The COMP display
will light as long
as COMP is on.
Setting The Clock
Turn the ignition on. Then:
To Set the Hour:
Press SET, and within 5 seconds,
Press and hold SEEK. When the clock gets to the correct hour, let go.
-
.. ,
-
166