1994 BUICK REGAL manual radio set
[x] Cancel search: manual radio setPage 123 of 308
Part 3 Comfort Controls and Audio Systems
In this part you’ll find out how to operate the comfort control systems and audio systems offered with your Buick . Be
sure to read about the particular system supplied with your vehicle .
Part 3 includes:
Comfort Control System ............................................................ 122
Heater
and Defroster ........................................................... 124
AirConditione
l- ............................................................... 123
Rear Window Defogger
........................................................ 125
Ventil~tio1.1 ................................................................... 124
AudioSystems
.................................................................... 125
Understanding Radio Reception
.................................................. 126
Setting the Clock
........................................................... 128.132
RadioControls
............................................................ 127. 131
Tape Player Controls ........................................................ 128. 132
CD Player Controls ............................................................ 129
Care 01’ Cassette Tape Player and Tapes ............................................ 125
Care
of Compact Discs ......................................................... 136
Antenna Care
...................................................... ........ 136
ProCarManuals.com
Page 128 of 308

~~ AM Stereo
This
means the Delco@ system can receive C-QUAM@
stereo broadcasts. Many AM stations around the country
use C-QUAM@ to produce stereo, though some do not.
(C-QUAM@ is a registered trademark of Motorola, Inc.)
If your Delco@ system can get C-QUAM@, your
“STEREO” light will come on when you’re receiving it.
Be aware that hearing damage.from loud noise is almost
undetectable until it is too late. Your hearing can adapt
to higher volumes of sound. Sound that seems normal
can be loud and harmful to your hearing. Take
precautions by adjusting the volume control on your
radio to a safe sound level before your hearing adapts to
it.
To help avoid hearing loss or damage:
Adjust the volume control to the lowest setting.
Increase volume slowly until you hear comfortably
and clearly.
NOTICE:
Before you add any sound equipment to your
vehicle
-- like a tape player, CB radio, mobile
telephone or two-way radio
-- be sure you can
add what you want. If you can, it’s very important
to do
it properly. Added sound equipment may
interfere with the operation of your vehicle’s
engine, Delco@ radio or other systems, and even
damage them. And, your vehicle’s systems may
interfere with the operation of sound equipment
that has been added improperly.
So, before adding sound equipment, check with
your dealer and be sure to check Federal rules
covering mobile radio and telephone units.
126
ProCarManuals.com
Page 134 of 308
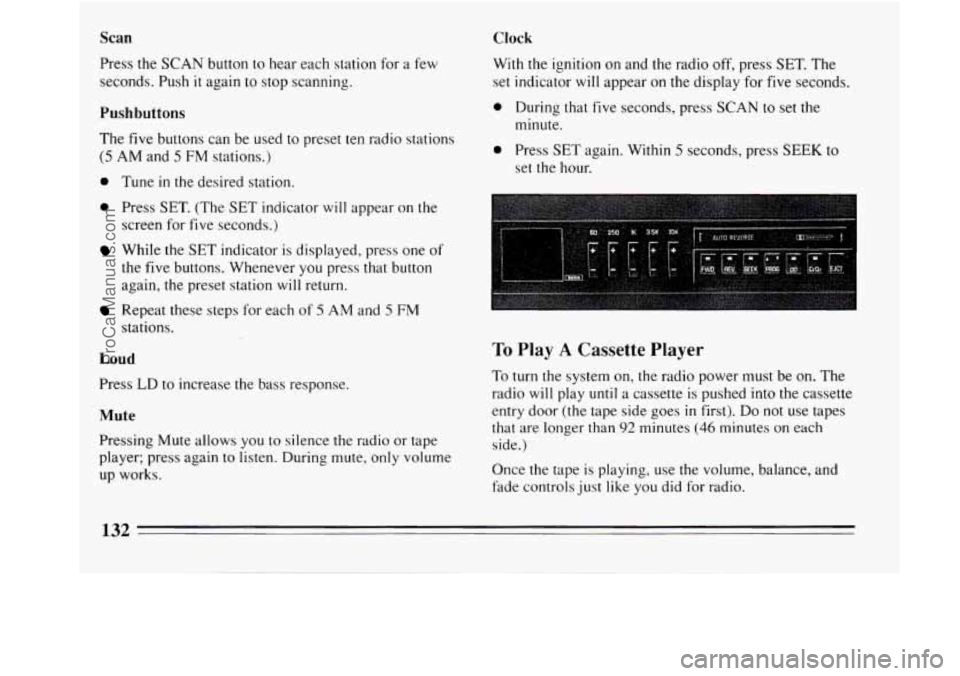
Scan
Press the SCAN button to hear each station for a few
seconds. Push
it again to stop scanning.
Pushbuttons
The five buttons can be used to preset ten radio stations
(5 AM and 5 FM stations.)
0 Tune in the desired station.
0 Press SET. (The SET indicator will appear on the
screen for five seconds.)
While the SET indicator is displayed, press one of
the five buttons. Whenever you press that button
again, the preset station
will return.
Repeat these steps for each of 5 AM and 5 FM
stations.
Loud
Press LD to increase the bass response.
Mute
Pressing Mute allows you to silence the radio or tape
player; press again to listen. During mute, only volume
up works.
Clock
With the ignition on and the radio off, press SET. The
set indicator
will appear on the display for five seconds.
0 During that five seconds, press SCAN to set the
minute.
0 Press SET again. Within 5 seconds, press SEEK to
set the hour.
To Play A Cassette Player
To turn the system on, the radio power must be on. The
radio
will play until a cassette is pushed into the cassette
entry door (the tape side goes
in first). Do not use tapes
that are longer than
92 minutes (46 minutes on each
side.)
Once the tape is playing, use the volume, balance, and
fade controls just like you did for radio.
132
ProCarManuals.com
Page 135 of 308
Equalizer Program
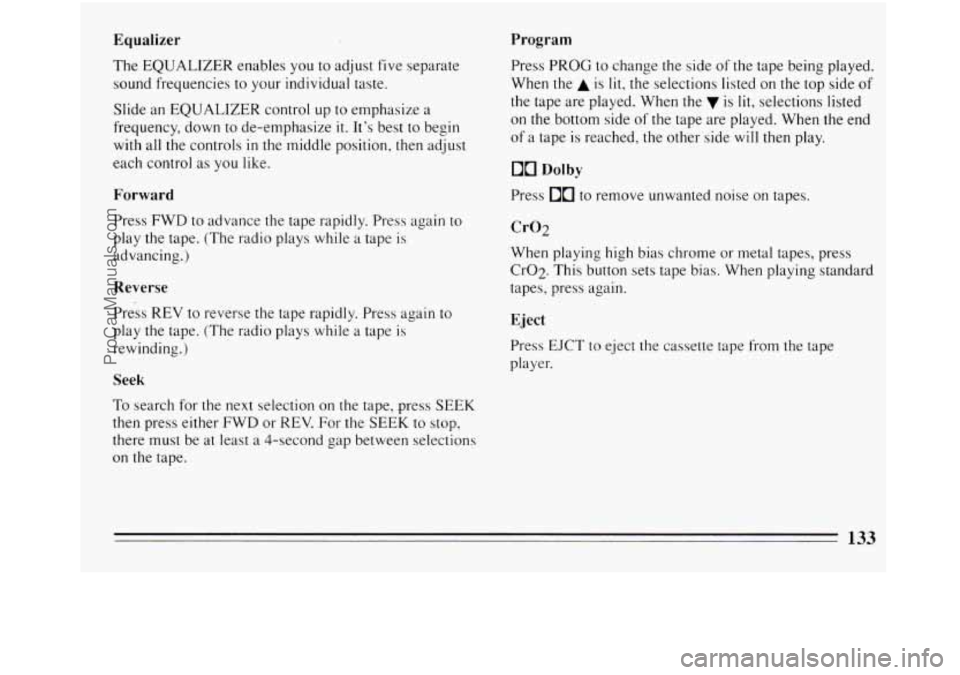
The EQUALIZER enables you to adjust five separate
sound frequencies to your individual taste.
Slide an EQUALIZER control up to emphasize a
frequency, down to de-emphasize
it. It’s best to begin
with all the controls in the middle position, then adjust
each control as you like.
Forward
Press FWD to advance the tape rapidly. Press again to
play the tape. (The radio plays while a tape is
advancing.)
Reverse
Press REV to reverse the tape rapidly. Press again to
play the tape. (The radio plays while a tape is
rewinding.)
Seek
To search for the next selection on the tape, press SEEK
then press either FWD
or REV. For the SEEK to stop,
there must be at least a 4-second gap between selections
on the tape. Press PROG
to change the side of the tape being played.
When the
A is lit, the selections listed on the top side of
the tape are played. When the is lit, selections listed
on
the bottom side of the tape are played. When the end
of a tape is reached, the other side will then play.
Press
00 to remove unwanted noise on tapes.
Cr02
When playing high bias chrome or metal tapes, press
Cr02. This button sets tape bias. When playing standard
tapes, press again.
Eject
Press EJCT to eject the cassette tape from the tape
player.
133
ProCarManuals.com
Page 136 of 308
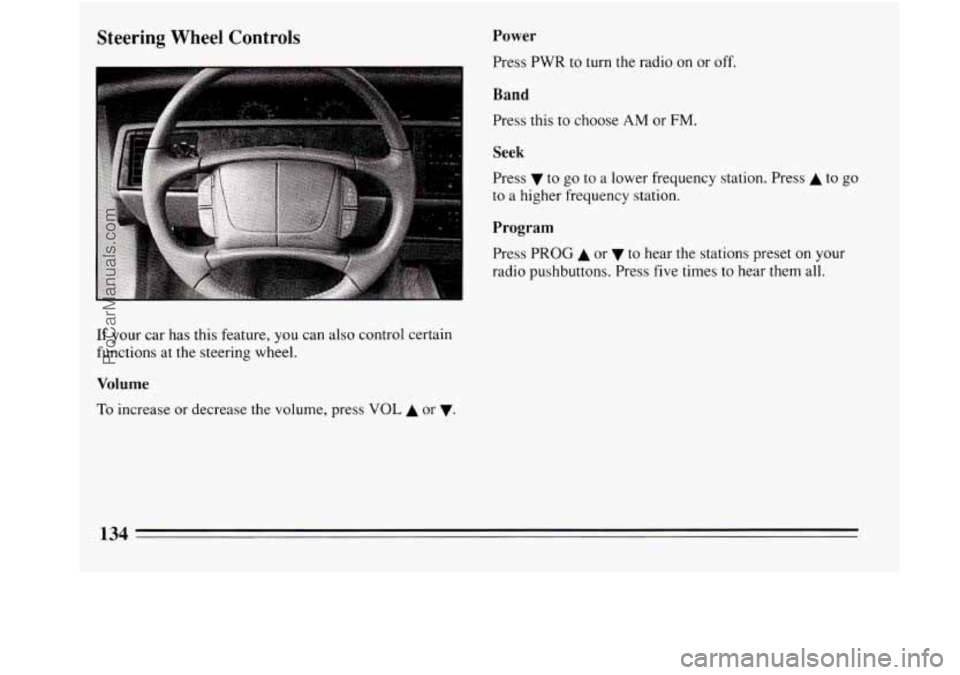
Steering Wheel Controls Power
Press PWR to turn the radio on or off.
Band
Press this to choose AM or FM.
I
Seek
Press v to go to a lower frequency station. Press A to go
to a higher frequency station.
Program
Press PROG A or to hear the stations preset on your
radio pushbuttons. Press five times
to hear them all.
If your car has this feature, you can also control certain
functions at the steering wheel.
Volume
To increase or decrease the volume, press VOL A or v.
134
ProCarManuals.com
Page 176 of 308
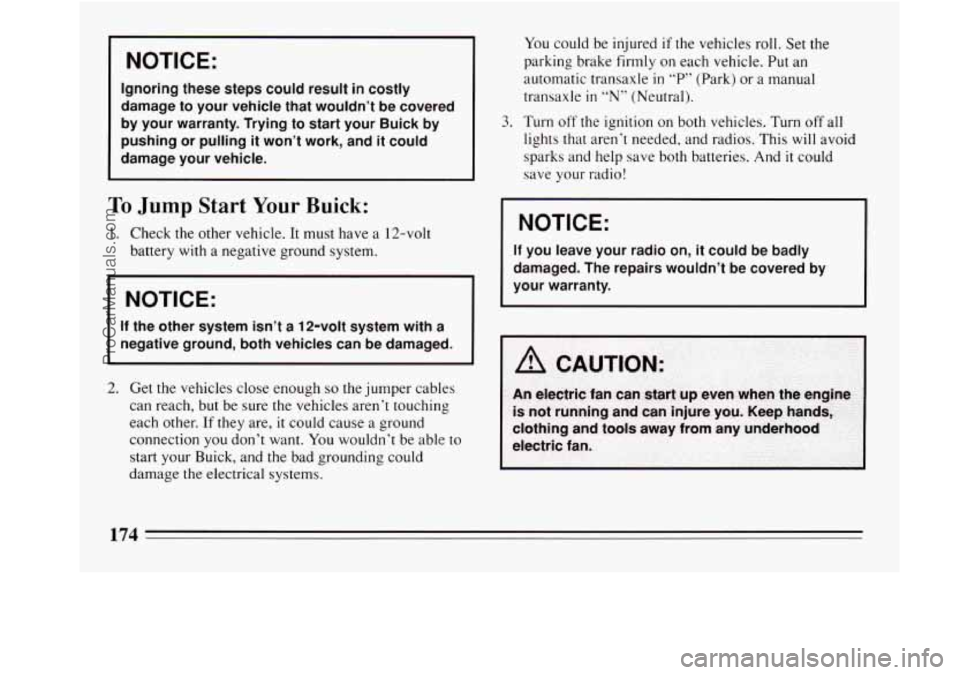
I NOTICE:
Ignoring these steps could result in costly
damage
to your vehicle that wouldn’t be covered
by your warranty. Trying to start your Buick by
pushing or pulling it won’t work, and it could
damage your vehicle.
To Jump Start Your Buick:
1. Check the other vehicle. It must have a 12-volt
battery
with a negative ground system.
NOTICE:
If the other system isn’t a 12-volt system with a
negative ground, both vehicles can be damaged.
2. Get the vehicles close enough so the jumper cables
can reach, but be sure the vehicles aren’t touching
each other.
If they are, it could cause a ground
connection you don’t want.
You wouldn’t be able to
start your Buick, and the bad grounding could
damage the electrical systems. You
could be injured
if the vehicles roll. Set the
parking brake firmly on each vehicle. Put an
automatic transaxle
in “P” (Park) or a manual
transaxle
in “N” (Neutral).
3. Turn off the ignition on both vehicles. Turn off all
lights that aren’t needed, and radios. This will avoid
sparks and help save both batteries. And
it could
save your radio!
1 NOTICE:
If you leave your radio on, it could be badly
damaged. The repairs wouldn’t be covered by
your warranty.
ProCarManuals.com
Page 296 of 308

'Blowout. Tire ................................... 196
Adjustment
.................................. 230
Anti-lock
.................................... 145
Fluid
................................. ; ..... 228
Master Cylinder
.............................. 228
Parking
...................................... 87
Replacement
................................. 230
System. Anti-lock Warning Light
................. 115
System Warning Light
......................... 114
Wear
....................................... 229
Brakes. Trailer
.................................. 167
Braking
........................................ 144
Braking in Emergencies
......... : ................. 146
Break-In. New Vehicle
............................ 79
BulbChart
..................................... 2 60
Bulb Replacement ............................... 23 1
Bulbs. Halogen
.................................. 231
Brake
PedalTravel
................................. 230
Capacities and Specifications Chart
............. 261. 262
CarbonMonoxide
...... : ......................... 91
Carrier. Luggage
................................ 11 1
Cassette Tape Player ......................... 128, 132
Cassette Tape Player Care
......................... 135
Cautions, Safety
.................................. 10
CB Radio, Adding ........................... 125, 253
Changing a Flat Tire
.............................. 197
Cellular Telephone, Adding
.................... 125,
253
Chains, Tire
.................................... 243 Check Gages Light
............................... 119
Engine Coolant
................................ 223
Power Steering Fluid
.......................... 226
Restraint Systems
............................... 67
Transaxle Fluid
............................... 220
Underhood
.................................. 212
Windshield Washer Fluid
....................... 227
Chemical Paint Spotting
........................... 251
Child Restraints
.................................. 52
Children and Safety Belts
........................... 50
Cigarette Lighter ................................ 110
Circuit Breakers and Fuses
........................ 254
CityDriving
.................................... 155
Cleaner. Air
.................................... 219
Cleaning Aluminum Wheels
............................ 249
Antenna
..................................... 136
Cassette Player
............................... 135
Fabric
...................................... 245
Glass
....................................... 247
Inside Your Buick
............................. 244
Instrument Panel
.............................. 247
Leather
..................................... 247
Outside Your Buick
........................... 248
Safety Belts
.................................. 247
Underbody Maintenance
........................ 250
Vinyl
....................................... 246
White Sidewall Tires
........................... 249
Windshield Wiper and Blades
.................... 248
Checking
BrakeFluid
.................................. 228
Engine Oil
.................................... 214
294
ProCarManuals.com