1994 BUICK REGAL maintenance schedule
[x] Cancel search: maintenance schedulePage 11 of 308
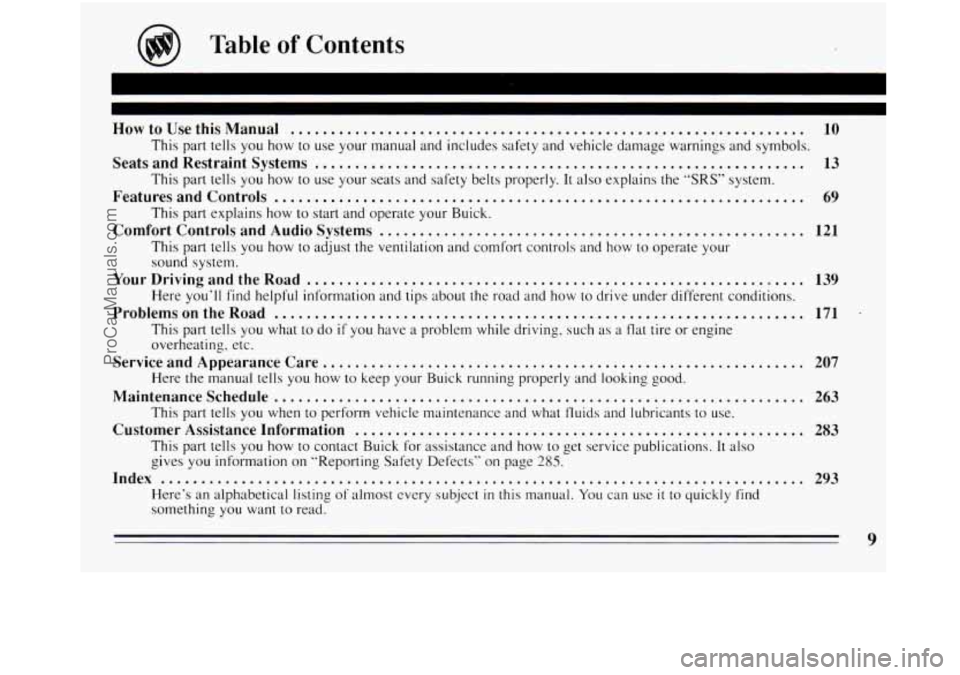
Table of Contents
HowtoUsethisManual ................................................................ 10
This part tells you how to use your manual and includes safety and vehicle damage warnings and symbols.
Seats and Restraint Systems .............................................................
This part tells you how to use your seats and safety belts properly. It also explains the ”SRS” system.
Featuresandcontrols ..................................................................
This part explains how to start and operate your Buick.
Comfort Controls and Audio Systems .....................................................
This part tells you how to adjust the ventilation and comfort controls and how to operate your
sound system.
Here you’ll
find helpful information and tips about the road and how to drive under different conditions.
This part tells you what to do
il‘ you have a problem while driving, such as a flat tire or engine
overheating. etc.
Service and Appearance Care.. ..........................................................
Here the manual tells you how to keep your Buick running properly and looking good.
Maintenanceschedule ..................................................................
This part tells you when to perform vehicle maintenance and what Iluids and lubricants to use.
Customer Assistance Information ........................................................
This part tells you how to contact Buick for assistance and how to get service publications. It also
gives you information on “Reporting Safety Defects” on page 285.
Index ........................................................................\
........
Here’s an alphabetical listing of almost every subject in this manual. You can use it to quickly find
something you want
to read.
YourDrivingandtheRoad ..............................................................
ProblemsontheRoad ..................................................................
13
69
121
139
171
207
263
283
293
9
ProCarManuals.com
Page 171 of 308
Parking on Hills
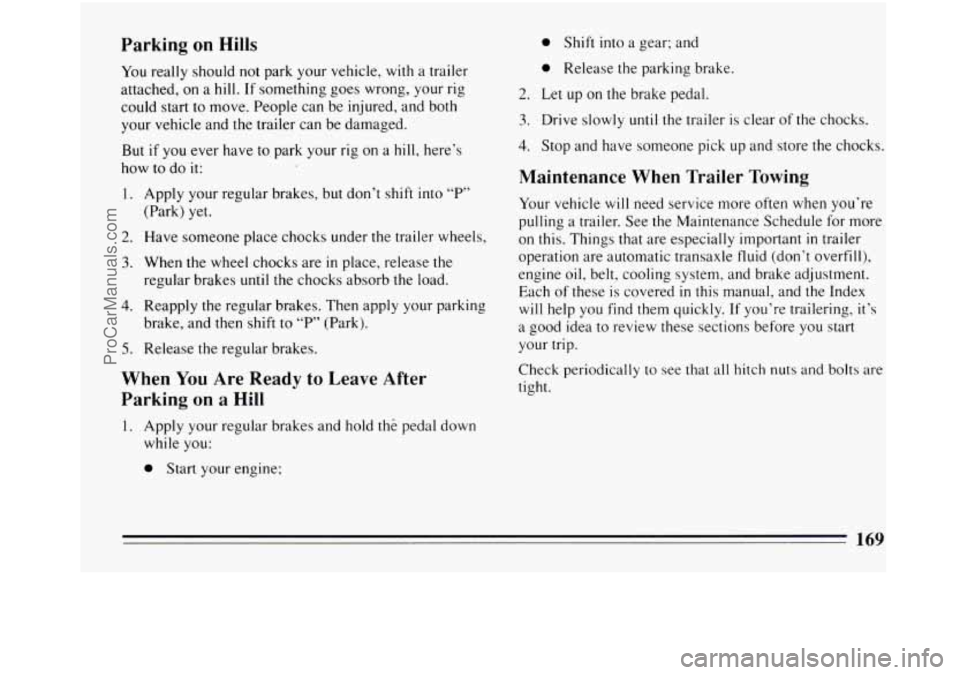
You really should not park your vehicle, with a trailer
attached,
on a hill. If something goes wrong, your rig
could start to move. People can be injured, and both
your vehicle and the trailer can be damaged.
But
if you ever have to park your rig on a hill, here’s
how
to do it:
0 Shift into a gear; and
2. Have someone place chocks under the trailer wheels,
3. When the wheel chocks are in place, release the
regular brakes until the chocks absorb the load.
4. Reapply the regular brakes. Then apply your parking
brake, and
then shift to “P” (Park).
5. Release the regular brakes.
When You Are Ready to Leave After
Parking
on a Hill
0 Release the parking brake.
2. Let up on the brake pedal.
3. Drive slowly until the trailer is clear of the chocks.
4. Stop and have someone pick up and store the chocks.
Maintenance When Trailer Towing
Your vehicle will need service more often when you’re
pulling a trailer. See the Maintenance Schedule for more
on this. Things that are especially important
in trailer
operation are automatic transaxle fluid (don’t overfill),
engine oil, belt, cooling system, and brake adjustment.
Each of these is covered
in this manual, and the Index
will help you find them quickly. If you’re trailering, it’s
a good idea to review these sections before you start
your trip.
Check periodically to see that all hitch nuts and bolts are
tight.
1. Apply your regular brakes and hold the pedal down
while you:
0 Start your engine;
169
ProCarManuals.com
Page 221 of 308
Engine Coolant Heater (Engine Block
Heater)
An engine coolant heater can be a big help if you have
to park outside in very cold weather, 0°F (- 18 “C) or
colder. If your vehicle has this option, see “Engine
Coolant Heater”
in the Index.
What to Do with Used Oil
Did you know that used engine oil contains certain
elements that may be unhealthy for your skin and could
even cause cancer? Don’t let used oil stay on your skin
for very long. Clean your skin and nails
with soap and
water,
or a good hand cleaner. Wash or properly throw
away clothing or rags containing used engine
oil. (See
the manufacturer’s warnings about the use and disposal
of
oil products.)
Used oil can be a real threat to the environment. If you
change your own
oil, be sure to drain all free-flowing
oil from the filter before disposal. Don’t ever dispose of
oil by putting it in the trash, pouring it on the ground,
into sewers, or into streams or bodies of water. Instead,
recycle
it by taking it to a place that collects used oil. If
you have a problem properly disposing of your used oil,
ask your dealer, a service station or a local recycling
center for help.
Air Cleaner
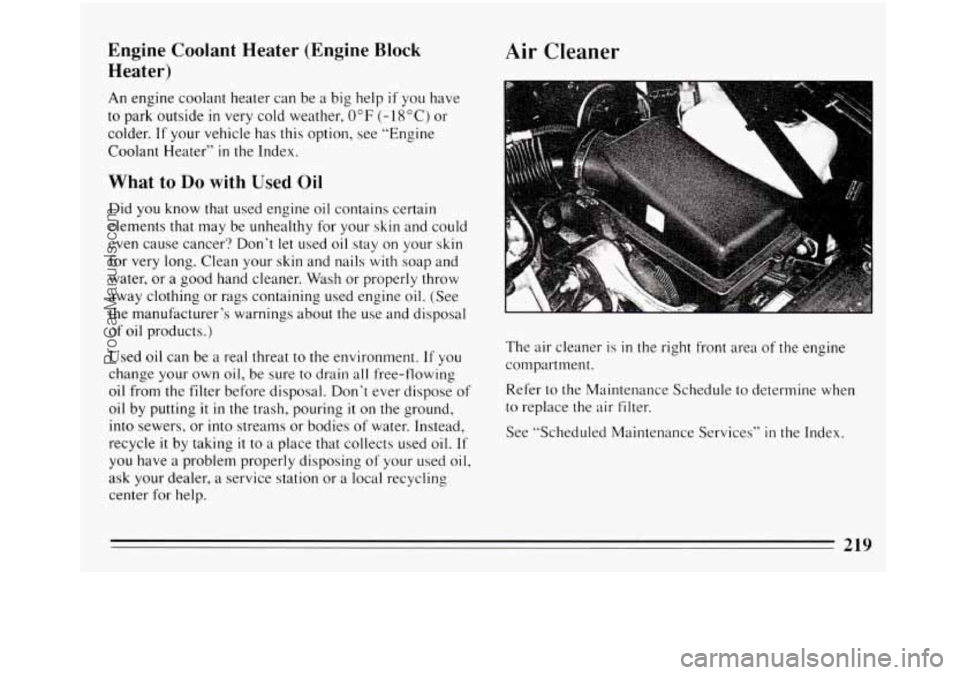
The air cleaner is in the right front area of the engine
compartment.
Refer to the Maintenance Schedule to determine when
to replace the air filter.
See “Scheduled Maintenance Services”
in the Index.
219
ProCarManuals.com
Page 222 of 308
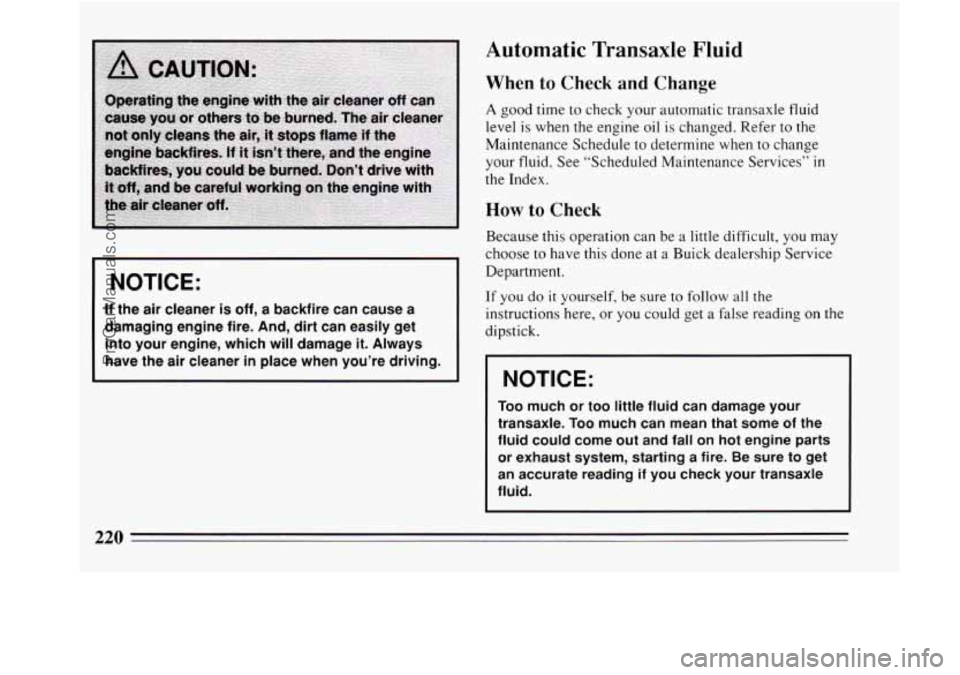
I NOTICE:
If the air cleaner is off, a backfire can cause a
damaging engine fire. And, dirt can easily get
into your engine, which will damage
it. Always
have the air cleaner
in place when you’re driving.
Automatic Transaxle Fluid
When to Check and Change
A good time to check your automatic transaxle fluid
level
is when the engine oil is changed. Refer to the
Maintenance Schedule to determine when to change
your fluid. See “Scheduled Maintenance Services” in
the Index.
How to Check
Because this operation can be a little difficult, you may
choose to have this done at a Buick dealership Service
Department.
If you do it yourself, be sure to follow all the
instructions here, or you could get a false reading on the
dipstick.
NOTICE:
Too much or too little fluid can damage your
transaxle.
Too much can mean that some of the
fluid could come out and fall on hot engine parts
or exhaust system, starting a fire. Be sure to get
an accurate reading
if you check your transaxle
fluid.
ProCarManuals.com
Page 224 of 308
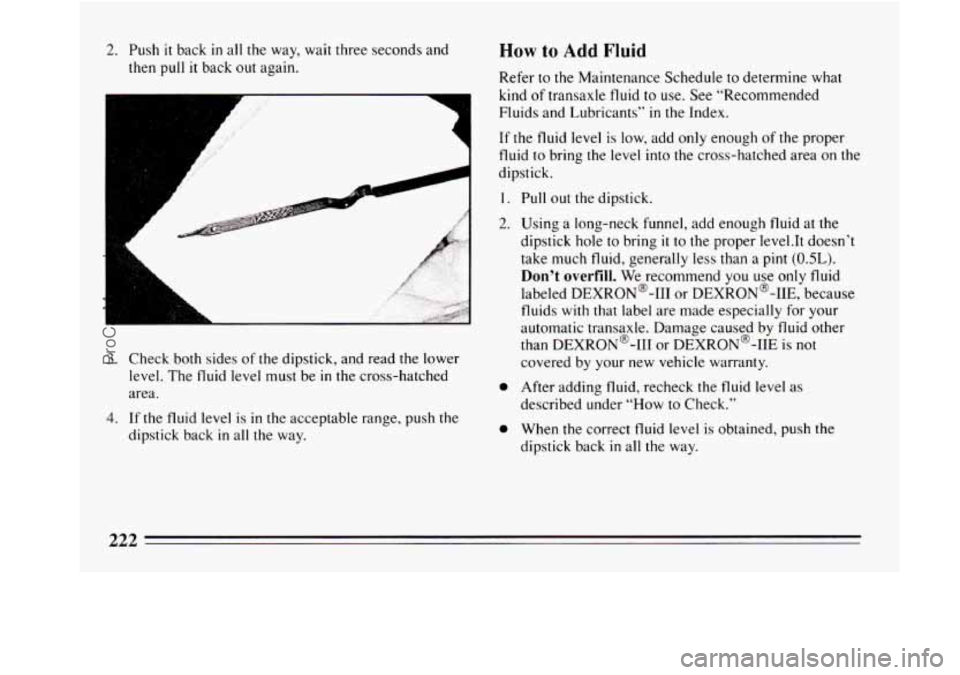
2. Push it back in all the way, wait three seconds and
then pull
it back out again.
A
L
A
A
L
3. Check both sides of the dipstick, and read the lower
level. The fluid level must be in the cross-hatched
area.
4. If
the fluid level is in the acceptable range, push the
dipstick back
in all the way.
How to Add Fluid
Refer to the Maintenance Schedule to determine what
kind of transaxle fluid to use. See “Recommended
Fluids and Lubricants’’
in the Index.
If the fluid level is low, add only enough of the proper
fluid to bring the level into the cross-hatched area
on the
dipstick.
I. Pull out the dipstick.
2. Using a long-neck funnel, add enough fluid at the
dipstick hole to bring
it to the proper 1evel.It doesn’t
take much fluid, generally less than
a pint (OSL).
Don’t overfill. We recommend you use only fluid
labeled DEXRON@-111 or DEXRON@-IIE, because
fluids
with that label are made especially for your
automatic transaxle. Damage caused by fluid other
than DEXRON@-I11 or DEXRON@-IIE is
not
covered by your new vehicle warranty.
0 After adding fluid, recheck the fluid level as
described under
“How to Check.’’
0 When the correct fluid level is obtained, push the
dipstick back
in all the way.
222
ProCarManuals.com
Page 228 of 308
Power Steering Fluid
How To Check Power Steering Fluid
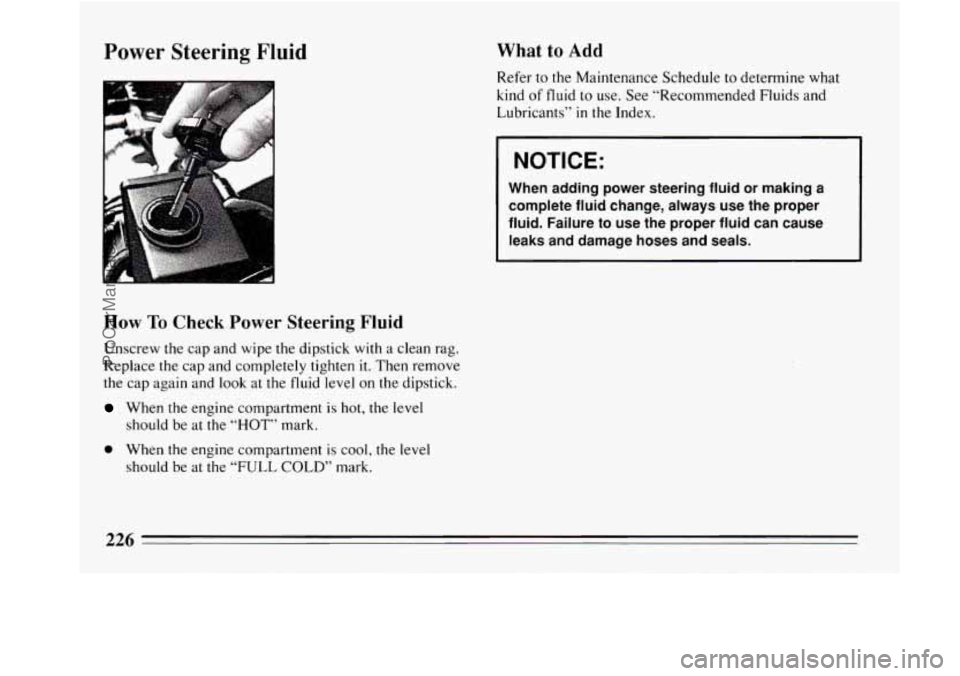
Unscrew the cap and wipe the dipstick with a clean rag.
Replace the cap and completely tighten
it. Then remove
the cap again and look at the fluid level on the dipstick.
When the engine compartment is hot, the level
should be at the
“HOT” mark.
0 When the engine compartment is cool, the level
should be at the
“FULL COLD” mark.
What to Add
Refer to the Maintenance Schedule to determine what
kind of fluid to use. See “Recommended Fluids and
Lubricants”
in the Index.
NOTICE:
When adding power steering fluid or making a
complete fluid change, always use the proper
fluid. Failure to use the proper fluid can cause
leaks and damage hoses and seals.
226
ProCarManuals.com
Page 240 of 308
Tire Inspection and Rotation
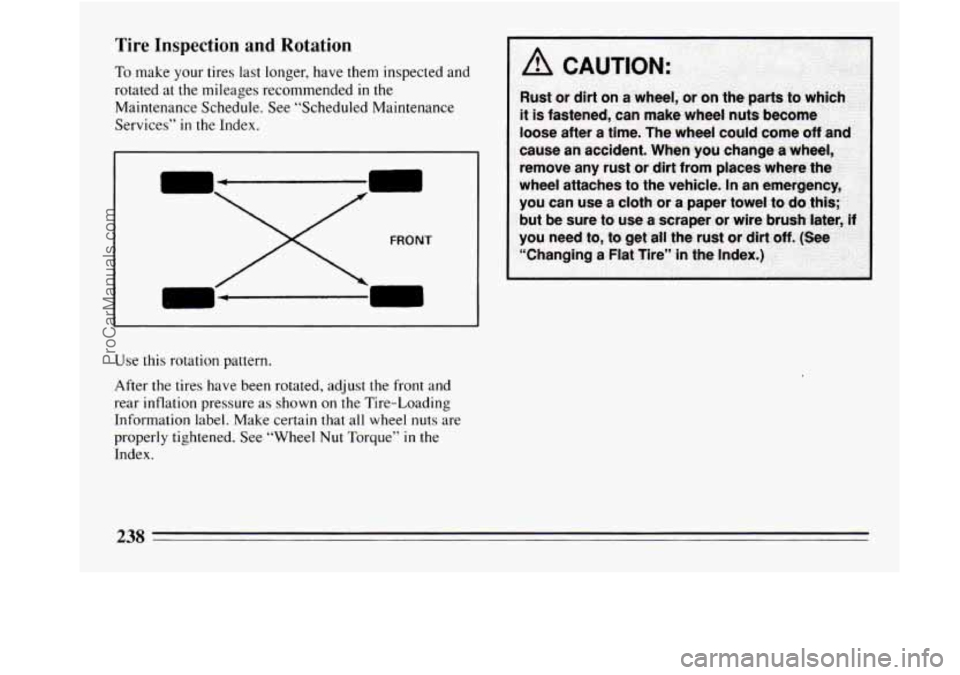
To make your tires last longer, have them inspected and
rotated at the mileages recommended
in the
Maintenance Schedule. See “Scheduled Maintenance
Services”
in the Index.
FRONT
Use this rotation pattern.
After the tires have been rotated, adjust the front and
rear inflation pressure as shown
on the Tire-Loading
Information label. Make certain that all wheel nuts are
properly tightened. See “Wheel Nut Torque”
in the
Index.
238
ProCarManuals.com
Page 265 of 308
Part 7 Maintenance Schedule
This part covers the maintenance required for your Buick . Your vehicle needs these services to retain its safety.
dependability and emission control performance
.
Part 7 includes:
Introduction ......................................... ......... ................ 264
A Word About Maintenance ..................................................... 264
Your Vehicle and the Environment
................................................ 265
How This Part is Organized ..................................................... 265
Section A: Scheduled Maintenance Services
............................................. 266
Using Your Maintenance Schedules
............................................... 266
Selecting the Right Schedule
.................................................... 267
Schedule1
................................................................... 268
Schedule11
.................................................................. 270
Explanation
of Scheduled Maintenance Services ..................................... 272
Section
B: Owner Checks and Services ................................................. 274
AtEachFuelFill .............................................................. 274
At Least Once
a Month ......................................................... 275
AtLeastOnceaYear .......................................................... 275
Section
C: Periodic Maintenance Inspections ............................................ 277
Section D:Recommendgd Fluids
and Lubricants .......................................... 279
Section E: Maintenance Record ....................................................... 281
263
ProCarManuals.com